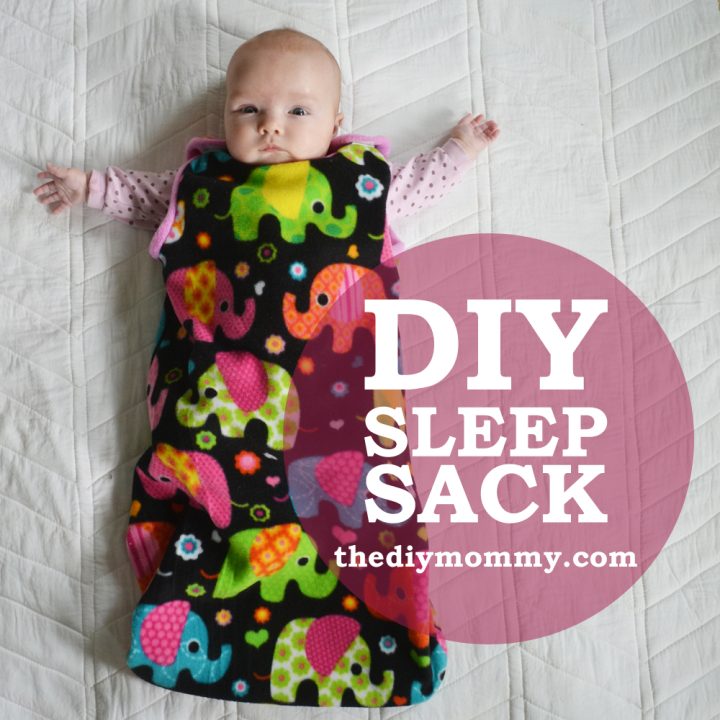
Sew an Easy Baby Sleep Sack (Free Pattern and Tutorial)
This post may contain affiliate links · This blog generates income via ads
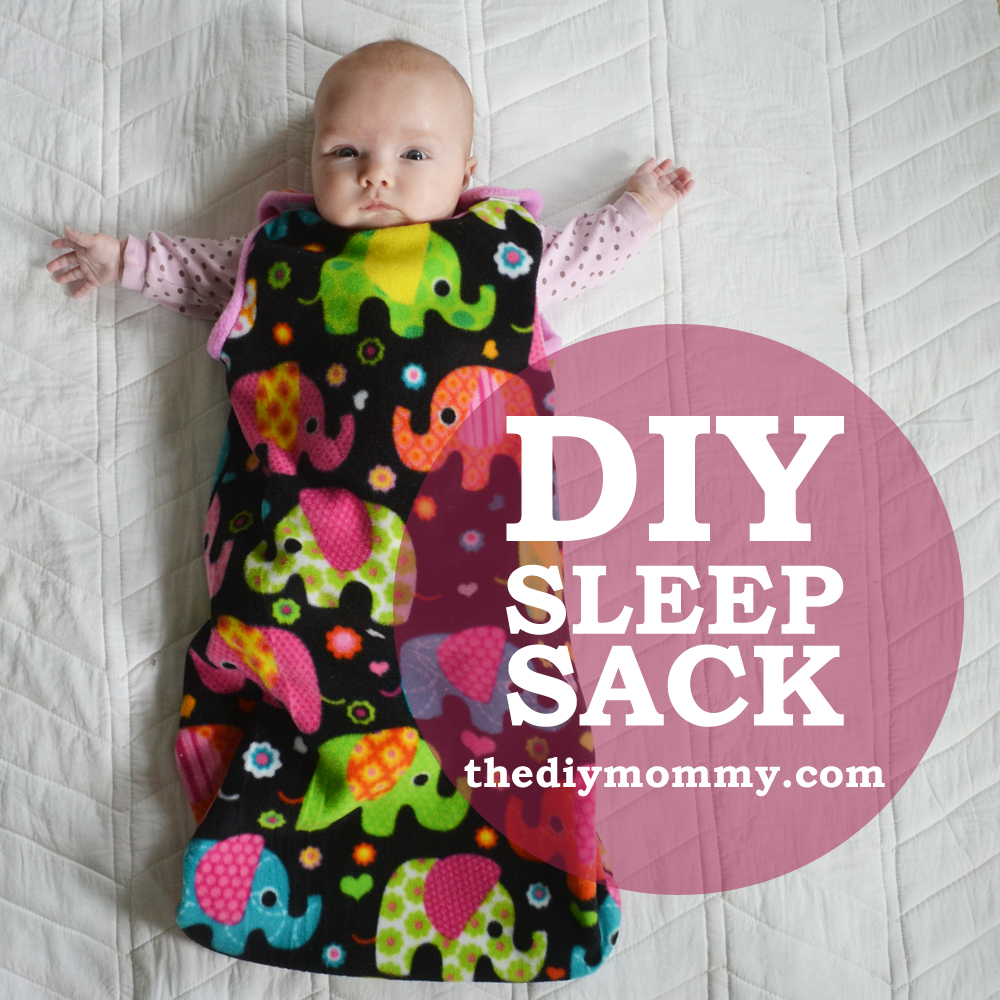
Do you have babies in the sleep sack phase of life? Learn how to sew an easy baby sleep sack with soft fabric and velcro with this free tutorial and simple free sewing pattern! It is so easy and fun to pick your own fabric weight and colours and create custom attire for your precious little one. These also make a fantastic baby shower gift for new moms.
What is a sleep sack?
When my babies got too big to swaddle, I needed a different solution to keep them warm and cozy (and safe) all night. I settled on the idea of a sleep sack, which is basically a wearable blanket or sleeping bag for your baby. It’s safe and comfy (blankets should be avoided), and it makes for easy diaper changes in the middle of the night too.
I always found this transition a little tricky and slightly sad. Baby is getting bigger and more independent which is wonderful, but it was also sad for me when they started to grow up. But it happens whether we are sad or not, so it’s best to just embrace each new stage! I found my babies slept just about as well in the sleep sacks as they did in the swaddle, thankfully.
Should sleep sacks be with or without sleeves?
A sleep sack should not have sleeves, since the entire point is to keep their arms free to move without being hindered in any way (the opposite of the swaddle they just grew out of). The experts say that sleeves can be dangerous because they can prevent your baby from being able to move freely. So, the pattern we will be discussing today does not include sleeves.
At the time that Baby B was ready for this stage, I had some adorable elephant patterned fleece in my ever-growing fabric stash, so to celebrate this milestone and make it a little easier on my heart I sewed her an easy DIY sleep sack. It’s a simple design with one layer, some DIY edge binding, and snaps or velcro at the shoulders. Want to make one for your little one? Here’s a free pattern and tutorial for my easy baby sleep sack!
What fabric to use for baby sleep sack?
For a baby sleep sack, you want to use something soft and breathable for your baby’s skin. Think about the season too: lightweight cotton would be great for the summer, and light fleece for the winter. I’m going to show you how I made a fleece sleep sack.
How much fabric do I need for a sleep sack?
The answer to this question is, not very much! You’re sewing for a baby, after all. This pattern calls for one yard of fabric for your main sleeping sack pieces, and 1/4 yard of the contrasting material for binding.
Materials:
- One yard of light fleece (for main pieces)
- 1/4 yard contrasting fleece for binding
- Scissors and a rotary cutter
- Hard ruler and a cutting mat
- Snaps or SOFT velcro (The fastener will be by baby’s face, so make sure it isn’t pokey or rough!)
Step by step instructions to make a sleep sack (with free pattern!)
I’m giving you some free printables to make this extra easy! Print out these PDF pattern pieces: Sleep Sack Pattern Piece A , Sleep Sack Pattern Piece B , Sleep Sack Pattern Piece C , Sleep Sack Pattern Piece D so you have a paper pattern in front of you.
I made this sleeping sack pattern based on the size of one I purchased that was 6-18 month size. The finished garment measures about 13″ wide at the chest and about 26″ long from the neckline to the bottom hem. You could shorten or lengthen it as needed for smaller or larger babies. You could even make one in a grown child size as a joke for the older brother or sister so everyone can get in on nap time!
Cut and tape them together so that they look like this:
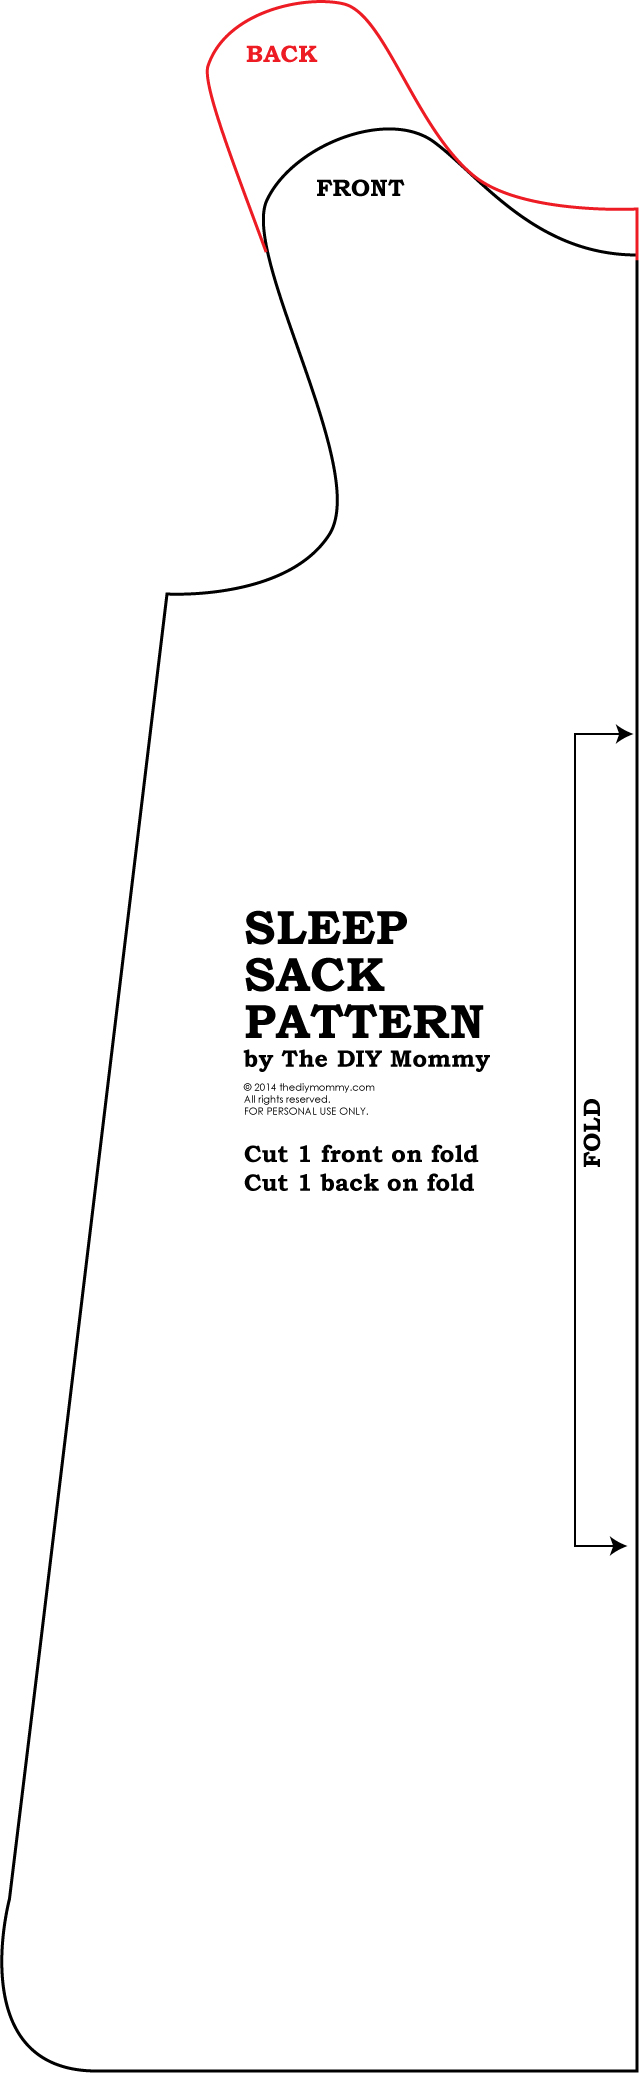
Then, cut out your back panel out of the main fleece (fold the fabric vertically just enough to fit the pattern on it and place the fabric on the fold). Follow the red lines for the top of the back piece. Then, refold your fabric and cut the front panel, following all the black lines.
To make your binding pieces, cut a strip from the contrasting fleece that is 2 1/2″ wide and as long as the width of the fleece. You’ll need this strip to be at least 50″ long.
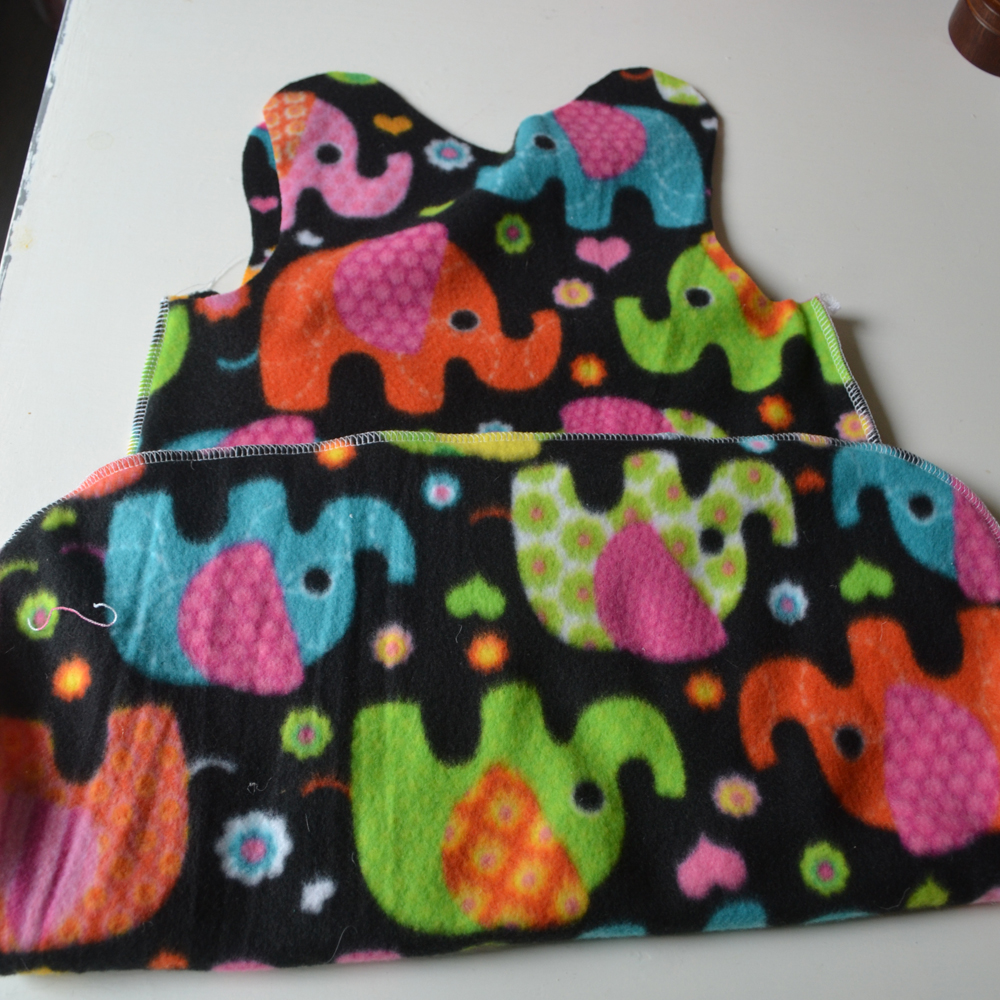
Place the main front and back pieces right sides together and stitch along the sides and bottom. I used a serger, but you could also use a regular sewing machine and stitch since fleece won’t fray. Use a 1/2″ seam allowance.
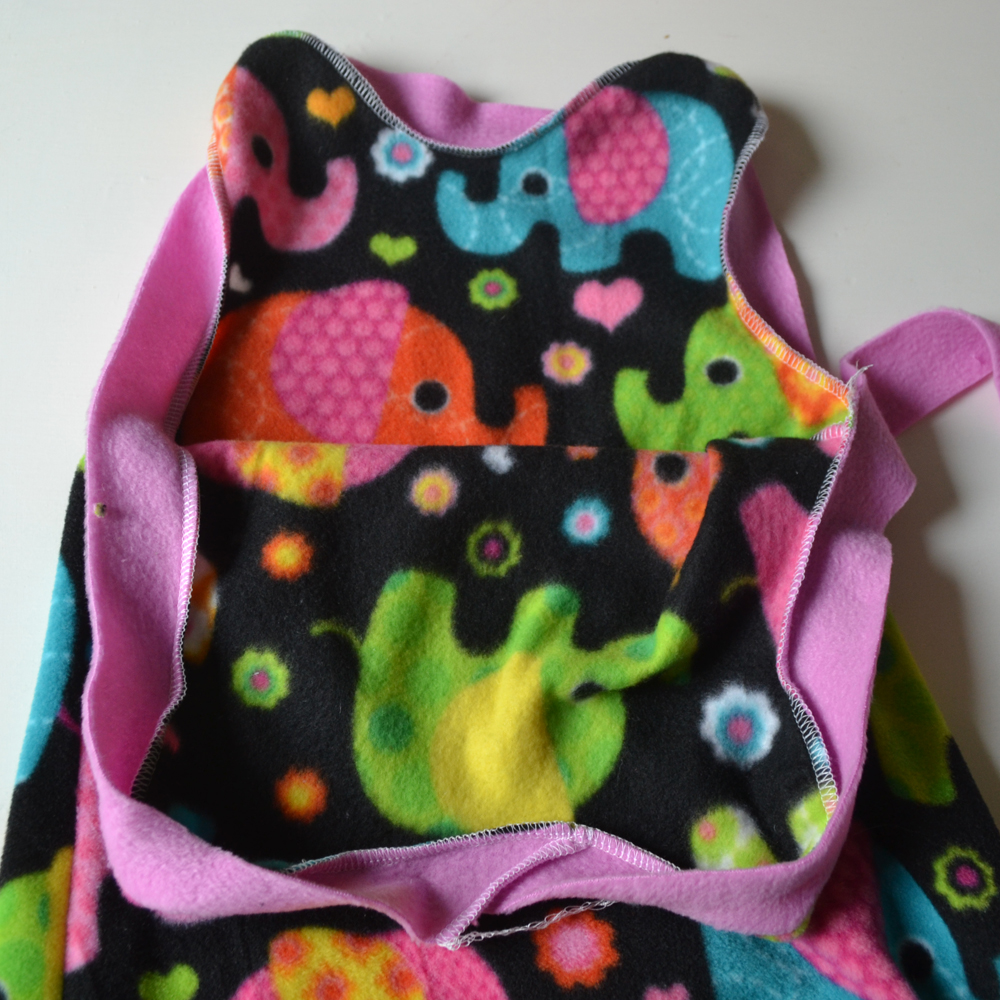
Then, pin your binding strip (right sides together), all around the top opening and the straps of the sleep sack as shown. Leave at least an inch at the beginning and end, overlapping them. Stitch using a 1/4″ seam allowance.
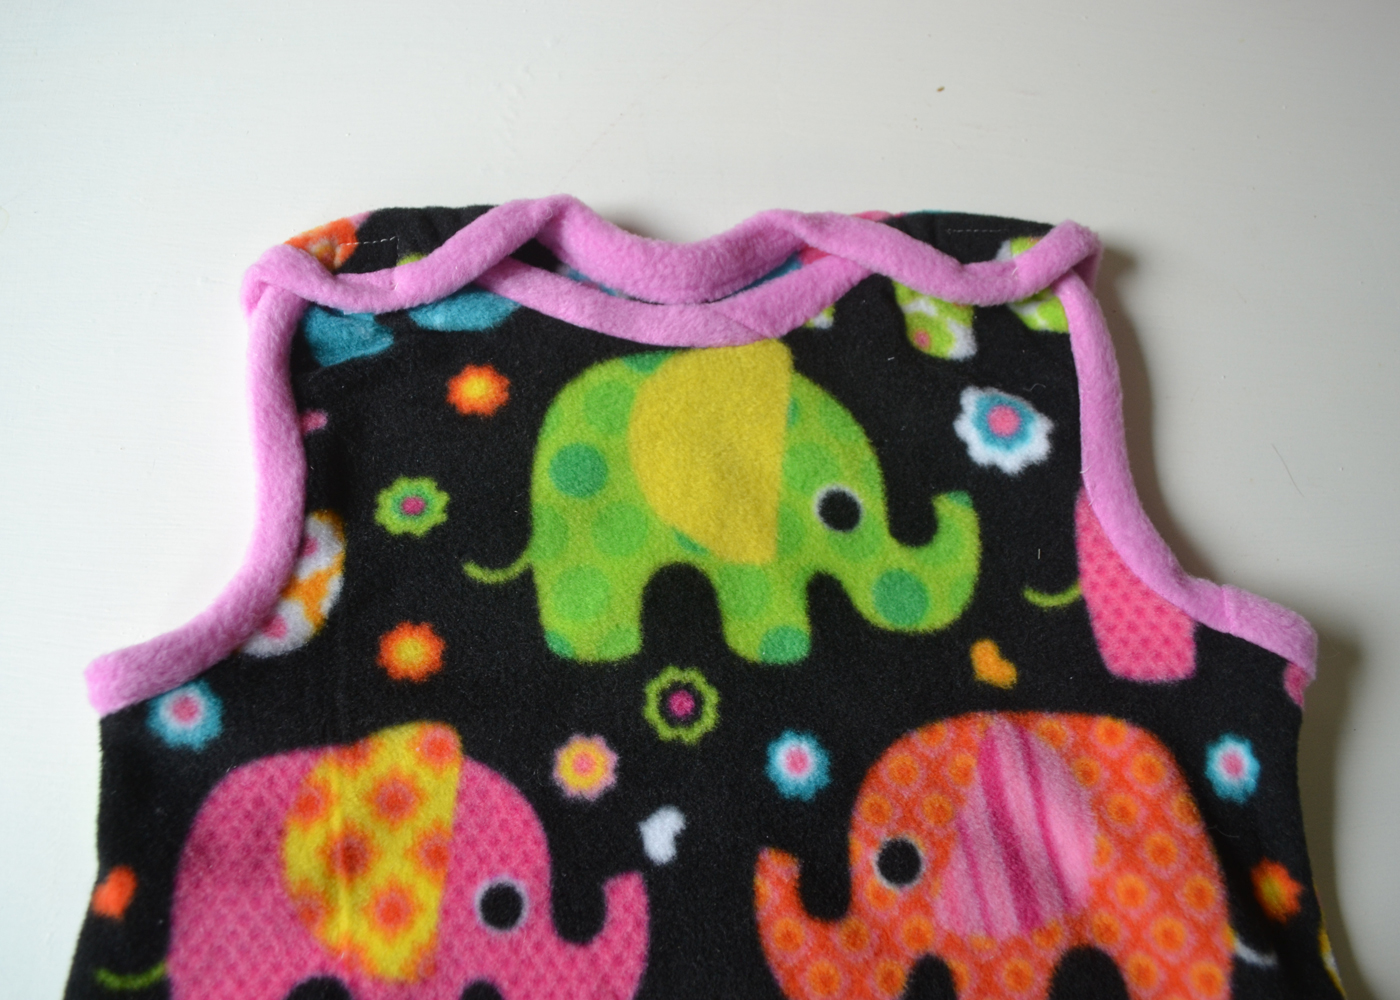
Fold the binding over and around to the inside of the sleep sack, pin, and stitch it to the sleep sack from the wrong side. I “stitched in the ditch” – that is, I tried as best I could to get my stitches to sit in the seam where the binding was originally sewn so that you don’t see the stitches from the right side. Trim any excess binding off with some scissors on the inside.
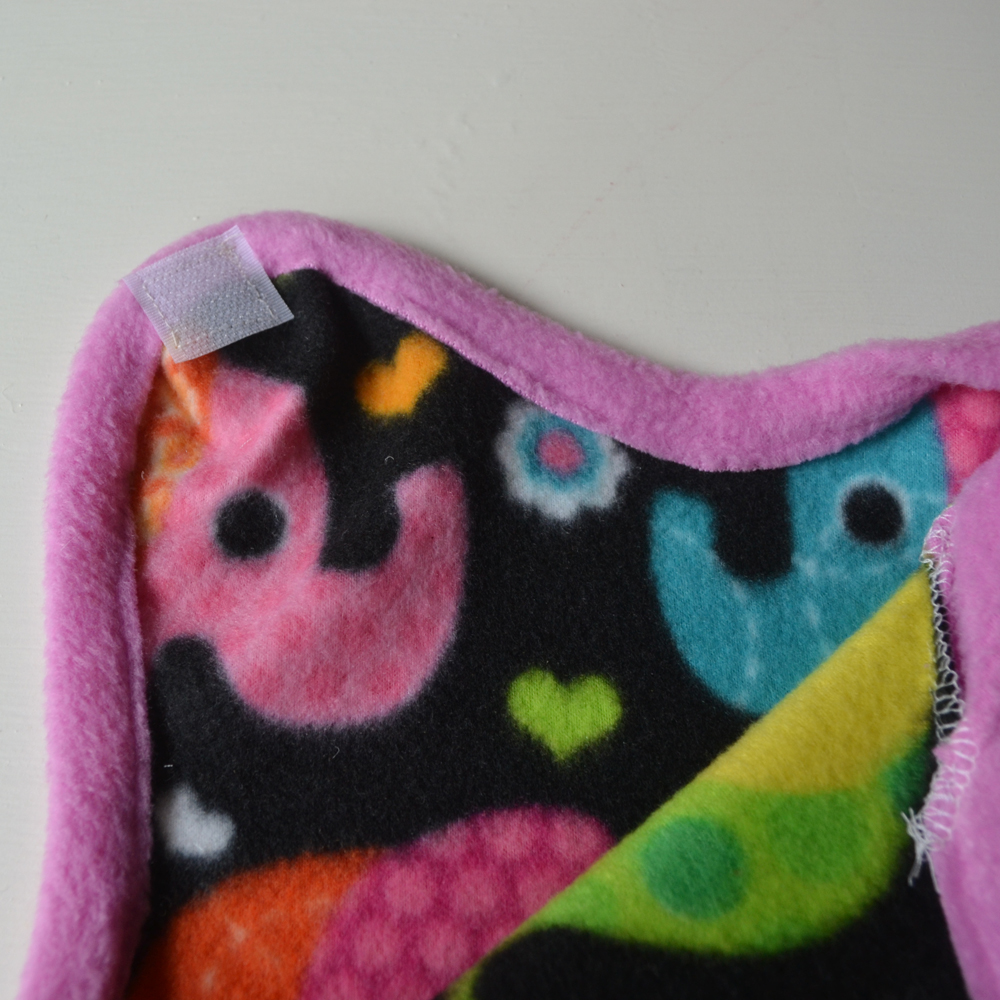
Attach velcro squares or snaps to the shoulders to use as fasteners. I originally used velcro, and then I decided to use snaps instead since the velcro seemed too hard and scratchy! Choose a fastener that’s easy to use and that will be gentle on baby’s skin.
That’s all, folks! This is one of those really satisfying simple projects, don’t you think? I love that I can make this most essential of baby items without a lot of hard work. Once you make one sweet sleep sack, it will get so much easier, and you will be choosing all kinds of breathable materials in fun colours to make the perfect gift for the babies in your life. You will be the talk of all the baby showers!
If you’ve made yourself a sleep sack using this pattern or any other one, please tag me @thediymommy and show me the finished item! I would love to see it.
Happy sewing everyone!
Sew an Easy Baby Sleep Sack
Learn how to sew an easy baby sleep sack with soft fabric and velcro with this free tutorial and simple sewing pattern!
Materials
- one yard of light fleece (for main pieces)
- 1/4 yard contrasting fleece for binding
- snaps or SOFT velcro (these are by baby’s face, so make sure they’re smooth and/or soft!)
Tools
- Scissors
- Rotary Cutter
- Hard Ruler
- Cutting Mat
Instructions
- Print out these PDF sleep sack pattern pieces: Sleep Sack Pattern Piece A , Sleep Sack Pattern Piece B , Sleep Sack Pattern Piece C , Sleep Sack Pattern Piece D
- Cut and tape them together so that they look like this:
- Then, cut out your back piece first out of the main fleece (fold the fabric vertically just enough to fit the pattern on it and place the fabric on the fold). Follow the red lines for the top of the back piece. Then, refold your fabric and cut the front piece, following all the black lines.
- To make your binding pieces, cut a strip from the contrasting fleece that is 2 1/2″ wide and as long as the width of the fleece. You’ll need this strip to be at least 50″ long.
- Place the main front and back pieces right sides together and stitch along the sides and bottom. I used a serger, but you could also use a regular sewing machine and stitch since fleece won’t fray. Use a 1/2″ seam allowance.
- Then, pin your binding strip, right sides together, all around the top opening and straps of the sleep sack as shown. Leave at least an inch at the beginning and end, overlapping them. Stitch using a 1/4″ seam allowance.
- Fold the binding over and around to the inside of the sleep sack, pin, and stitch it to the sleep sack from the wrong side. I “stitched in the ditch” – I tried as best I could to get my stitches to sit in the seam where the binding was originally sewn on so that you don’t see the stitches from the right side. Trim any excess binding off with some scissors on the inside.
- Attach velcro squares or snaps to the shoulders to use as fasteners. I originally used velcro, and then I decided to use snaps instead since the velcro seemed to hard and scratchy! Choose a fastener that’s easy to use and that will be gentle on baby’s skin.
Notes
I made this sleep sack pattern based off of one I purchased that’s a 6-18 month size. The finished garment measures about 13″ wide at the chest and about 26″ long from the neckline to the bottom hem. You could shorten or lengthen it as needed for smaller or larger babies.
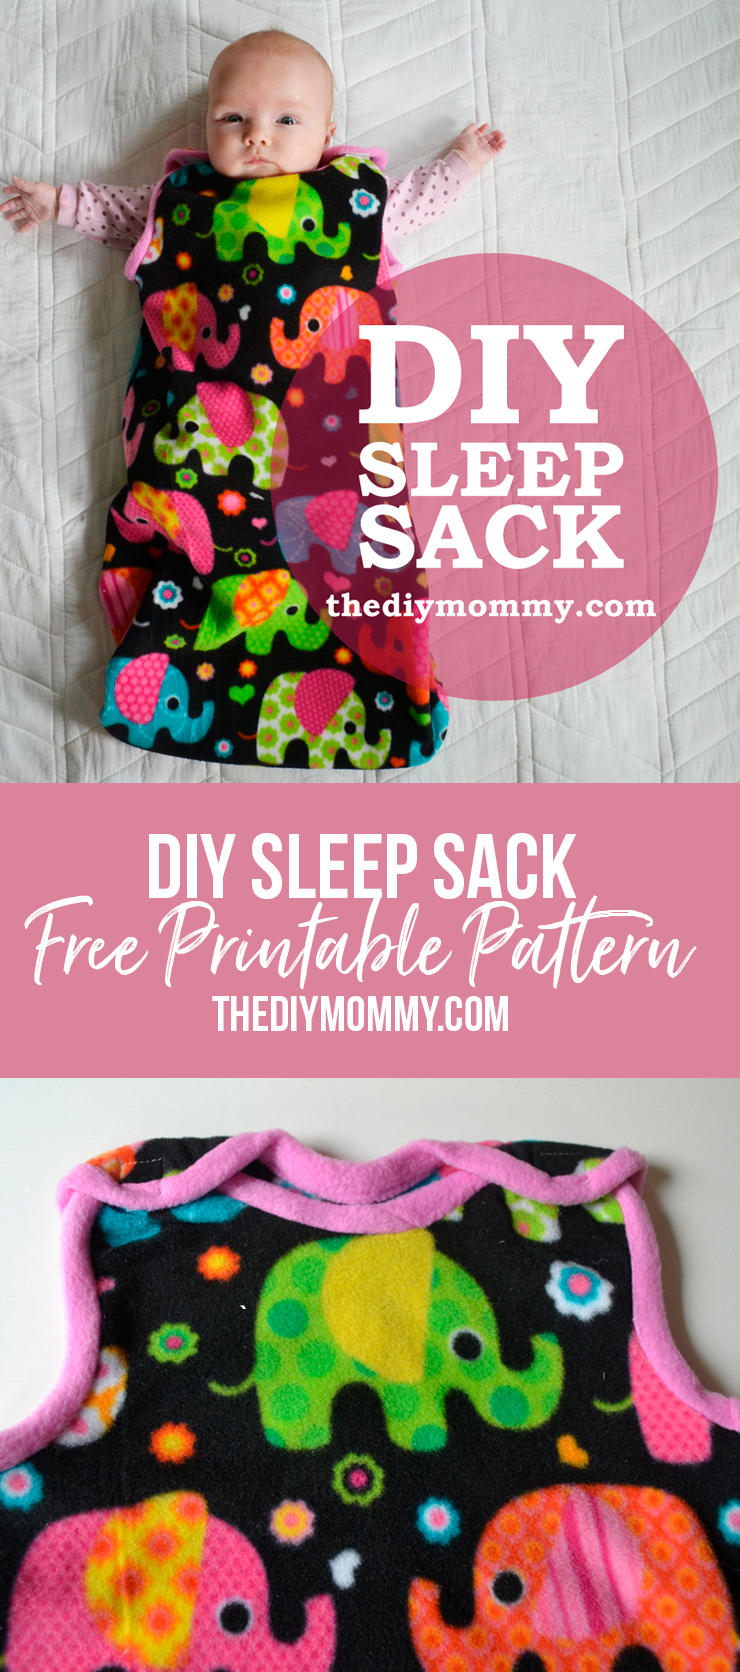
Pin Me:
More DIY Baby Sewing Projects
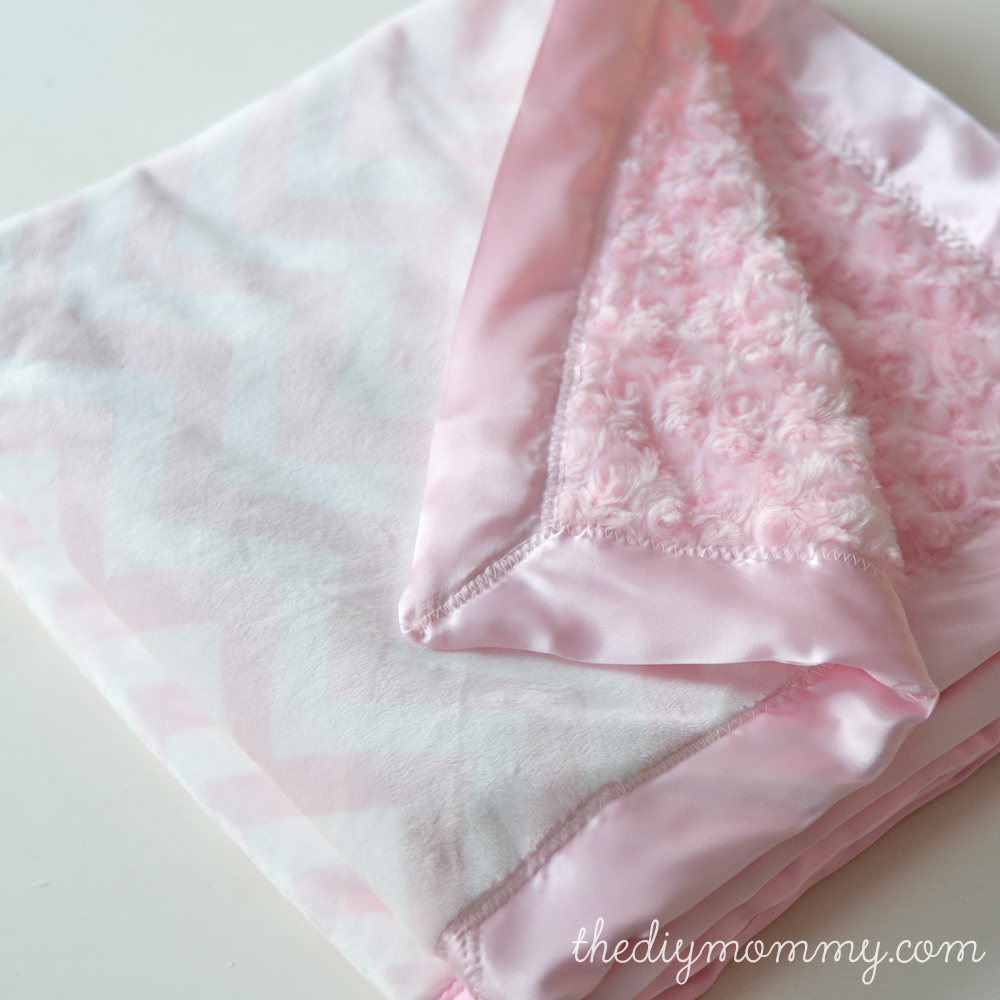
Sew a Double Minky Satin Bound Baby Blanket
These blankies are sooooo soft and warm. They have two layers of minky cuddle fabric sewn together and bound by a satin edge. I daresay this is the most perfectly decadent DIY baby blanket combination ever!
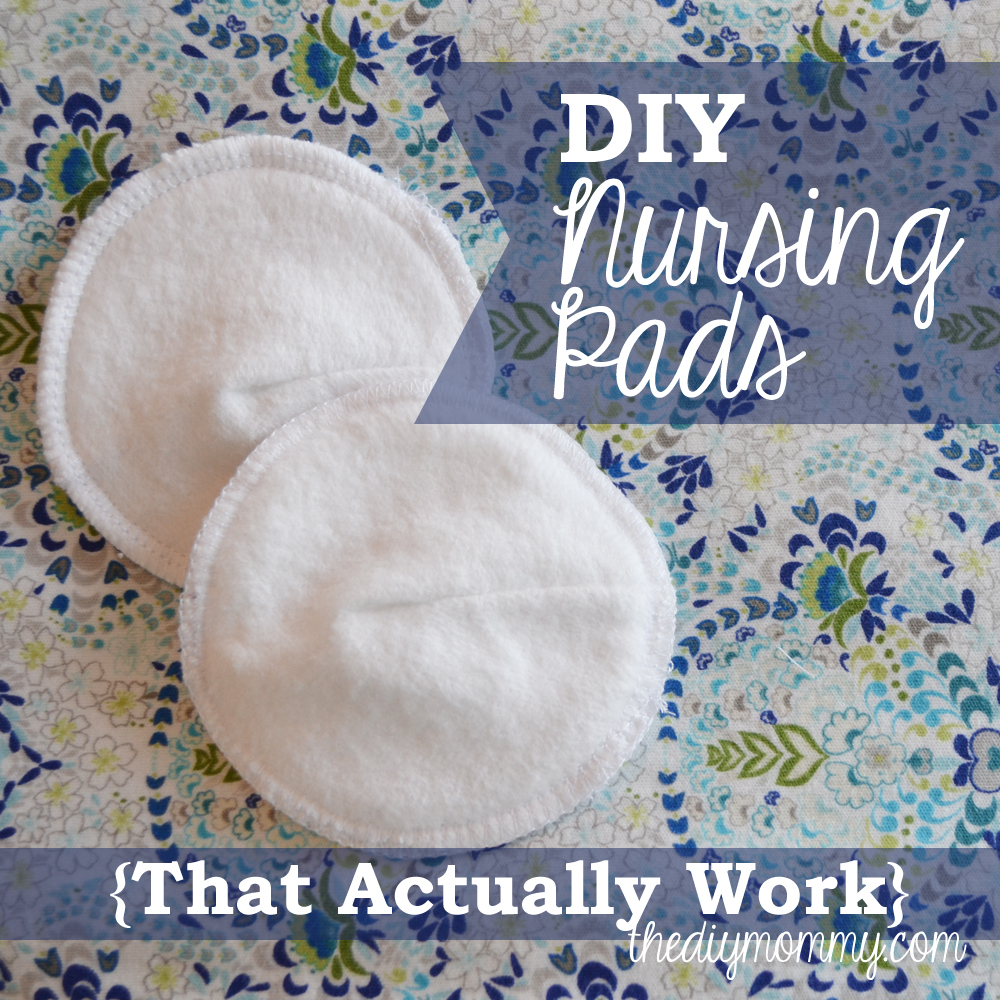
Sew Super Absorbent Nursing Pads
One of my favourite new mama essentials! Handmade, reusable nursing pads that are SUPER absorbent! I used many kinds of nursing pads in the past from disposable to purchased cotton flannel ones, but I wanted to make some that were the best combination of the ones I’ve tried. These nursing pads are fantastic, and here is how I made them.
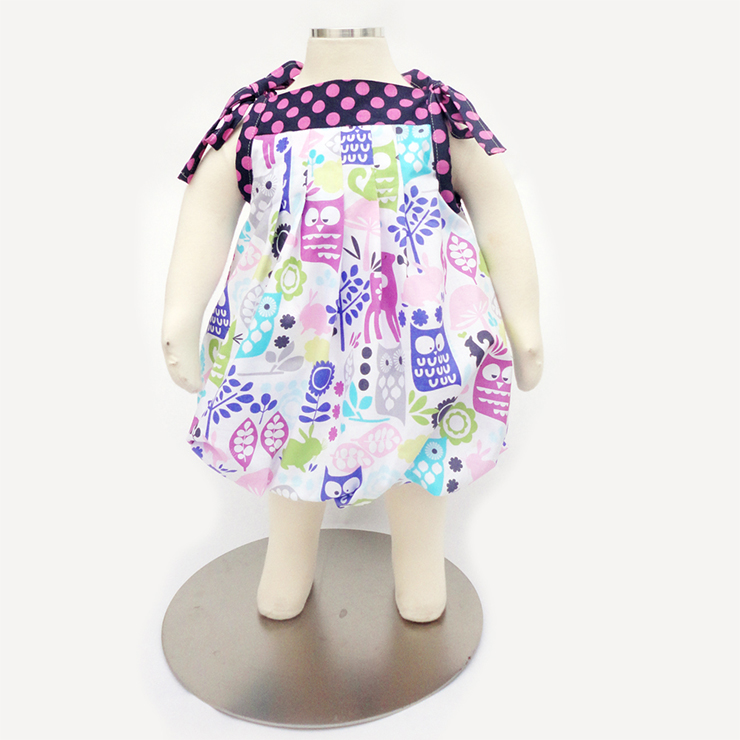
Free Baby and Toddler Sewing Pattern : Grow-With-Me Bubble Dress
This baby dress has the sweetest bubble hem, and the shoulder straps are adjustable so that it can grow with your child. Let me show you how to make this Grow-With-Me Bubble Dress, free pattern included.
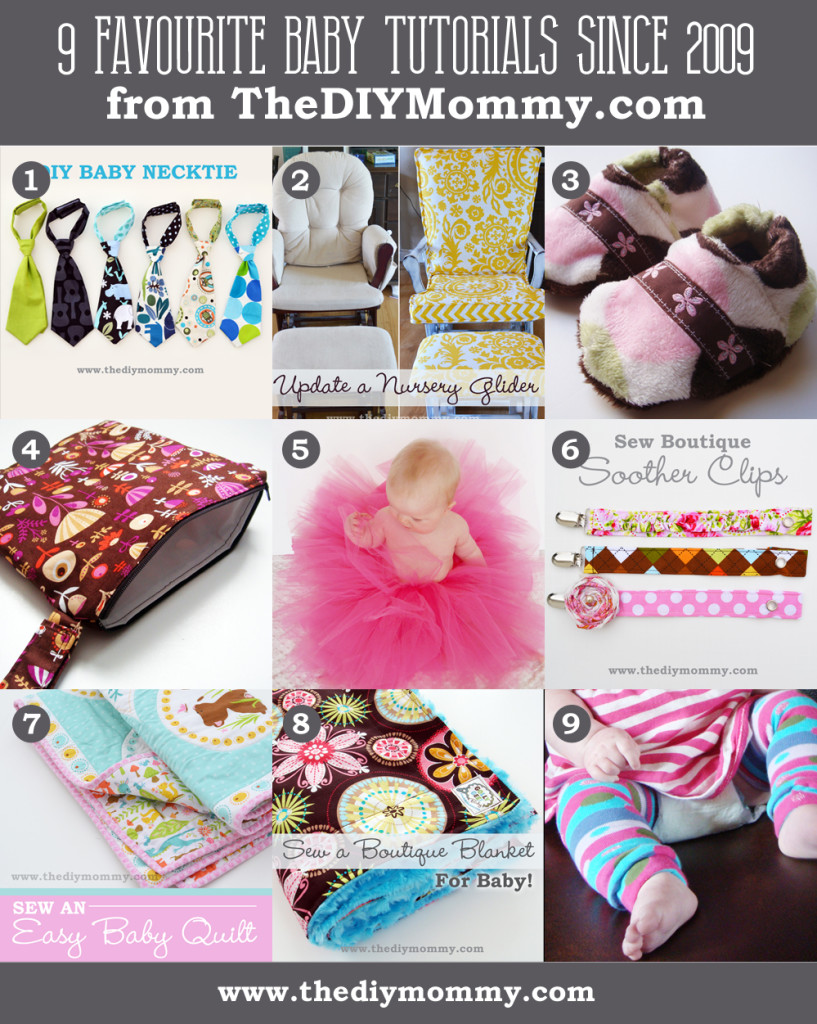
Looking for even more DIY baby tutorials? Check these ones out:
Thanks I finally found a pattern to sew but you do not mention the actual
size of the pattern. What is the width on the top and bottom ? I could guess as I’ve done a lot of sewing but would like to know measurements. This one is for a new born.
It’s about 13″ wide in the chest and about 26″ long.
You know what would a great addition along the bottom? A zipper for diaper changes. The bottom is wide enough and it’s already straight. Just add a zipper and a long strip of fleece on the inside to keep baby toes off it.
Having a zipper opening across the bottom is a great idea. I had two sleeping bags for my kids, I loved them both, but made sure to use the zipper one for making a change when not wanting to waken the baby too much.
Instead of a zipper I put elastic around the bottom so that I didn’t need to worry about the zipper irritating the child & it made it real easy to putt wrong side out while taking it off them, in case of a real messy time.
What a great idea, Terri!
Or a button closure. I’m going to try that.
How long is the sleep sack? I’m trying to figure out if I need to blow it up a little for my loooong baby boy.
It’s about 26″ long.
The zipper at bottom makes this useable for babies with feeding tubes too. Thanks for the pattern and easy to follow directions.
I just made this from the original pdf (not changing size or fitting to page) and the finished width under the arms is 13″ and the length (from neckline to bottom) is about 24 3/4″. It is really long and a lot bigger than I expected…
Yes, that’s about right! Mine is 26″ long. I based the pattern off of a size 6-18 months sleep sack I purchased.
Amazing idea! I would definitely sew a baby sleep sack if I wasn’t so busy with my schedule. I just researched sleeping sacks online and bought the Zipadee-Zip.
Thank you so very much for this beautiful baby bag. I have been looking to make one for my friend who is having her first baby. Thank you also for giving it for free. New sewers like me appreciate this gift and will not abuse it. THANK YOU!
This is awesome! But how warm is it? Is it similar to a 1 TOG or 2.5 TOG sleep sack?
Thanks, Rachel! It would completely depend on the fabric you use!
I make mine to match quilts I make for gift…use flees on the inside and the cotton print on the outside…no binding needed.
I love this idea. I think I may do two layers of flannel. Thank you.
Hello, I was just wondering, will you be posting a tutorial on how to do this? I’ve never did anything like this, but want to try. I’m so confused lol.
Do you mean a video tutorial?
Do you have a video on how to make this sleep sack?
I am not much of a DIY person. I simply bought a few Zipadee-Zips from the site and bam, my kid is sleeping well again!
This is kind of a rude comment to post on a DIY tutorial page. What’s your point and why are you here? Obviously we know we can go out & purchase an already made one, but we are here because we WANT to DIY…. Things are more customizable and special when made by hand. Thank you ‘diy mommy’ for all the hard work & time spent making this pattern & tutorial available for all of us. Much appreciated!
Love that there is no zipper in this one!
Would cotton knit fabric work for this, as well? I’m a very novice seamstress, but my twins need sleep sacks and they’re so expensive to buy!
I’m sure it would, though I find knit quite a bit harder to sew with.
Thank you so much for this easy to sew pattern!
You’re welcome, Shawna!
Hi! Thanks for this super cute idea. Mine turned out pretty well except for the part with the binding…can you explain more what you mean by “stitch in the ditch”? I don’t have a surger so after sewing on the binding to the outside I folded around to the inside and tried to sew over the stitches on the outside of the sack. This looks fine on the outside, but the inside is all wonky and all over the place. Suggestions? The binding fabric is also bunchy when trying to go around the thinner strap areas. Though for not having sewn anything for quite a while, I’m really happy with how it turned out!
I like using a drawstring at the bottom for easy diaper changes. It’s what was on the sleep sacks my boys wore 30 years ago.
Hello Susan,
That would make for easy diaper changes.
Thanks for sharing!
Drawstrings sound practical just be careful. All manufacturers had to recall all them bc lots of babies were choking by strangulation. Just use elastic. ?
Christina once again my dear friend is having a baby. This time it is a little boy. I made her this baby sleep sack for her first baby girl which they loved. Thank you again for sharing this easy to make baby sleep sack. Love your site.
Christina my dear friend is having her second baby. This time it is a little boy. I made her this baby sleep sack for her baby girl which they loved. Thank you again for sharing this easy to make baby sleep sack. Love your site.
Congrats to your friends new addition. Christina is so happy you both enjoyed the sleep sack. Happy baby cuddles!
Genuinely no matter if someone doesn’t understand
after that its up to other viewers that they will help, so here it takes place.
Thanks for the pattern it was hard to find a good base pattern with no zipper!
Youre so welcome
This will be my first sewing project so my biggest question is why did you use binding and not just sew the fabric together on its own?
I love this pattern. Instead of Velcro I did a button It came out so cute. I also didn’t use the binding but did a lining inside. The size range you gave was rather large is this size more towards the 6 months or towards the 18 months?
is it easier to go without the binding? New-ish to sewing)
This really motivated me to start sewing for my baby
Can anyone provide clearer instructions on how to attach the binding strip? I understand how to attach it initially but then I am lost. I’ve no clue what “stitch in the ditch” means. HELP!? I love this pattern.
If you dont want the velcro to be near the face you could always make the neckline of the back piece the same as the front piece and reverse how you put it on the child with the straps going over the shoulders towards the back.
I live the pattern but the binding turned out horrible around the strap areas! It seems 2.5 width for the binding is too wide. Will try more narrow width next time or maybe no binding!