DIY Throw Pillow with Faux Quilted Effect
This post may contain affiliate links · This blog generates income via ads
Throw pillows add warmth and personality to any room in your home, but they can also be quite expensive. Instead of buying designer pillows from home decor stores, why not try making your own? With a little bit of creativity and effort, you can create beautiful and unique textured throw pillow that’s a gorgeous accent in your home. In this tutorial, I’ll show you how to make a DIY throw pillow with faux quilted effect – a simple, yet impressive project that will add a touch of elegance to your living space.
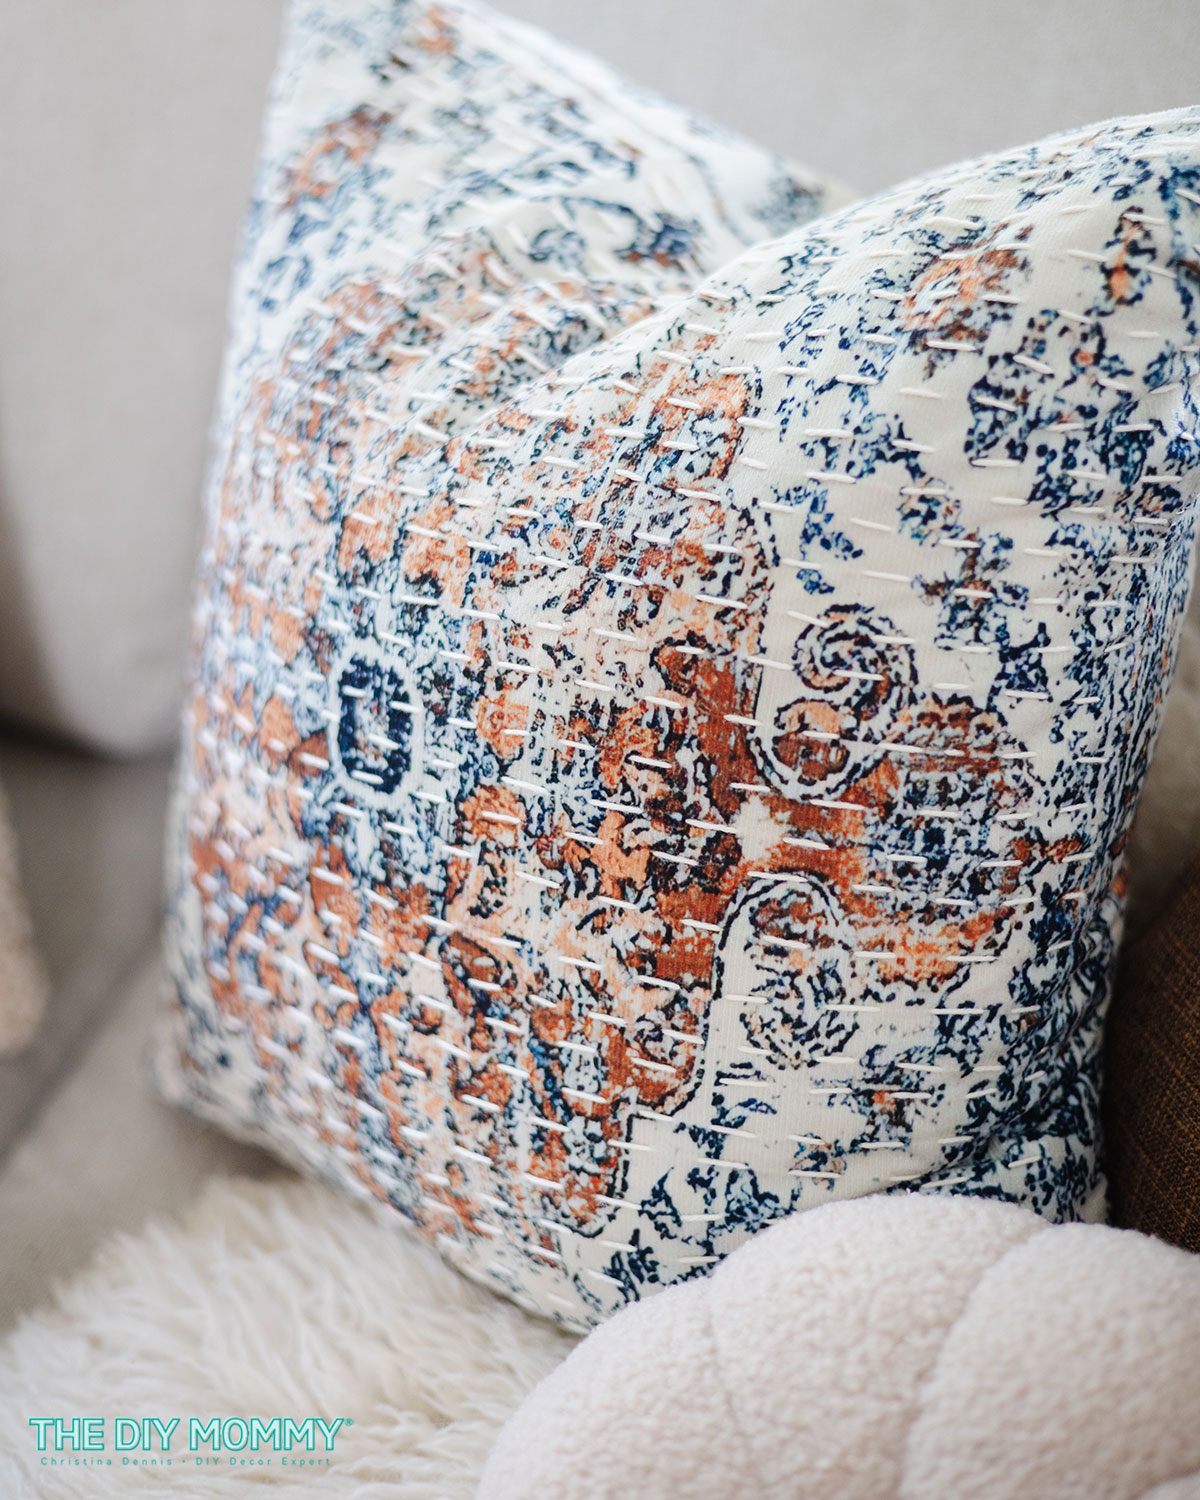
When I saw some beautiful quilted throw pillows at Pottery Barn this season, I fell in love with them. I love the texture of quilting, and the stitches over the floral patterns was simply divine! However, at over $100 per pillow, I couldn’t afford them. Instead, I used some creativity and inexpensive supplies to make my own faux-quilted DIY throw pillow. This was a lot of fun to make, and I love how it turned out! The best part? There’s no sewing machine required!
Materials Needed
- Patterned Decor Pillow Cover (a vintage style, velvet textured 18″ pillow cover like this is perfect)
- Sport Weight Cotton Yarn
- Yarn Needle
- Scissors
- Pillow Insert (my favourite insert is this down one from IKEA)
Watch this video tutorial to learn how to make this DIY throw pillow
Instructions
Step 1
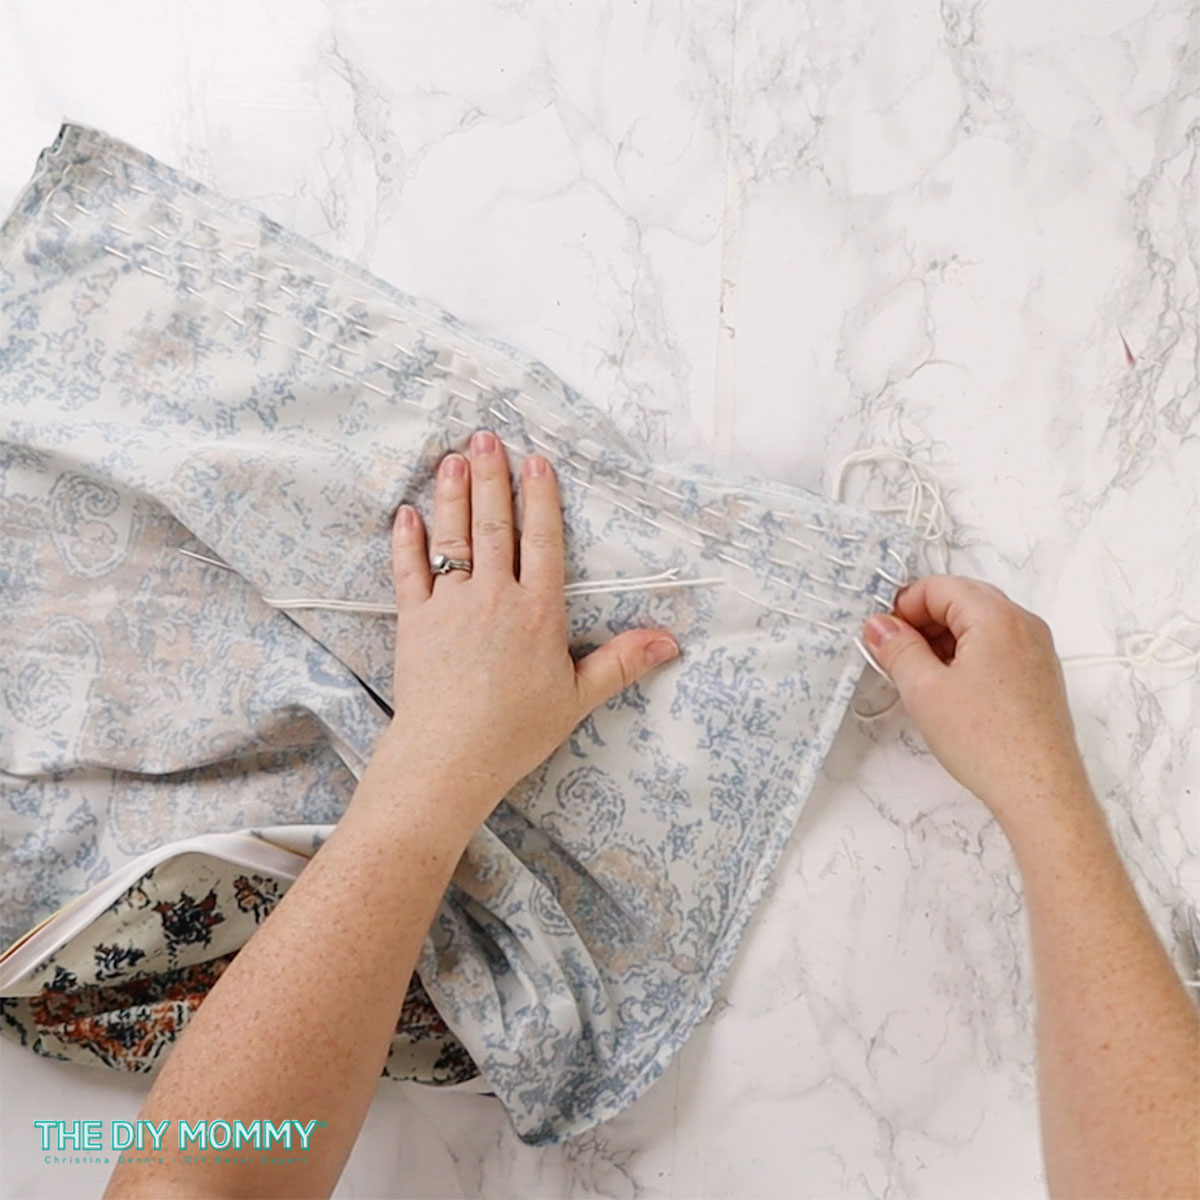
Turn your pillow cover inside out so the right sides are together. Thread the yarn needle with enough yarn to go across the width of the pillow and back with a little extra. This would be about 40″ long for an 18″ square pillow cover.
Starting at one end parallel to the pillow zipper/opening, make a running stitch with the yarn. Leave a tail of yarn that’s at least 1 inch at the beginning of your row. A running stitch is done by running the needle and thread up and down the cloth at a regular distance. You don’t necessarily have to make the stiches even; I like them a little uneven for an interesting, handmade look.
I used the lines in the reverse of my fabric as a guide to create straight lines. However, you could also use pins or a washable fabric chalk to mark out your horizontal lines across the cushion cover.
Step 2
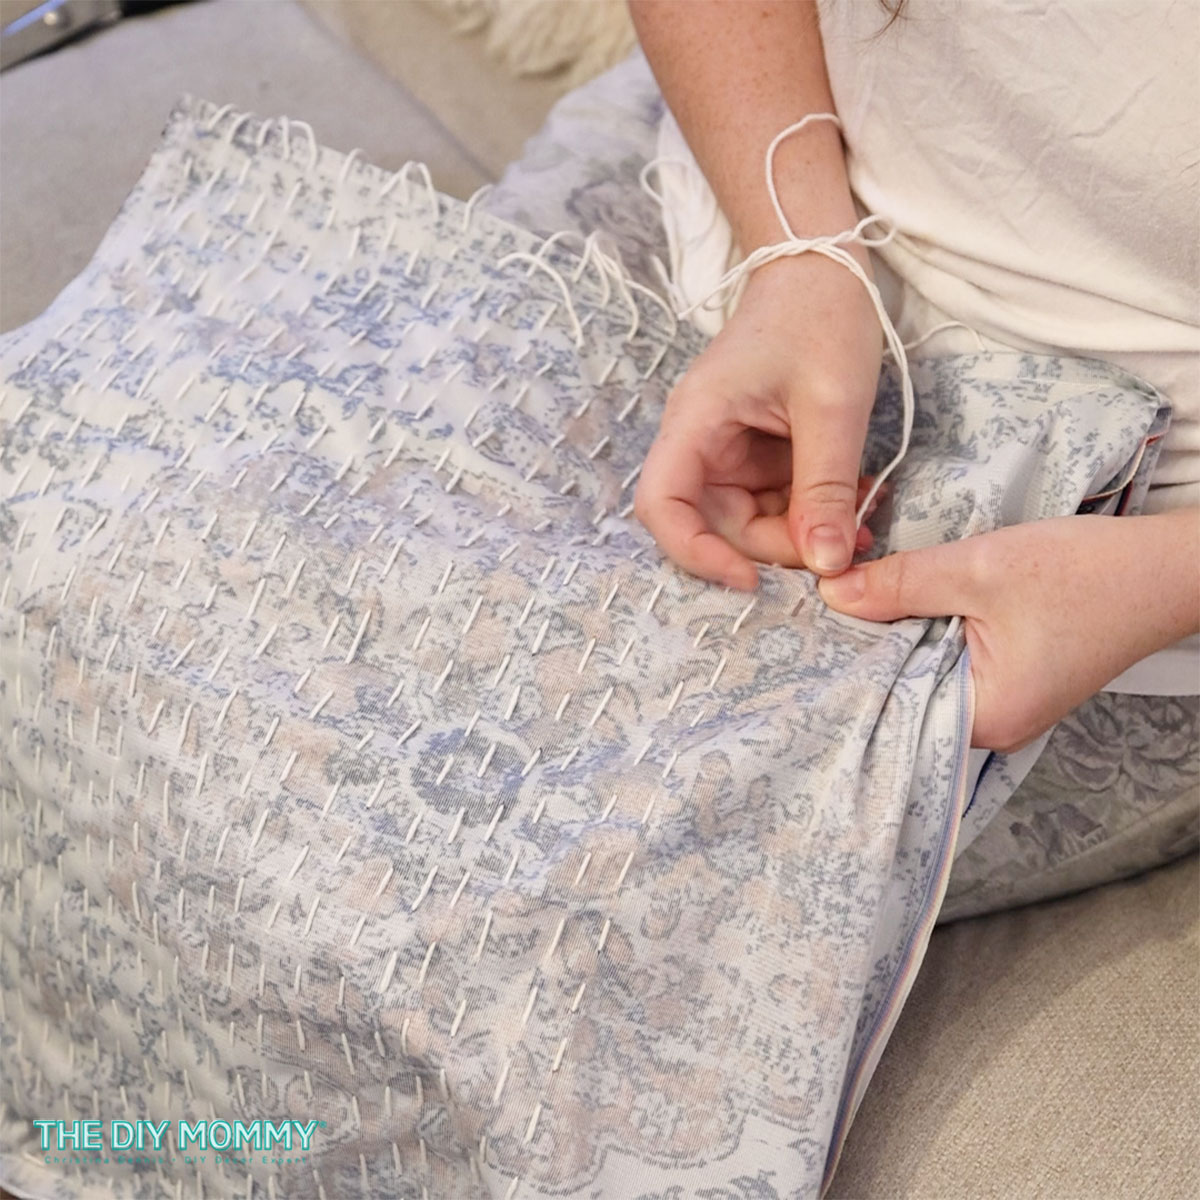
Once you reach the end of the width of the pillow, turn the pillow cover around and make another line of running stitches. This row can be about 1/2″ from the first row, or whatever you think looks best. When you’re done the second row, you should have a short tail of yarn left over. Unthread your needle from the yarn and leave the tail.
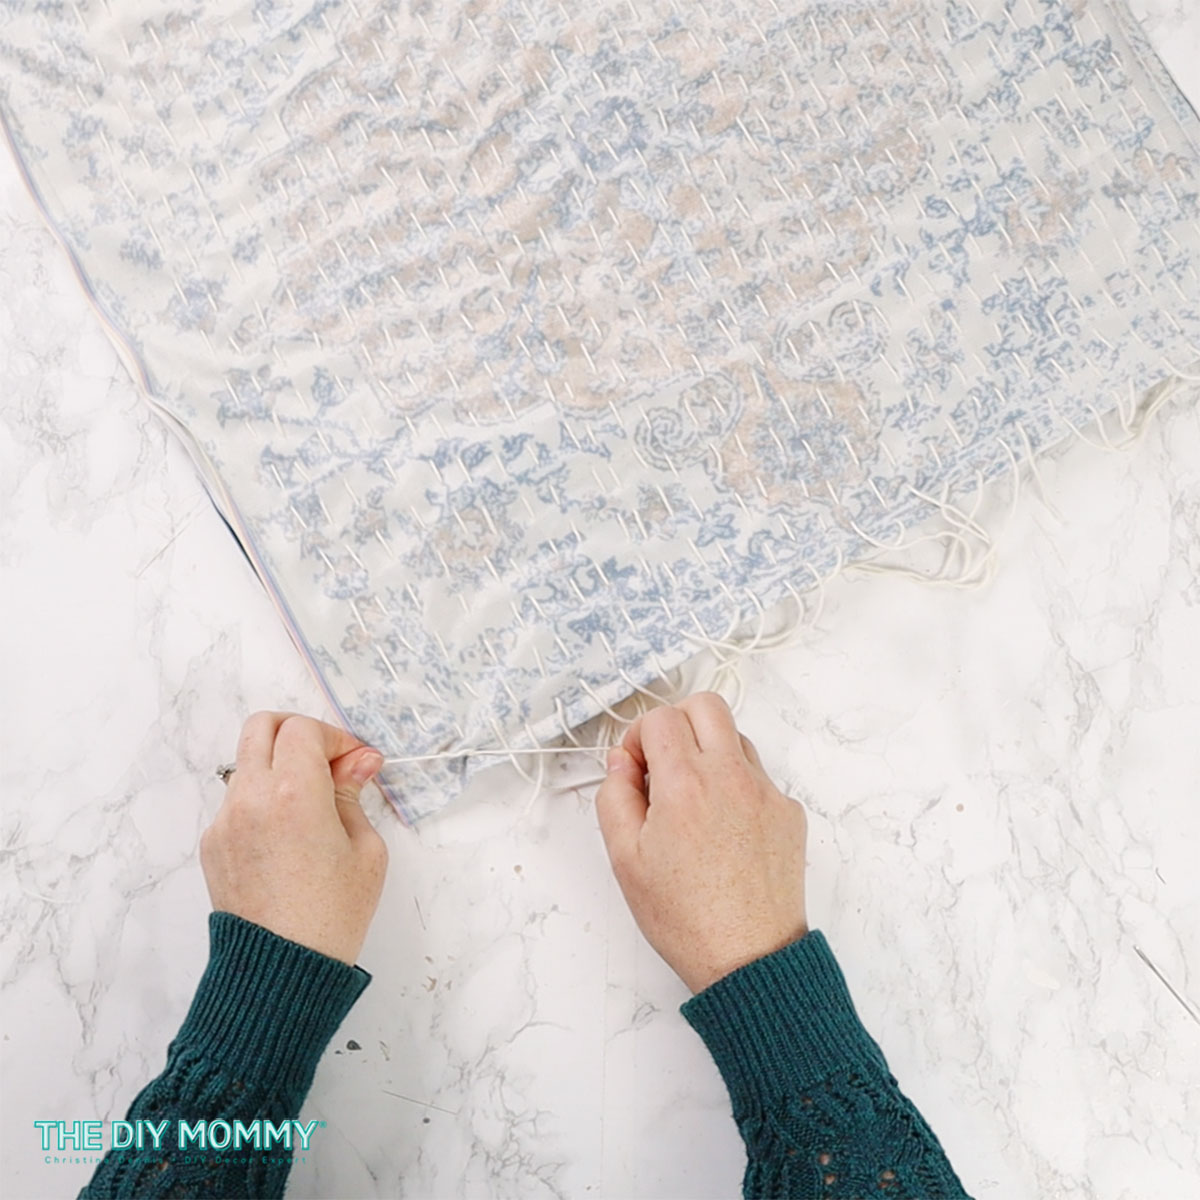
Step 3
Continue creating rows of running stitches 1/2″ apart in this manner until you reach the bottom of the pillow cover by the closure. Tie the yarn tails in pairs together using a square knot. Trim any excess yarn, but don’t trim it too close to the knot.
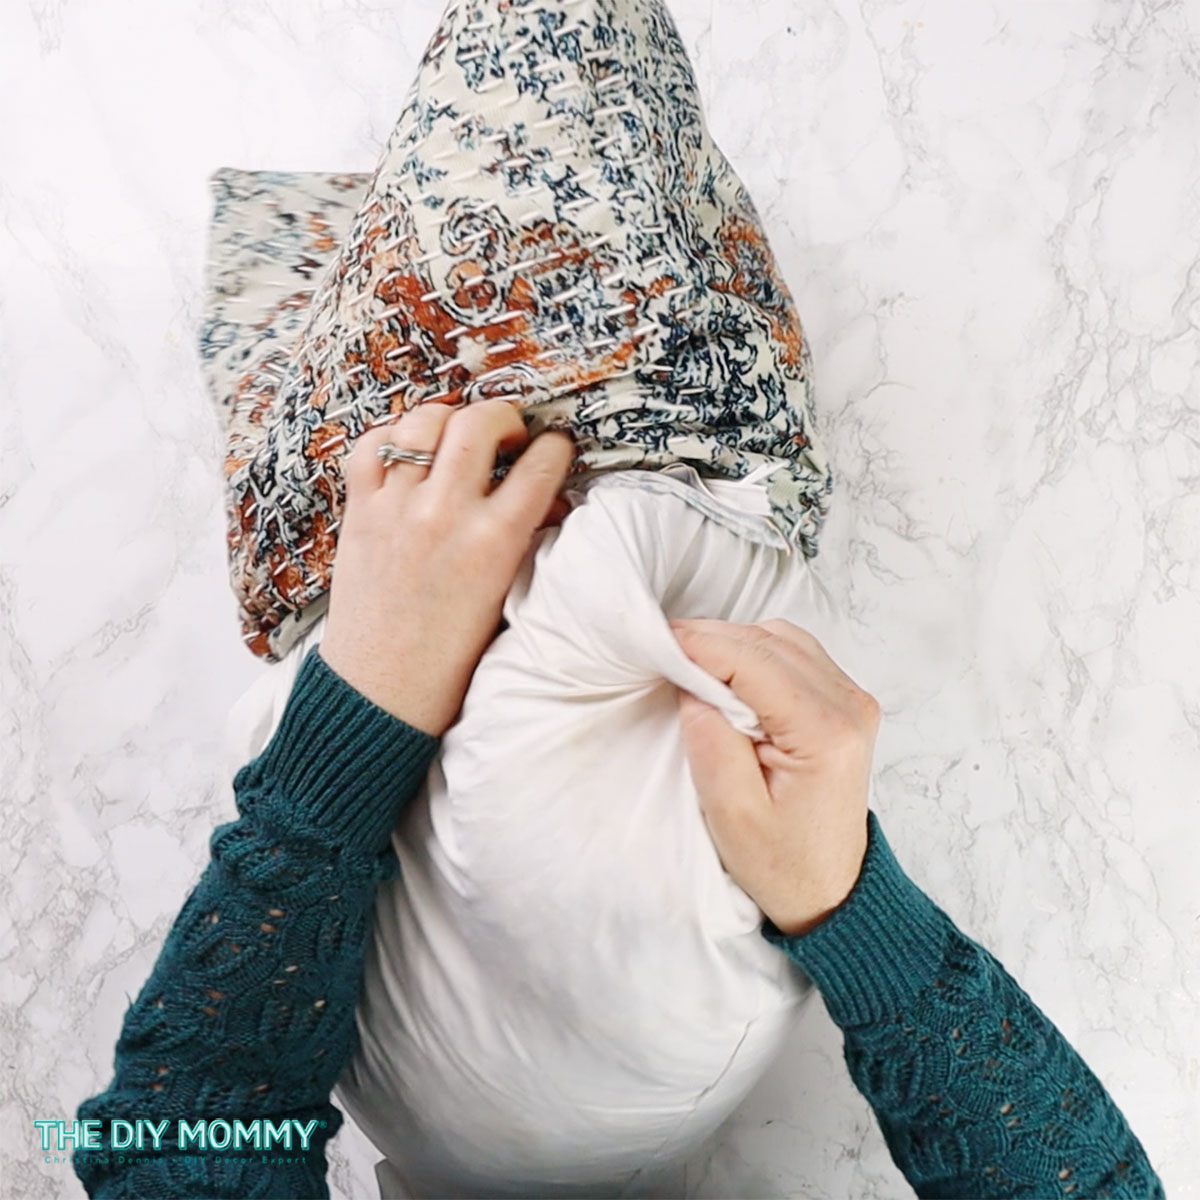
Step 4
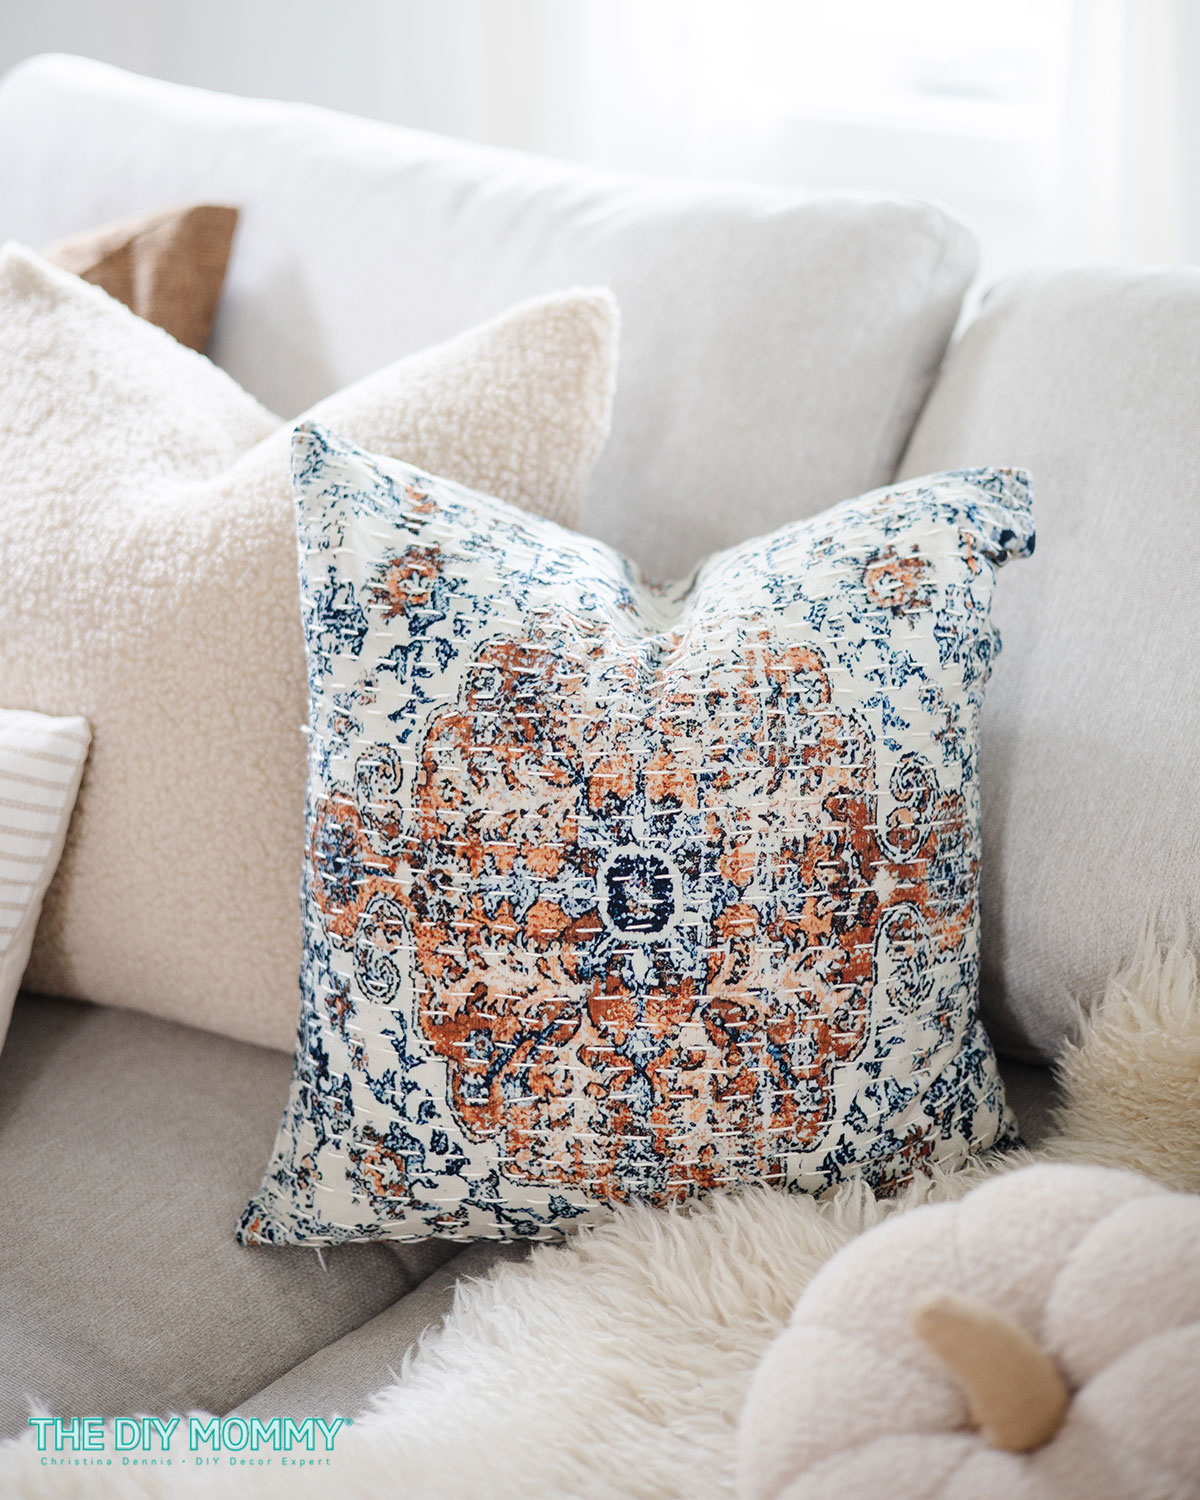
Turn the throw pillow cover right-side-out, and stuff it with a pillow form. Close the pillow cover, use it as decor on your living room couch or bed, and enjoy! The texture is such a pretty addition to any room, and the stitching makes an otherwise bland pillow look so much more interesting.
Tip: Stuffing the DIY throw pillow with an insert that’s a couple inches larger than your pillow cover will make it look fluffier and more expensive. Alternatively, you can stuff 2 pillow inserts into your cover for a fuller, fluffier look.
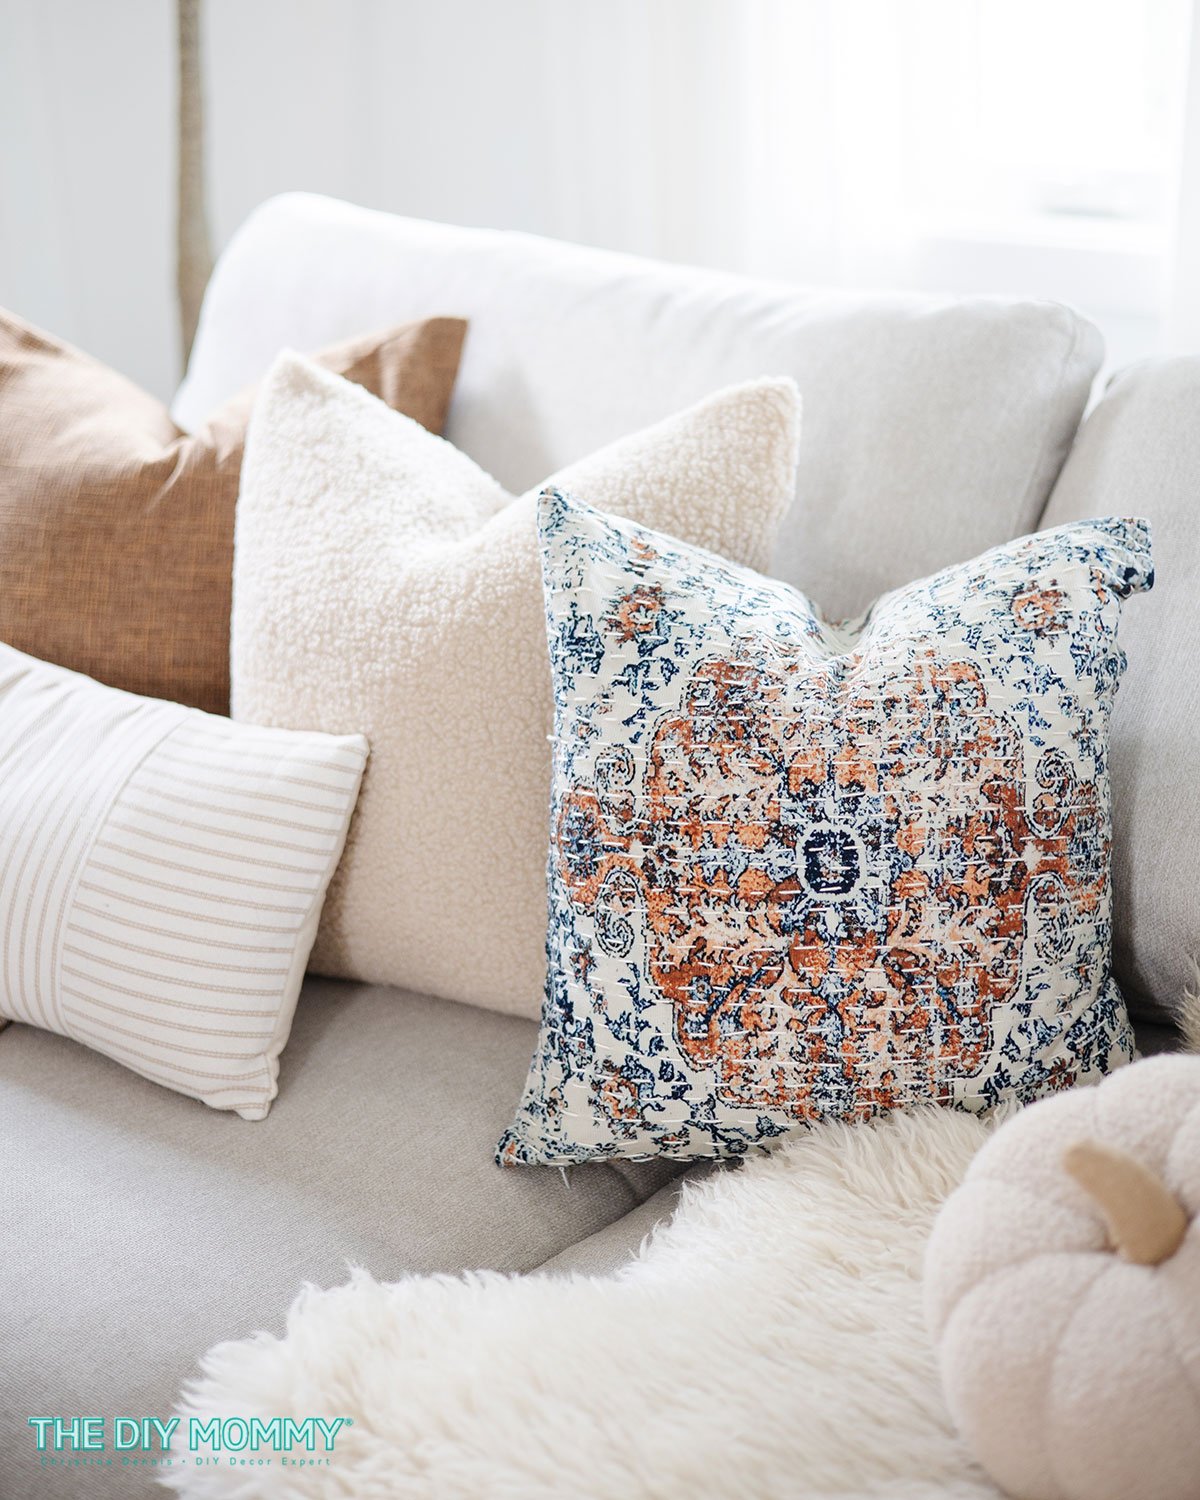
I placed my faux quilted throw pillow on our living room sofa as a Fall decor accent. It looks so lovely with all the other pillows, and it’s comfy to lounge on. I hope you enjoyed today’s simple DIY idea, and if you make a faux quilted pillow like this, I’d love to see it! You can share it on social media and tag me @thediymommy. Happy crafting!
Looking for more DIY pillows to create?
Here are some no-sew pillow ideas, and some sewing projects you can make. You’ll find all sorts of tutorials from how to make an envelope pillow, to how to make a pillow with tassels to how to make a pillow with buttons. Even if you’re a beginner, there’s a DIY pillow cover idea for you in my round-up!
Very easy and so attractive! Thanks for the clear instructions
It’s lovely to have a Canadian link to Amazon for your finds! Thank you. It seems that I will fall in love with a décor piece on another website only to find that it’s not available for shipping to Calgary or the price point is in USD. Just wanted to say thank you for your great ideas and inspiration. Always enjoy your blog.