How to Install Contact Paper Countertop
This post may contain affiliate links · This blog generates income via ads
Learn how to install a contact paper countertop for a budget-friendly, beautiful kitchen counter solution. I’ve installed these 3 times, and I’m sharing all of my installation tips and tricks plus my full contact paper counter review!

Disclosure: This post contains affiliate links. When you purchase an item via these links, I receive a small commission at no extra cost to you.
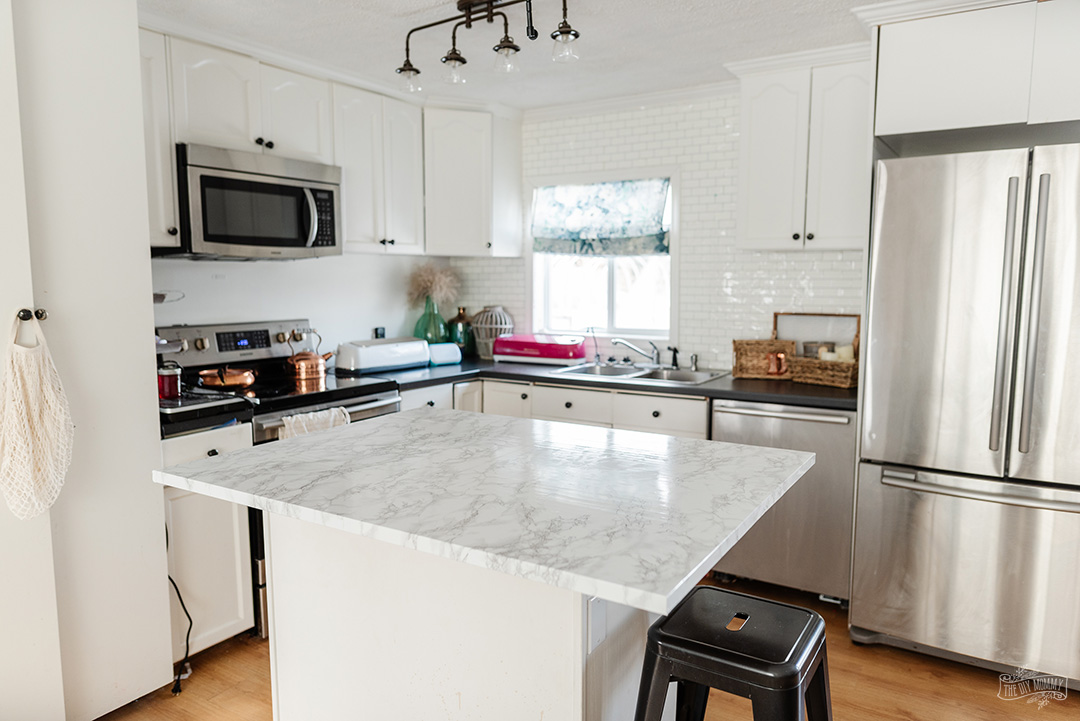
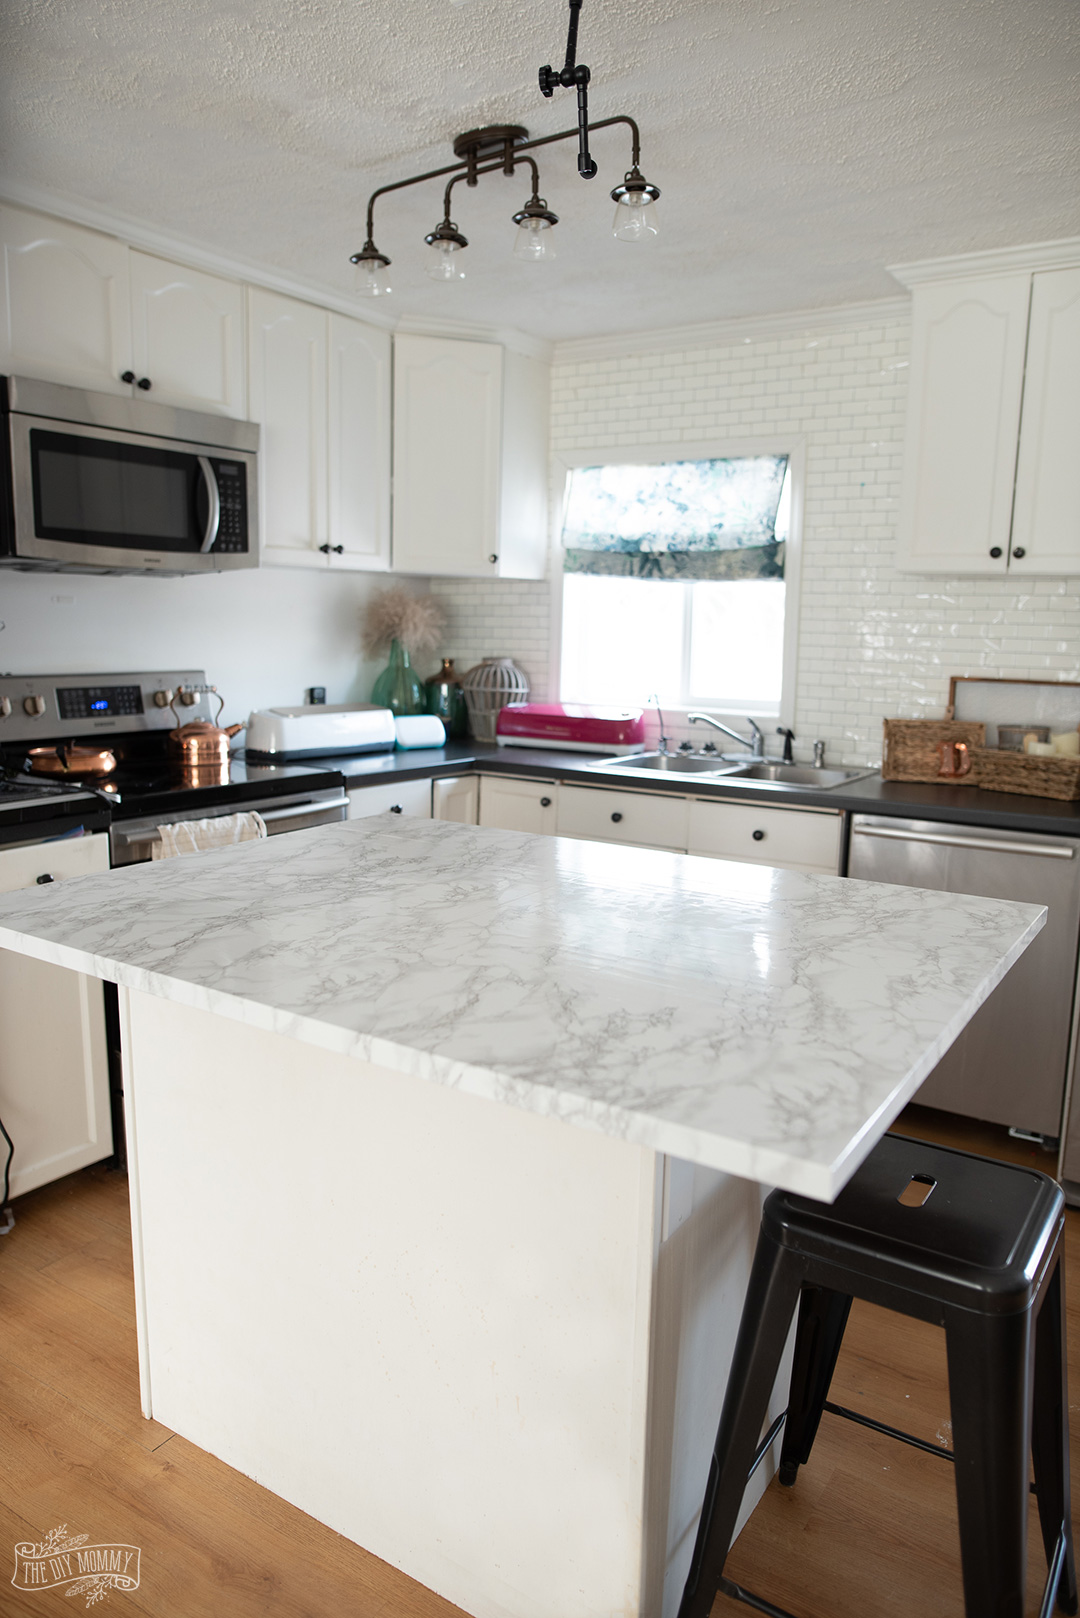
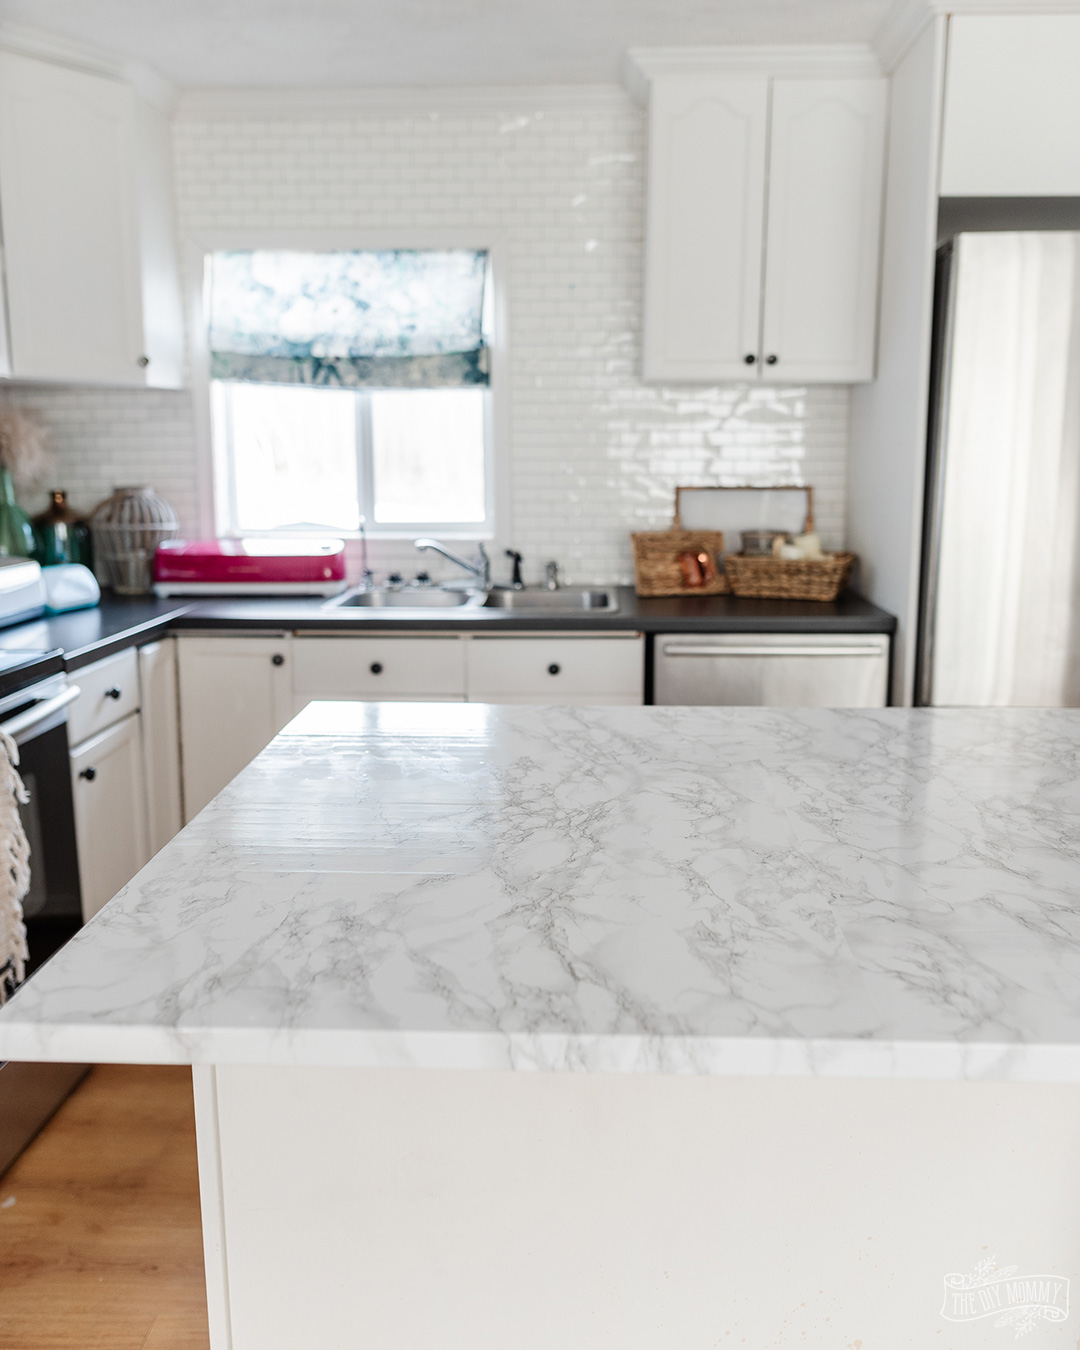
I love using contact paper for a budget-friendly marble counter look. I find it really easy to install, it’s removable, easy to keep clean and I recently applied it to the island counter in my studio. It makes a lovely backdrop for my DIY videos!
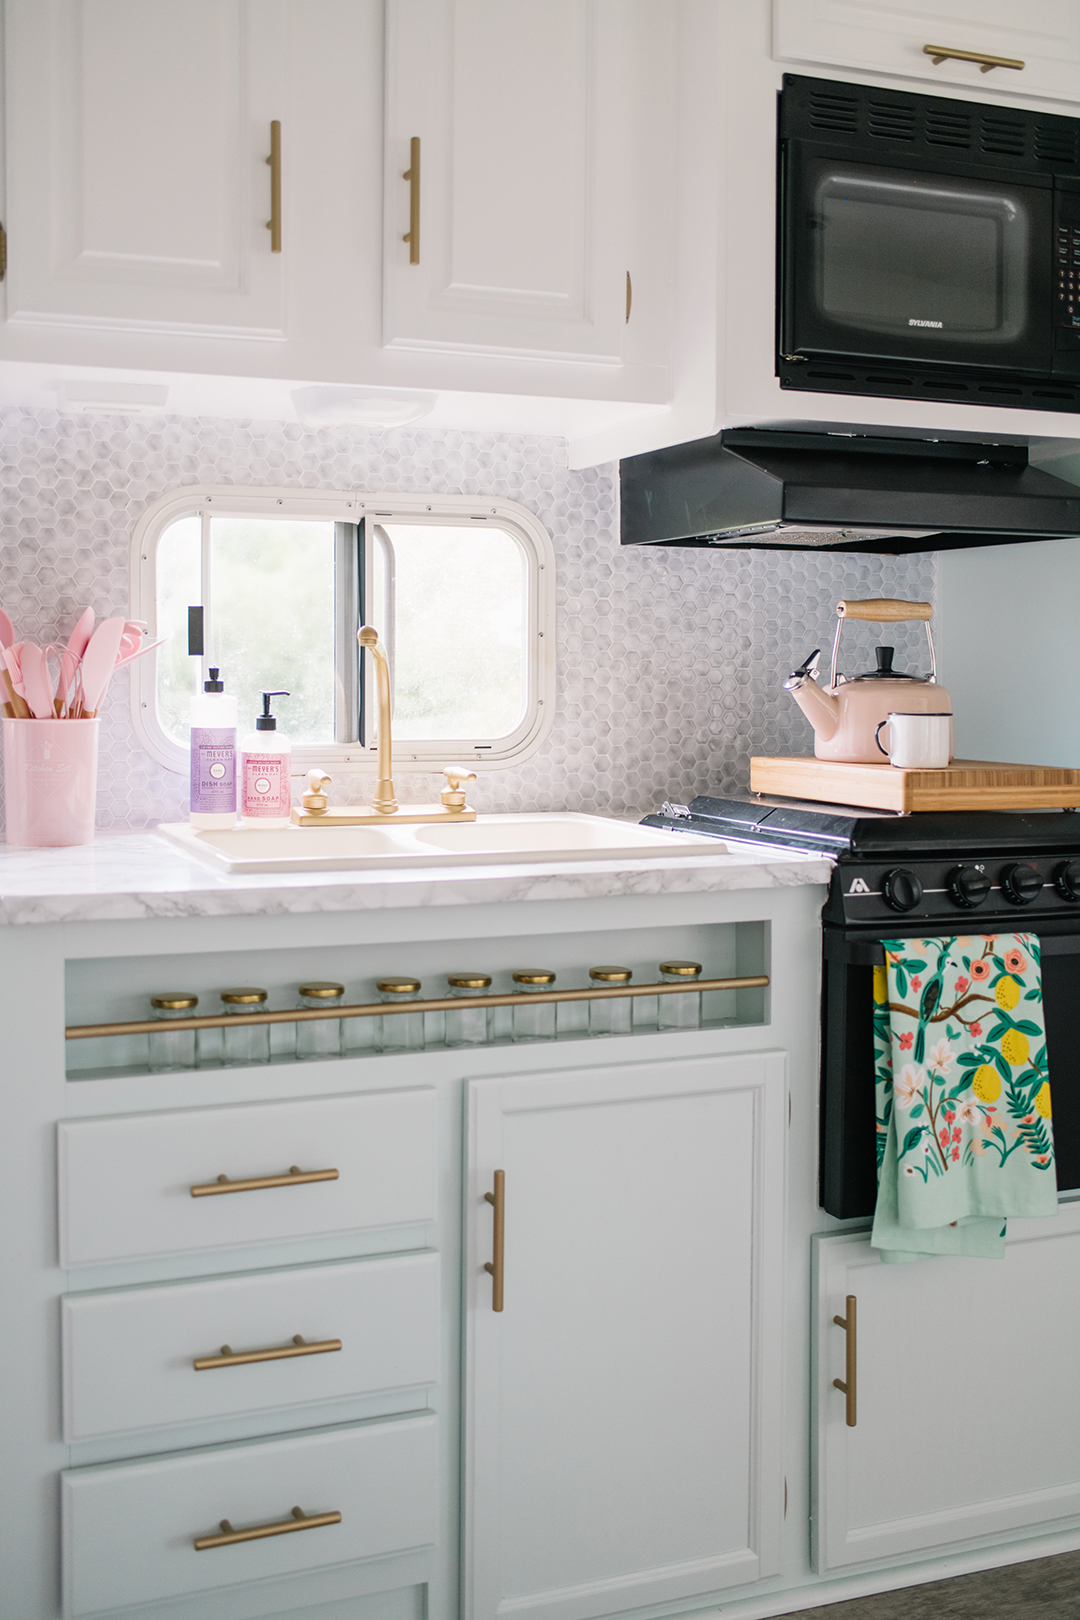
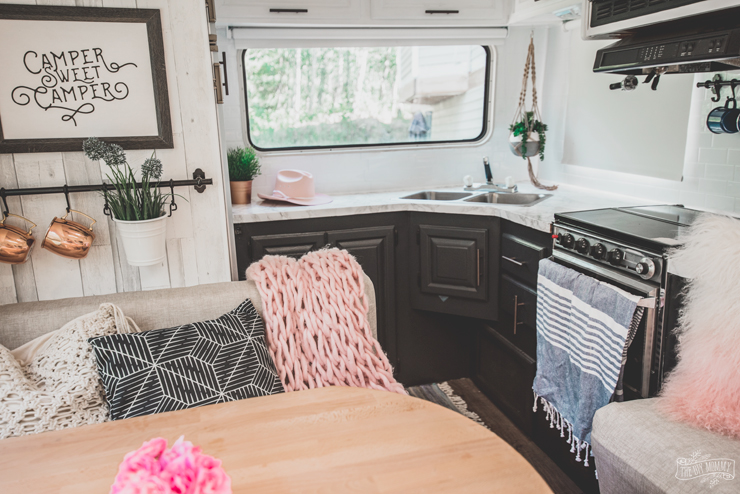
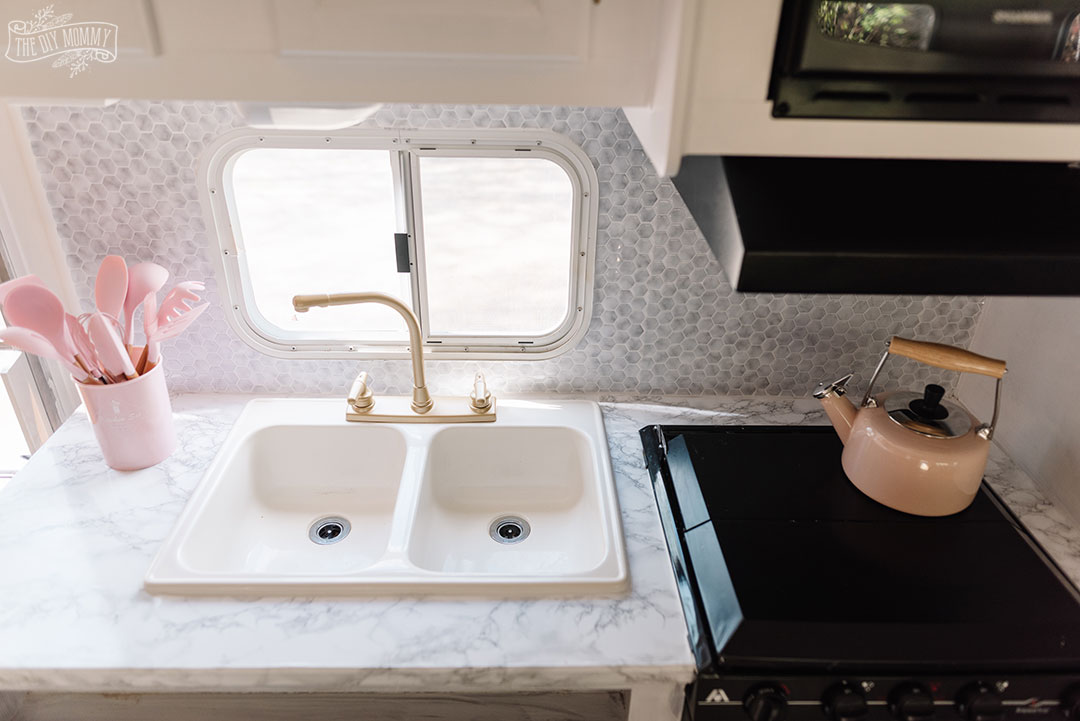
I’ve also installed this faux marble contact paper over the counters in both of our RV renovations and get lots of questions about it.
So, let me answer all your questions on contact paper countertops today!
Can contact paper be used on countertops?
Yes, you can definitely use contact paper on countertops. I’ve installed it on 3 different counters and two different countertop materials.
Does contact paper come off easily?
It usually does, but this depends on the contact paper you use and the material on which it’s installed.
Can you put contact paper on wood? On laminate?
You sure can. I’ve put contact paper on both wood butcher block counters and laminate countertops with success.
What is the best contact paper?
The best contact paper for counters in my opinion, is this marble look contact paper from Amazon. The brand is D-C-Fix, and it’s a vinyl film that’s easy to clean, is water resistant and more durable than traditional contact paper. I’ve used this contact paper 3 times on counters, and it’s held up beautifully. It has a marble look that I think looks beautiful!

How to install contact paper countertop
Watch my YouTube video to learn how to install contact paper step-by-step:
- To begin, clean your countertop thoroughly with a degreasing cleaner. If you’re covering a butcher block counter, you can also sand it to make it smooth.
- Next, measure you counter and then cut the contact paper to the required size with sharp scissors. If you’re using D-C-Fix, you can use the grid on the back for straight cuts. Make sure to leave extra product to wrap around the sides and bottom of your counter.
- Gently remove just the first couple inches of the backing paper and put it in place.
- Begin smoothing the contact paper onto your counter with a plastic spatula, a dry cloth, or your hand.
- Continue pulling off the backing and smoothing the vinyl onto your countertop a few inches at a time.
- Keep measuring, cutting, and applying the contact paper until your entire counter is covered.
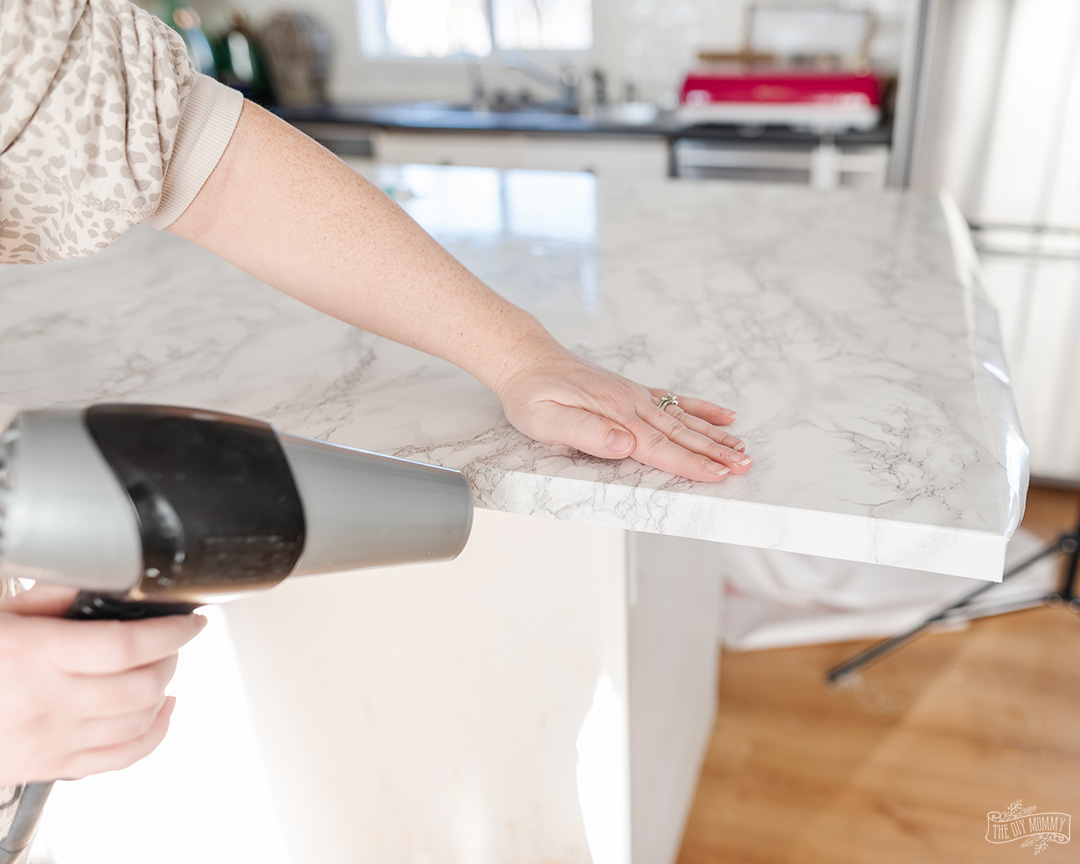
- For extra adhesion and to help remove any air bubbles, move a hair dryer on a low heat setting over the covered surface to shrink the contact paper. Use your hand to gently press out any air bubbles.
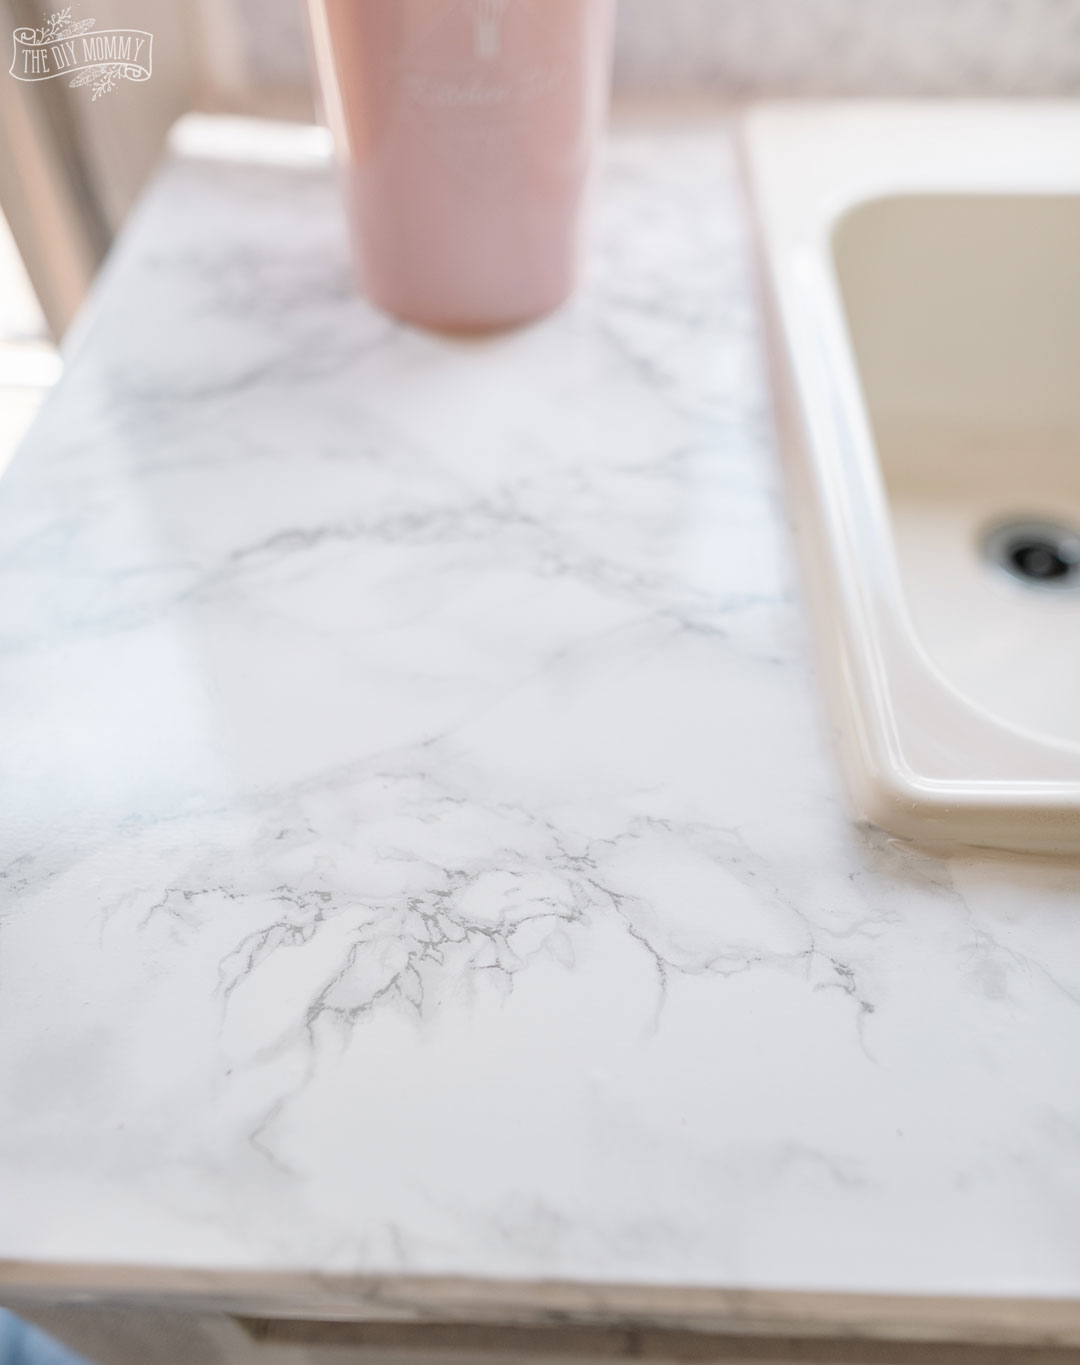
Cutting around the sink
Applying contact paper around a sink can be challenging. You can create a template from scrap paper first by laying the paper over the sink and tracing around the perimeter. Use this template as a pattern when cutting your contact paper, adding 1/2″ to 1″ on the cut lines for error.
To help keep the contact paper from lifting and give it a finished look, you can add a bead of caulking around the sink and where the counter meets the wall.
Addressing the corners & seams
Counter corners can be tricky to cover. I like to cut a notch out of the corner of the contact paper, and then fold each side down. Use a blow dryer to heat the vinyl and smooth it down with your hand for a sharp-looking finish.
As for seams in your contact paper, you can try matching the patterns in your vinyl as best you can. Butt any joins together as close as possible instead of overlapping them for a smoother look. You can buy D-C-Fix at various widths for less seams in your installation.
Cleaning DIY marble look counters
Surfaces covered with the same D-C-Fix product that I use can be washed with soap and water. I haven’t had any issues with staining or ripping yet, but this will depend on how often you use your counters and what you place on them.
Is contact paper heat resistant?
This particular contact paper that I’m using here is heat resistant to 170°F. Check the specifications on the product you purchase for its heat resistant qualities.
Contact paper countertop pros and cons
Pros of contact paper countertop:
- easy to install
- inexpensive
- easy to clean
- easy to remove
Cons of a contact paper countertop:
- can look cheap
- can bubble or tear if not installed properly
- not as durable as a solid surface countertop
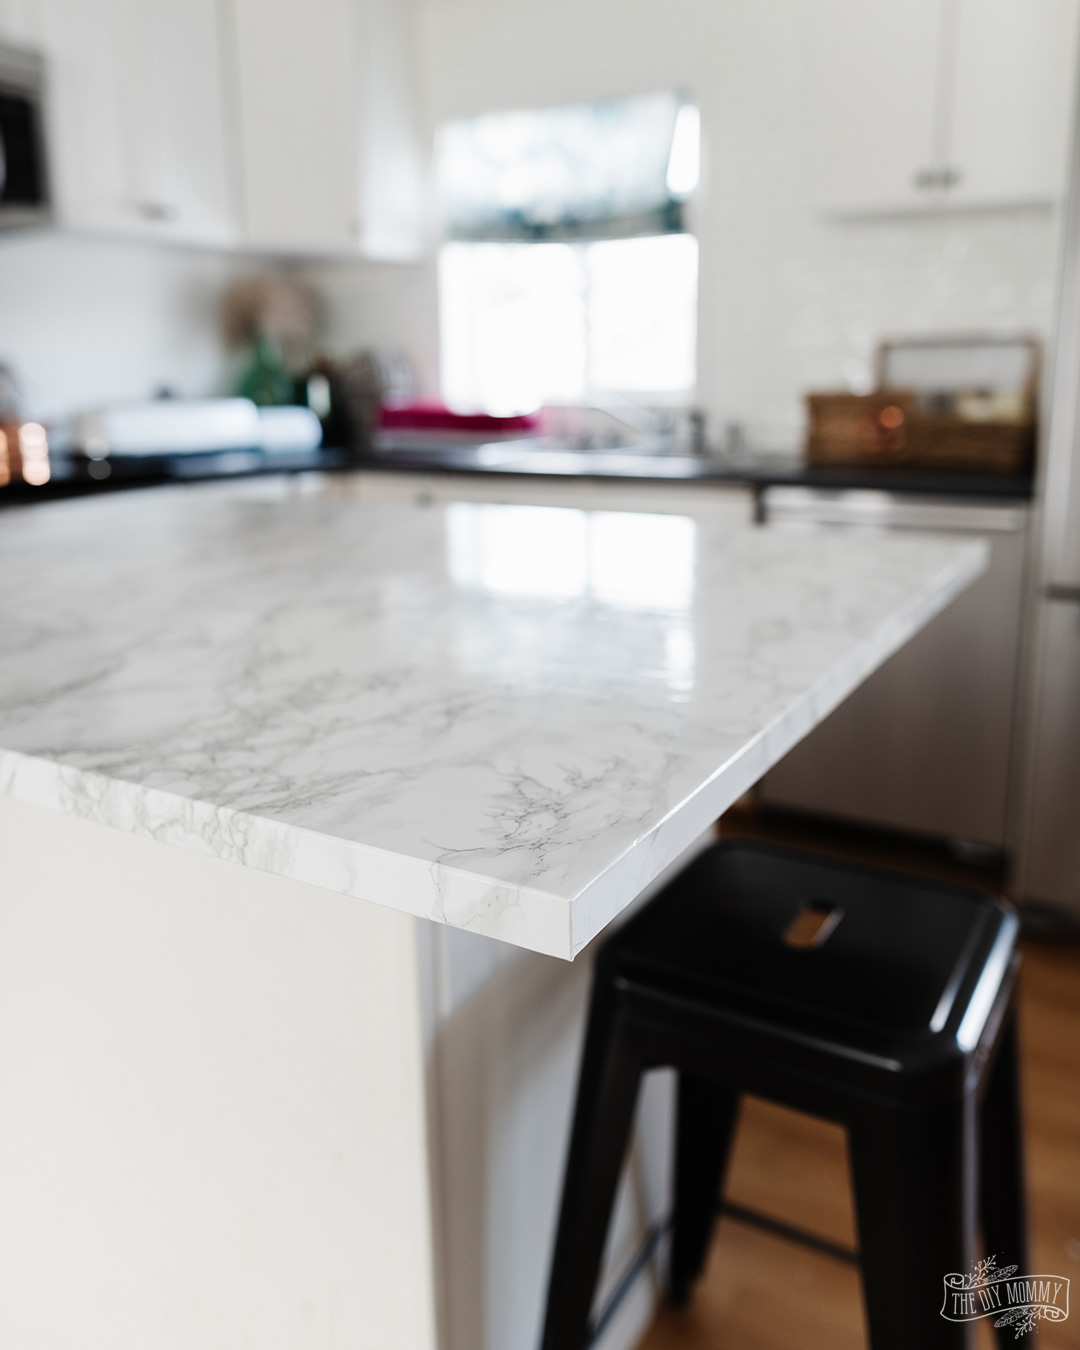
Contact paper countertop review
After installing contact paper countertops 3 times, I think they’re a fantastic solution for a beautiful looking countertop on a budget. They are easy to install, easy to clean, and look pretty good for the cost. I think this is a fantastic solution for something like an RV kitchen or a small rental kitchen. Contact paper counters would also be a good solution for someone that wants to cover counters they dislike until they can afford new ones. Would I choose these for a long term countertop in my own kitchen? Probably not. However, contact paper countertops are a wonderful DIY for many other applications.
Now tell me: Would you install contact paper countertops in your own home?
PIN ME:

We were going to replace our countertops last year, but the pandemic put that on hold. I’m still uncertain how I’ll cut the contact paper to fit a rounded corner.
Thank you sooooo much for this!!! We desperately want to change our kitchen counters…just moved, and not sure WHAT previous owner was thinking! ???
Just Subscribed!
Thanks Kimberly!
That looks so beautiful! How long did this last?
Christina did this one two weeks ago, so it’s still great! LOL. She did it in her camper a few years ago and it held up for all 3 seasons that she used the camper 🙂
Cut at the end of each end just before the rounding lay down the contract paper around the rounded part first before overlapping the corner with the straight edge sides
I love this Christina! I love your detailed instructions and the finished countertops look like the real marble deal! Thanks so much for sharing this with us at Farmhouse Friday – we’re featuring you in tomorrow’s party!
I did this to our new rental house. After we did the paper, we applied two coats minwax one step and caulked around the sink and seams. Hopefully it holds up nicely ?
I am obsessed with how this turned out. You can’t even tell this is contact paper. You have officially convinced me to give this a try on my countertops. Thanks for all the great advice!
Trying this now on an old, scratched up kitchen table. Figured, if I mess it up, it really isn’t a loss!
Thanks for the detailed instructions. Wish me luck!
This looks great. Thank you so much. We installed contact paper as a backsplash 5 years ago thinking it would be a temporary solution to a problem, and it still looks great. I am going to try it on my counter tops so your tips are going to be so helpful.
I cannot wait to redo my kitchen. We moved June 2023 and need an uplift. I plan to get the white marble contact paper. I want a red and white kitchen. Red knobs on the kitchen cabinets. My island and cabinets white marble. Thanks for showing this!