How to Install Kitchen Backsplash Tile: An Easy Guide
This post may contain affiliate links · This blog generates income via ads
Are you tired of the plain painted wall in your kitchen? Do you want to add an eye-catching DIY design element that’s also practical? Installing a tile backsplash in your kitchen is a great way to achieve both. But… how do you do it if you’ve never tiled before? Here’s a step-by-step guide to help you!

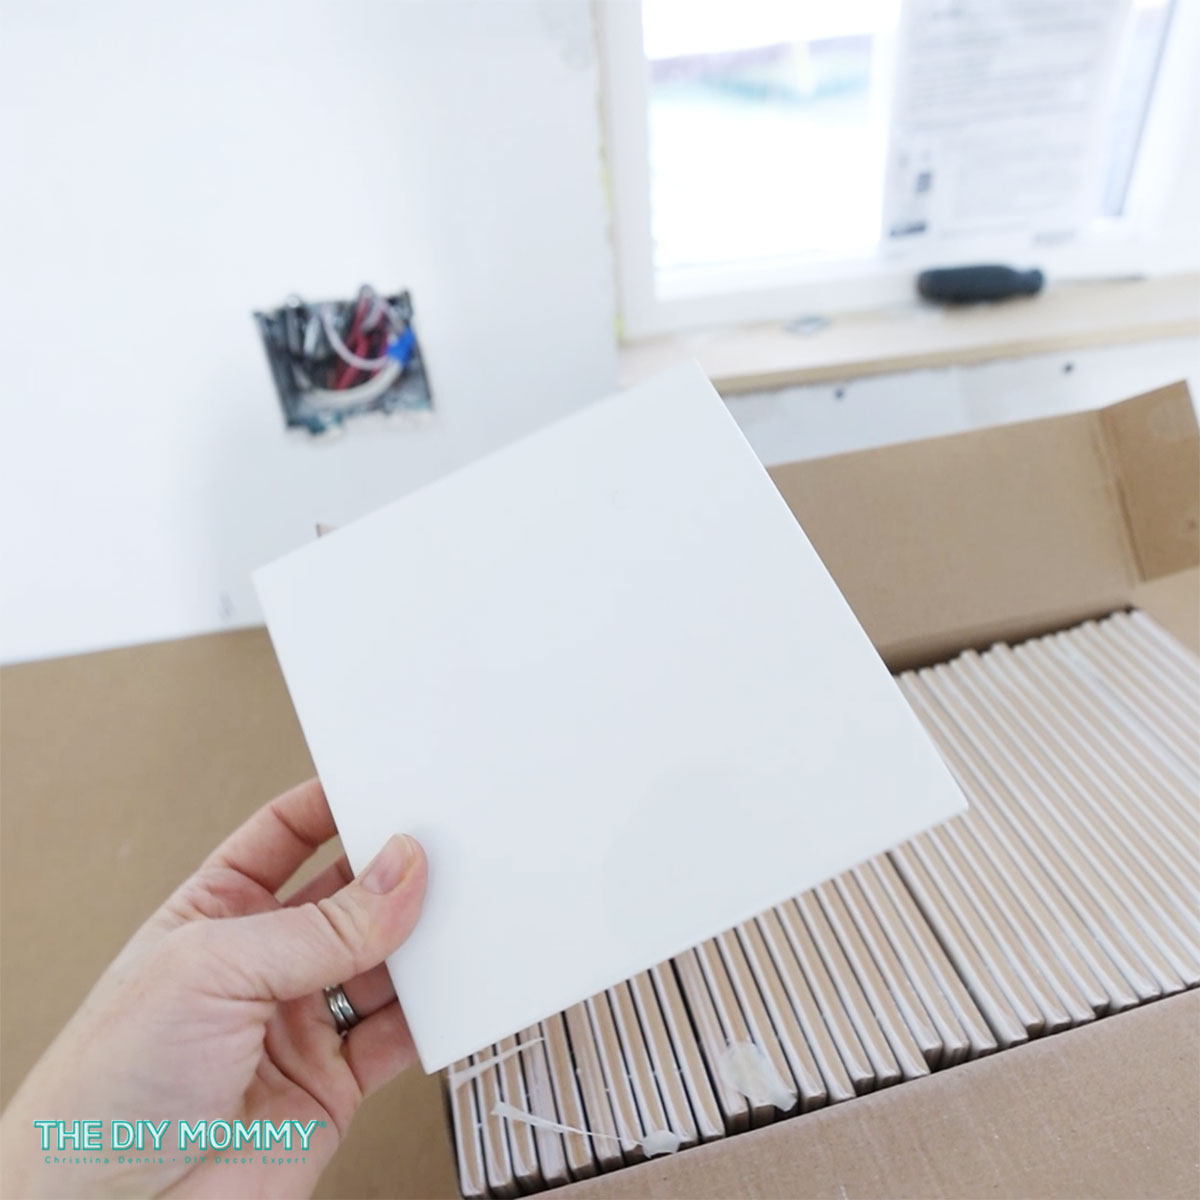
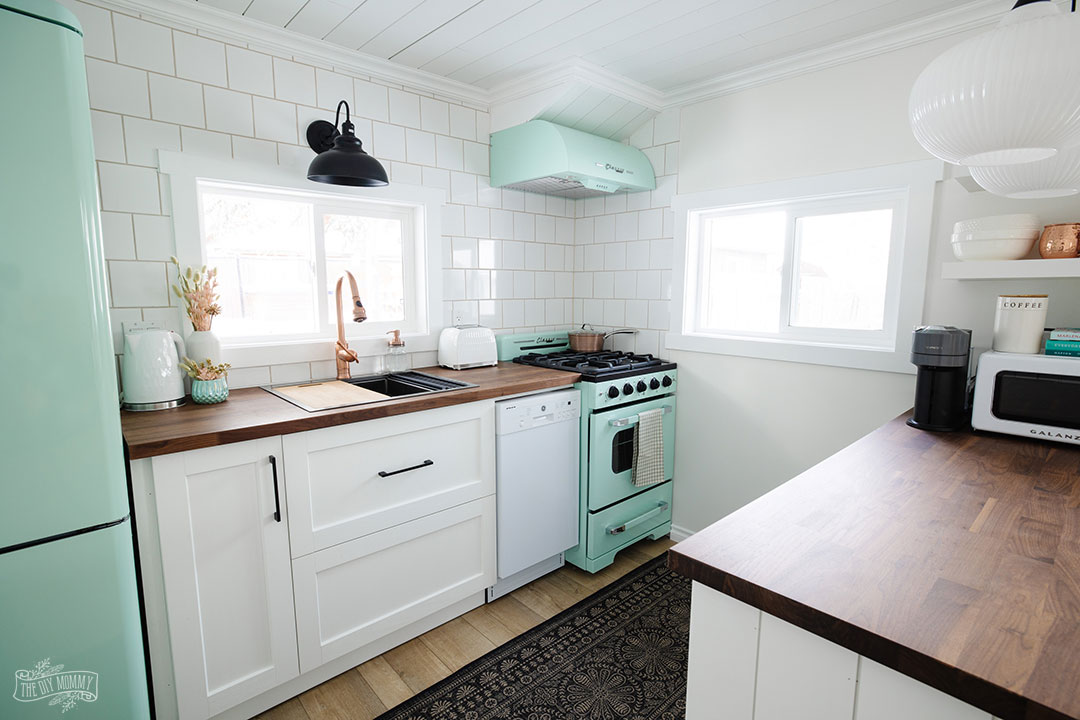
It’s amazing how much a tile backsplash can elevate the look of a kitchen. I’ve lived with kitchens without it (for budgetary reasons!), and as soon as I could afford to install it I couldn’t believe the difference! In this post, I hope to help you feel more confident to install your own kitchen backsplash tile. I’d suggest starting with something like we used in our Tiny Lake House as shown above: a simple 4 x 4″ square or 6 x 3″ subway tile in a ceramic material. I find these the simplest to install, and then once you’re confident with these you can move on to mosaics or larger format tiles. Let’s get started!
Plan and Prepare
First, plan and measure your kitchen area to know the amount of the tile needed. This will help you avoid shortages or extreme overages. We always budget for about 10% of extra tile material in case we break any, and for a bit of waste if tiles need to be cut. Purchase the tile, adhesive (mastic), grout, and necessary tools such as tile cutter, spacers, trowels, grout float, and sponge.
Starting with a clean and dust-free surface, cover the countertop with painter’s tape and/or cardboard. Spread a drop cloth on the floor to protect from any debris. Move any appliances like your stove, fridge and dishwasher out of the way as you may want to tile a little behind them.
Install Tiles
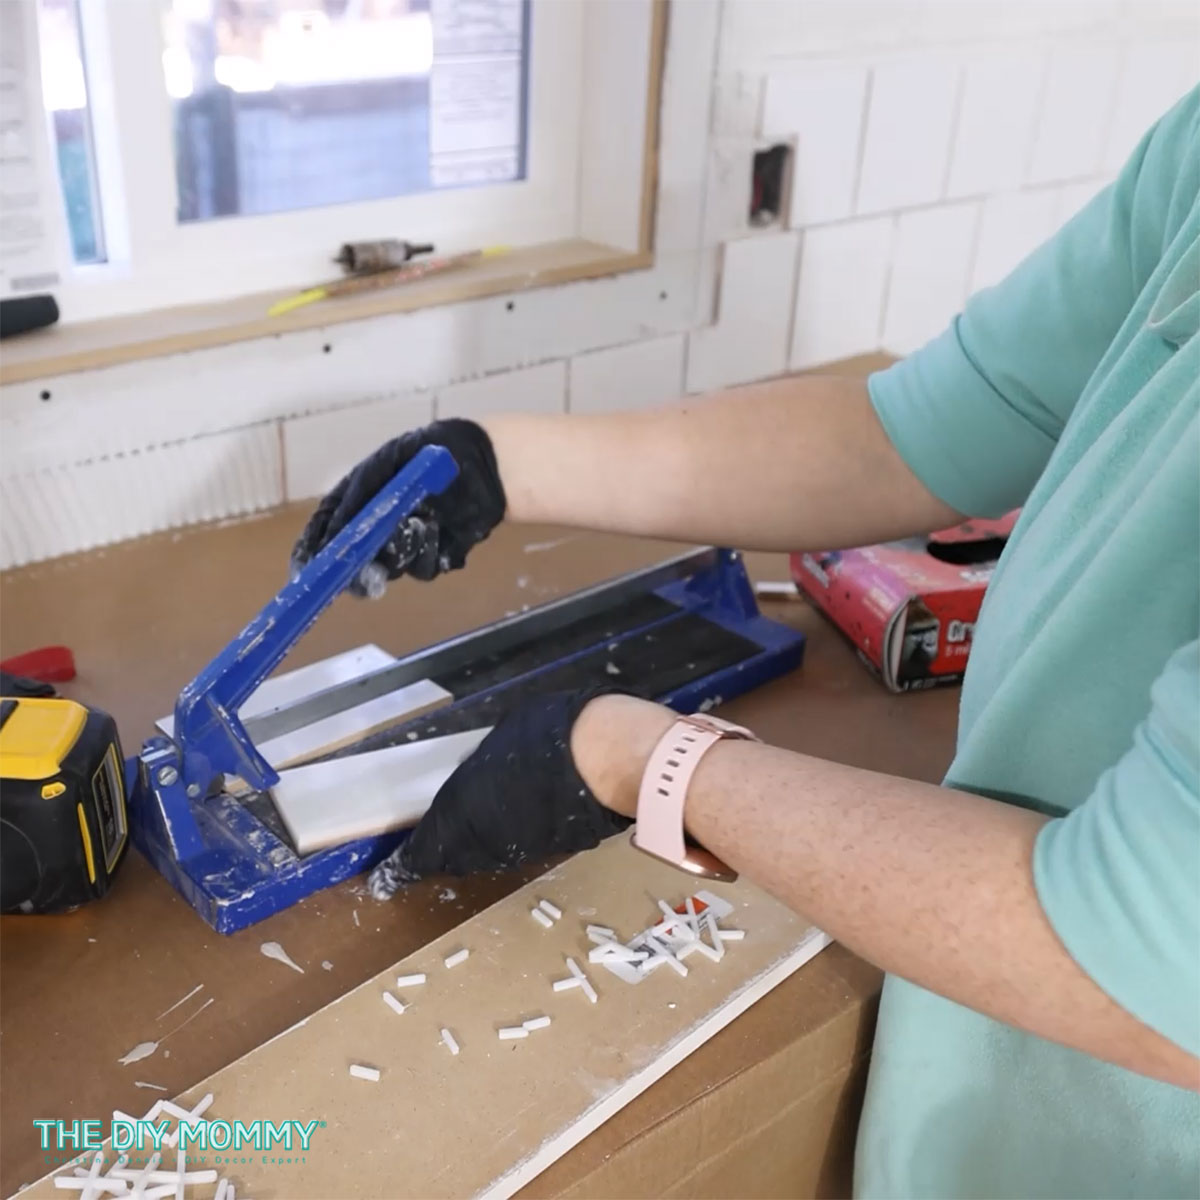
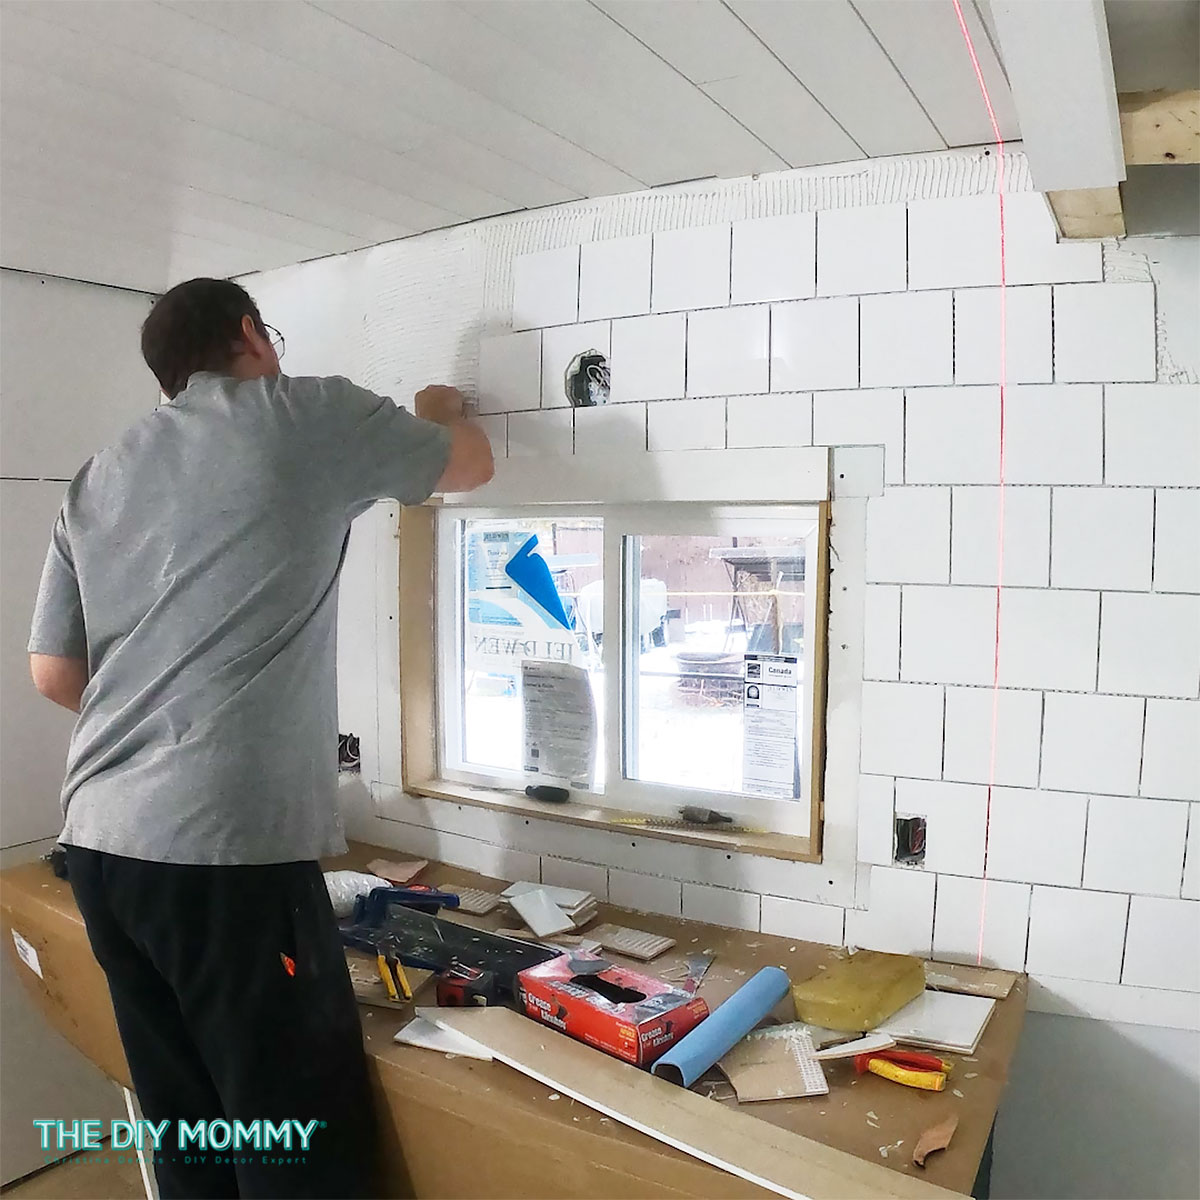
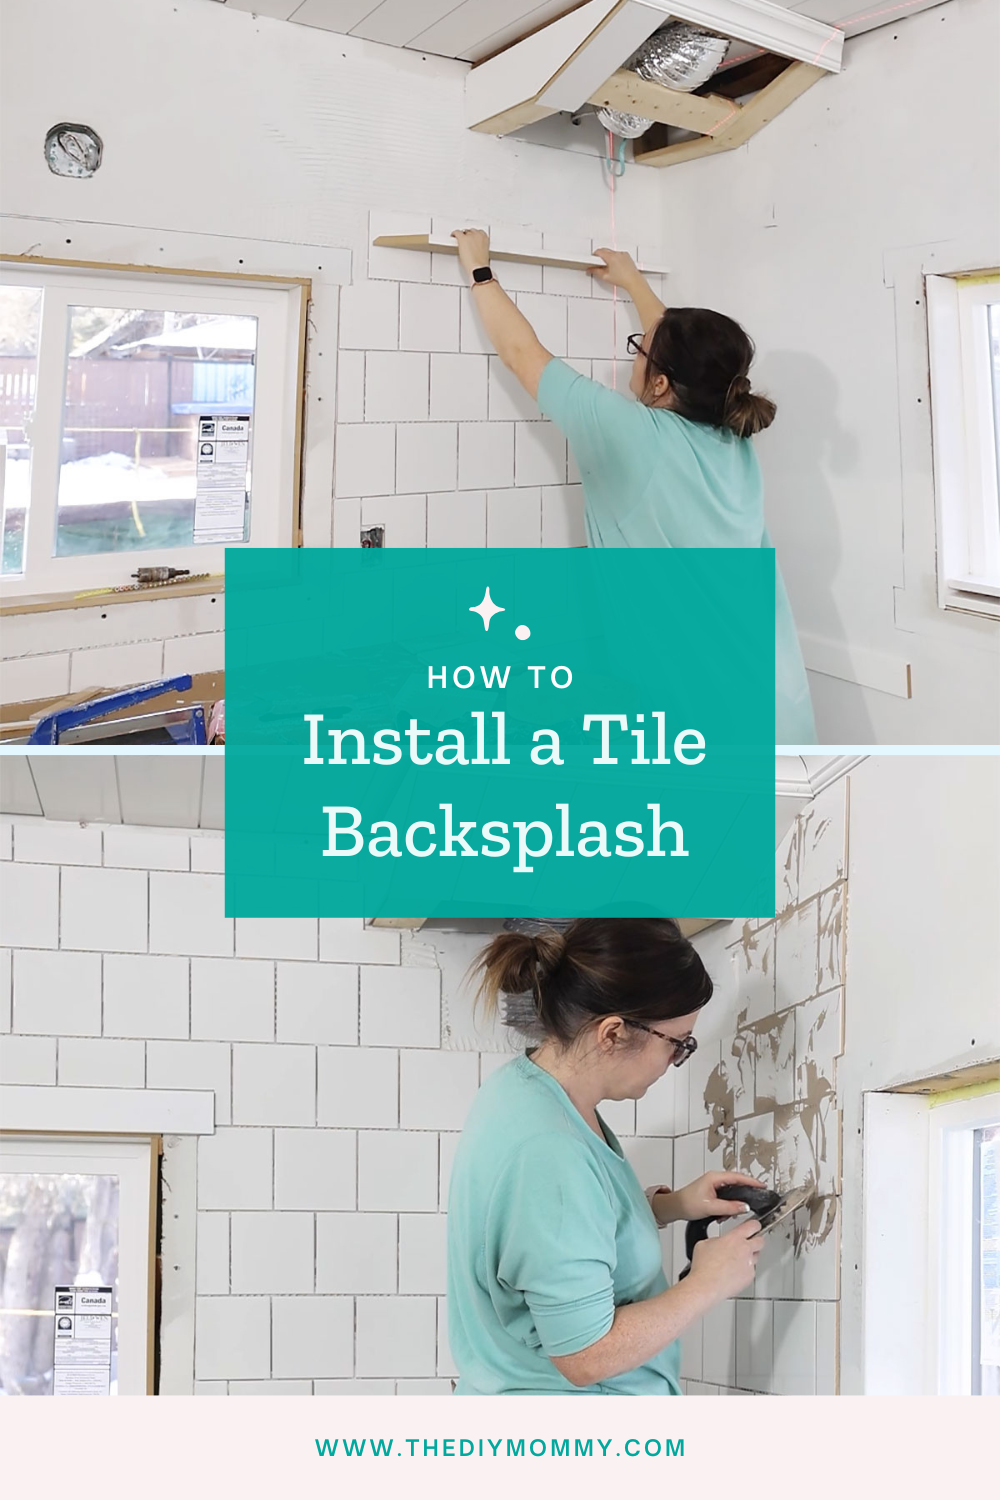
Start at the center bottom of the backsplash area and dry lay out the tiles to determine the layout. When using plain square or rectangular white ceramic tiles, there are many tile layout patterns you can go for. However, I recommend laying them in either a simple stacked pattern or an offset pattern (like my Tiny Kitchen backsplash example here) if you’re a beginner. Trim any tiles necessary to fit around wall switches or outlet covers. For this, we use we mark any cuts with a pencil and use a tile cutter or a mini grinder for more detailed cuts. (You could also use a wet saw to cut tiles, but I find a small tile cutter works perfectly fine for smaller ceramic tiles like this. If you’re using larger tiles or a harder material like porcelain tile, you may need to buy or rent a wet saw.)
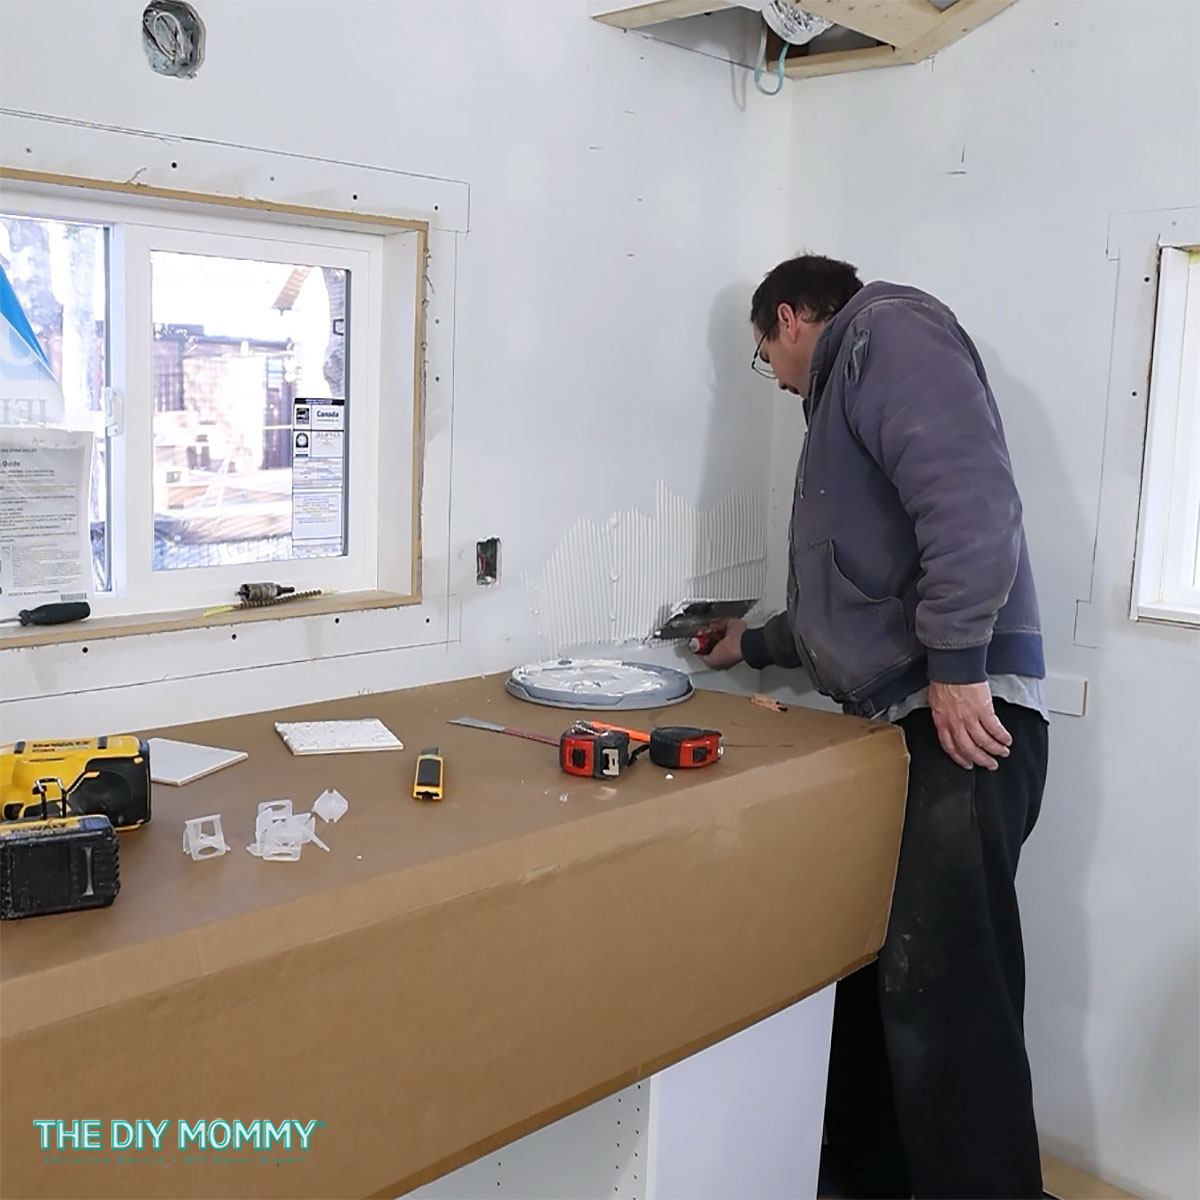
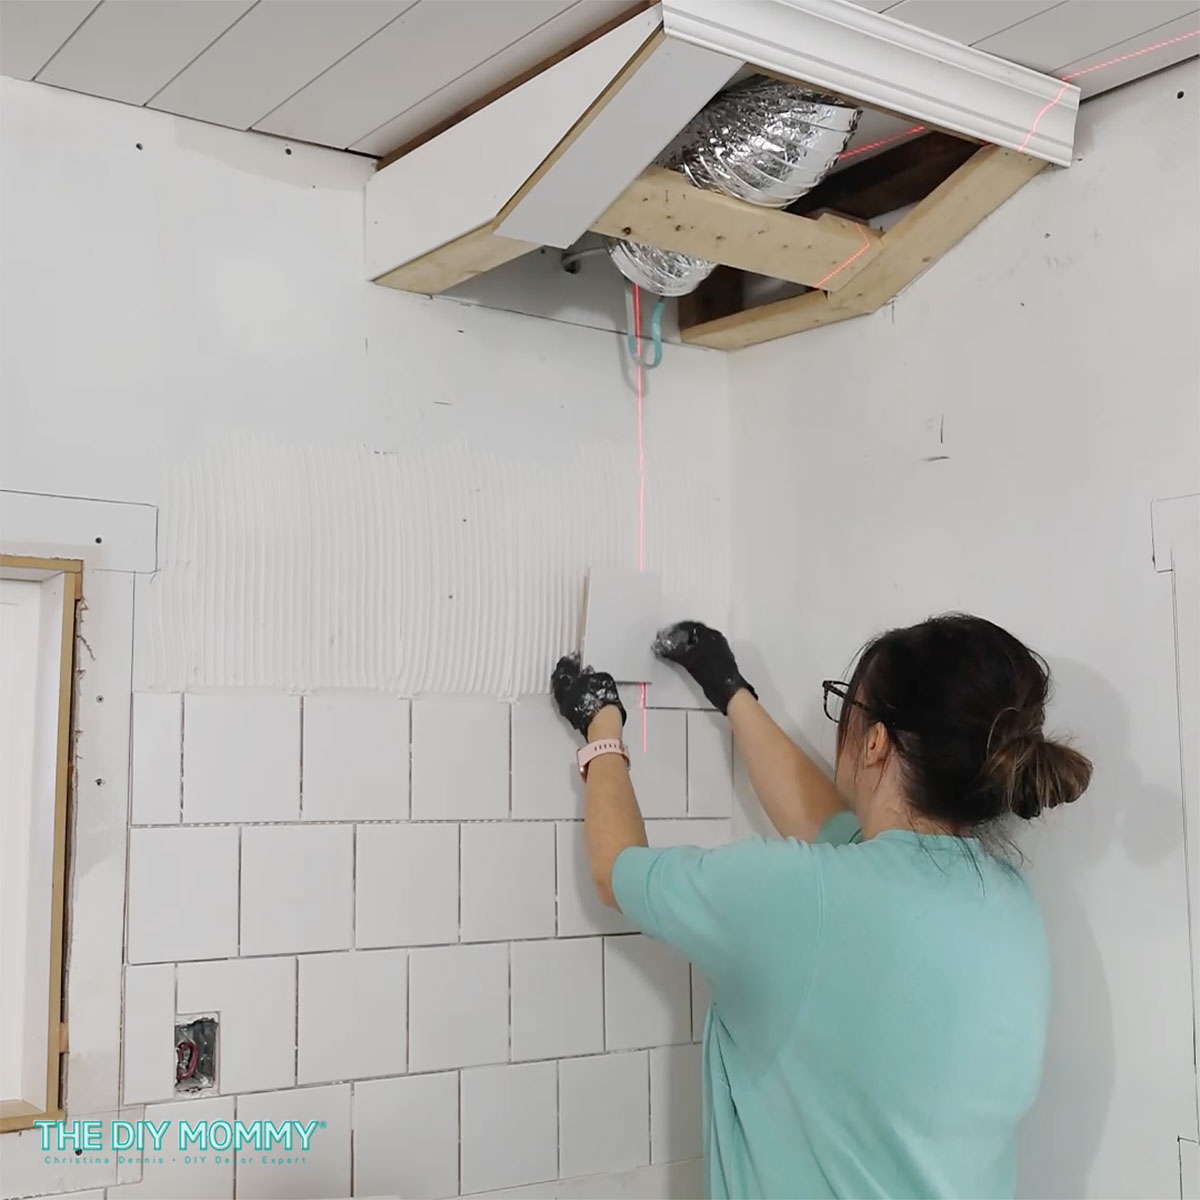
Apply the mastic tile adhesive to your drywall using a notched trowel, then press the tiles into place until they sit flat and level with tile spacers set in between. Work in small sections at a time so that the adhesive doesn’t dry out before you can set a tile on it.
For spacers, I usually use 1/16″ squares like this to leave 1/16″ between my backsplash tiles at the corners/joints. If you’re laying your tiles in an offset pattern like I am above, you’ll need to trim one end off of the crosses with a utility knife.
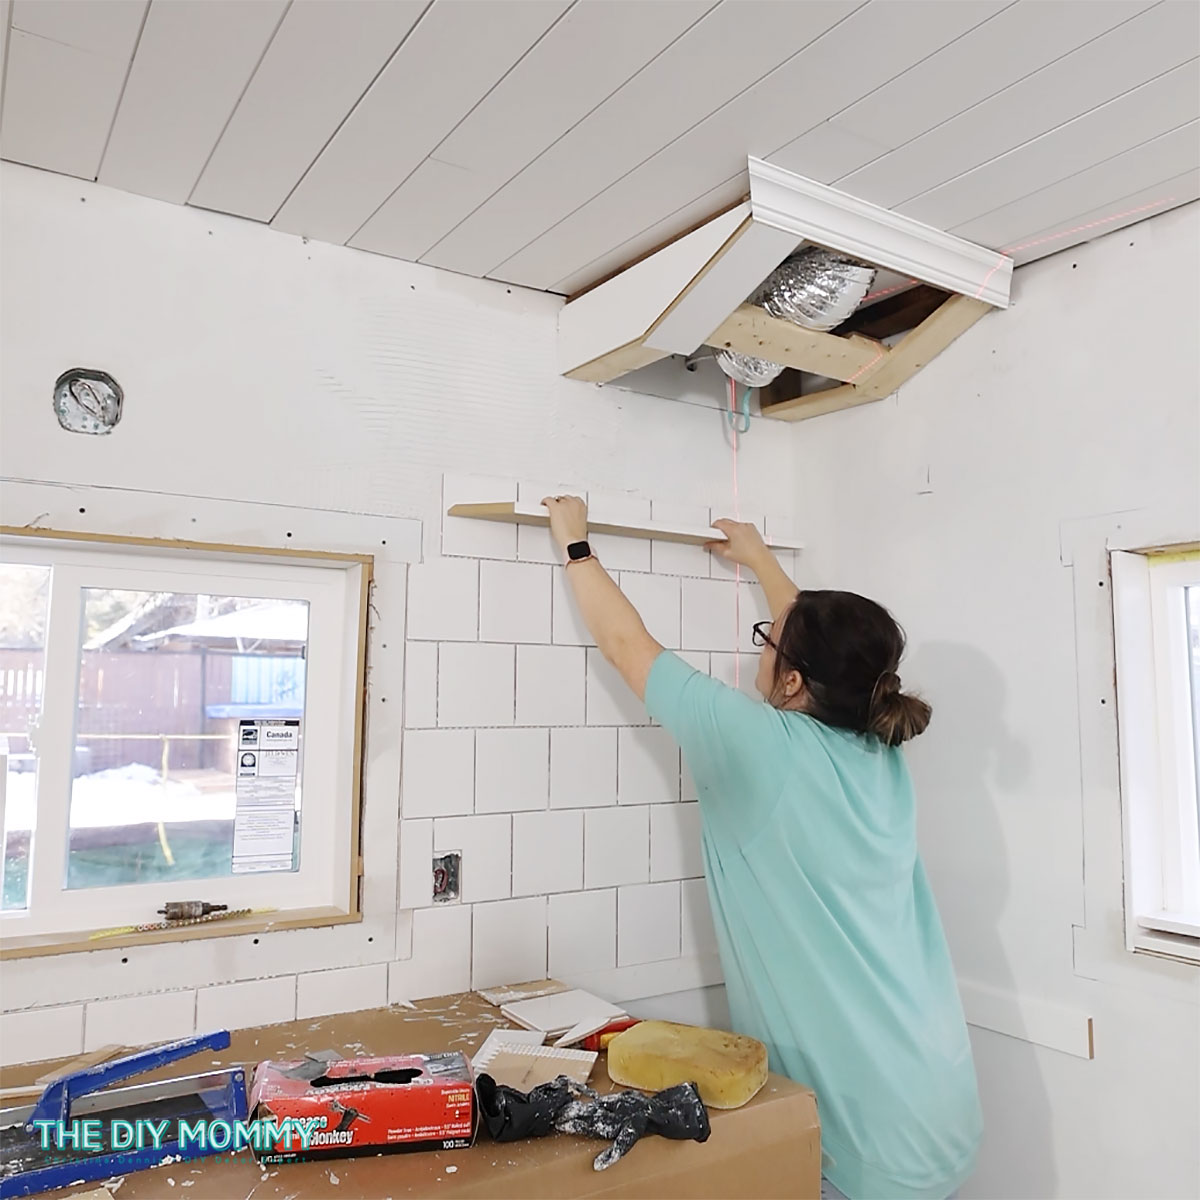
You can use a scrap piece of trim that’s a couple feet long like I am above to help keep the tile level. Alternatively, there are some neat tile leveling systems like this one you can try. We used them in past kitchen renovations and they work pretty well (but they’re a bit pricey)!
Continue to repeat until you fill the entire area. Allow the adhesive to dry overnight before proceeding to the next step of your tile installation.
Grouting the Tile
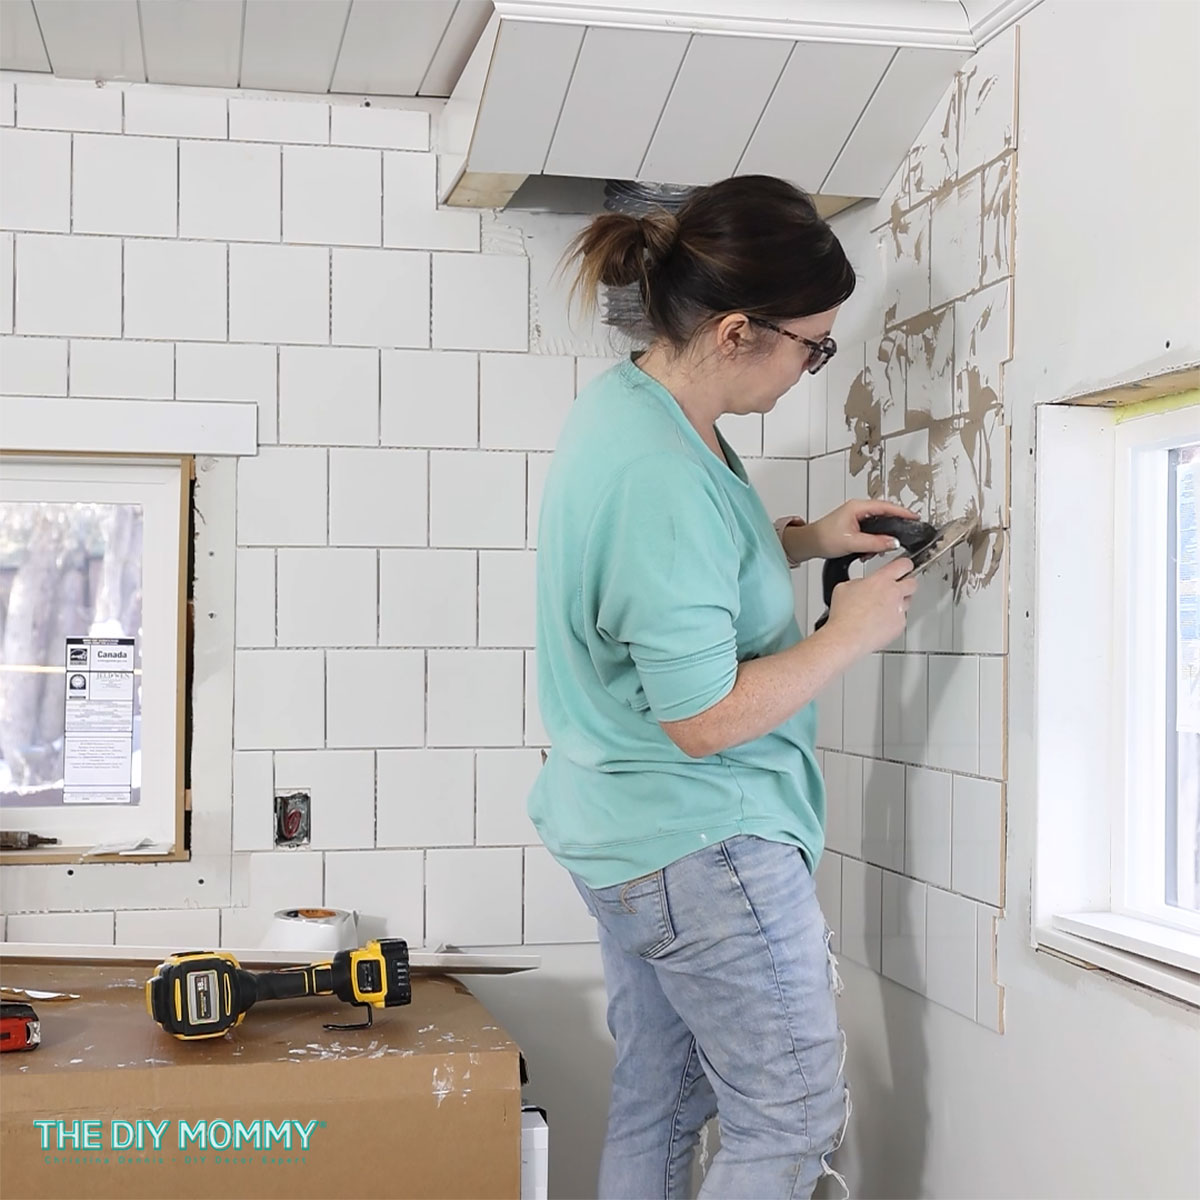
After letting the tile set, you can then start grouting the tile. Remove all spacers before applying grout. Mix the grout in a large bucket according to the manufacturer’s instructions. Unsanded grout works best with smaller 1/16″ tile spacing. Use a rubber float to spread the mixed grout over the tile surface and carefully fill all the gaps with a grout float.

Clean the excess grout using a damp sponge. You’ll most likely have to go over the grout with a clean sponge 2 or 3 times to get all of the tiles clean.
Sealing the Grout & Caulking Seams
And lastly, you need to seal the grout after it has dried and cured for 24 hours. Apply a grout sealer onto the cured grout lines with a sealant brush or applicator. Wipe any excess sealer with a damp sponge or cloth. Allow drying for six hours and repeat the process.
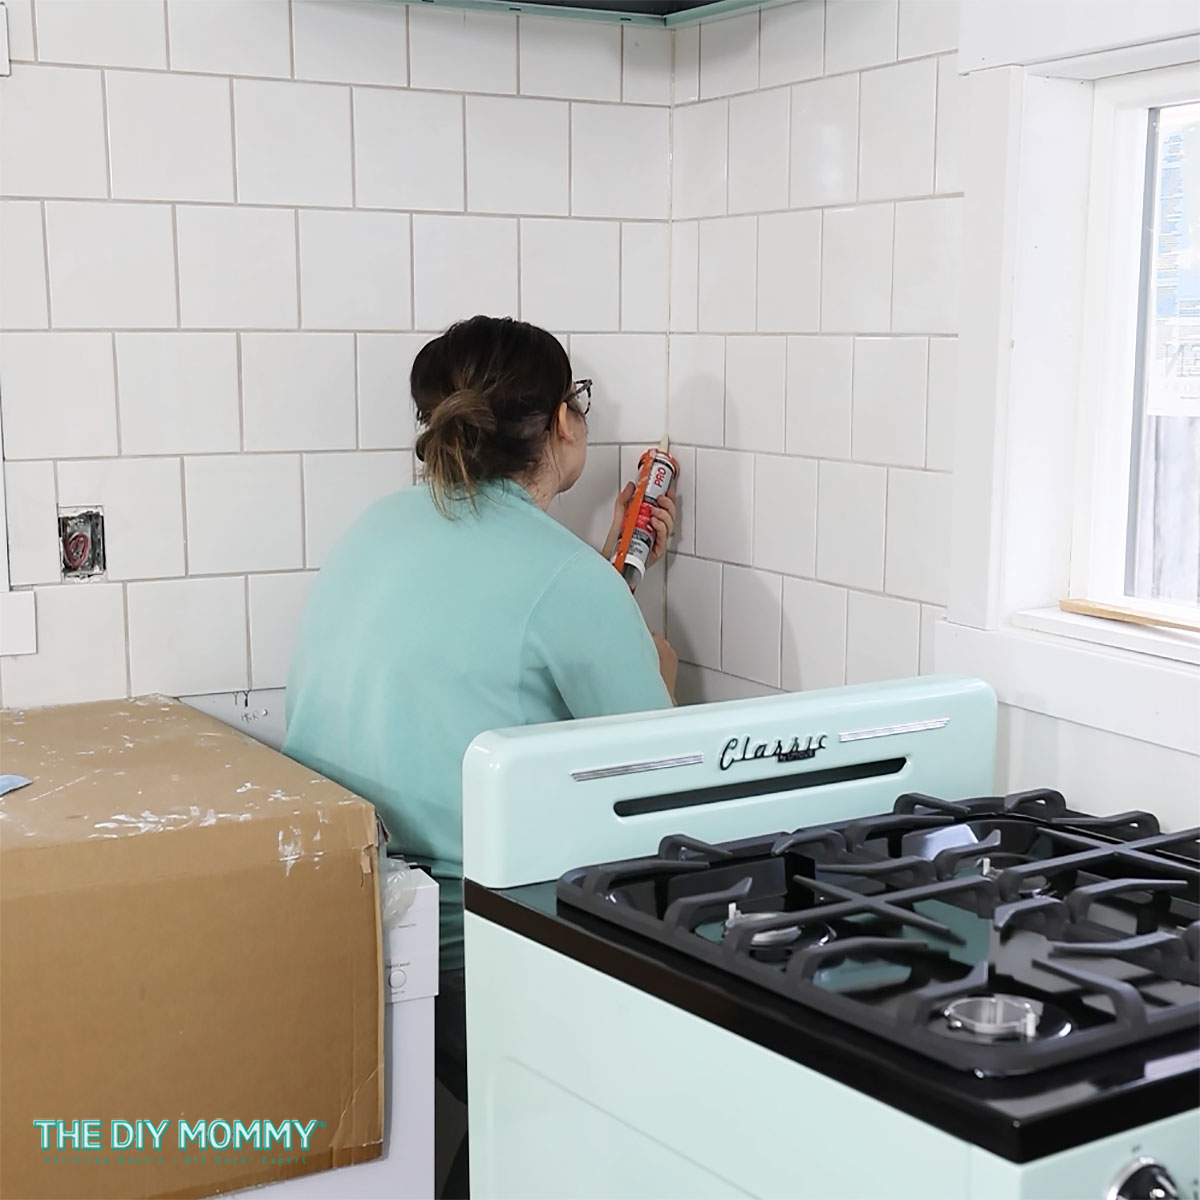
You’ll also need to caulk any seams around window & door trim, where the tile meets the counter, and in the corners. Use a silicone caulking so that the seams are waterproof.
Enjoy Your New Backsplash
After completing these steps, it’s time to stand back and admire your new tile backsplash! I’m sure you’ll think it makes as much of a difference as I think it does! TIP: to maintain the tile backsplash, clean on a regular basis using a mild detergent and warm water.
For more photos of our Tiny Lake House kitchen makeover and to read more about the entire renovation, click here.
Installing a kitchen backsplash tile can seem like a daunting task, but by following these step-by-step instructions (with the right tools!) you can quickly and easily add a beautiful design element to your kitchen. Not only does it add texture and style, but it is also practical when it comes to cleaning and maintenance. Happy DIYing!
PIN ME:
The “How to Install Kitchen Backsplash Tile: An Easy Guide” blog is an invaluable resource for DIY enthusiasts. Its concise and informative content makes the daunting task of backsplash installation seem effortlessly manageable. With clear step-by-step instructions, it empowers readers to enhance their kitchens with confidence. A must-visit for anyone looking to upgrade their culinary space.