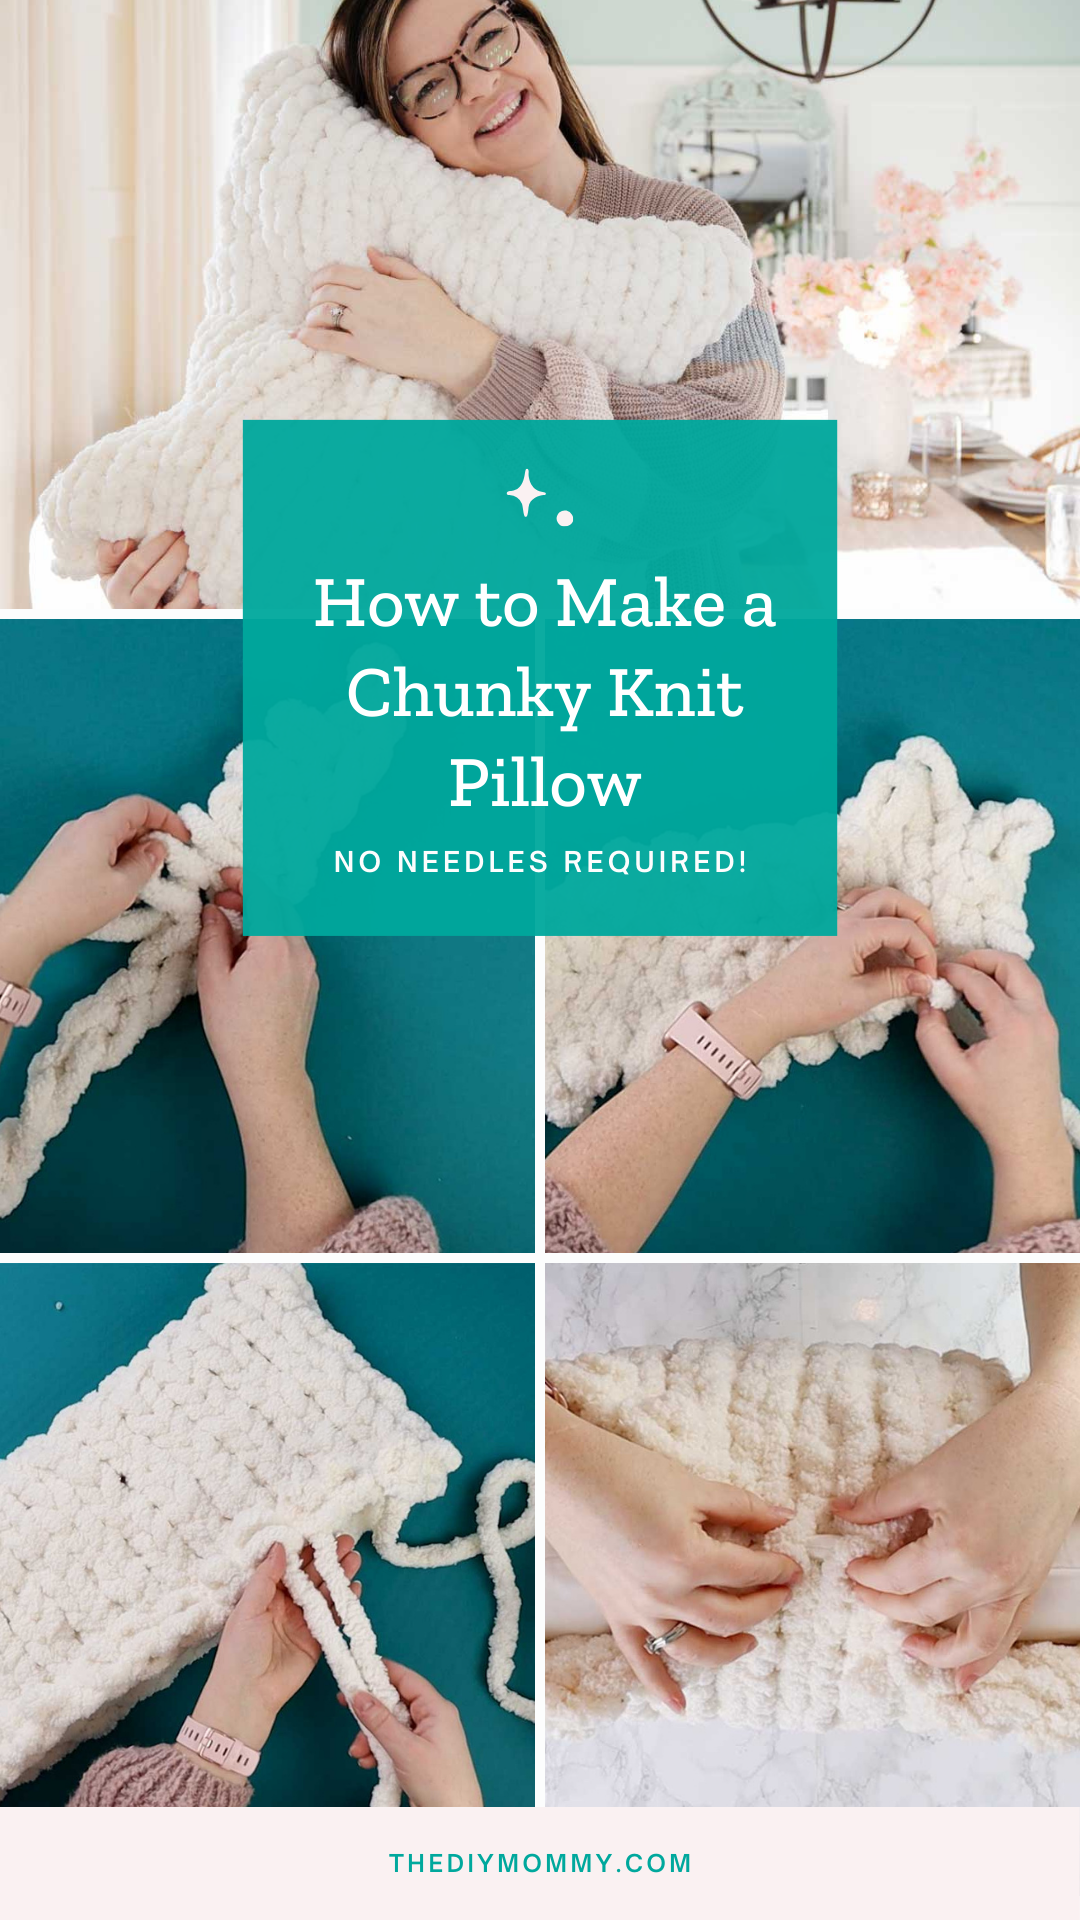
How to Knit a Chunky Pillow for Beginners: No Needles Required!
This post may contain affiliate links · This blog generates income via ads
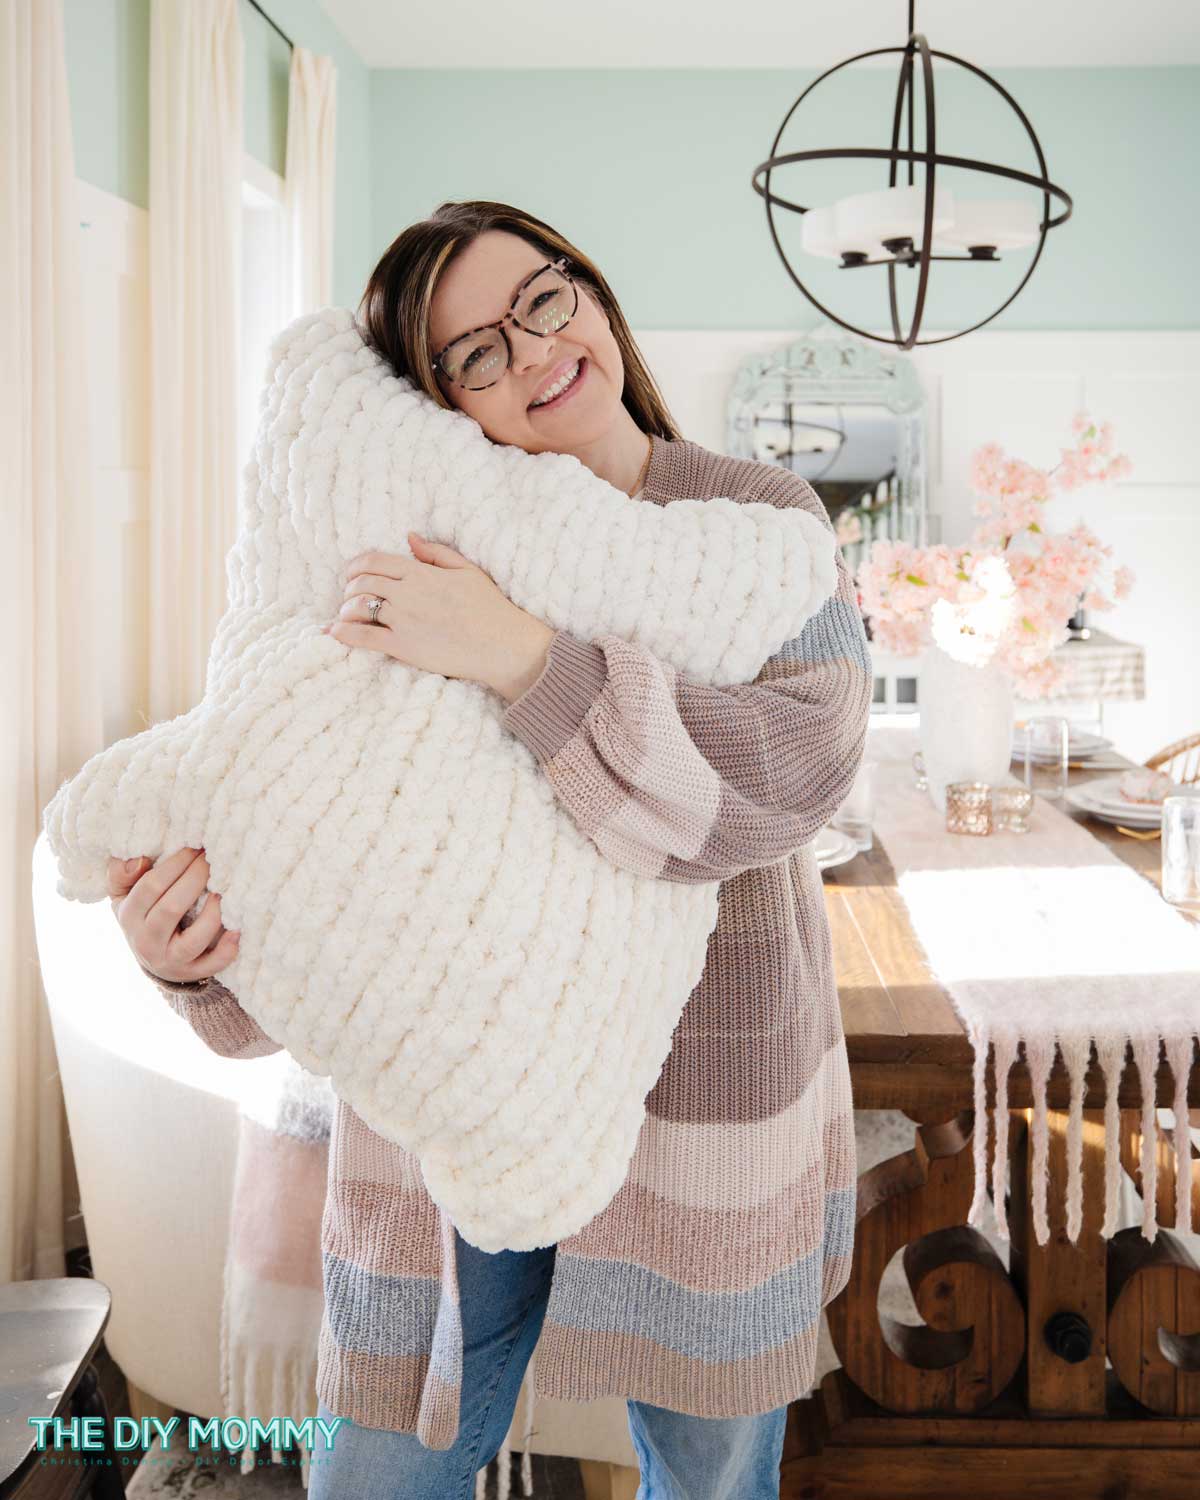
There’s nothing better than snuggling up against a soft & squishy throw pillow. But what’s even better than that? A chunky knit pillow that you made yourself! And the best part is, you don’t need any knitting needles to make one. That’s right, no matter your skill level, you can make a beautiful, chunky knit pillow in no time. In this blog post, I’ll go through everything you need to know to learn how to knit a chunky pillow for beginners!
The colder months are a great time to try a new craft and finger knitting with chunky yarn is the perfect project for winter. Last year I knit this amazing, cozy blanket. This year I made this squishy and wonderful chunky knit pillow! Both feature a simple stockinette stitch that are done with your fingers. There’s no knitting needles required, so both of these projects are perfect for a beginner knitter.
I was inspired by Eva Pautov who did a similar chunky knit pillow cover. She did it in the round like I’m going to do here. I used her ideas and then customized them to work with this chunky yarn and to make a removable pillow cover!
You Will Need:
- 3 skeins of Yarnspirations BERNAT Blanket BIG chunky chenille yarn
- scissors
- 20 x 20″ pillow insert (I’m using the feather insert from IKEA)
- scrap string or yarn in a similar colour to the chunky yarn you choose
- crochet hook (optional)
Watch my video tutorial to for the chunky knit pillow instructions
Choose Your Yarn
For this chunky knit throw pillow, I’m using some Yarnspirations BERNAT Blanket BIG yarn I found on sale at Michaels during a buy two, get one free sale. I love the feel of this chenille yarn. It’s SO soft! You can find Bernat Blanket BIG here on Amazon or your local craft store, but I find the best place to buy it is at Michaels. Don’t buy it at regular price; it’s often on sale!
You could also use a chunky wool yarn or roving yarn, but make sure it’s a “super bulky yarn”.
Now, before you begin, I would recommend starting with the chunky knit blanket project first. The pillow cover will feel a little bit easier if you try the blanket first. However, if you’ve done any sort of knitting or crochet before, I think you’re going to find this chunky knit pillow fairly easy to make either way.
Make the Foundation Chain
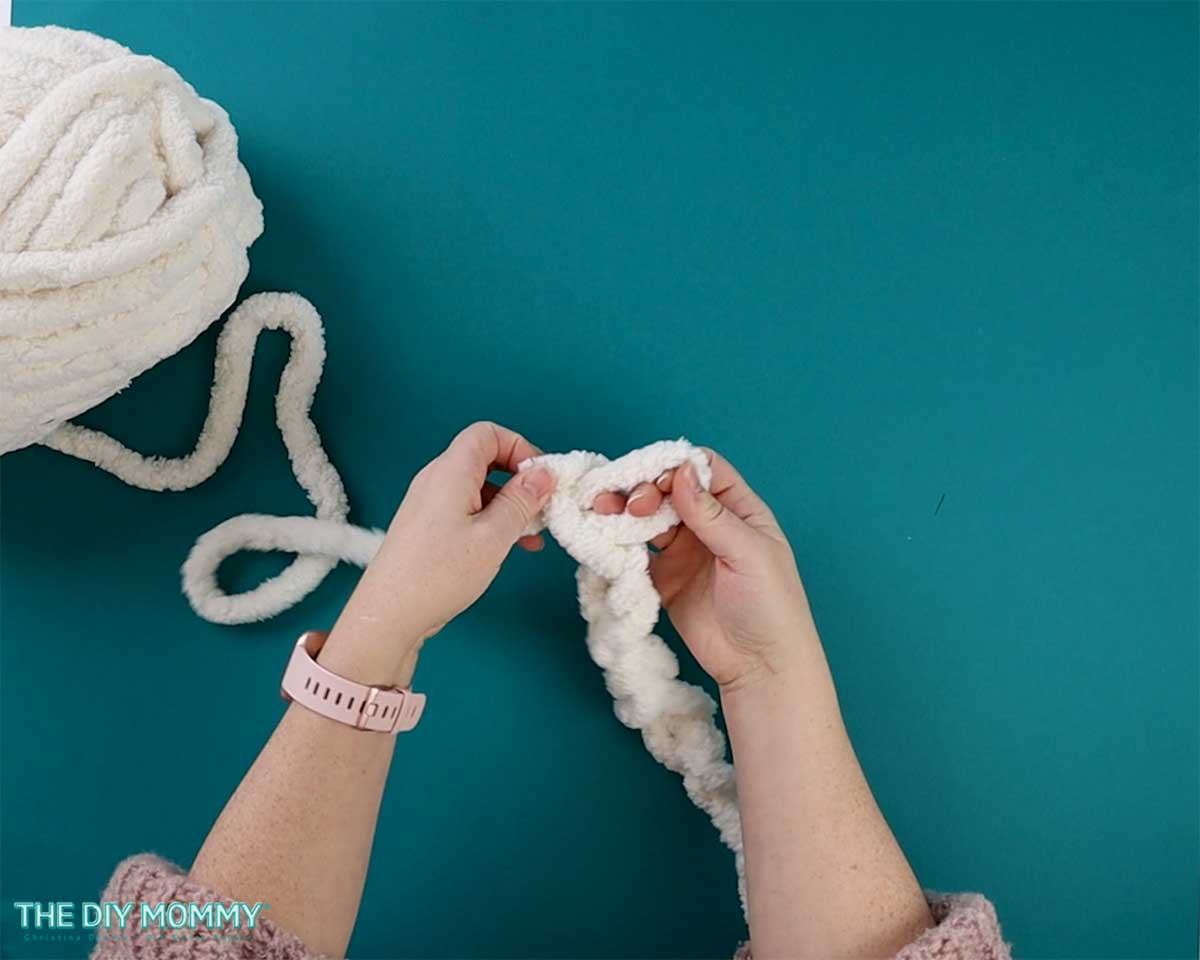
To begin your chunky knit pillow, take your first skein of yarn, unravel it and create a chain of 15 stitches. This will be the top of the pillow. I found this to be about the right length for a 20 by 20 inch pillow insert.
To create your chain, leave a tail of about six inches, create a loop, and then pull a loop from the working side of the yarn through that first loop and tighten. Repeat this process 14 more times to make a 15 loop long chain.
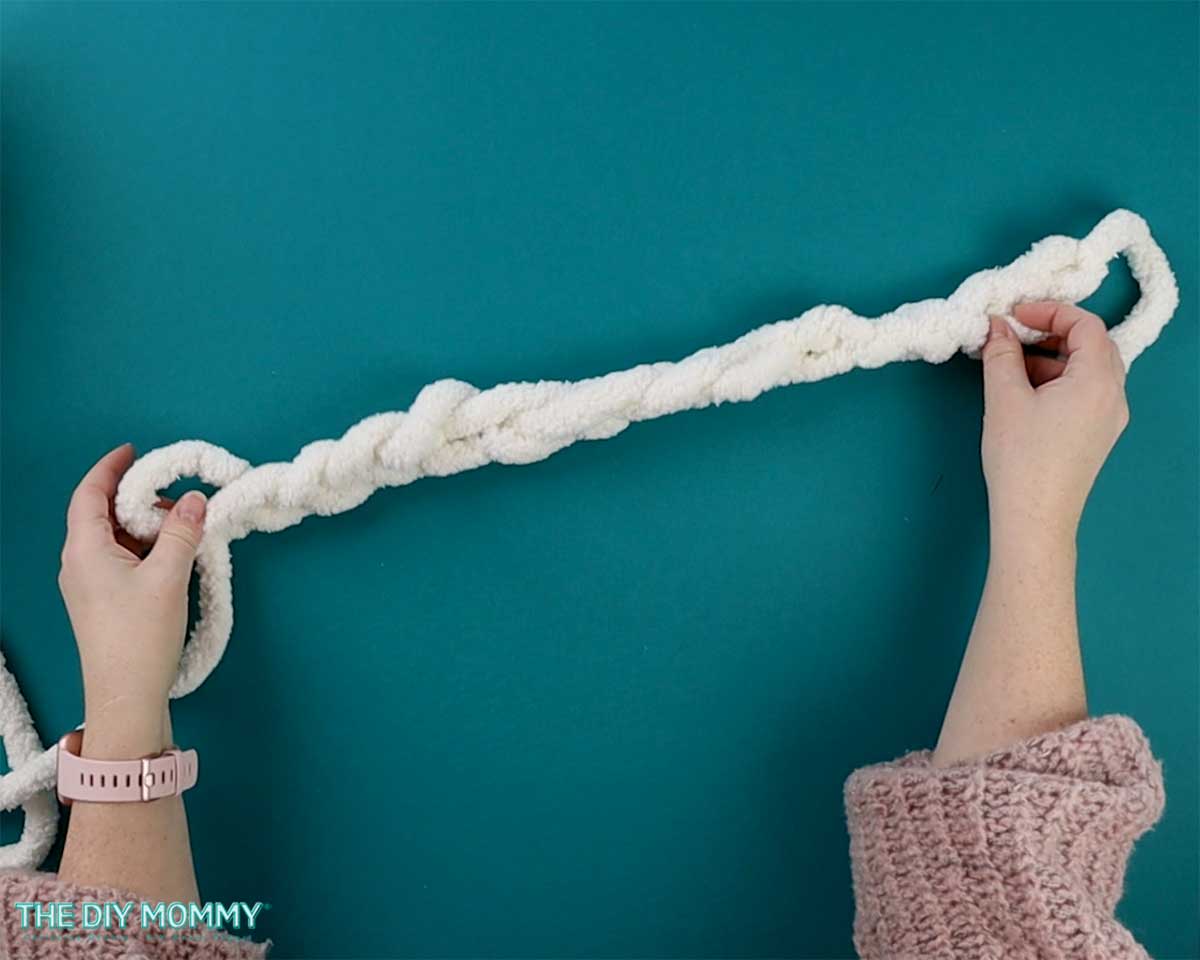
Tip: use your fingers for gauge!
To keep your loops a consistent size, use your fingers to help. For the first chain row and the last cast-off row, use three fingers and tighten each loop around them. For the next rows, use only 2 fingers and tighten each loop around them.
Knitting the First Round
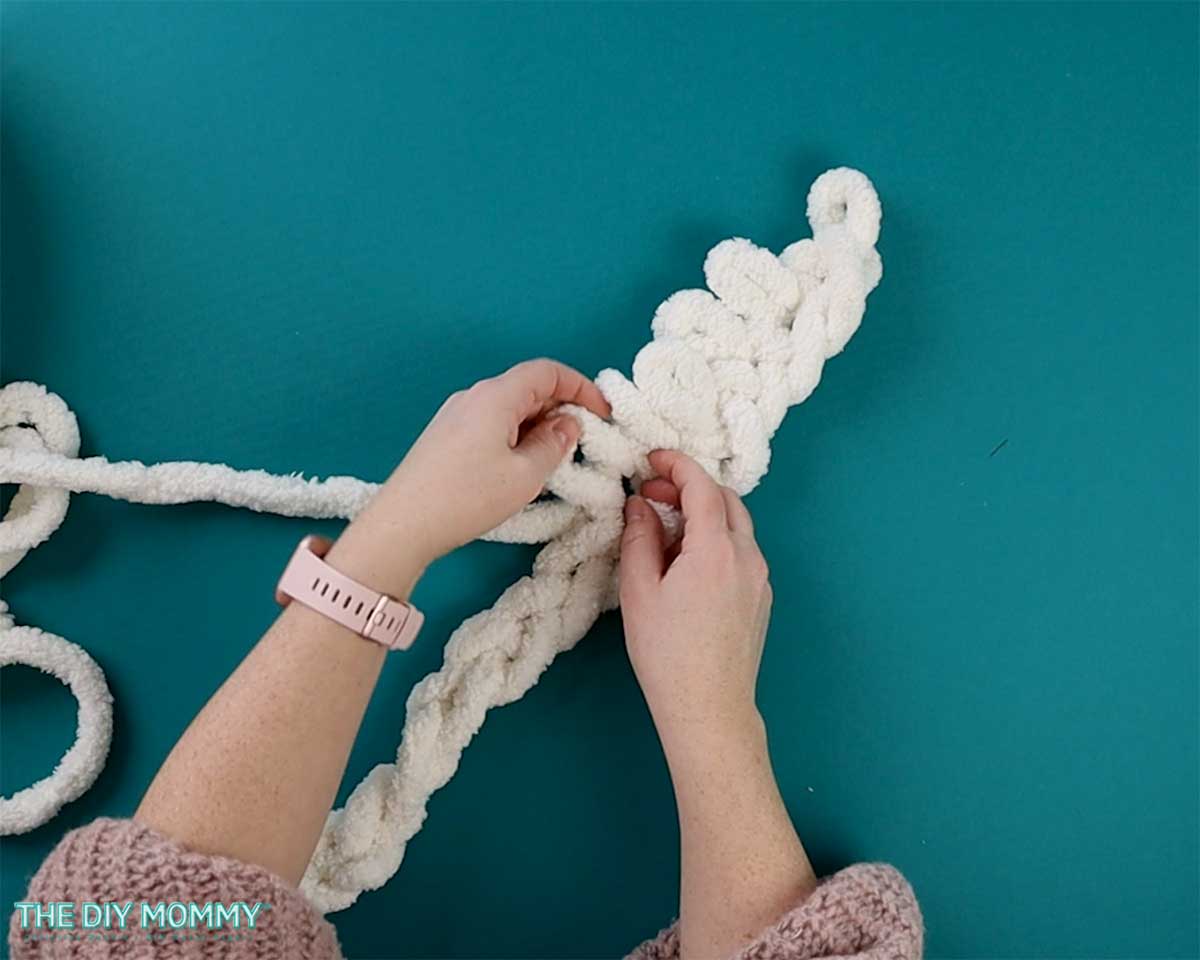
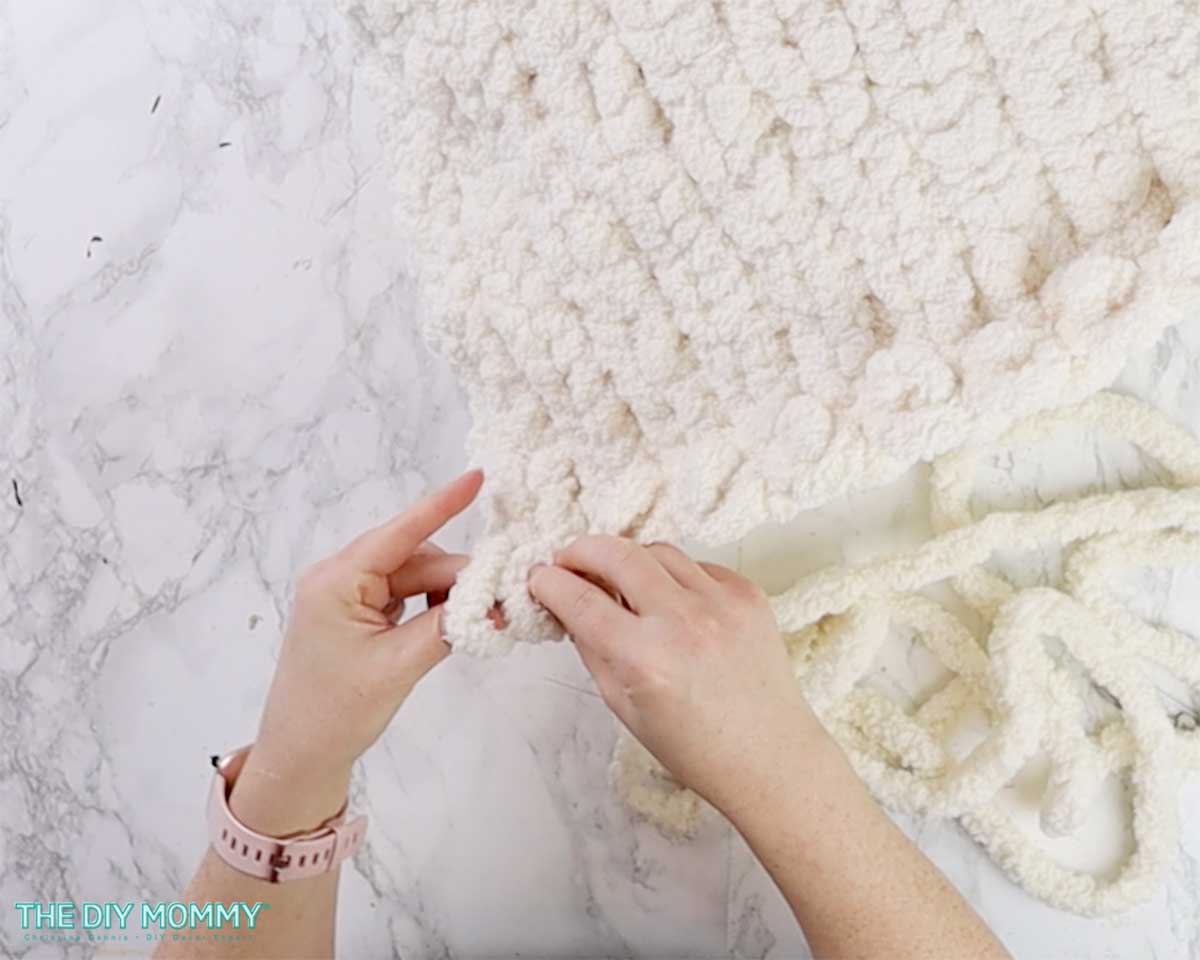
Once you finish the foundation chain, turn the chain around, and then take your fingers and push them through the last chain that you made. Then, pull a loop of working yarn through the loop of the chain.
Continue on 13 more times so you have a row of 14 loops altogether.
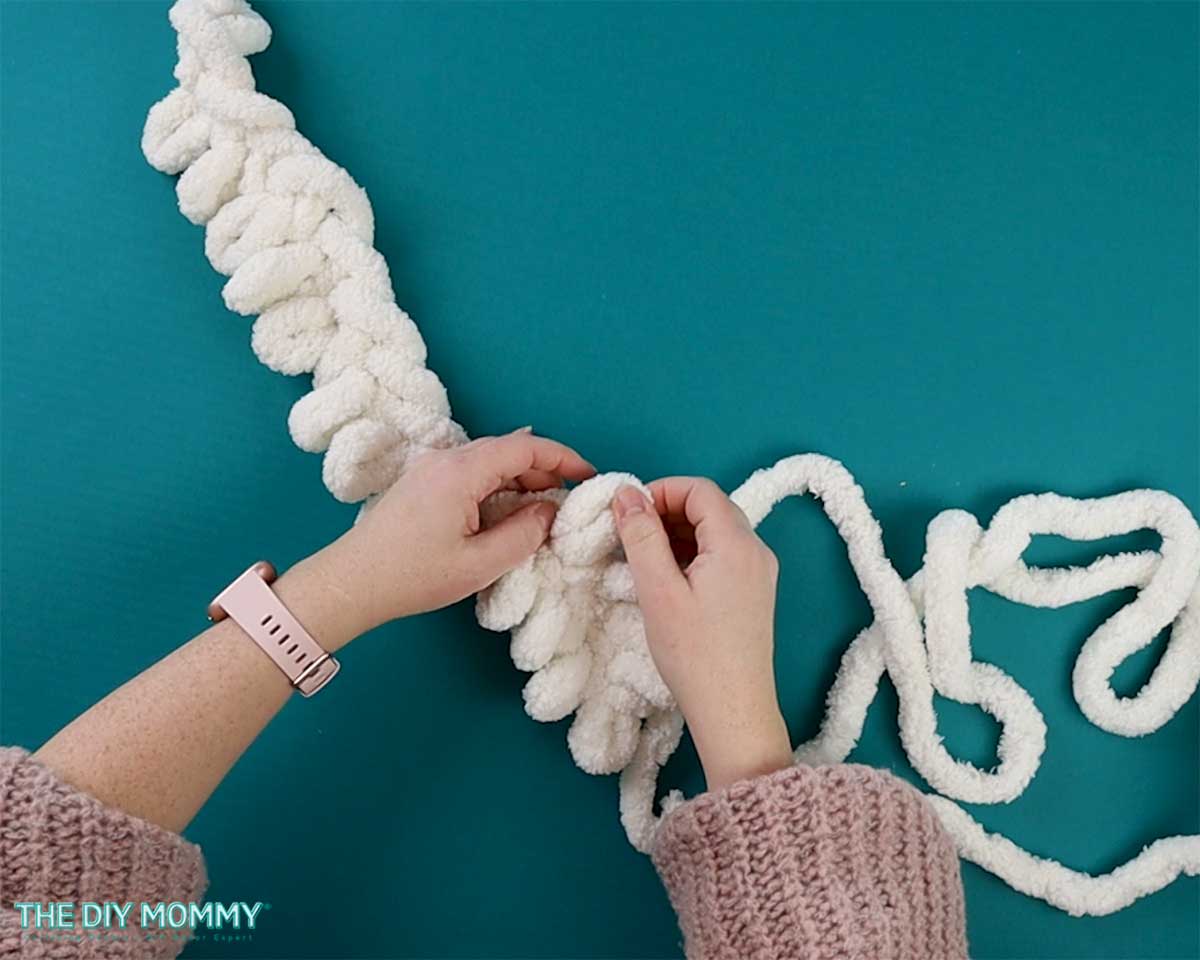
Now, turn your work around and pull some loops through the other side of your chain. You’re going to start working in the round. This is a little bit different than the blanket project which is worked back and forth from left to right and then right to left.
Push your fingers through that first loop you created and pull a loop of the working yarn through. Use your two fingers to make sure that your yarn is nice and tight and then continue on in this manner until you have 14 stitches on this other side.
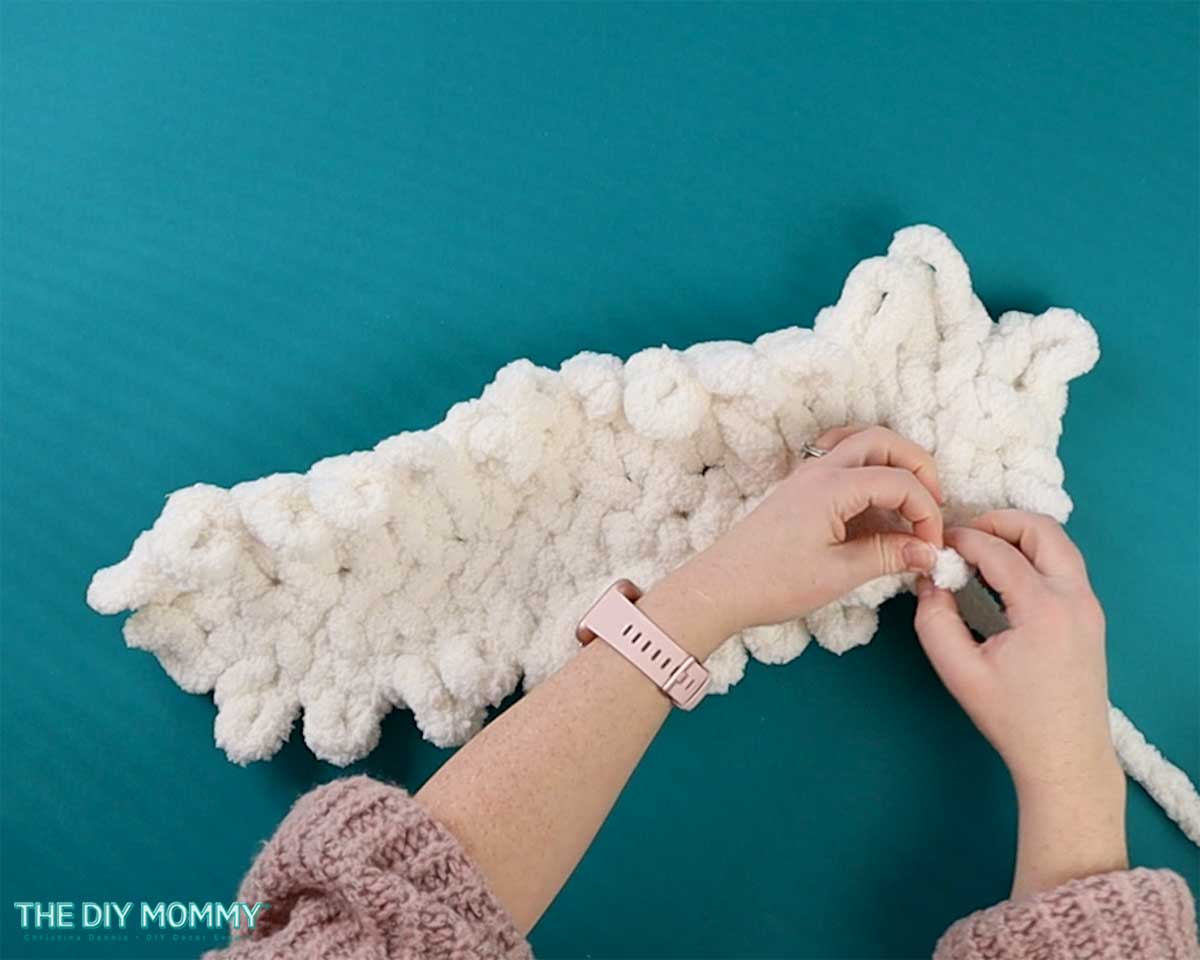
Continuing Knitting in the Round
Then, twirl your work around again, push your fingers through the first loop you created on the previous side, pull a loop of working yarn through and continue on for 13 more stitches until you have 14 loops on this side.
You’re going to continue in this way until you have about three rows in the round with your foundation chain in the middle. You can count as you go or you can put stitch markers on either side to help yourself remember where your circles started. You always want to make sure that you have 28 stitches altogether or 14 on either side of your foundation chain.
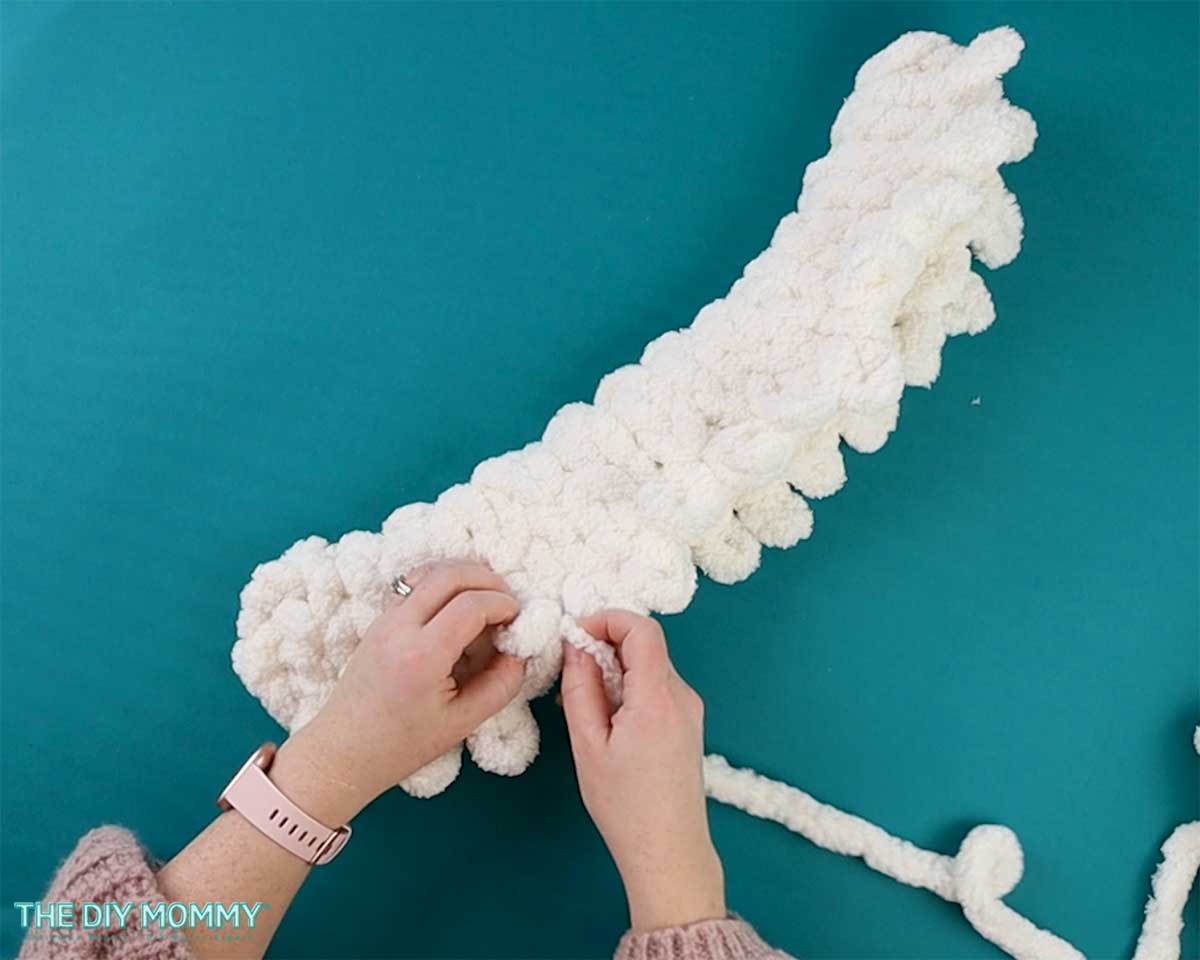
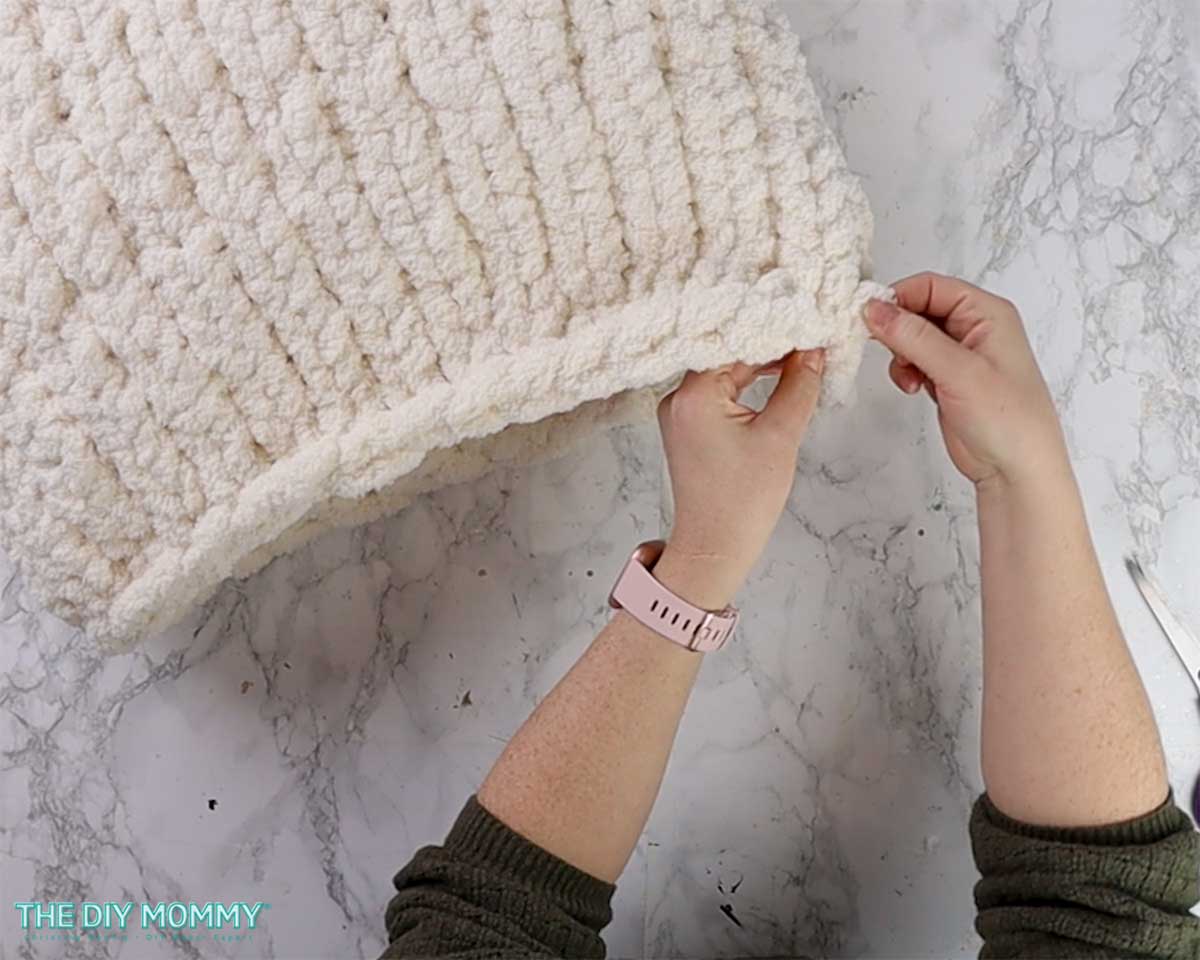
Forming the Pillow Shape
Once you have these three foundation rounds finished, you can fold your work so that the foundation chain is the top edge of your pillow and you’re seeing the front and back of the pillow start to form. When you fold it up like this, it’s going to be a lot easier to continue working in the round and making the pillow shape come to life.
Now, simply continue finger knitting in the round until you have enough rows match the size of your 20 by 20 inch pillow form. I ended up knitting 29 rows.

Adding a New Skein of Yarn
Once you run out of yarn on your first skein, make sure that you leave about 4 to 6 inches of yarn at the end of that skein. Then, open up a new ball of yarn. Leave 4 to 6 inches at the end of the new yarn and continue working loops with it as you were the previous yarn.
After adding a new skein, I knit one or two rounds and then on the inside I tie the two ends together. Then, I take the two ends of yearn and weave them through my work to secure them and I trim off any excess. You can weave the ends through your work with your fingers, or you could use a crochet hook. Ensure the yarn ends are on the inside of the pillow so that they don’t show on the outside.
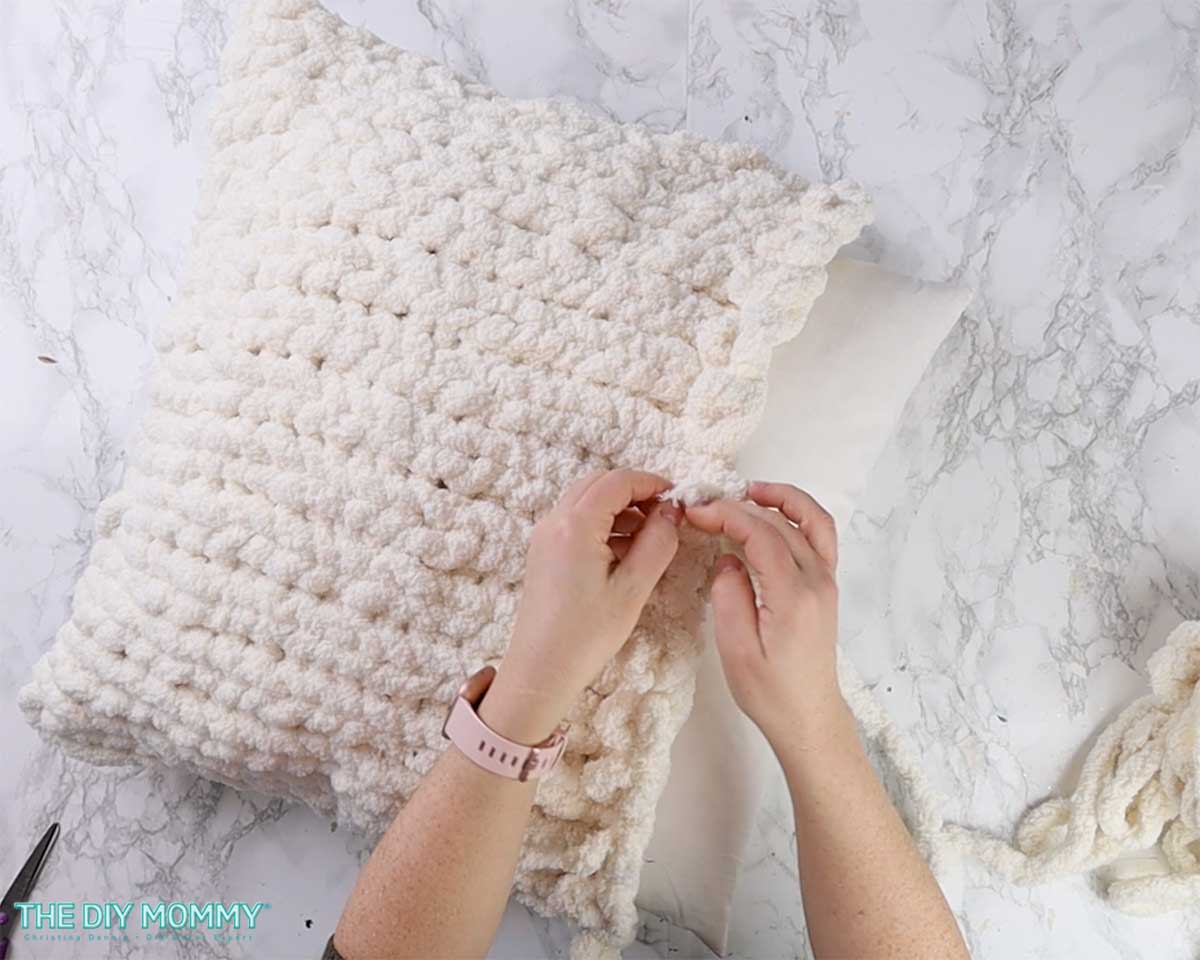
Placing the Pillow Insert Inside
Halfway or three quarters through, you can put your pillow insert inside the cover that you’re making. I find that this makes the finger knitting even easier. It’s easier to flip the piece around and around and see where you are.
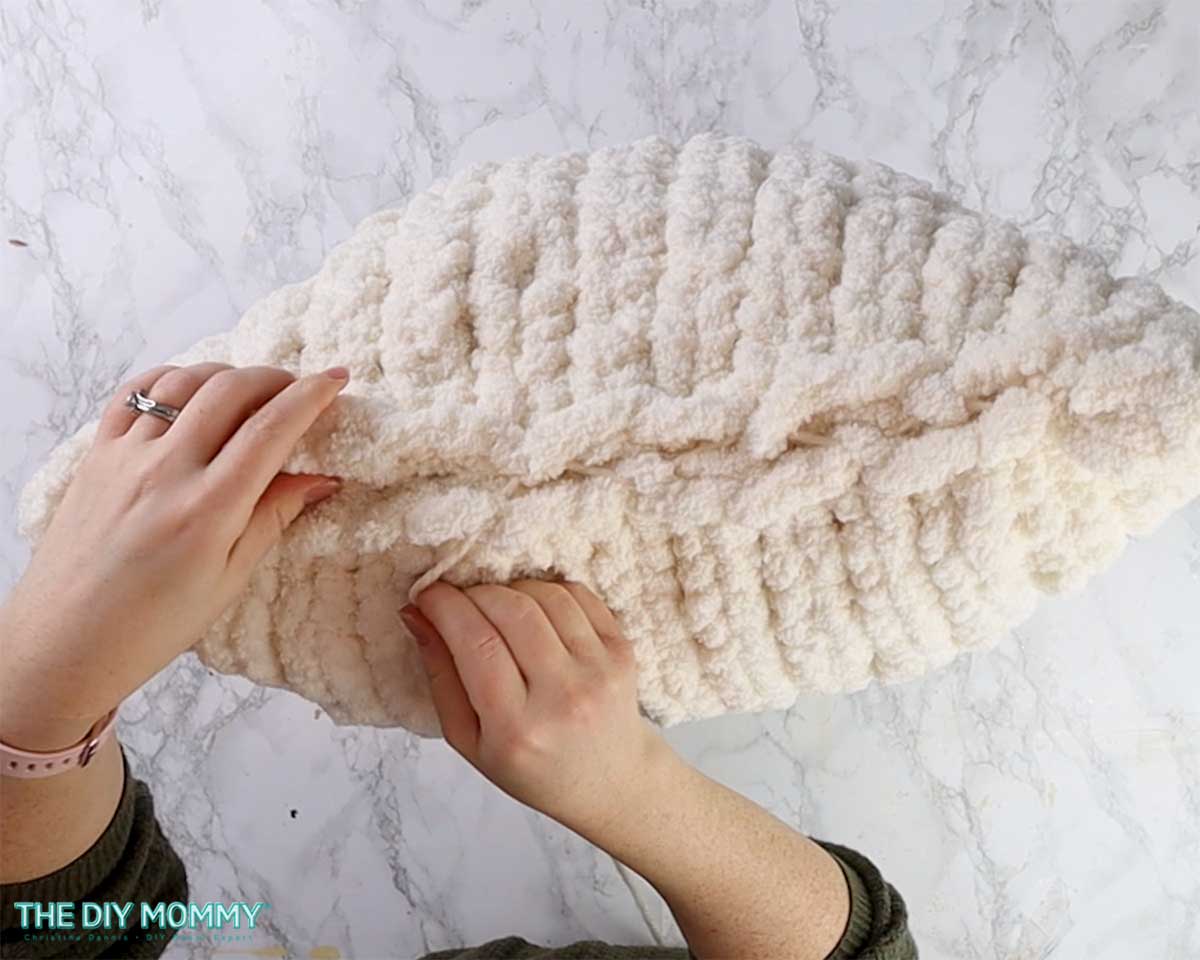
Casting Off
You’ll know that you’re at the end of your work when you’re able to touch the loops on either side of your pillow form together at the ends. Once you get to this point, we’re going to do what’s called casting off. I want to make sure that I can easily take this cover off and wash it as needed, so I’m casting off the whole loop and then adding a tie so the cover is removable.
To cast off, start your next round as normal, do one stitch and then do the second stitch as normal. Then, take that first/previous stitch and pull it over the second stitch.
Then, knit the third stitch as normal. Take the second previous stitch and pull it over the third stitch. This is how you cast off. Do this all the way around the knit pillow cover. I would recommend for this cast off row using three fingers in each loop to make sure that it’s nice and loose.
Once you reach the final stitch, cut the yarn off, leave a six inch tail, and save the rest of the yarn for another project. Pull the tail through the final loop and weave in the end.
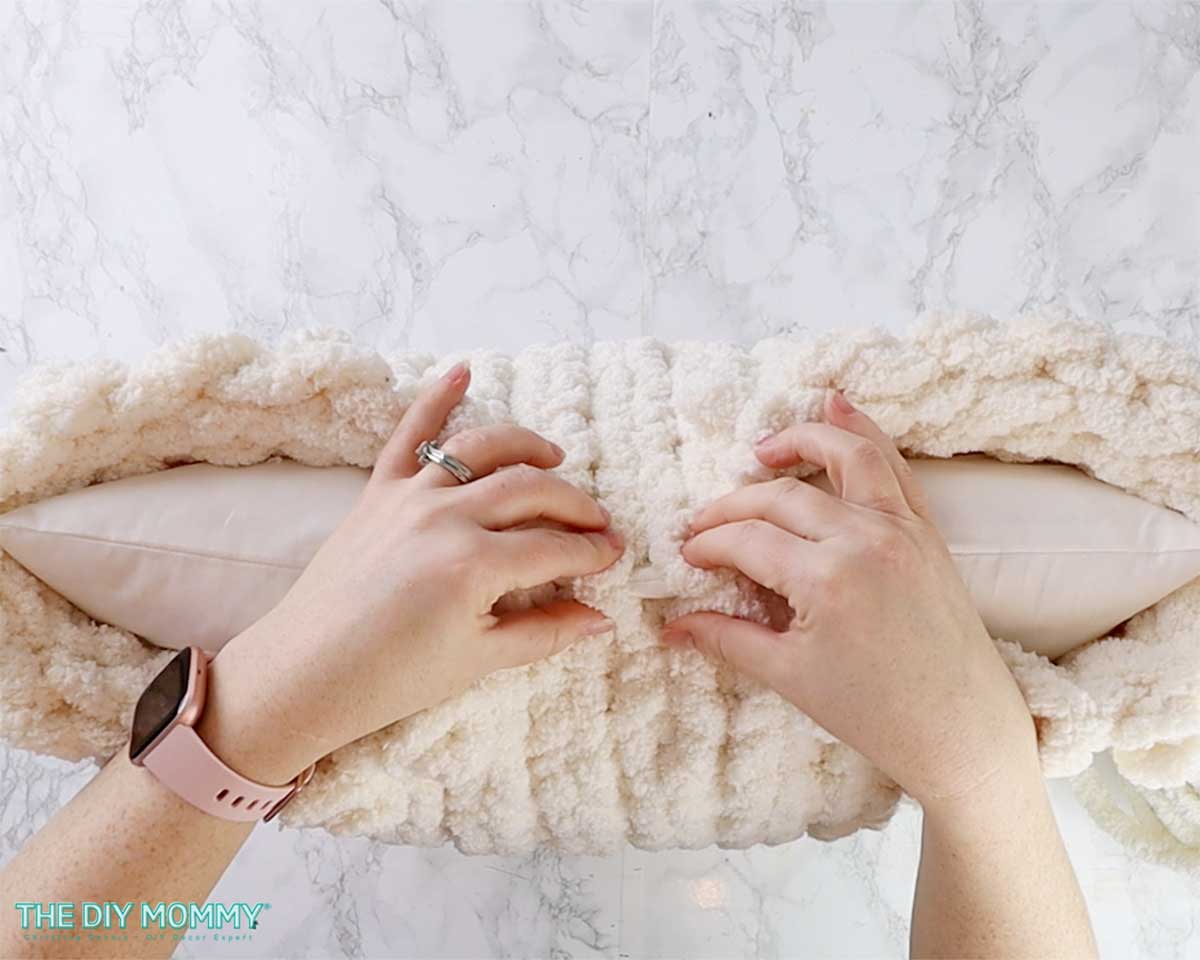
Finishing the Chunky Knit Pillow
Once you’re finished casting off your work, make sure your insert is still inside the cover. Using either string or yarn in a similar color, tie it loosely on one side of the pillow cover. Then, weave it through the bottom edges of the pillow cover until you reach the end. Finish with another simple loose knot or even a bow at the end. When you want to wash your pillow cover, you can easily un-weave this thread, take the pillow insert out, throw the pillow cover in the wash, and then reattach it by weaving it shut.
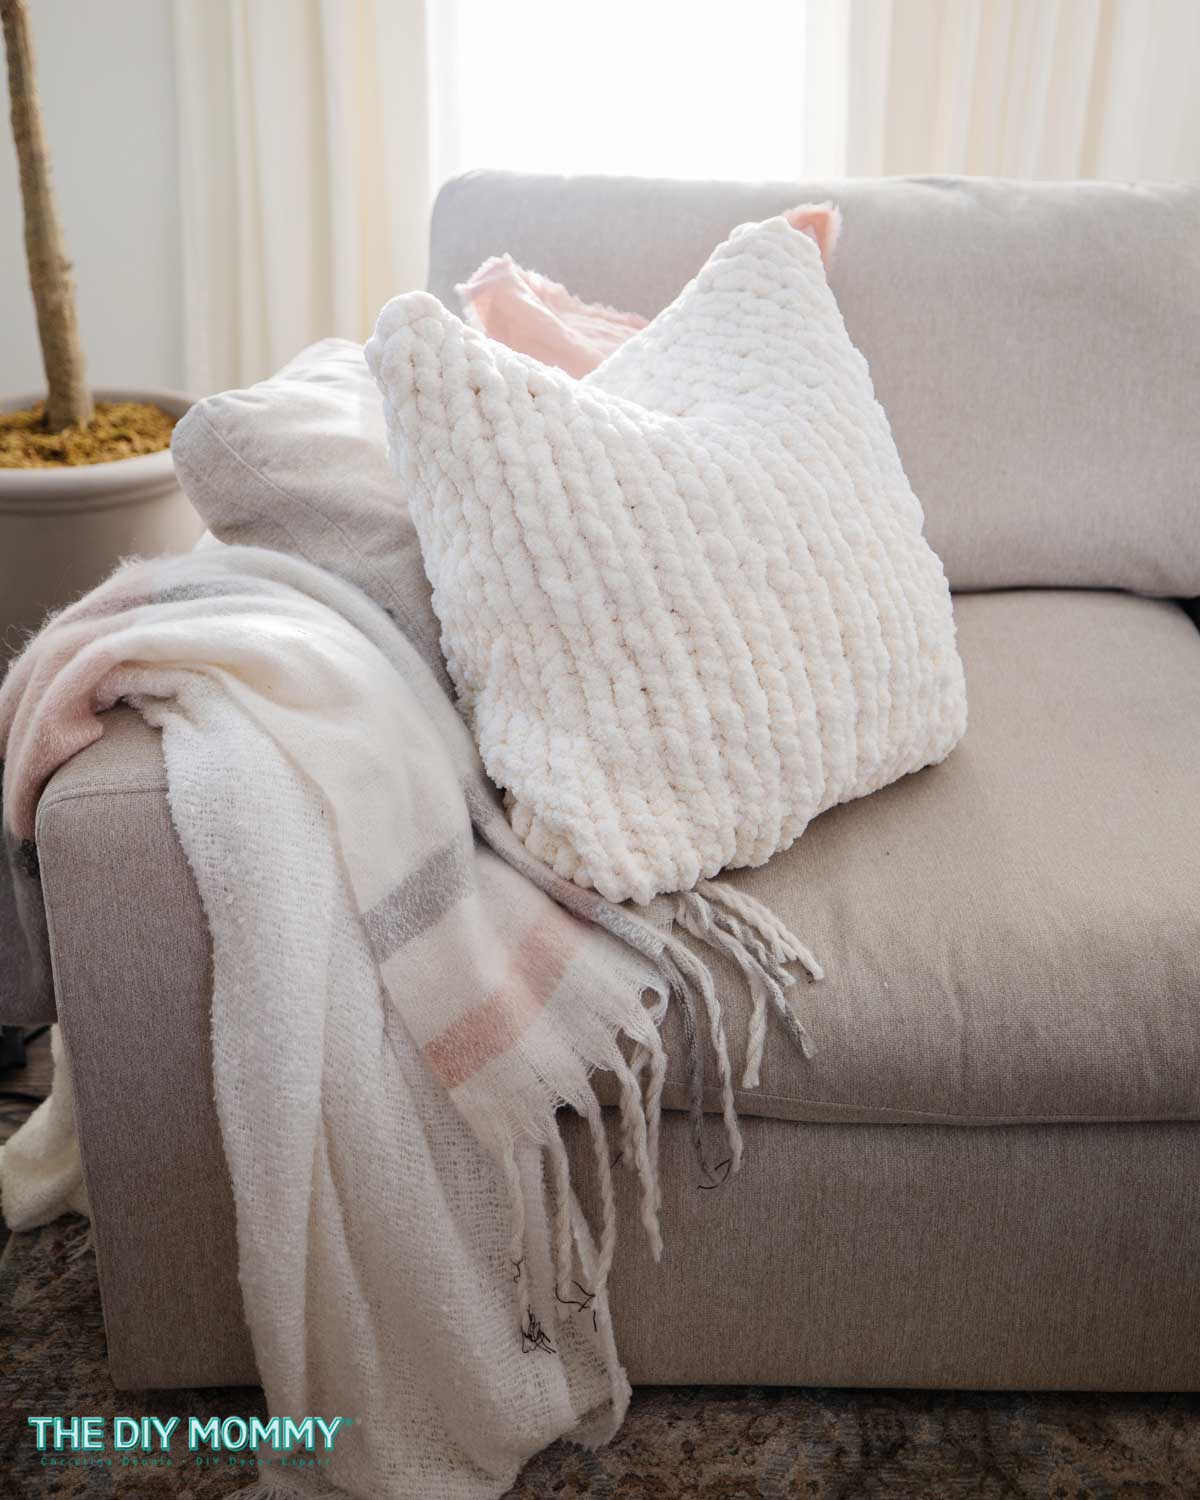
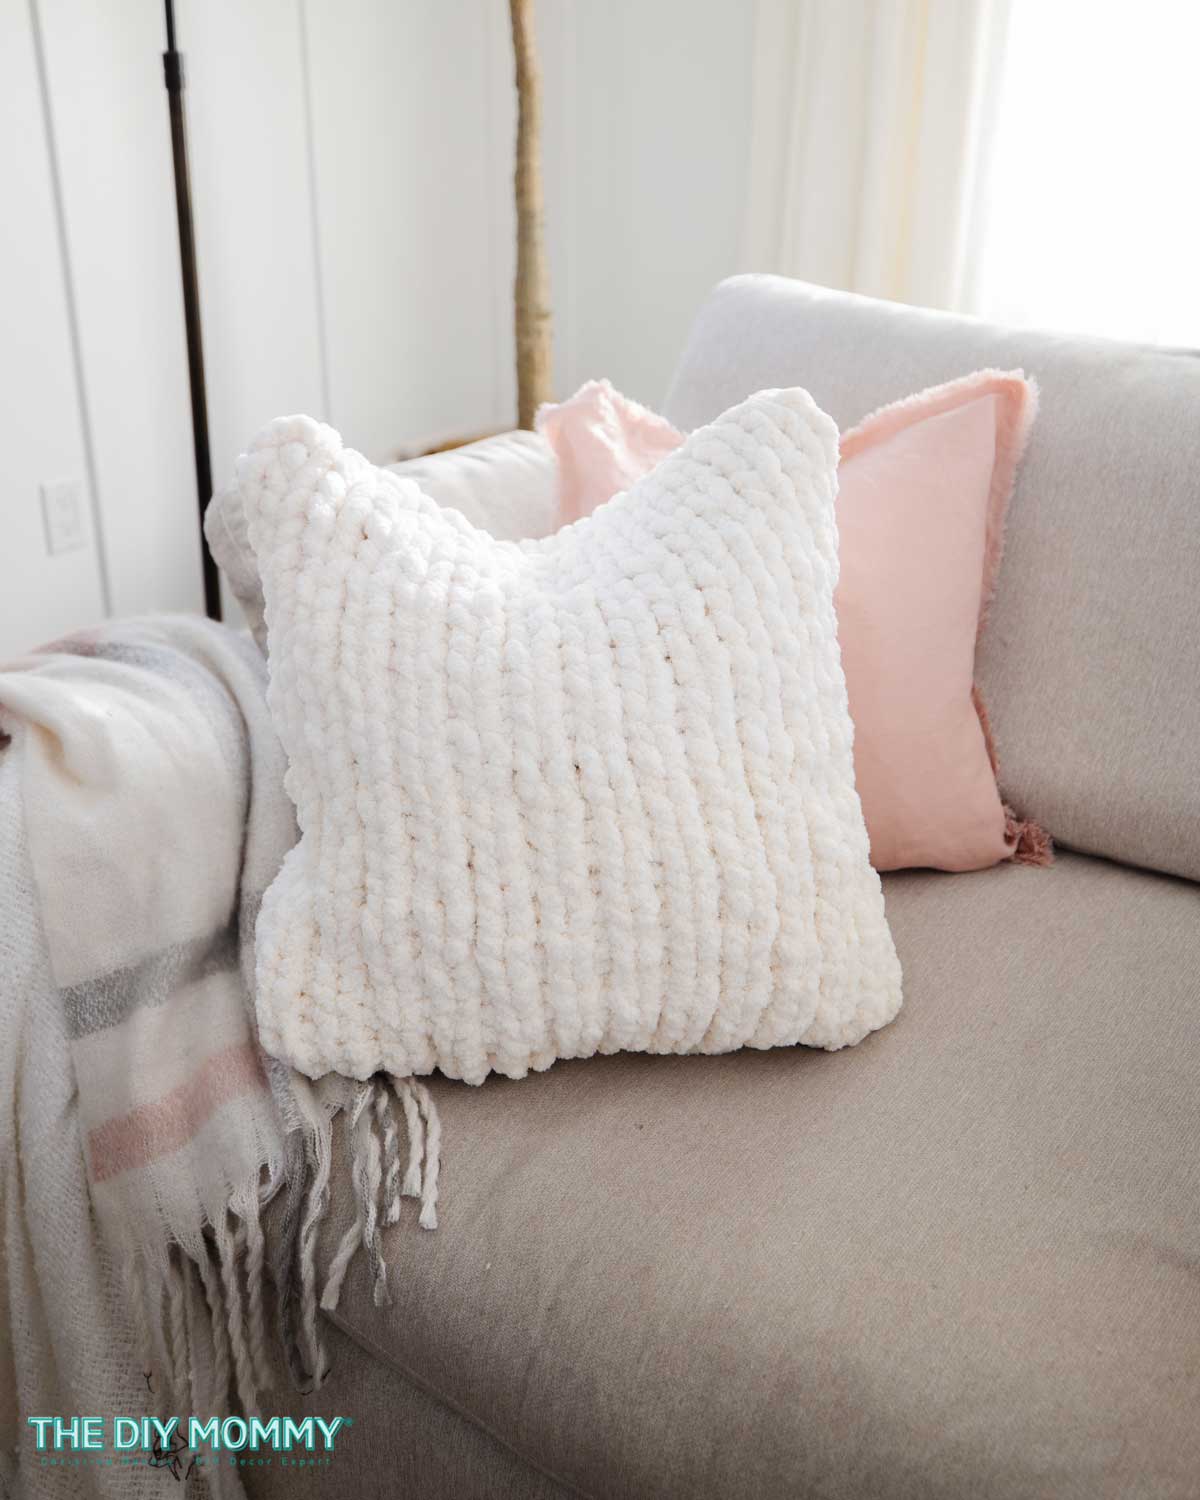
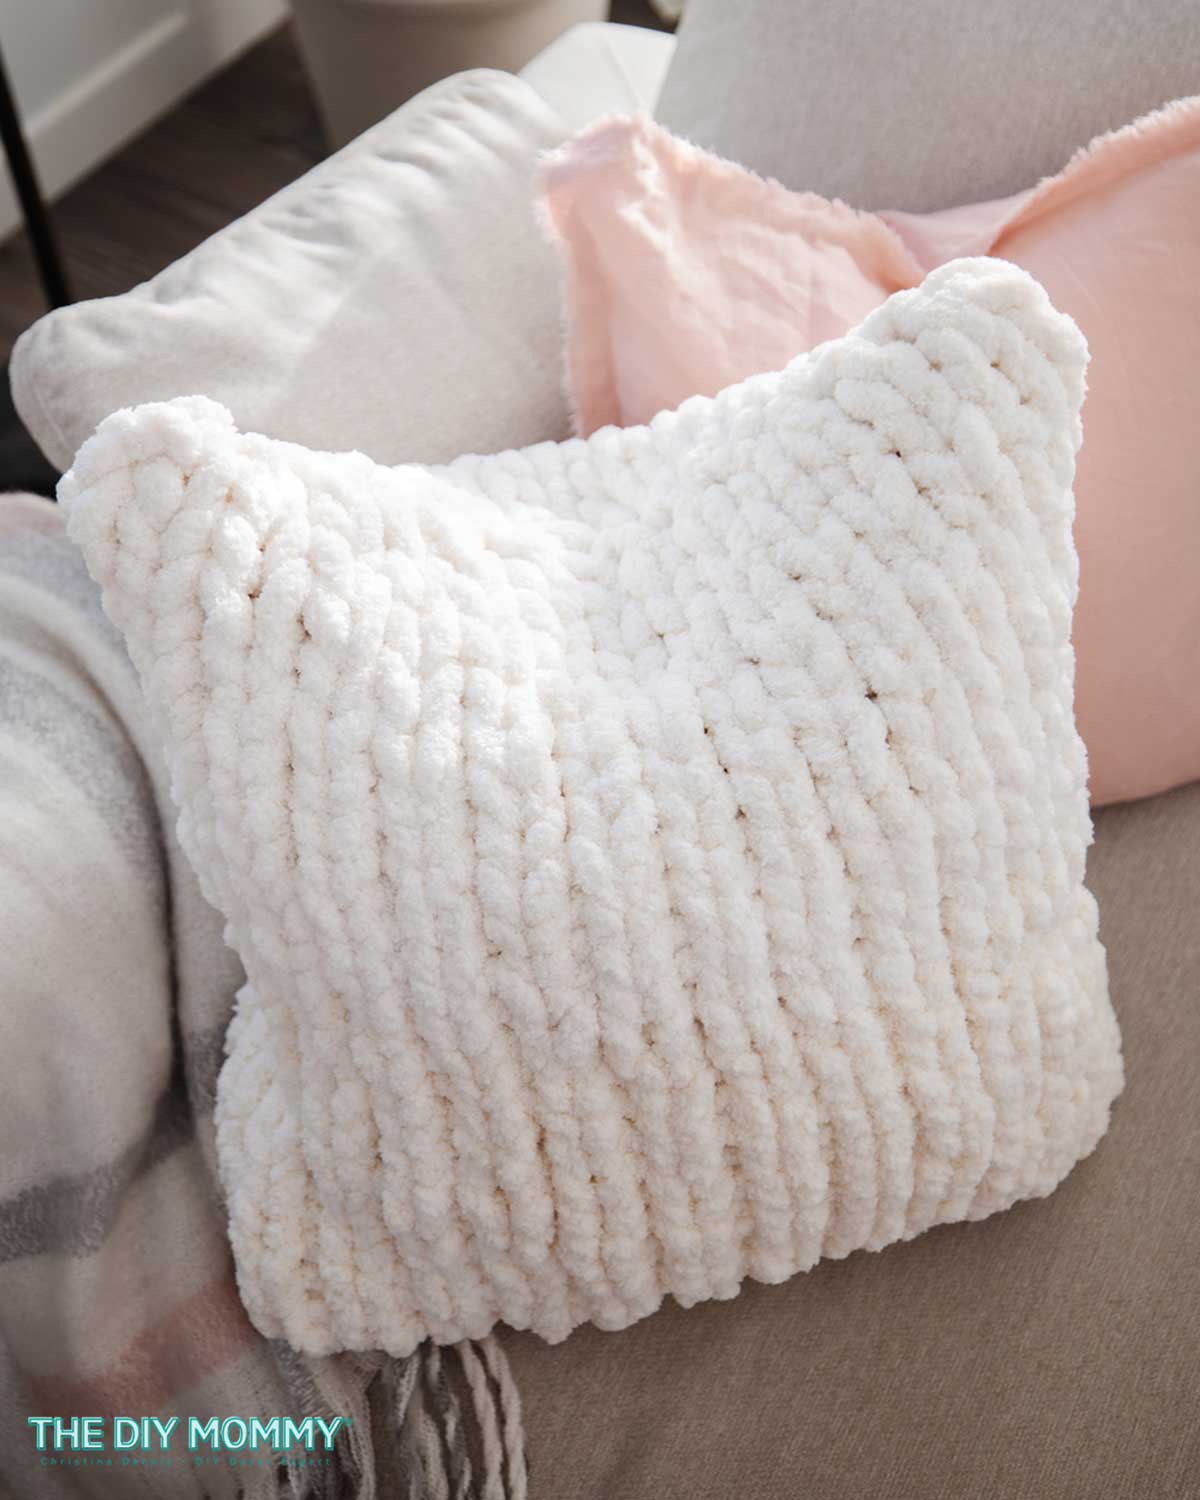
Now, this is the perfect pillow for these cold winter months to add some coziness to your home decor. I love the texture that it adds to my sofa. You can combine it with other white soft pillows, or you can add some pastel toned to pillows beside it for a cheerful pop of colour. I love the white chunky knit because it works with so many different styles and color combinations!
I hope you enjoyed this DIY, and make sure you check out my chunky knit blanket tutorial. This pillow & the blanket would be so cute to make as a matching pair for yourself or to give as a Christmas gift… or a gift for any day of the year!
PIN ME: