How to Make the Easiest DIY Faux Relaxed Roman Shade
This post may contain affiliate links · This blog generates income via ads
Are you ready to add a touch of elegance to your windows without breaking the bank? Well, get excited because I’m about to show you how to make the easiest DIY faux relaxed Roman shade!

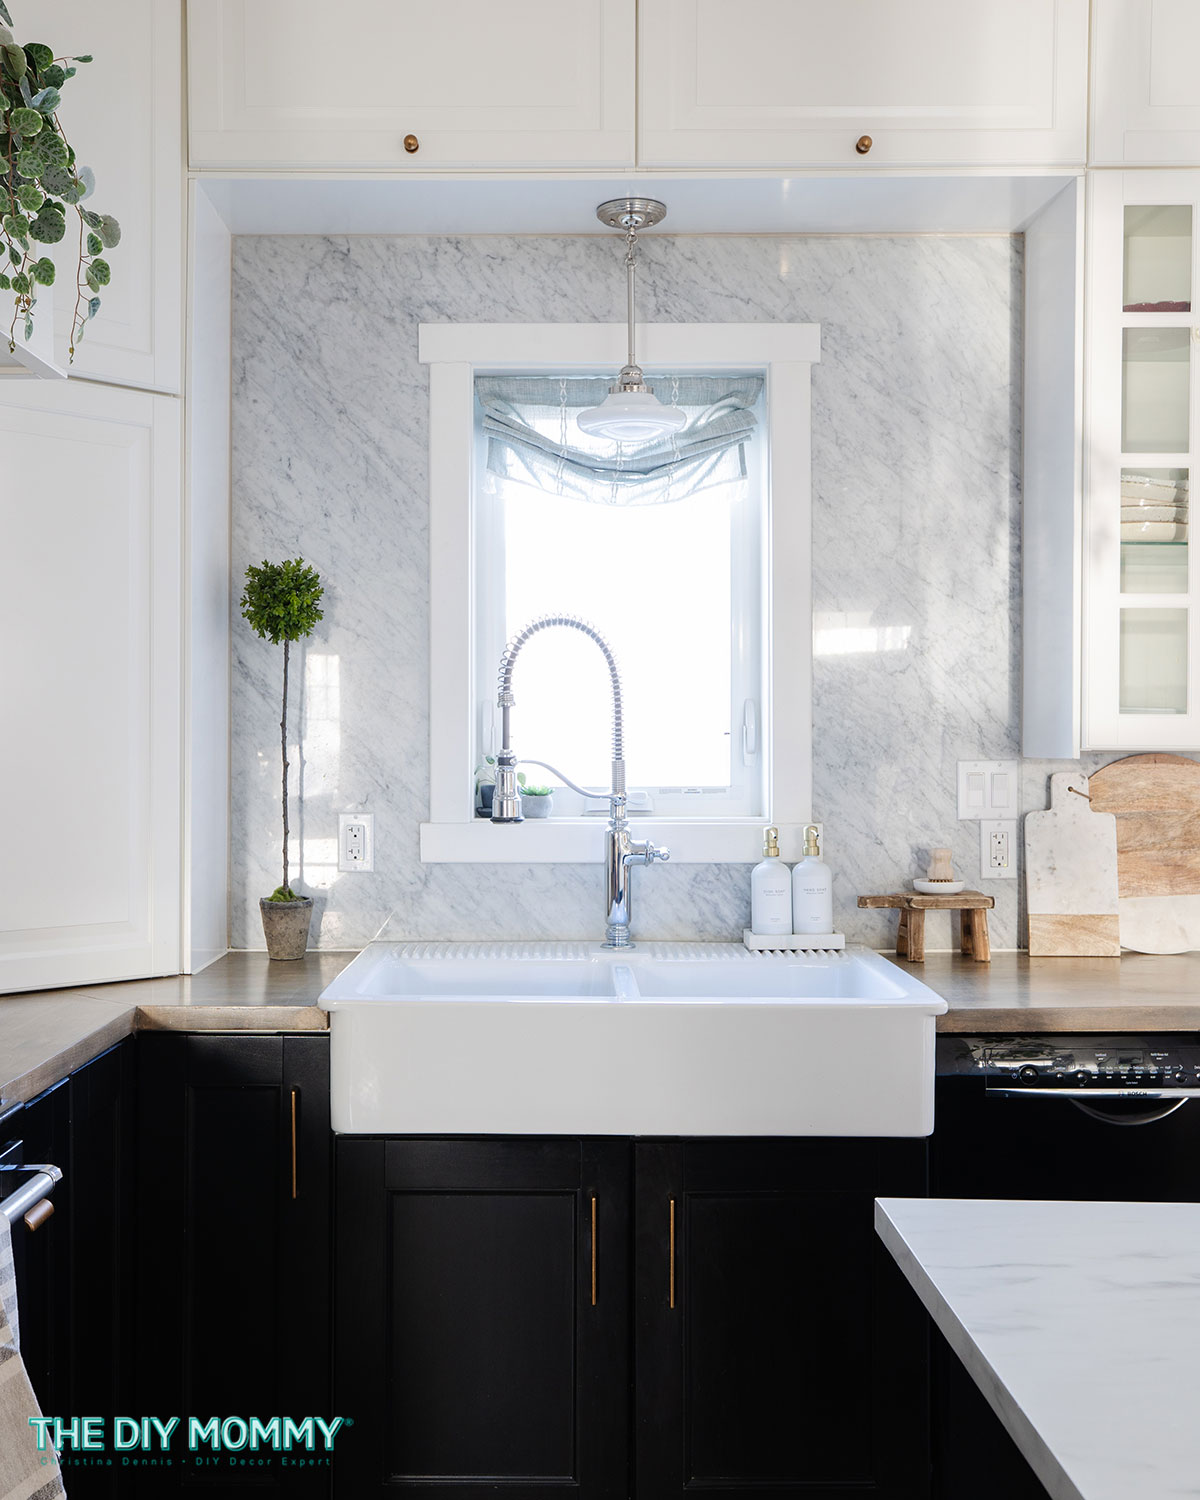
I absolutely adore the soft look of relaxed Roman shades, but let’s be real – some of them come with a hefty price tag. So, instead of splurging, I decided to get creative and craft my own budget-friendly version for my kitchen. Trust me, this DIY project is not only simple but also incredibly satisfying! I love how it looks in the little window over our kitchen sink. Best part? There are no cords to deal with!
This DIY Roman shade is not a functioning shade since I didn’t need any privacy function over our kitchen sink. However, if you want to make a real Roman shade that actually functions, I have a full tutorial for a DIY Roman shade right here. That one uses wooden dowels, plastic rings, and eye screws for a more tailored look. This version is a little easier to create, and it has a more romantic and relaxed look which I love! Blinds or shades are a wonderful window covering solution if you can’t install long drapery, so they’re perfect for a kitchen or laundry room window.
You will need:
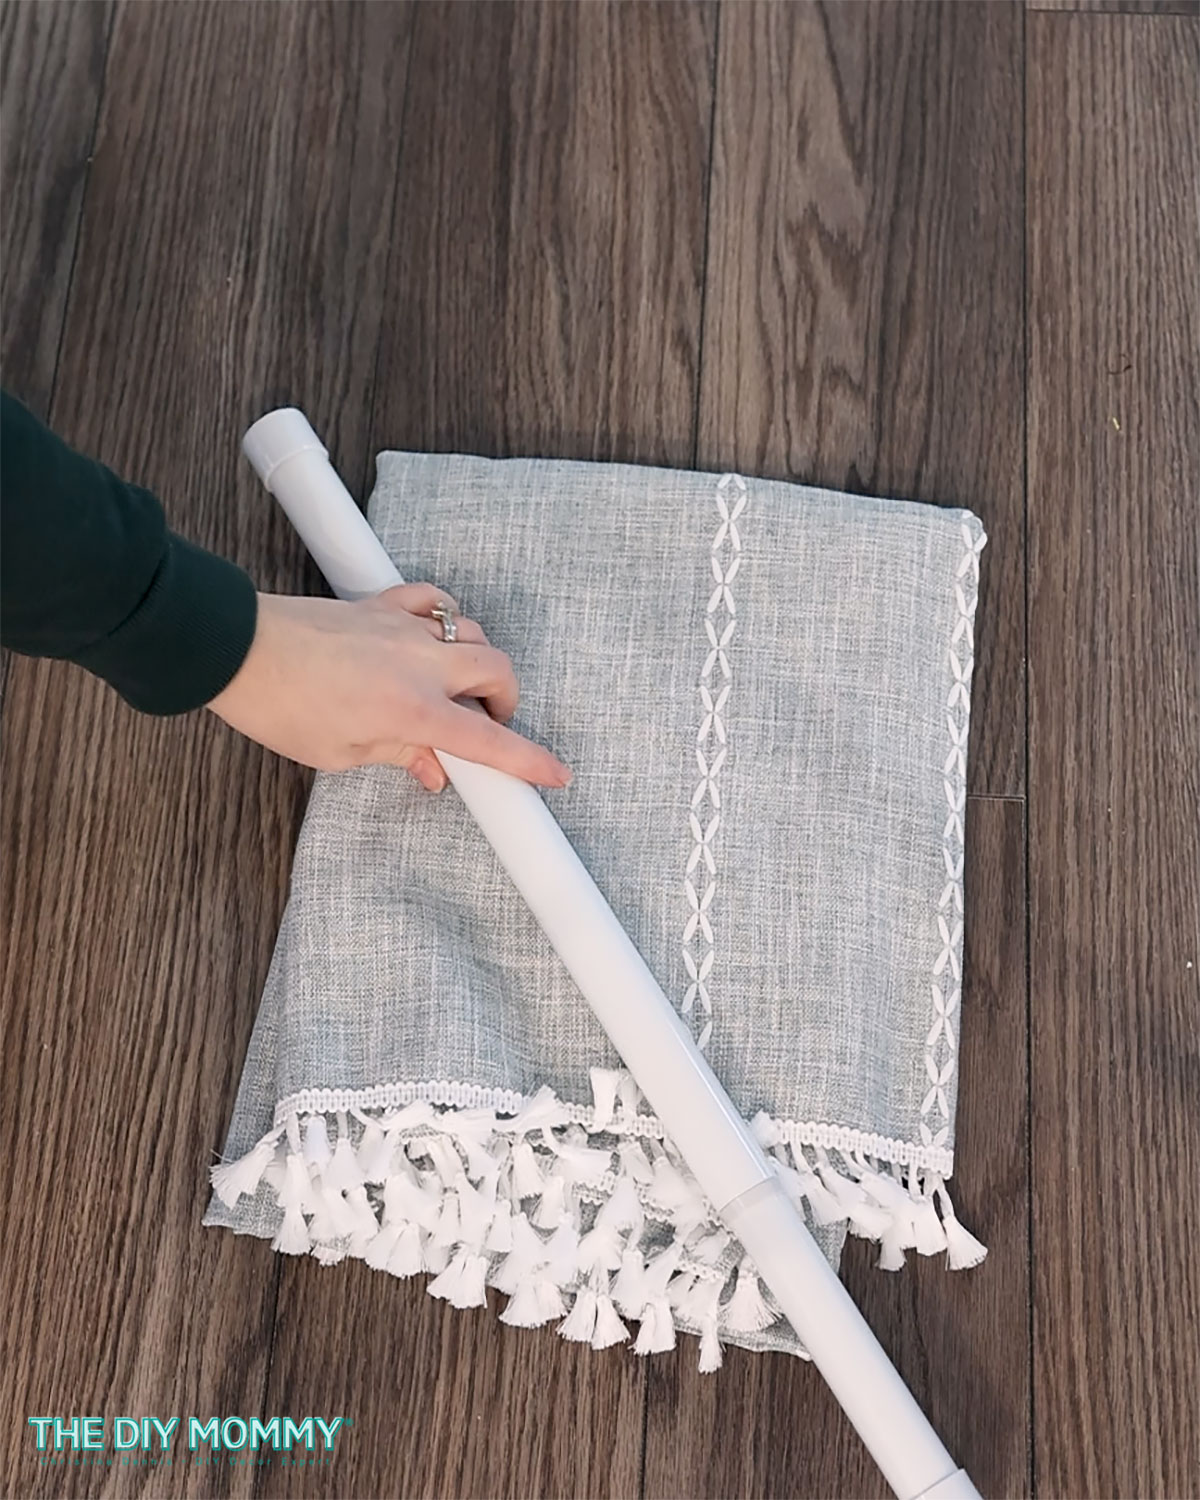
- An Amazon textured fabric tablecloth (Yes, you read that right!)
- A tension rod that fits snugly inside your window frame
- A trusty sewing machine (Don’t worry, you don’t have to be a sewing pro!)
- A needle and thread
- A good pair of fabric scissors
- A ruler or measuring tape
Now that you’ve got everything you need, let’s dive into the fun part!
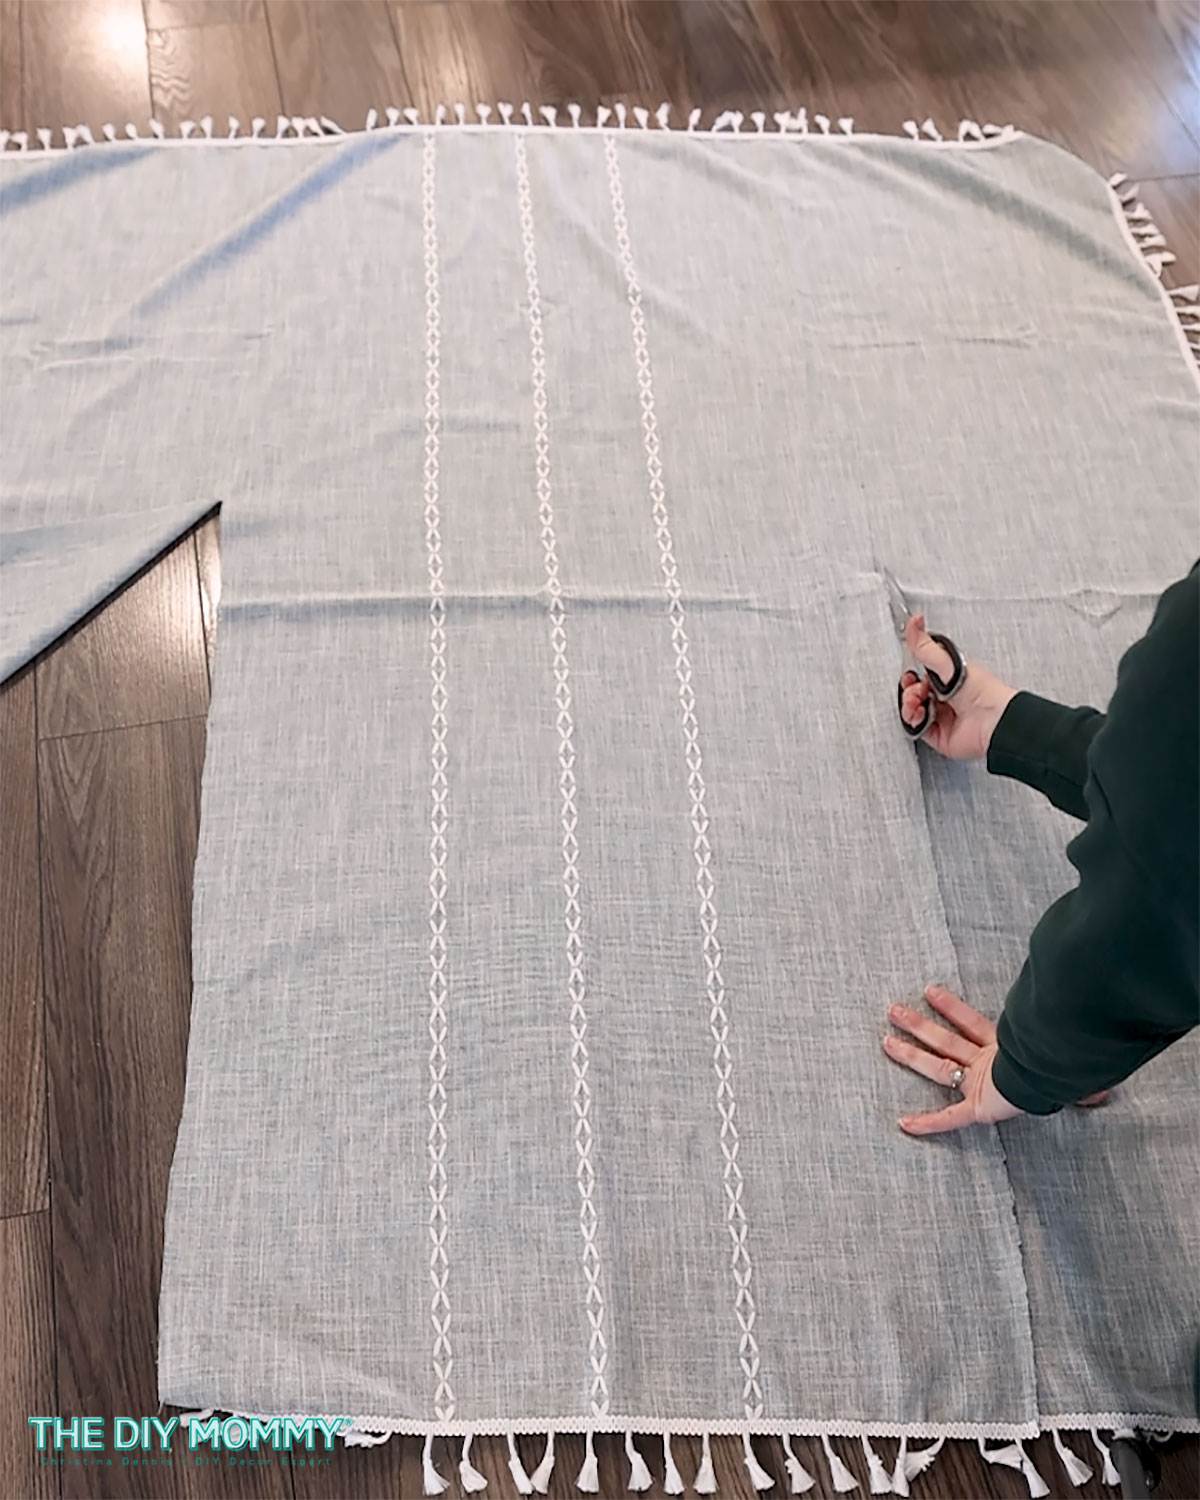
Step 1: Measure Twice, Cut Once
Start by measuring the interior width and interior height of your window for this inside mount shade. Then, cut your tablecloth so that it’s 2 inches wider and 7 inches longer than those measurements. You can use the finished edge of the tablecloth for your bottom hem. This excess fabric will be used to create hems and a casing.
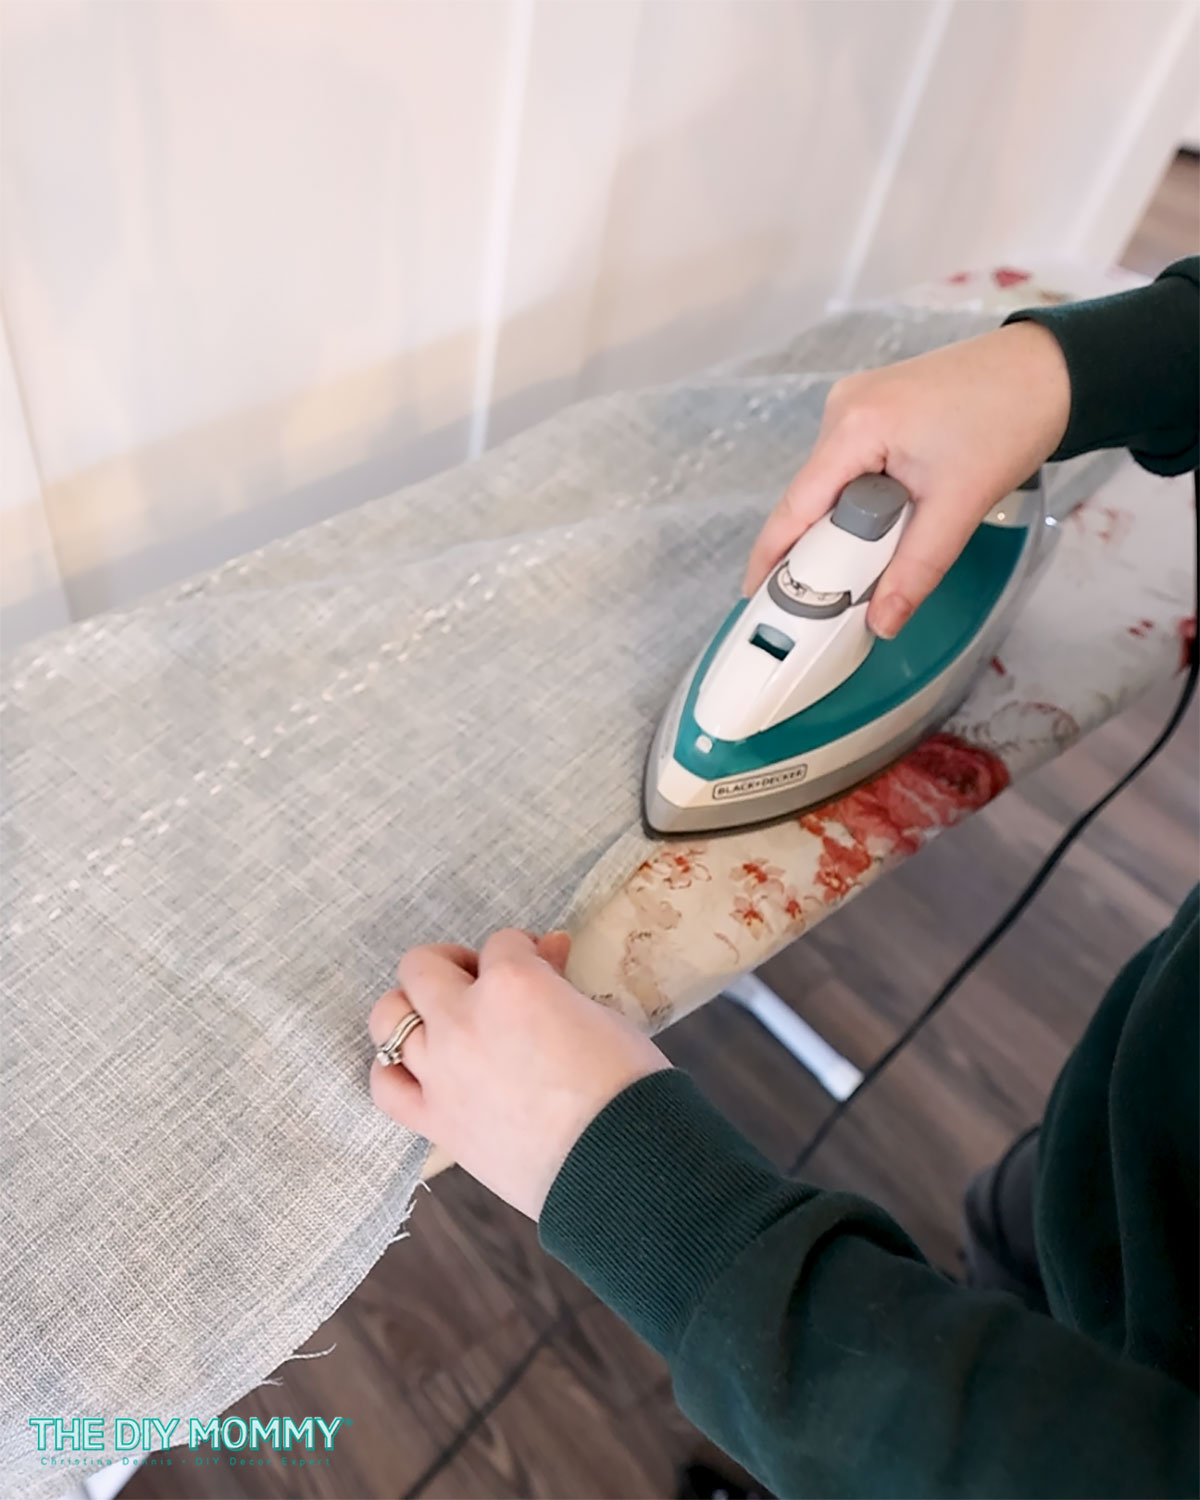
Step 2: Press and Sew
Fold the sides of the fabric over by 1/2 inch, and then another 1/2 inch, to create the side hems. Use a ruler to ensure the folds are the right width and ensure the raw edge of the fabric is tucked inside the hems. Pin if desired, and then press with an iron.
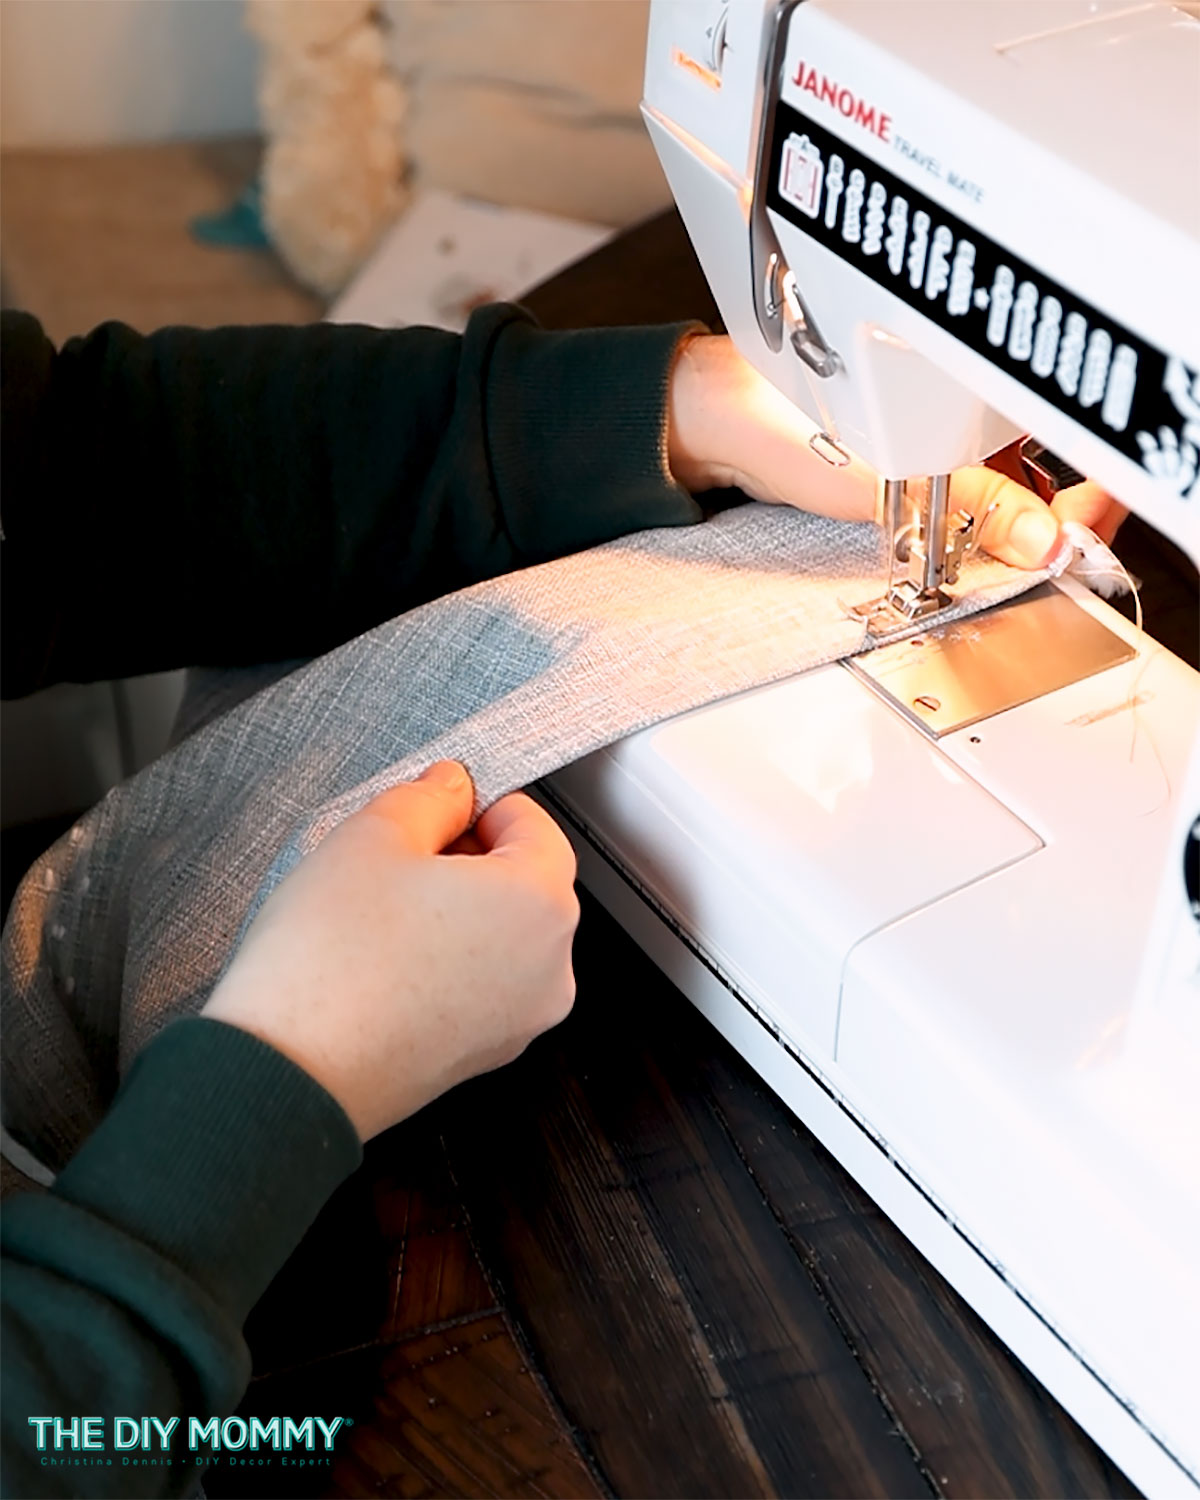
Use your sewing machine to stitch along both sides, securing the hems in place. Your DIY relaxed Roman shade is started to take form!

Step 3: Create a Casing
Next, it’s time to create a casing for the tension rod along the top of your fabric. Fold the top edge over by 1/2 inch, and then 2 1/2 inches to leave enough room for the rod pocket. Once again, sew along the bottom folded edge using your sewing machine. You don’t need to worry about the bottom seam because you’ve used the tablecloth hem for that!
Step 4: Thread the Rod
Slide the tension rod through the casing you just created. Make sure it fits snugly inside the casing, as this will help your shade hang beautifully once it’s finished.

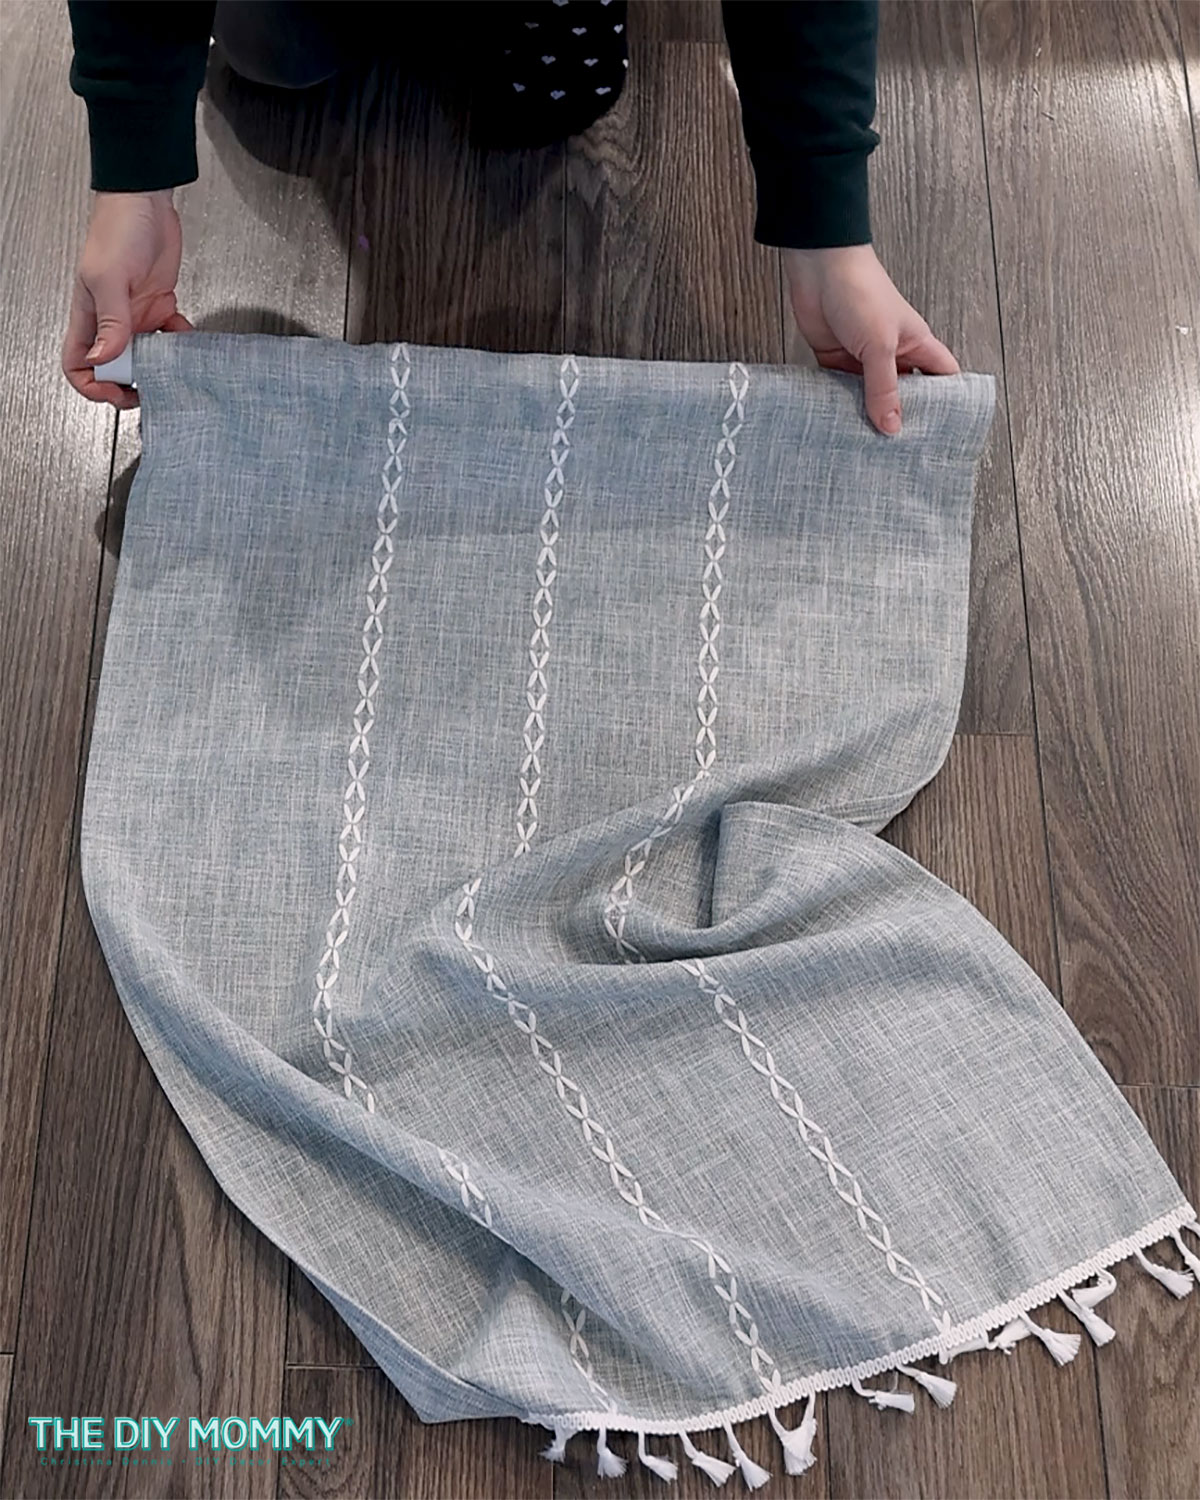
Step 5: Gather and Sew
Now, for that relaxed Roman shade look! Use a needle and thread to gather the fabric at each side of the shade in 4-inch intervals. This will create those lovely cascading pleats that give relaxed Roman shades their signature style.
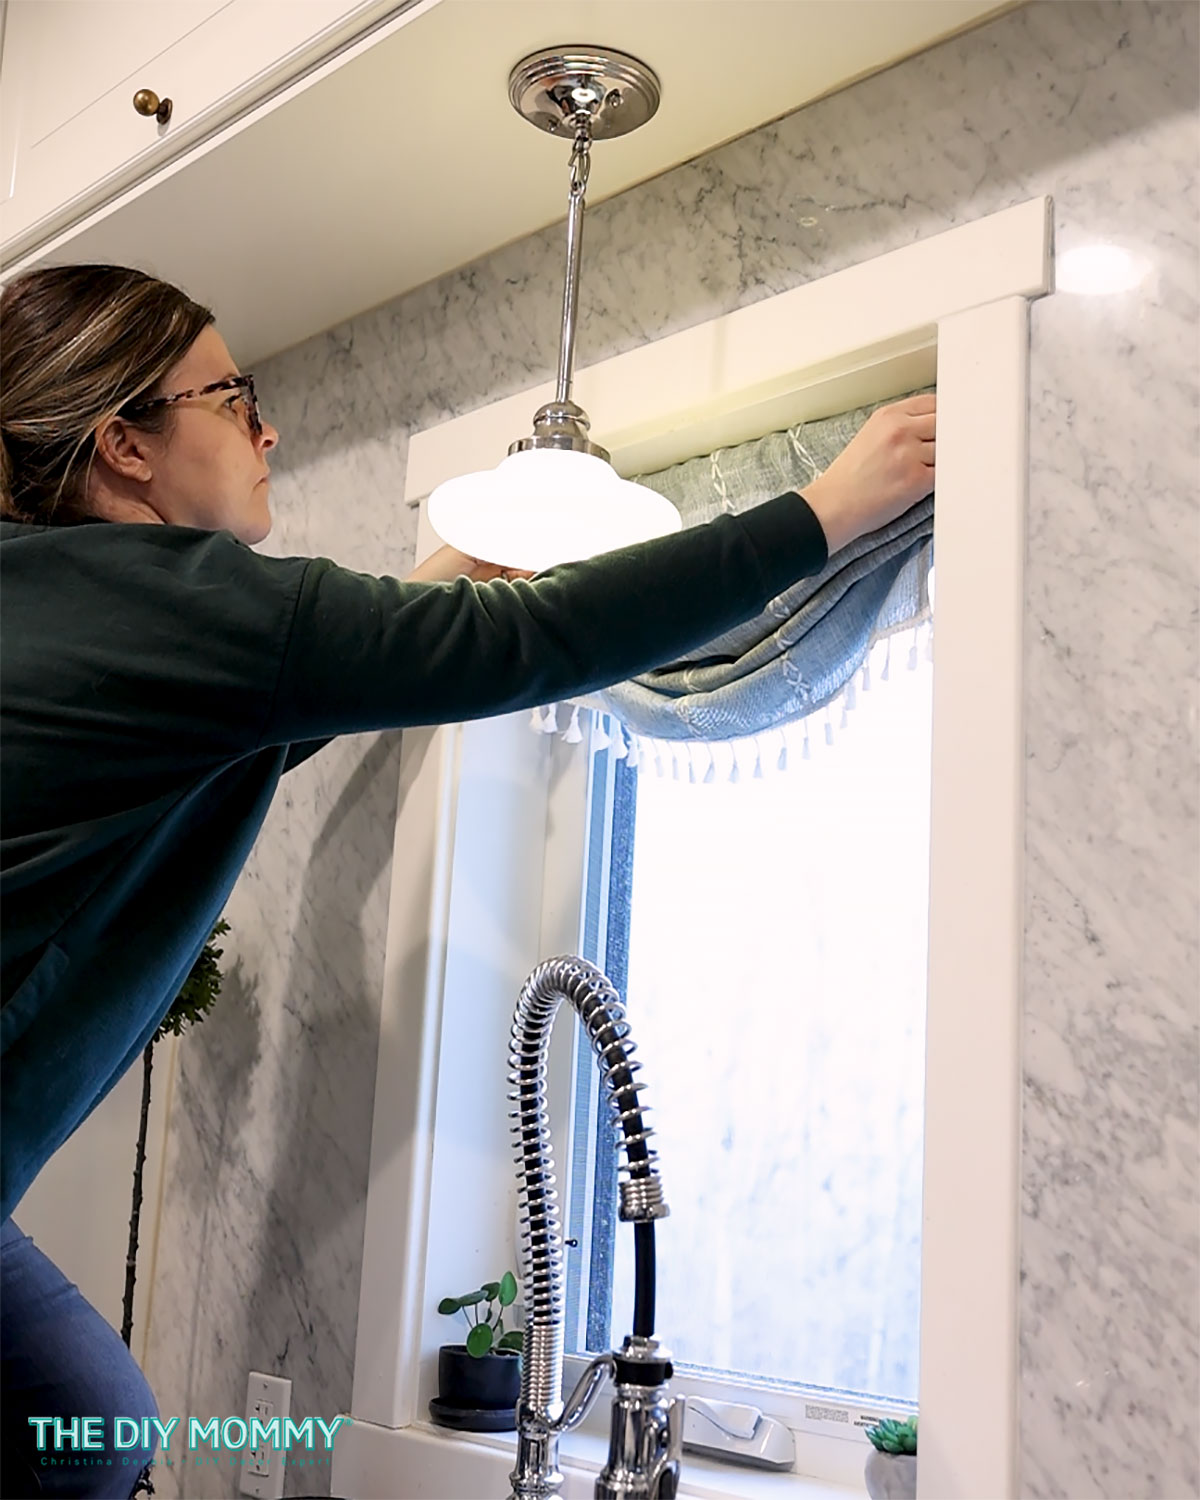
Step 6: Hang with Pride
Finally, it’s time to hang your masterpiece! Simply place the tension rod inside your window frame at the top, adjusting it until the shade is perfectly positioned.
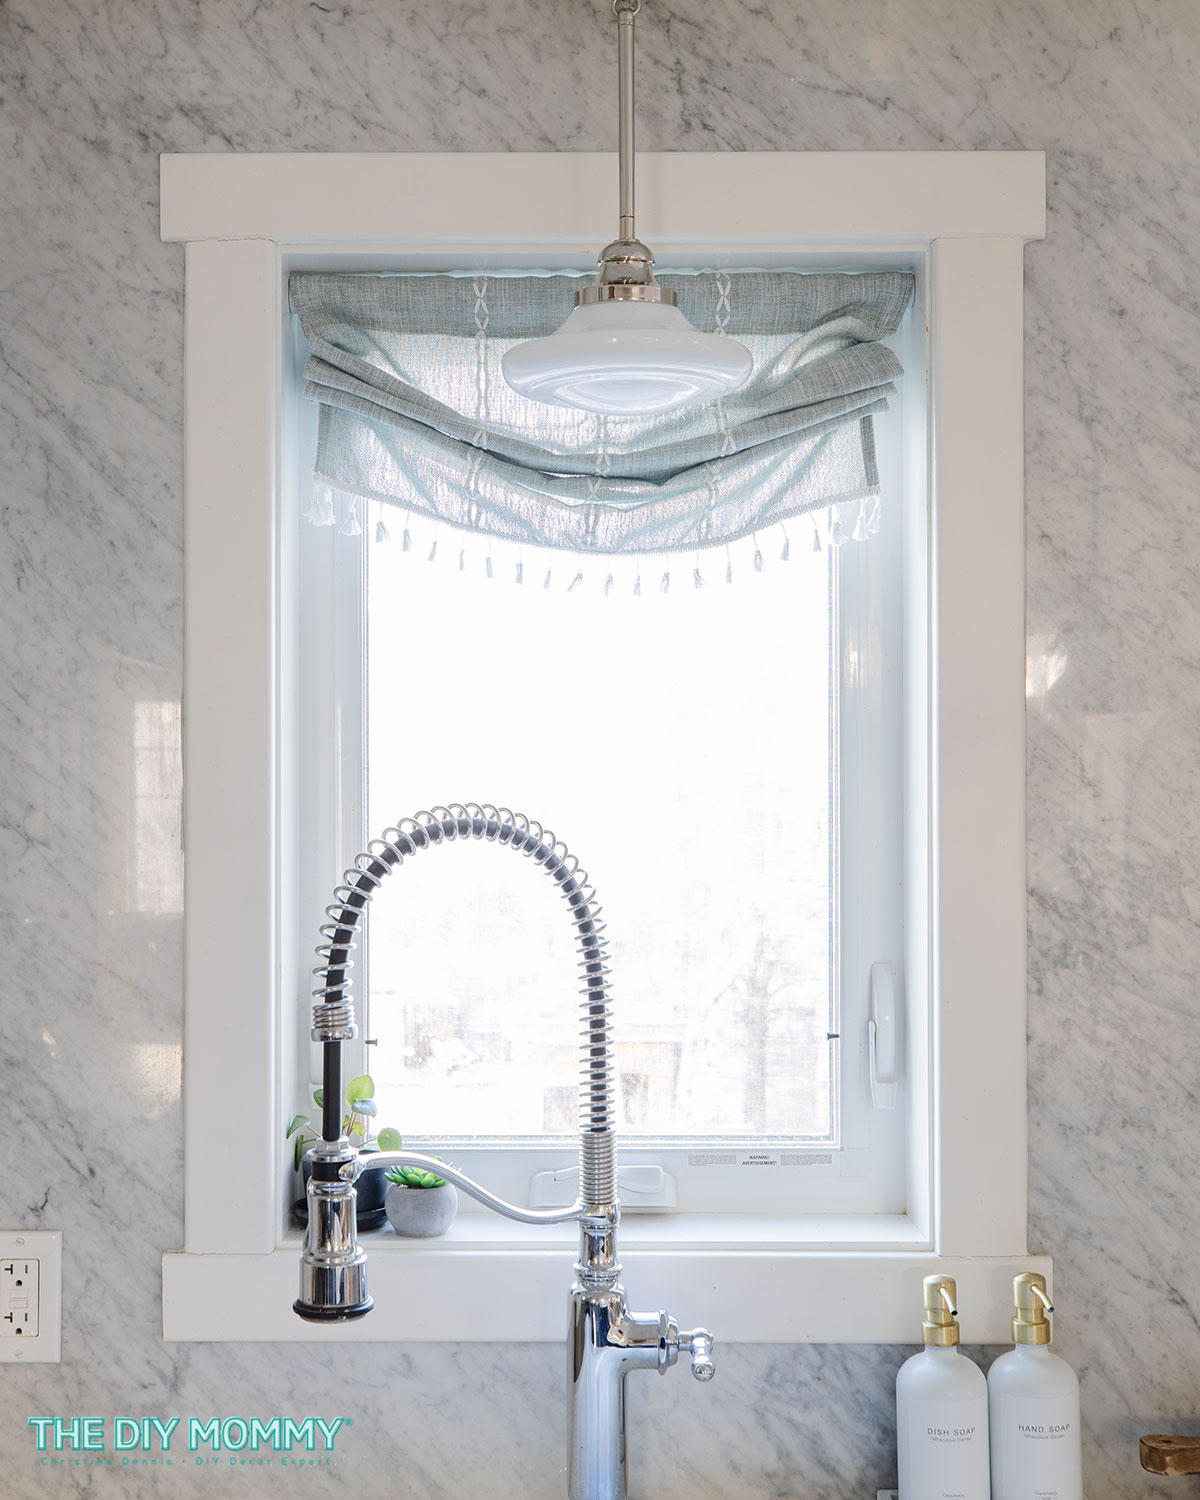
And there you have it – your very own DIY faux relaxed Roman shade! Not only did you save a ton of money, but you also added a personal touch to your home decor. I hope you enjoyed this simple tutorial. If you want some more DIY window treatment inspiration, I’m sharing all of my favourite ways to make window coverings right here!