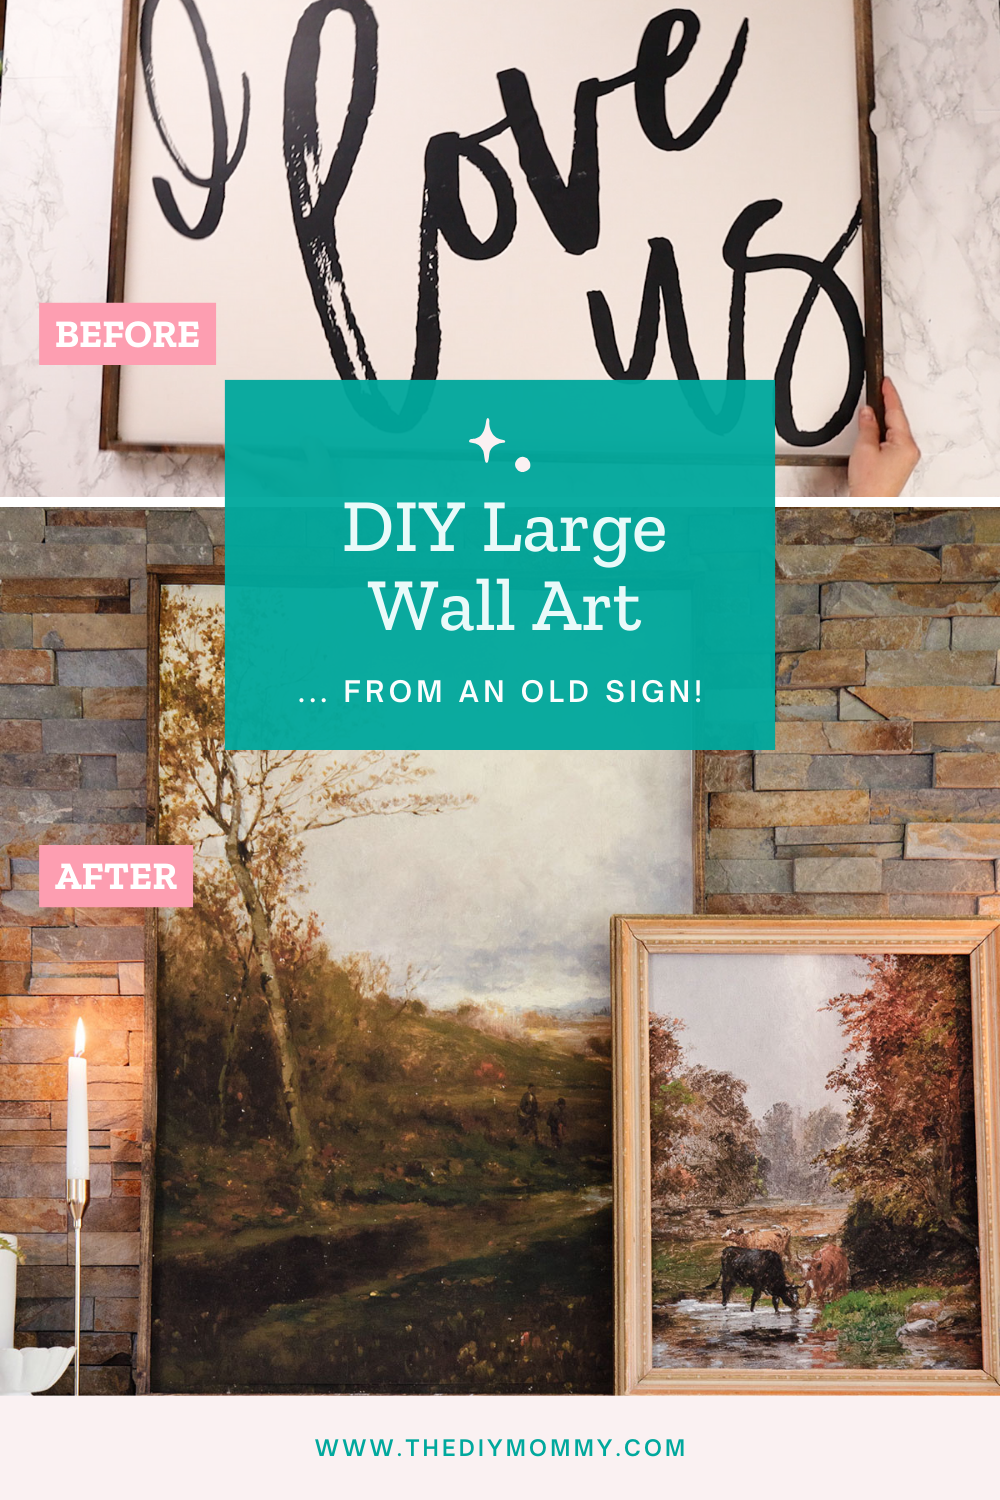
Transform an Old Sign into Stunning Textured Vintage Landscape Art for Your Walls
This post may contain affiliate links · This blog generates income via ads
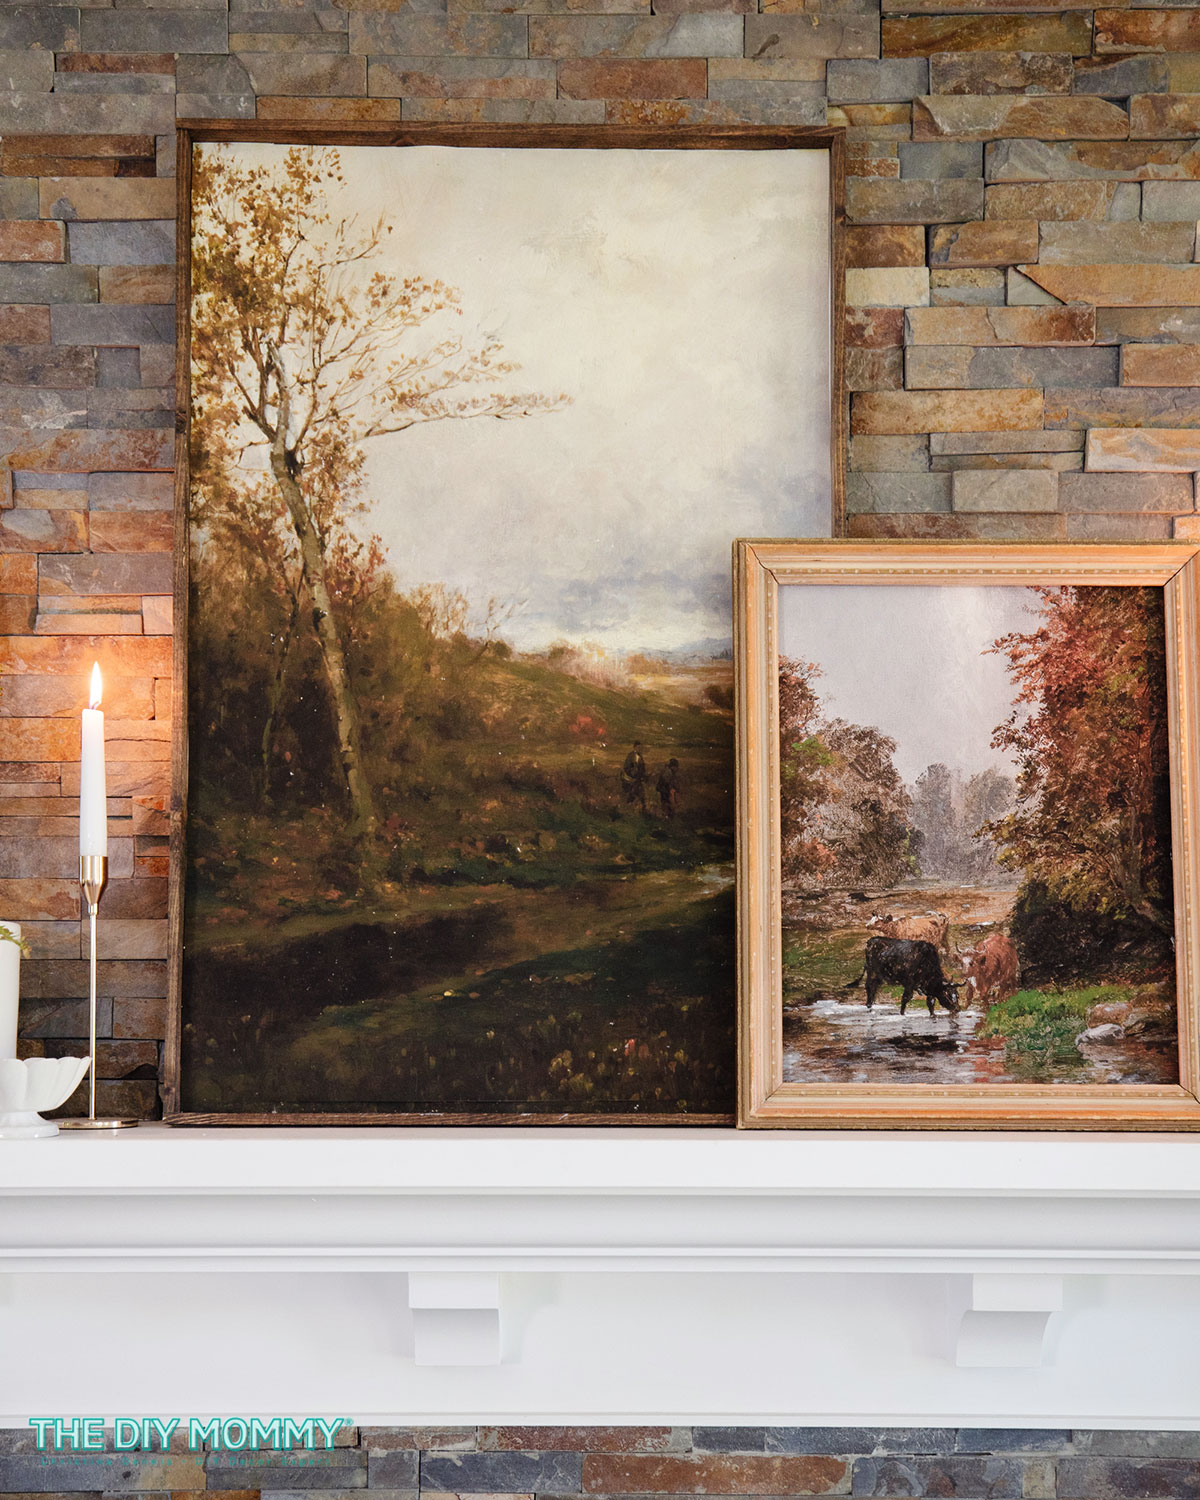
Large-scale art for your walls or mantel can be pricey, but in today’s post I’m going to show you how to create some gorgeous large DIY wall art. If you have old word art sign from the 2010s hanging around, you can upcycle it into this stunning textured vintage landscape art. It’s the perfect piece for Fall, or for any time of year in your traditional, transitional, cottagecore or modern organic styled home. Let’s get started!
I still love some of my old word art that I collected in the 2010s, but I’m ready to say goodbye to some of it, too! Rather than donating it, I found a way to upcycle it into gorgeous, oversized vintage landscape art for my living room. This transformation isn’t hard to do, and it’s a great way to make large-scale wall art on a budget! If you have some wall space in need of a large piece of wall art, you might just love this tutorial.
Watch my video for my large DIY wall art step-by-step tutorial
Materials needed
- old wooden framed sign (or a thrifted frame or dollar store framed wooden canvas)
- poster printed vintage landscape art
- matte Mod Podge
- foam brush
- stiff bristled paint brush
Textured Large DIY Wall Art Instructions
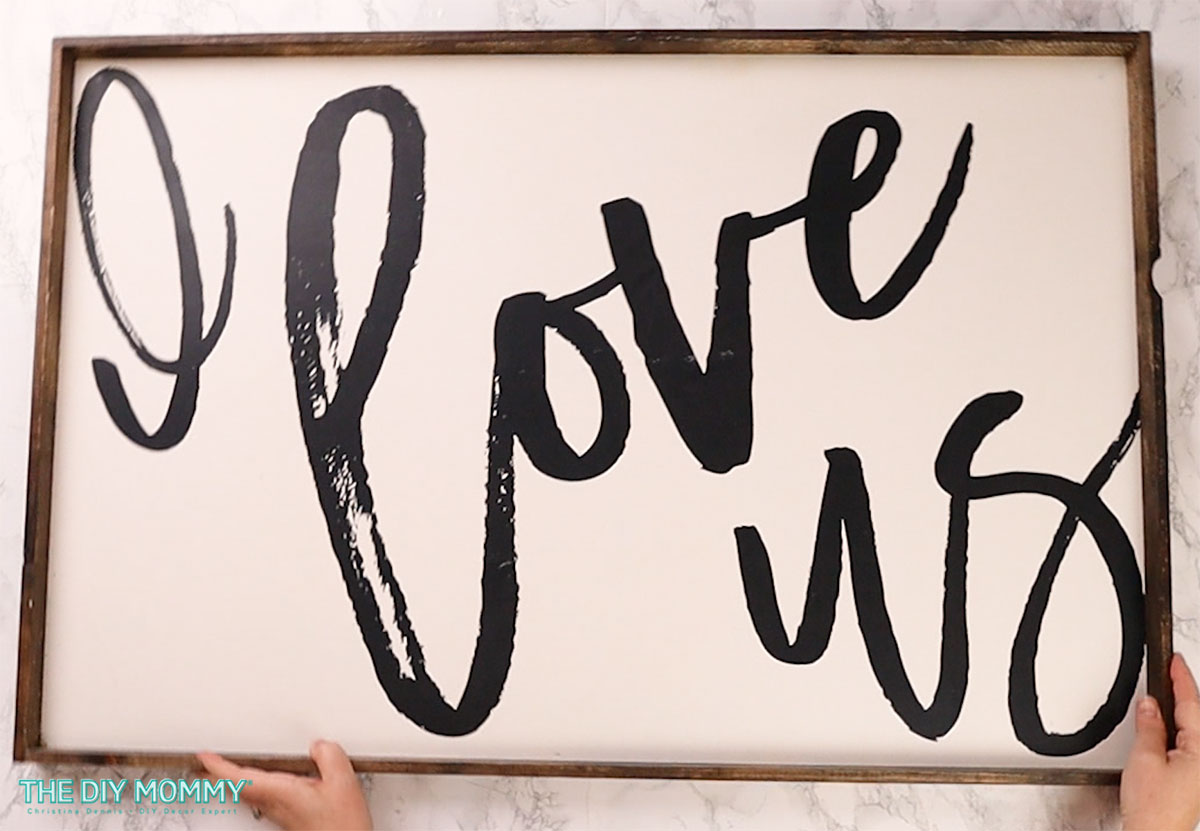
Find old wooden sign art
To begin, find some of your own wooden framed sign art like the one I have above. Don’t have old sign art? You can upcycle similar large DIY wall art using a thrift store frame, or start with a wooden framed canvas from the dollar store.
Purchase & print vintage landscape art
Next, find your favourite vintage landscape art file on Etsy. There are lots of shops that offer inexpensive downloads for gorgeous antique and vintage landscapes. Here’s the one that I used, and I only paid a few dollars for this file. Have your file printed at your local print shop or copy shop (I use Staples) as a full colour poster that’s the same width and height as the inside of your sign’s frame. If you can’t make it exactly the same size, make it slightly larger than your sign and trim it to fit.

Apply Mod Podge
Then, apply some matte Mod Podge to the old sign inside the frame. Use a generous amount, and spread it all over your art with a foam brush. You may want to put your art on a large drop cloth before applying the Mod Podge… it can get messy!
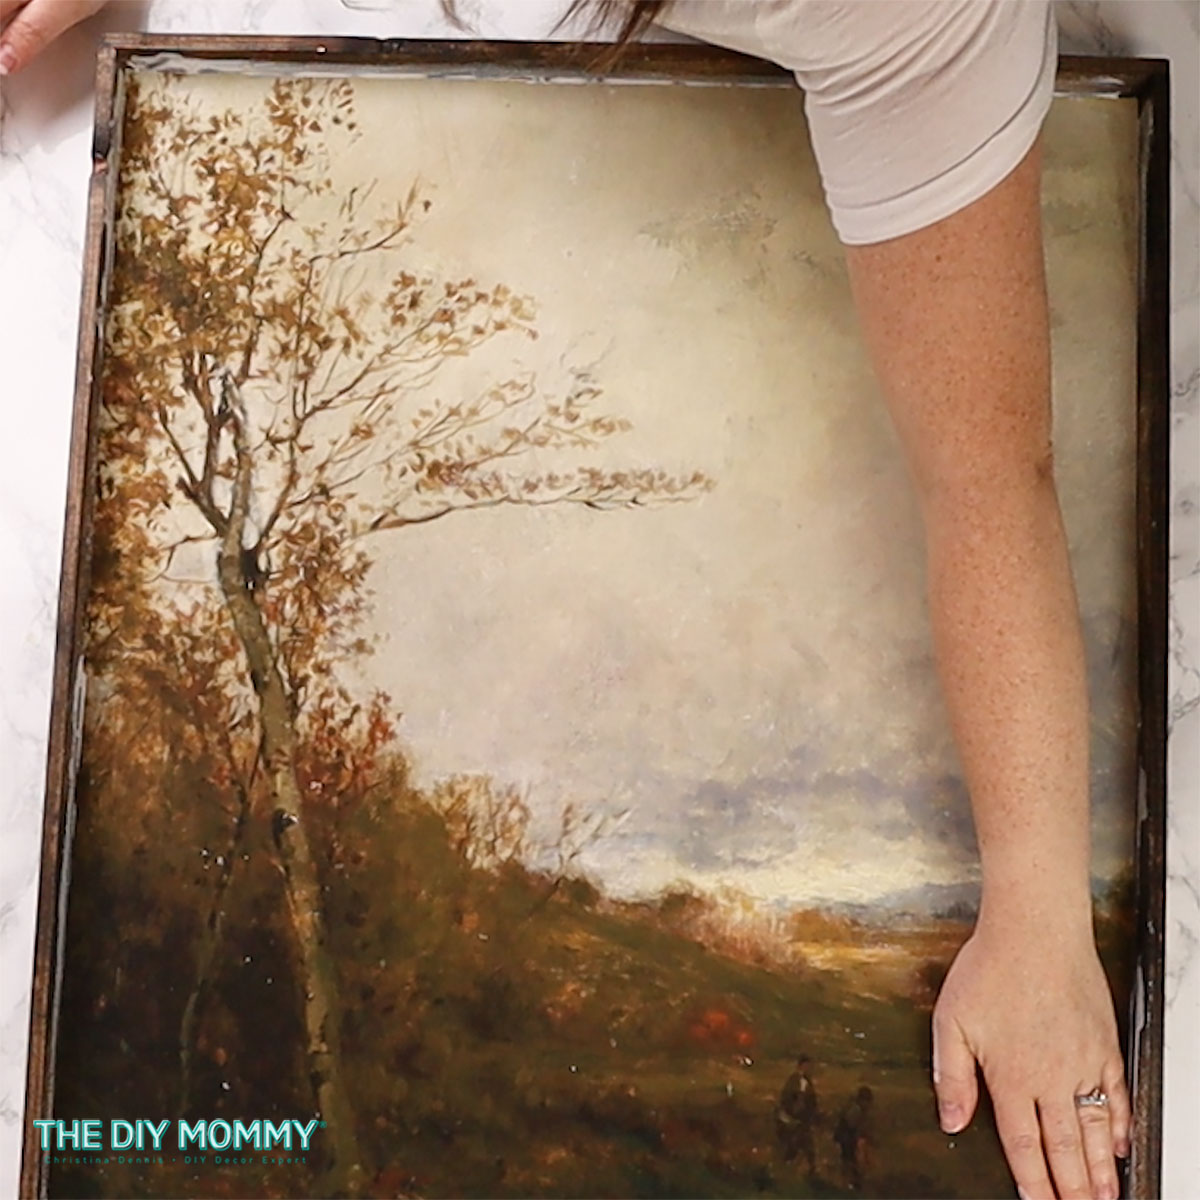
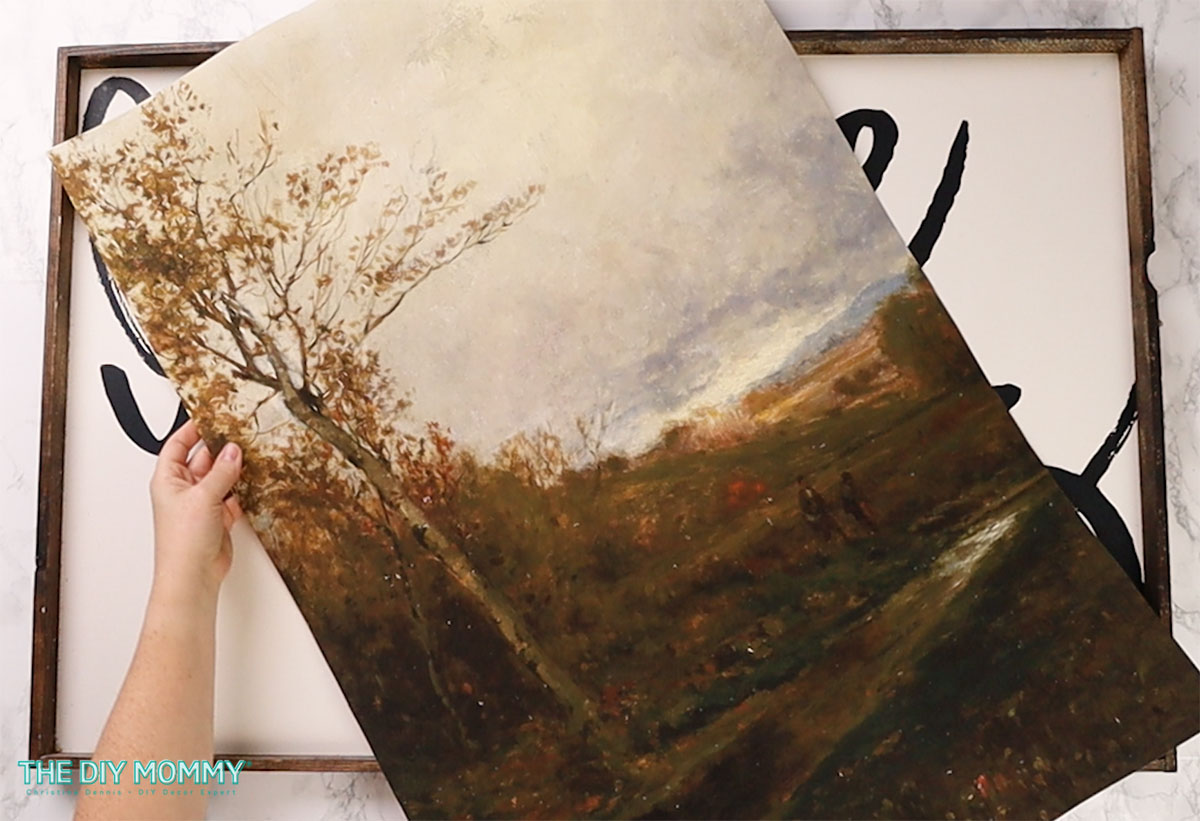
Smooth the art onto the frame
Now it’s time to add the printed vintage art to the frame. Smooth the art onto the Mod Podge on the frame. Use your hands or a brayer to smooth the art so that there are no wrinkles or ripples.
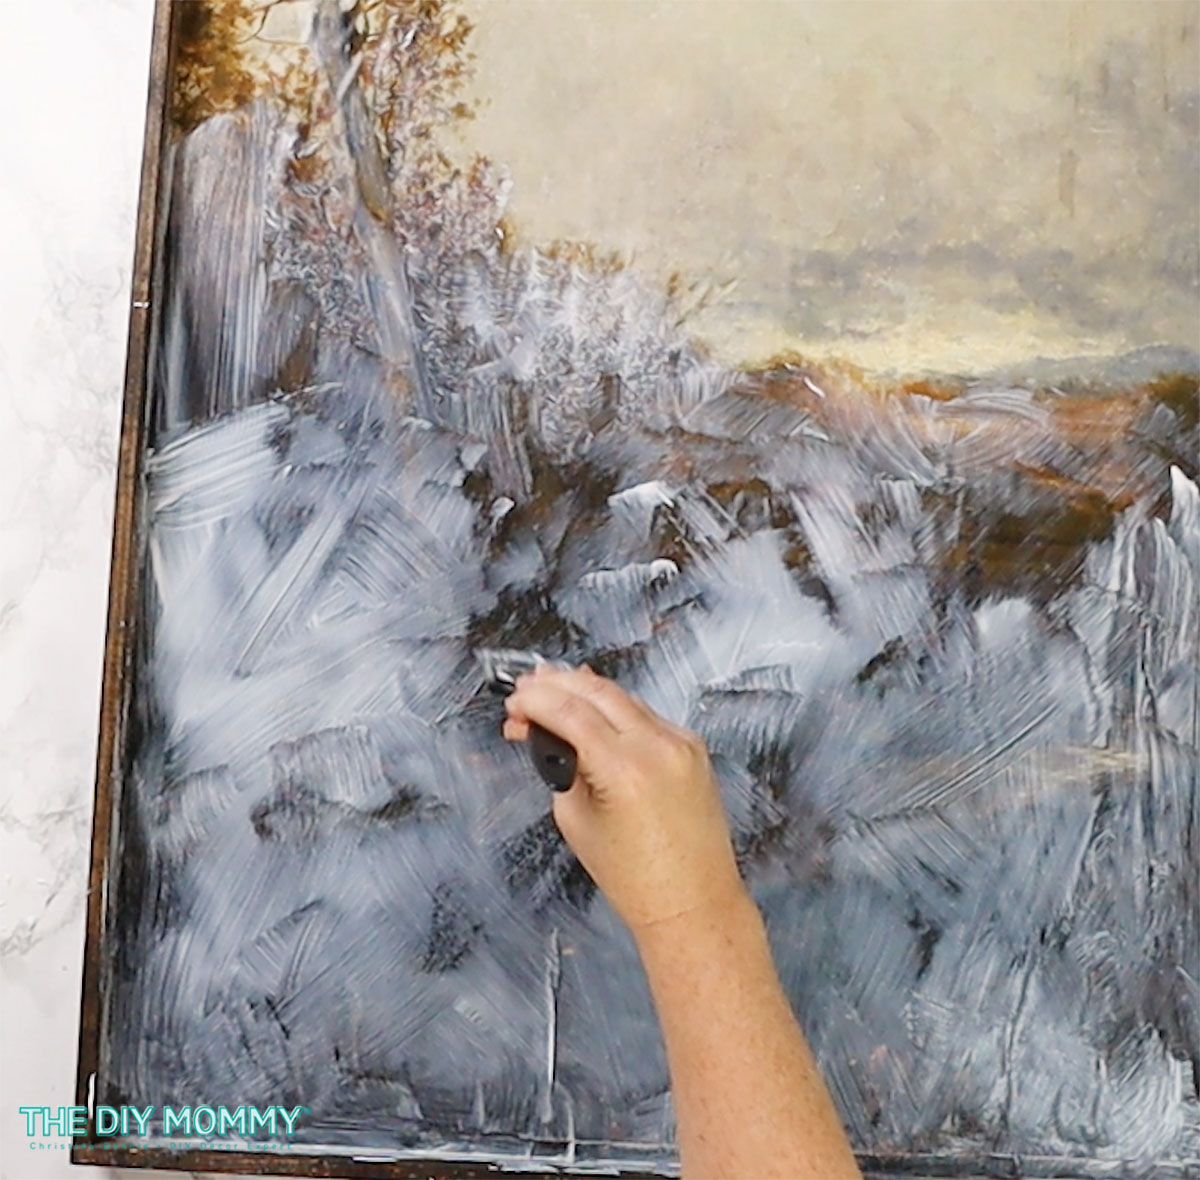
Seal & add texture to the DIY wall art
Finally use more Mod Podge and a foam brush to seal your DIY large wall art. You can even add some texture to the art to make it look like a painting. Use a stiff brush to make criss-crossed textured strokes and stippling effects.

Let your art dry, hang it up on your wall or display it on your fireplace mantel in your living room, and enjoy your beautiful vintage artwork! This is an easy DIY upcycle that you can now enjoy for many more years to come.
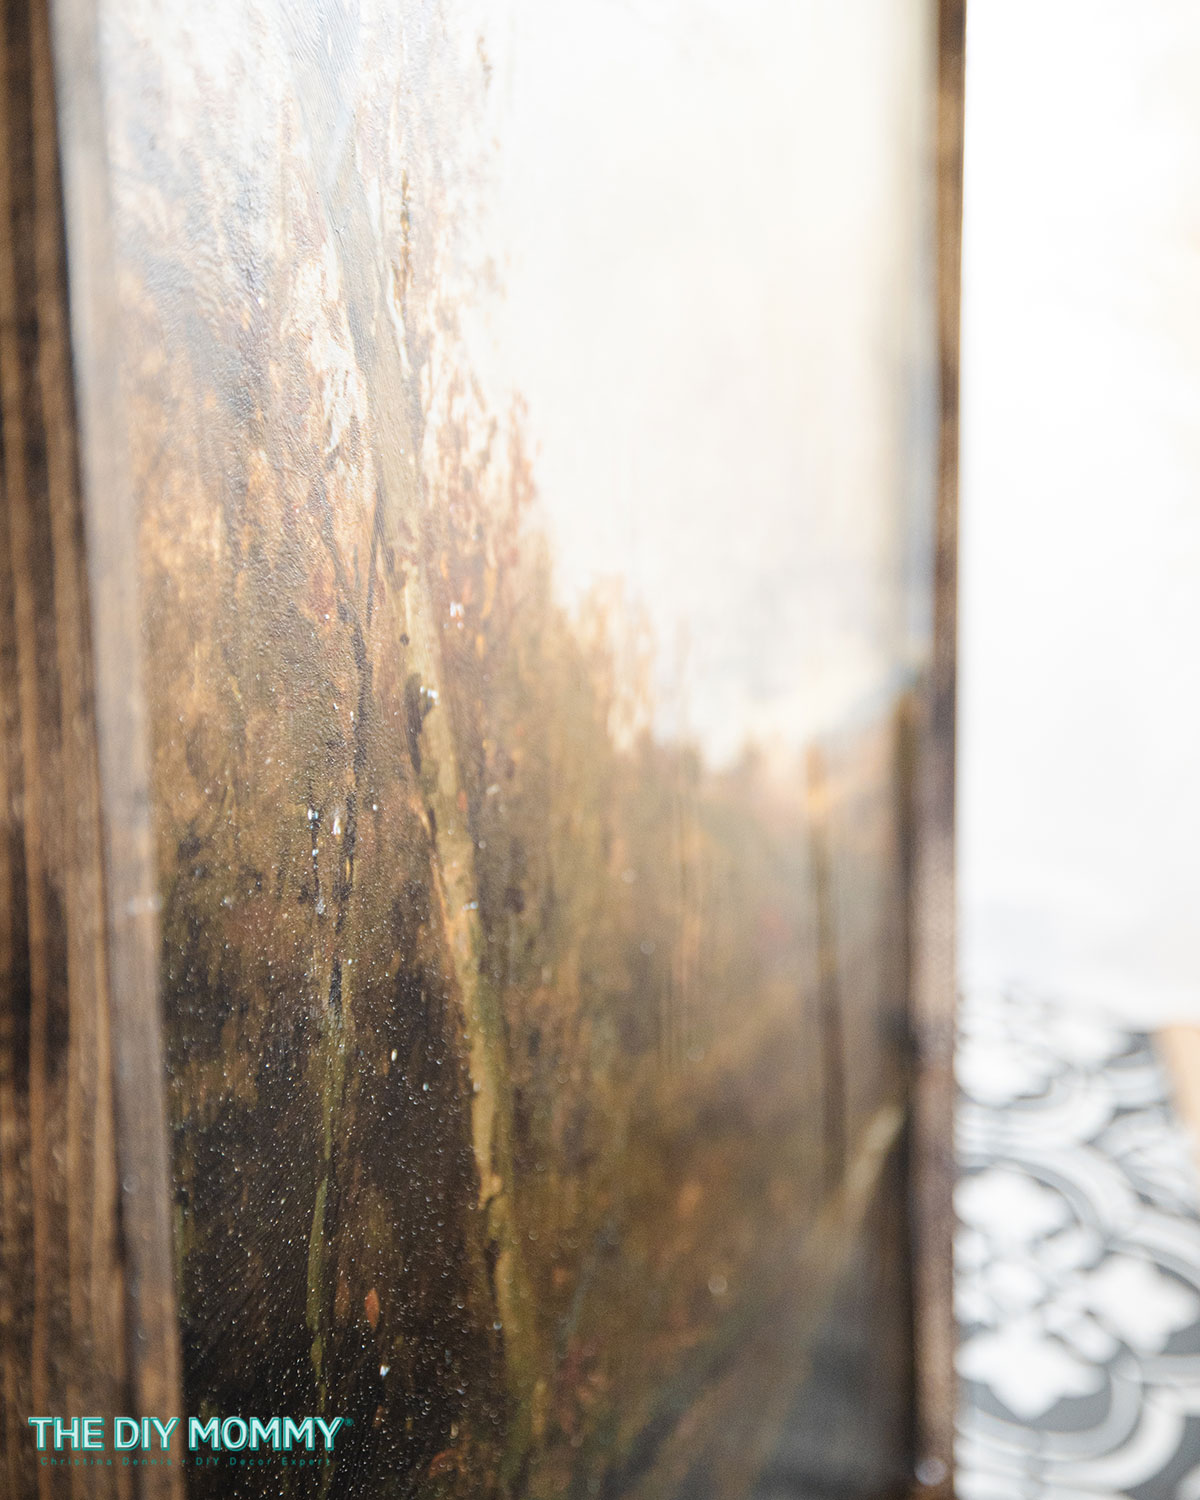
It’s hard to photograph the texture, but here’s sort of how the texture looks close up:
More large DIY wall art ideas
Have some blank walls to fill? Here’s more inspiration on how you can create large-scale DIY art that’s budget friendly and beautiful:
- put some patterned fabric, wrapping paper or wallpaper that matches your home decor in a large IKEA picture frame
- use plater of Paris and latex paint to make some textured abstract art like this
- use printed shower curtains as large wall tapestries like I did in my studio with this vintage map shower curtain
- make a wall hanging from a large printed photo and scrap wood
- use a Cricut to make a stencil to make your own large piece of art
- buy oversized thrift store art with a mat, and paint the mat with acrylic paint to make it look more updated
Thank you Christina! I’m going to try this! What an awesome idea!