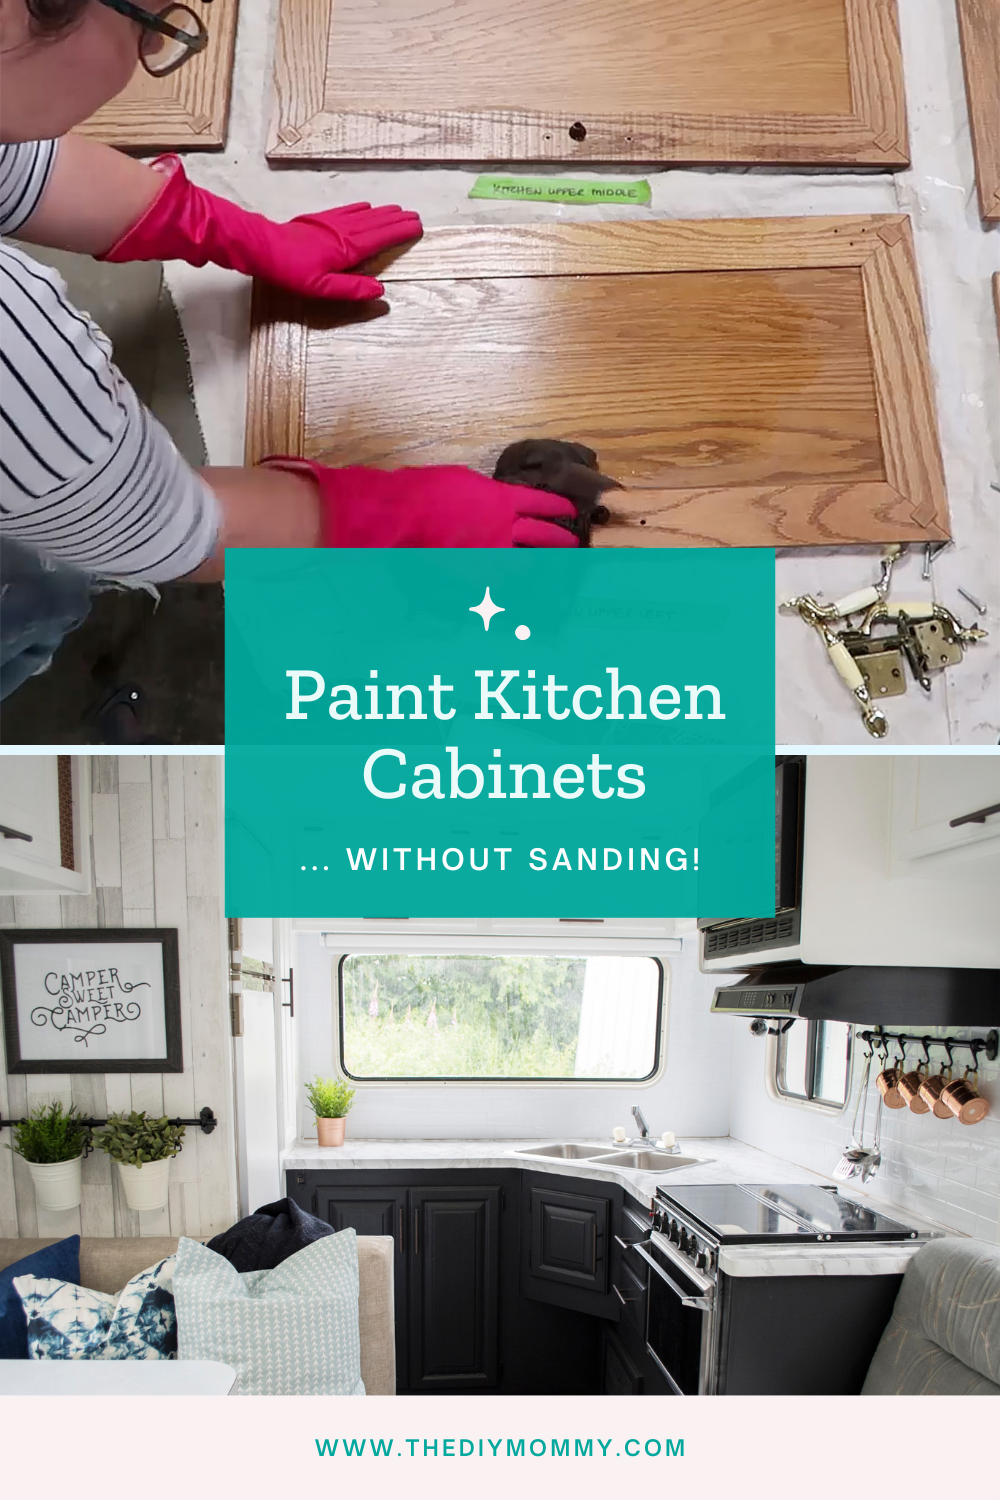
How to Paint Kitchen Cabinets Without Sanding (Easy!)
This post may contain affiliate links · This blog generates income via ads
Tired of your kitchen cabinets looking dull and outdated? Painting kitchen cabinets is a wonderful way to give new life to your kitchen. However, sanding can be a time-consuming and messy process that many homeowners dread. Here’s the good news- you can still give your cabinets a facelift without sanding. Let me show you how!
I’ve painted a lot of kitchen cabinets, bathroom cabinets and RV cabinets over the years. Painting cabinets is one of my favourite ways to get a fresh new look on a budget! Prep work is key when you tackle this DIY, and making sure the paint sticks to your cabinet properly is extremely important. I’ve tried both sanding and this no-sanding method, and both have been successful for me. If you’re short on time, here’s how to paint kitchen cabinets without sanding (so they last)!

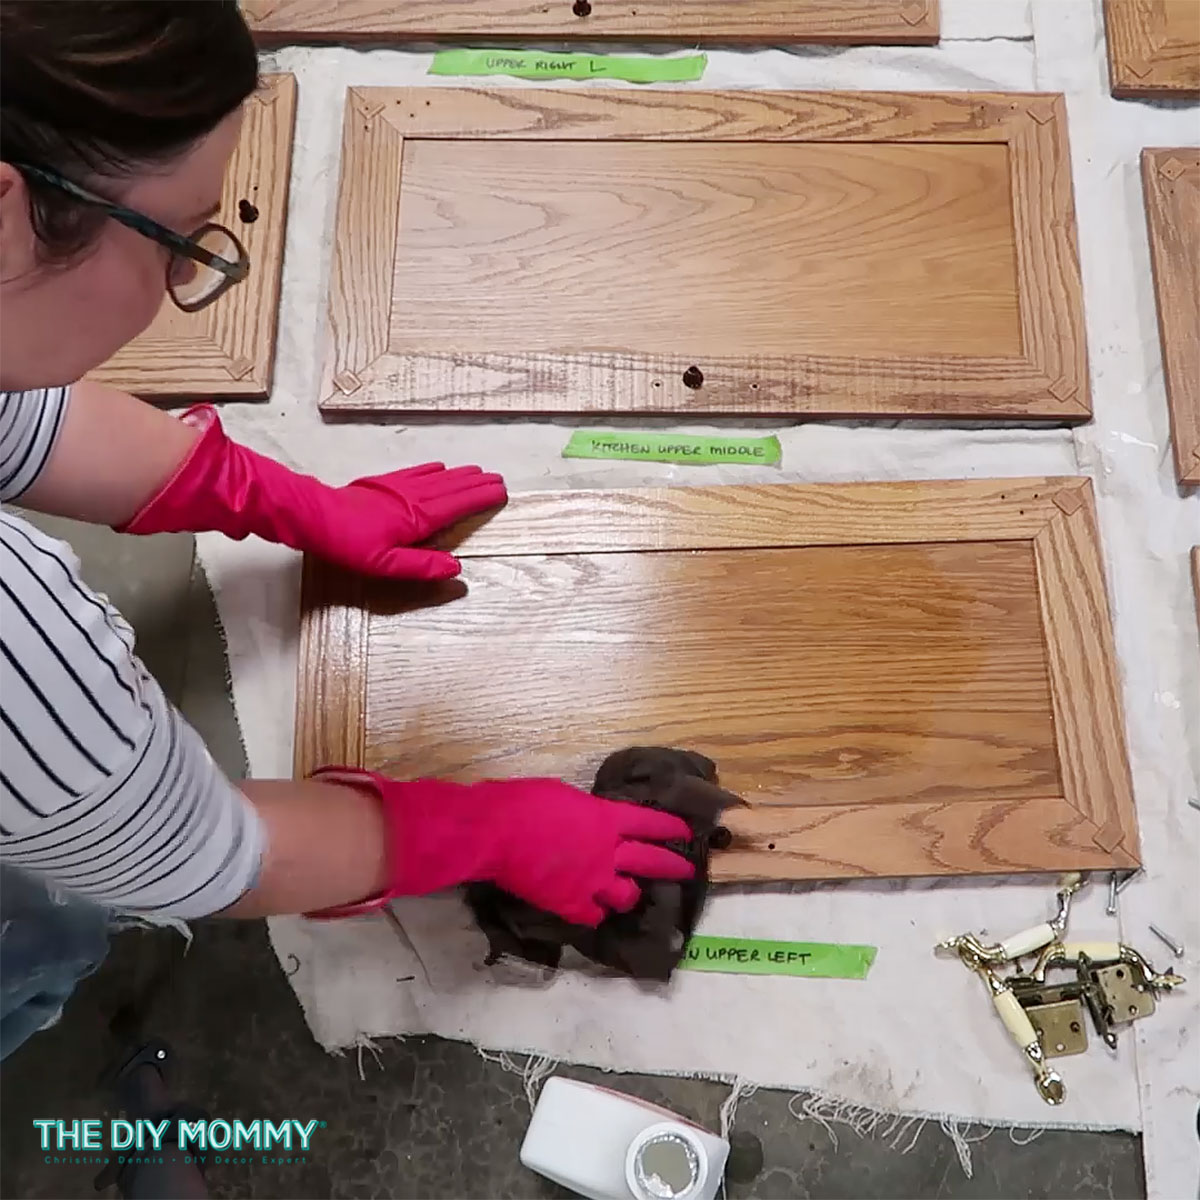
Remove Doors & Hardware
Before you prep and paint your cabinets, remove all the cabinet doors from the cabinet frames. Take the drawers out. Remove any hardware like hinges, handles and knobs. This can be time consuming, but your finished cabinets will look so much better if you make sure to do this first step!
Tip: Use painter’s tape and a permanent marker to label each door so that you don’t forget where it goes!
Clean the Cabinets Properly
Cleaning the cabinets is an essential step before painting. Use a mild soap and water solution to wipe down all surfaces to remove any dirt or grease. Dry the surfaces with a clean cloth. If your cabinets have heavy grease or grime buildup, use a degreaser (like Krud Kutter) to ensure the paint will adhere properly. TSP or trisodium phosphate is another excellent degreaser that can be found at most home improvement stores. Be sure to follow the manufacturer’s instructions when using TSP. Clean cabinets will make the rest of the steps work so much better!
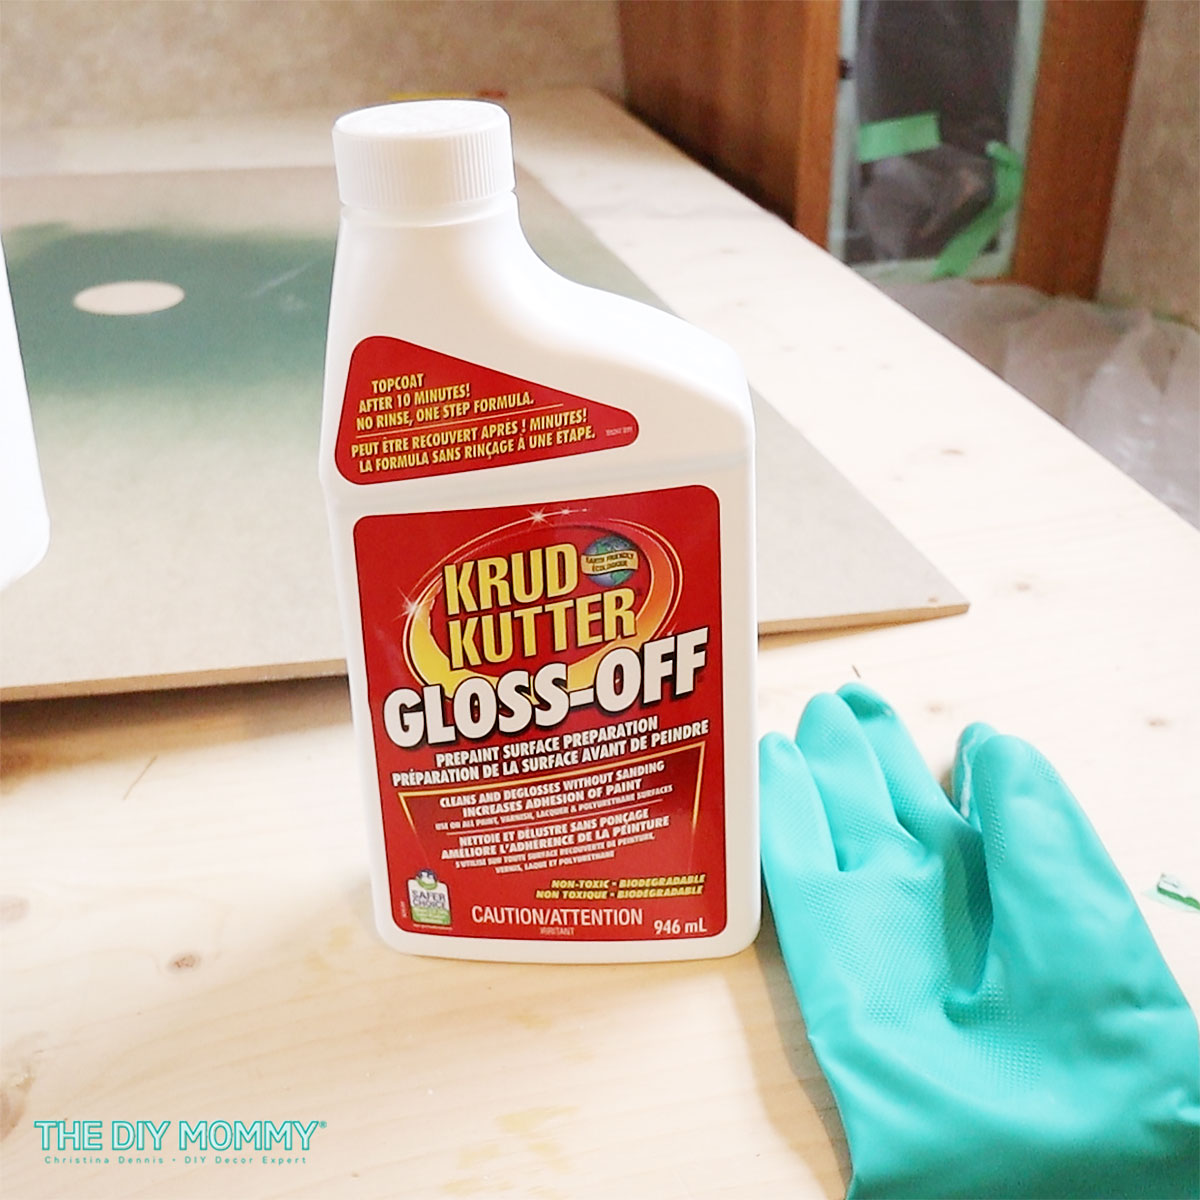
Use Liquid Deglosser
Deglosser (or “liquid sandpaper”) is a popular way to skip the sanding process before painting. It removes the glossy finish from the cabinets, making it easier for the new paint to adhere. Wearing gloves, apply the deglosser to the cabinet boxes, drawers and drawer fronts with a clean rag. Follow the recommended drying time on the package instructions before moving on to the next step. I use Krud Kutter Gloss-Off, and have had a lot of success with it! There’s also Klean-Strip, which has great reviews. Once the deglosser is dry, you can wipe the cabinets with a tack cloth to get any lingering dust or debris off before moving onto the next step.
When SHOULD you do an old fashioned sanding instead of using a liquid sandpaper / deglosser?
If your cabinets have a deep wood grain and you don’t want it to show through your paint, regular sanding will be required. Use an orbital sander and 120 grit sandpaper to sand off the old finish, and to make the wood grain less pronounced.
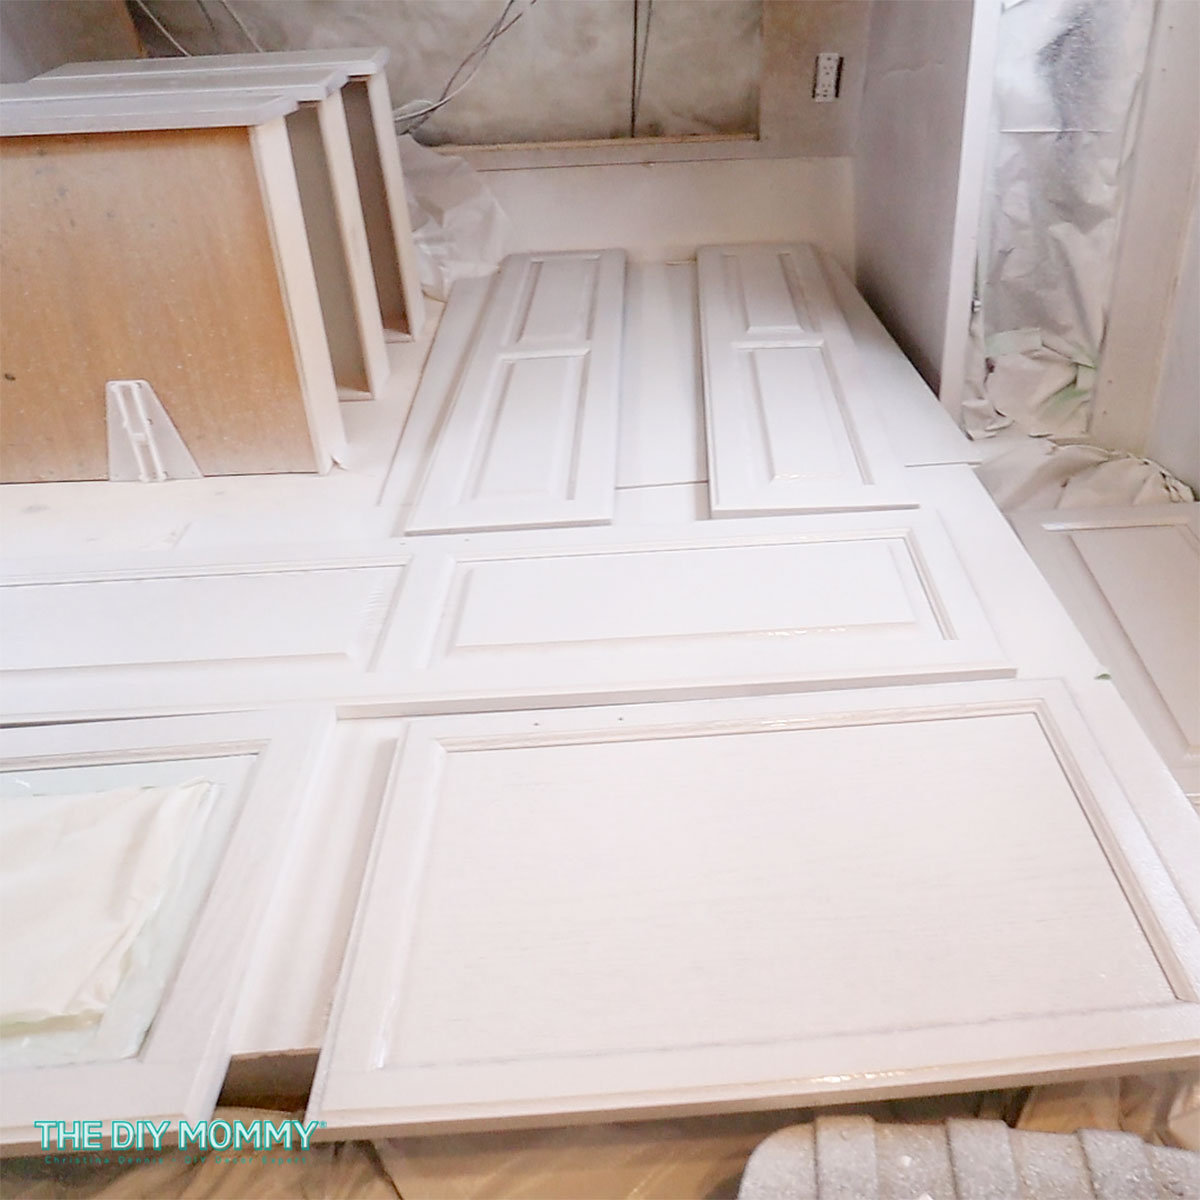
Apply a Bonding Primer
Priming your cabinets after liquid sanding and before painting is essential to ensure that the paint sticks to the cabinets. It’s what I use before painting any cabinetry; I like Behr Bonding Primer. Apply the bonding primer with a paint brush, foam rollers or a paint sprayer and make sure to get into all the nooks and crannies. Follow the primer instructions and make sure to wait the recommended drying time before painting. Bonding primer also works wonderfully on laminate cabinets to help paint stick!
If you’re adding new hardware, read this!
When swapping out the handles or knobs on your cabinetry, it’s easiest to buy the same size as the original hardware so you don’t have to fill in or drill any new holes. If you are changin the type or size of the cabinet hardware, make sure to use wood filler to fill any holes before applying primer to your cabinets. Let the wood filler dry, then sand it well before applying primer.
Paint the Cabinets
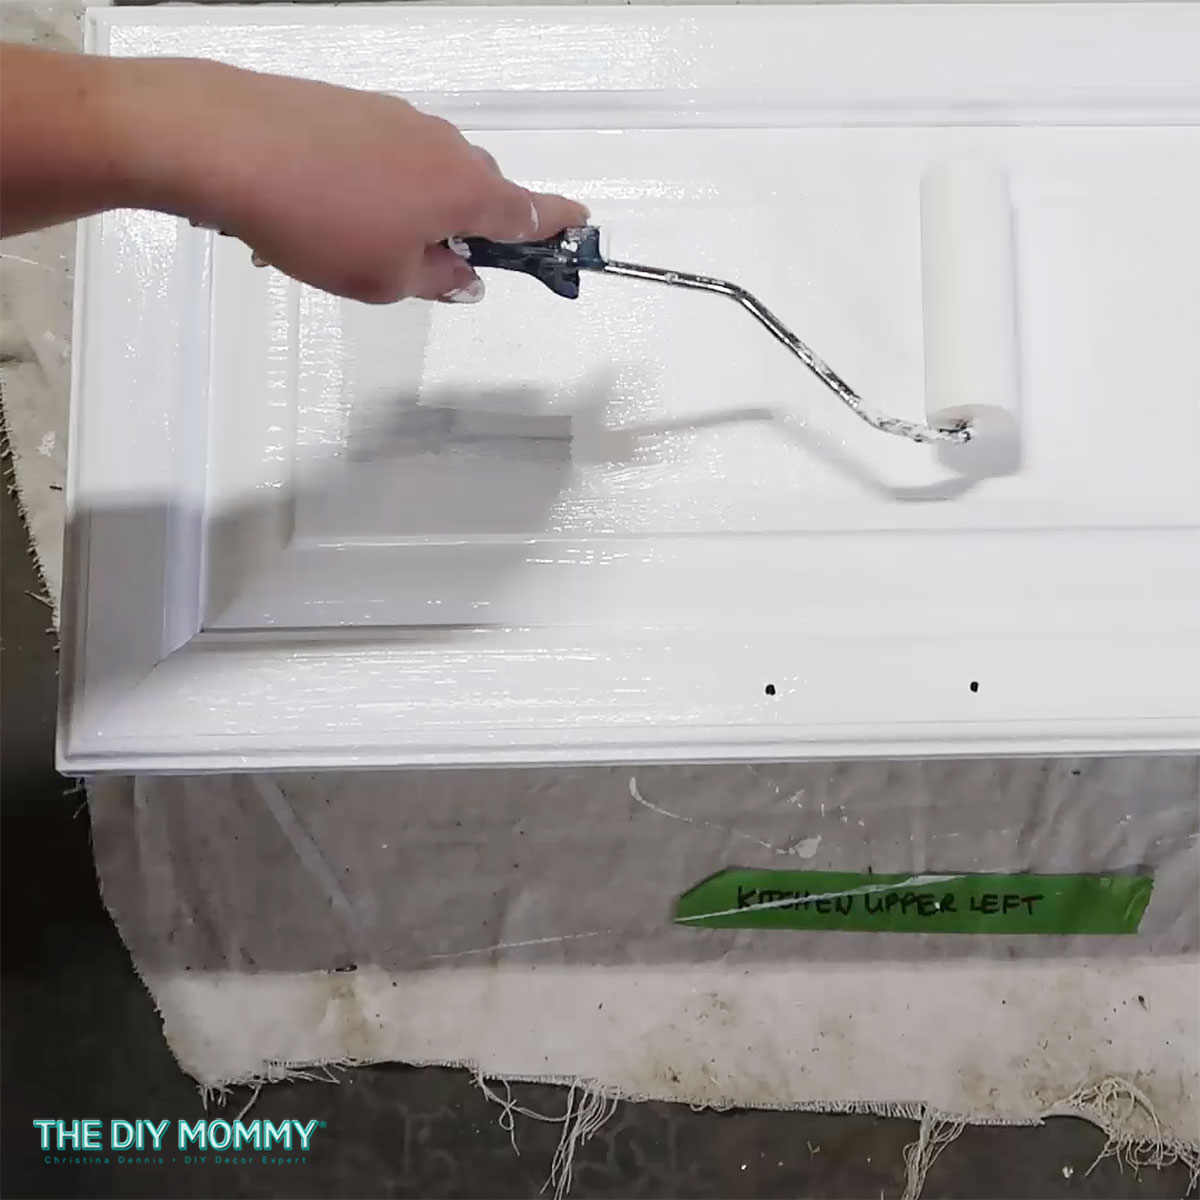
When choosing the paint, select a high-quality semi-gloss or satin finish trim & cabinet enamel paint for the best paint results. I have used regular latex paint on cabinets in the past, however I added a top coat of polyurethane. With enamel paint made for cabinetry, it’s a hard enough finish that you shouldn’t have to apply a top coat afterwards. Apply the first coat thinly and wait for it to dry before adding the second coat. It is recommended that you apply at least two coats of paint, and you may have to do more if you’re making a dramatic colour change. If you choose to use a sprayer, be sure to cover all surfaces, including countertops and flooring. Ensure you let each coat of paint dry thoroughly before moving onto the next coat, and before putting your hardware, drawers, and doors back in place. Patience is an essential part of the process to ensure you have a paint finish that lasts, and to avoid any chipping or peeling.

Reassemble the Cabinets
Once you’ve waited the proper drying time, install the hinges back onto the cabinet doors. Then, reinstall the drawers and the doors onto the cabinet frames. Finally, reinstall the hardware and add any door and drawer bumpers as needed. Now, stand back and admire your kitchen’s transformation! I love the power of paint!
(You can check out my full original DIY Camper kitchen makeover right here!)
Now tell me: Have you ever tried using liquid sandpaper when painting kitchen cabinets? Would you ever try it? Let me know in the comments below & happy DIYing!
Wow I love this. I want to redo the cabinets in my caper and make it lighter. Thank you!