Make a No-Sew Pillow Cover – Tip Tuesday
This post may contain affiliate links · This blog generates income via ads
You must know by now that I have a huge obsession with making throw pillows. They can be the “jewelry” of any room, and if you can make a throw pillow out of unique fabric, you can completely change the look of any room! I’ve shared quite a few different ways to make throw pillow covers with a sewing machine – the button closure method, the easy method & the piped and zippered method – but today I want to show you how to make a pillow cover even if you don’t have a sewing machine.

The big reveal of my One Room Challenge bedroom makeover is coming up tomorrow, and I used a couple of my favourite DIY no-sew pillows for the room. These linen grey + white stitched pillow covers were made with fabric, hem tape, my iron, and a little bit of hand sewing. I think they look pretty fabulous considering I didn’t use my sewing machine to make them!
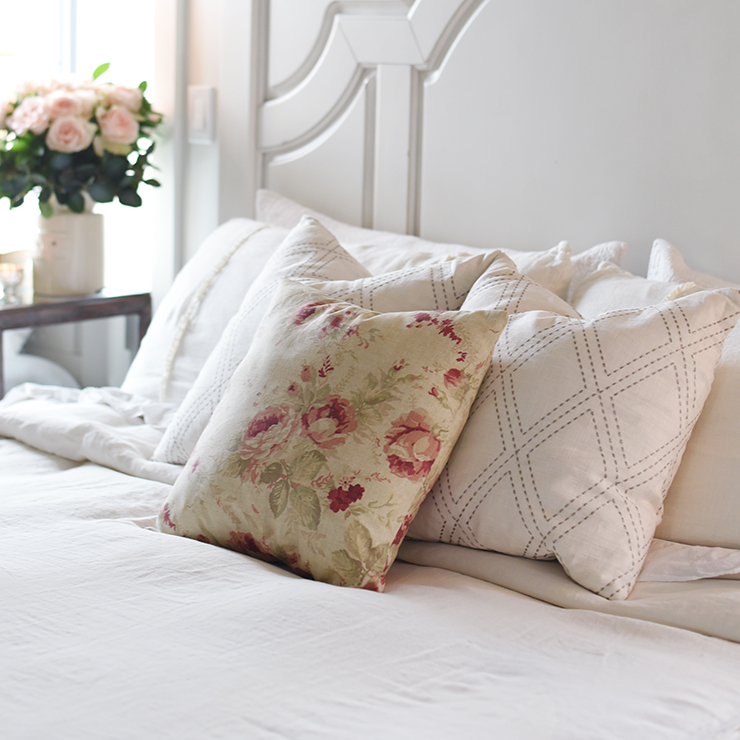
To make pillow covers like this, I cut two squares of fabric that are the same size as my pillow form (these ones are 20″ wide and long). Then, I lay them right sides together, and slip some hem tape around the perimeter and between the two layers. I use Heat N’ Bond hem tape and I leave an opening of about 10″ on one side of the cover. Then, I fuse the layers together with a hot iron. Once the fabric has cooled, I flip the pillow cover right side out, stuff in the pillow insert, and then hand stitch the opening shut.
If you don’t have a sewing machine, or you’d rather not use one, this method is a great alternative!
Here’s a quick video on how to make a no-sew pillow cover:
Stay tuned to my blog and The Brick’s Facebook page every Tuesday for more DIY tips!
Disclaimer: This post contains affiliate links, which means that if you click on one of the product links, I’ll receive a small percentage of the sale with no additional cost to you.
I’m brand new to your YouTube channel, and I just watched your no-see pillow cover video. I love it, except the words fly by so fast, there’s not enough time to read them before they’re gone. I just thought you’d like some feedback to help make your videos enjoyable and practical. I paused the video, then used my finger to slide slowly frame by frame so I could keep up. :). I’m a fast reader, so this was a surprise for me! Keep up your great work. You inspire me to be creative again!
Thank you Angie for the feedback! We are glad that you enjoyed the video. Happy crafting!!
Excellent video. The demonstration was nice and clear. I think I’ll be attempting this in my off time!
So happy that you enjoyed it! Happy crafting 🙂