• Skip to primary navigation
  • Skip to main content
  • Skip to primary sidebar
The DIY Mommy
  • Decor
  • DIY
  • Clean + Organize
  • Printables
  • Recipes
  • Life
  • The Academy
  • Shop My Home
  • About
  • Contact
    • Facebook
    • Instagram
    • Pinterest
    • Twitter
    • YouTube
menu icon
go to homepage
search icon
Homepage link
  • Decor
  • DIY
  • Clean + Organize
  • Printables
  • Recipes
  • Life
  • The Academy
  • Shop My Home
  • About
  • Contact
    • Facebook
    • Instagram
    • Pinterest
    • Twitter
    • YouTube
  • ×

    Home » DIY Crafts » Sewing

    Sew a Piped & Zippered Pillow Cover (Video Tutorial)

    Published: Jun 9, 2018 by Christina Dennis · This post may contain affiliate links · This blog generates income via ads · 17 Comments

    Raise your hand if you are as addicted to throw pillows as I am! I think they are THE BEST way to change the whole look of your home's decor for the least amount of money. You can even change them up seasonally - brights are fun in the summer, and jewel tones and fuzzy pillows are lovely for winter. Today I'd like to share with you a new video tutorial that guides you through how to sew professional looking throw pillow covers that have piped edges and a hidden back zipper.

    How to sew a piped and zippered pillow cover - great video tutorial!

    This post was first published in June 2015, and has now been updated with new photos and a new video.

    These are more of an intermediate sewing project, but I promise that the results are worth it! You'll need a special zipper/piping foot for your sewing machine to get the best finished product. (If you'd rather try a simpler pillow design to start, check out this pillow tutorial!)

    How to sew a piped and zippered pillow cover - great video tutorial!

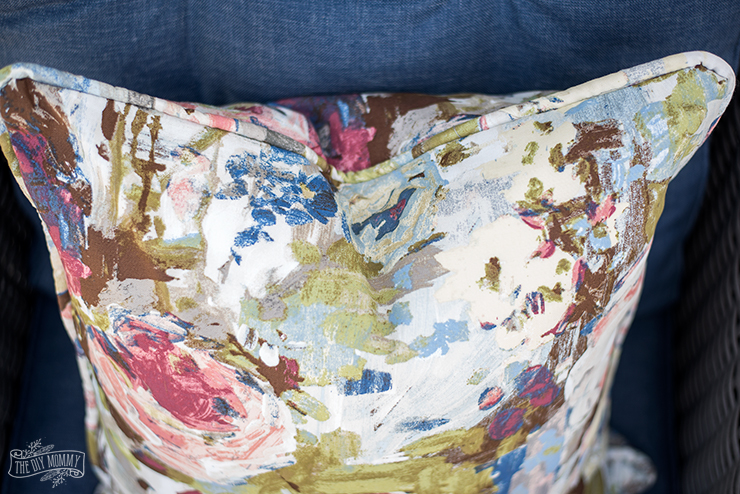
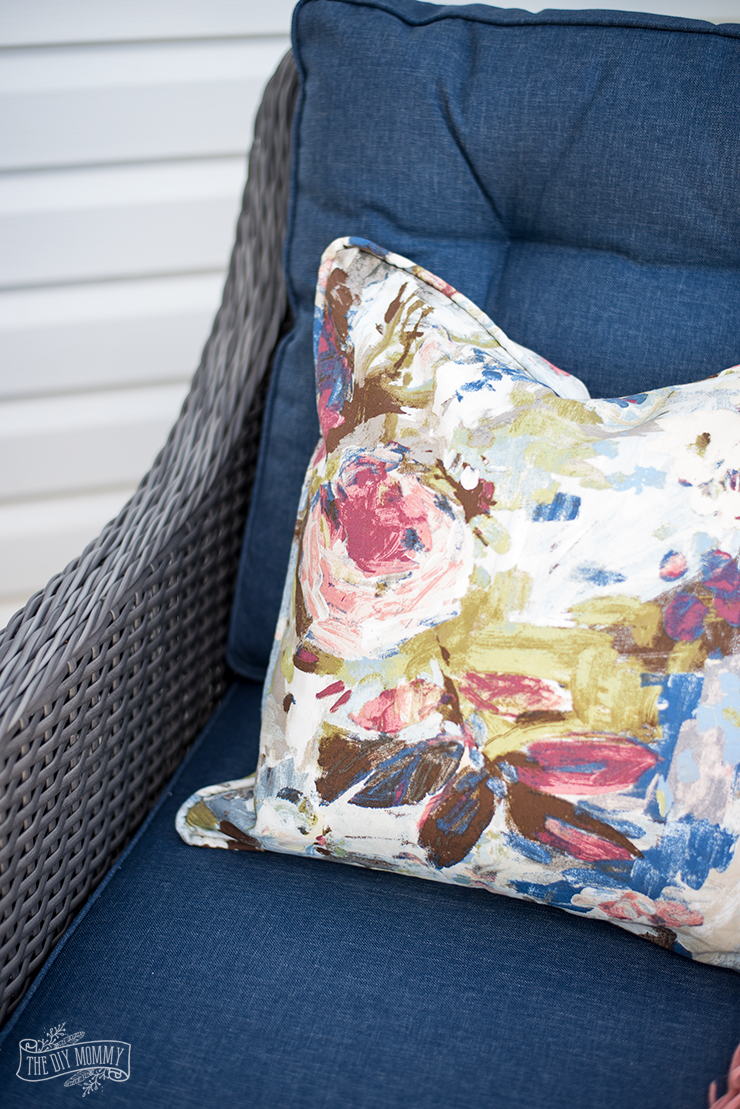
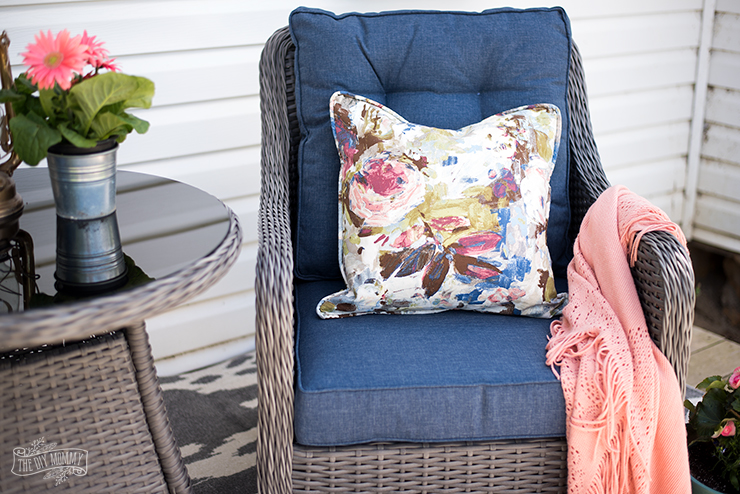
    I found this watercolour floral fabric at my local fabric store, and I love how it looks on my new studio deck.

    Here's the step-by-step video; I hope you find it helpful. If you'd like to see more of my video tutorials and room tours, don't forget to pop by and subscribe to my YouTube channel.

    More Inspiration

    • Gorgeous Powder Room Makeover on a Budget
    • DIY Thrift Store Candle using a kitchen canister
    • Turn an IKEA SORTSO rug into a gorgeous pillow
    • 10 Places to Find Cheap Home Decor and Accessories

    Reader Interactions

    Comments

    1. Sara

      June 10, 2015 at 3:05 pm

      Oddly, that video is unavailable in safety mode!

      Awesome tutorial though! I've always liked piped edging and hidden zippers.

      And those were some awesome pants you were wearing while you cut the fabric. Such a pretty print!

      Reply
      • Christina Dennis

        June 21, 2015 at 9:59 pm

        That's weird. Maybe it's because I'm in my jammies?! Hahahaa!

        Reply
    2. AMY SOMERSTEIN

      January 21, 2019 at 7:13 am

      Thanks for the great video. I've always made bias for piping, and noticed you didn't do that for yours. Bias uses a lot of (expensive) fabric but I thought it was necessary to go around the curves better. So you've found that there's no difference cutting on the straight grain??

      Reply
      • Lindsay - The DIY Mommy

        January 31, 2019 at 12:50 pm

        Thanks. No christina didn’t find a difference 🙂

        Reply
    3. Bernie Binnie

      January 15, 2020 at 3:07 pm

      Hi Christina, fantastic tutorial, I’ve finally had a go at these. The first one is ready and whilst not quite as perfect as yours; I’m pretty happy; only 4 more to go! Would post a pic, but I don’t know how?

      Reply
      • Sarah - The DIY Mommy

        January 17, 2020 at 8:32 am

        If you're able to tag her @thediymommy on instagram or facebook, she'd love to see it!

        Reply
    4. Betty Minnes

      March 23, 2020 at 12:32 am

      Great tutorial Christina!

      Reply
    5. Jeri

      June 16, 2020 at 9:47 am

      I love where you put the zipper. So much easier than next to the piping!!

      Jeri

      Reply
    6. jeri

      June 16, 2020 at 9:56 am

      I couldn't not find a link for cutting dimensions...I would like to read it...

      Reply
      • Shelly

        August 05, 2021 at 6:44 am

        Im inspired to try my hand at this. Am I overlooking the information on measurements that you refer to on. Video? I couldn’t find them.

        Reply
        • The DIY Mommy

          August 05, 2021 at 11:15 am

          Hi!

          They're all listed in the comment box below the video. I'll paste them here:

          In this video, I made a cover for my 20 x 20" pillow insert, and the measurements for the fabric pieces are as follows:

          20 x 20" square
          20 x 19" piece
          20 x 2" piece
          1 1/2" x 90" strip for the piping

          I recommend cutting your first square to be the same size as your pillow insert, then when you add the 1/2" seams your pillow cover will be 1" smaller than your pillow insert creating a fluffy, overstuffed look.

          Reply
    7. Karen Johnson

      April 16, 2021 at 3:21 pm

      Christina...
      Great video. Love your method. Question...if you cut the front and back the same size and then add the 2” strip to the back for the zipper, doesn’t that make the back an inch longer than the front (allowing an inch for the zipper)? Doing the math, it doesn’t add up. And when I tried it...sure enough, I had to trim an inch off the top of the back piece am I missing something?

      Reply

    Trackbacks

    1. Our DIY House: 2015 Home Tour | The DIY Mommy says:
      October 2, 2015 at 4:20 pm

      […] finally made the DIY floral pillow covers last week. They’re so vintage […]

      Reply
    2. Vintage Industrial Furniture Favourites (+ Some Exciting News!) | The DIY Mommy says:
      November 6, 2015 at 7:16 am

      […] is warming it up a little by adding lots of soft elements with fun textiles – like my drapes, patterned pillows, and little pops of colour. The resulting feeling I’m hoping to achieve in our home’s decor is […]

      Reply
    3. Black & Blush Pink Valentine's Day Home Decor Ideas + DIY Pom Pom Heart Pillow | The DIY Mommy says:
      February 23, 2016 at 10:50 am

      […] swapped our sitting room and living room pillows – I wanted to see how my DIY floral pillows and coral pillows looked in here and I love them with the charcoal sofas! It’s such a neat […]

      Reply
    4. 20 Cottagecore Floral Decor DIY Ideas | Yesterday On Tuesday says:
      June 13, 2021 at 8:25 am

      […] DIY Floral Zippered Pillow Cover from […]

      Reply
    5. 20 ideias de decoração floral Cottagecore DIY – decoração de casa says:
      June 20, 2021 at 4:52 am

      […] Capa de travesseiro com zíper floral faça você mesmo de […]

      Reply

    What do you think? Cancel reply

    Your email address will not be published. Required fields are marked *

    This site uses Akismet to reduce spam. Learn how your comment data is processed.

    Primary Sidebar

    Welcome!

    Christina Dennis, The DIY Mommy

    I'm Christina and I'm sharing budget-friendly DIY & decor ideas to create a cozy home and life you love!

    Read more about me

    Latest Posts

    • Gorgeous Powder Room Makeover on a Budget
    • Easter Basket for Teens: A Self-Care Themed Idea
    • DIY Thrift Store Candle using a kitchen canister

    What's my home decor style?

    Discover the home decor style that best fits your personality and lifestyle. This two-minute quiz is going to give you the direction you need to start the big, bold room makeovers that you've always wanted to try!

    Find out now!

    Archives

    Footer

    ↑ back to top

    About

    • About The DIY Mommy
    • Privacy Policy
    • Disclosure Policy
    • Terms of Service

    Newsletter

    • Sign Up! for emails and updates

    Contact

    • Contact

    As an Amazon Associate I earn from qualifying purchases.

    Copyright © 2009 - 2023 The DIY Mommy. "The DIY Mommy" is a registered trademark.