Make a Simple DIY Bathtub Tray: Easy Beginner Project
This post may contain affiliate links · This blog generates income via ads
Today I’m sharing simple and affordable DIY bathtub tray that you can create with only a few simple materials. With this easy beginner project, you can enjoy a simple woodworking project and finally have that dream bath time experience without breaking the bank.

Fall is always a busy time for me from a parenting and work perspective, so it’s nice to create little moments of relaxation. One of those little luxuries? A dreamy bath! Making this bath tray was a super simple DIY, and it adds such a luxe feel to my bathtub area. You can make one of these too that fits the width of your tub perfectly. Let’s make it!
Materials needed:
- 2 – 6″ wide deck boards or 1x6s cut to the size of the width your bathtub from outer edge to outer edge (you can buy pre-cut planks at your local hardware store)
- I used MicroPro Sienna treated lumber because I had some scraps leftover from previous project like our Tiny Lake House front porch)
- 2 – 2×2 pieces of lumber cut to about 8″ long for bumpers
- Sandpaper or a power sander
- Wood stain or paint if desired
- Paintbrush if needed
- Waterproof sealant (I like a matte Varathane)
- Wood screws
- Screwdriver
- Measuring tape
- Adhesive felt pads
Instructions:
Measuring & Cutting the Material
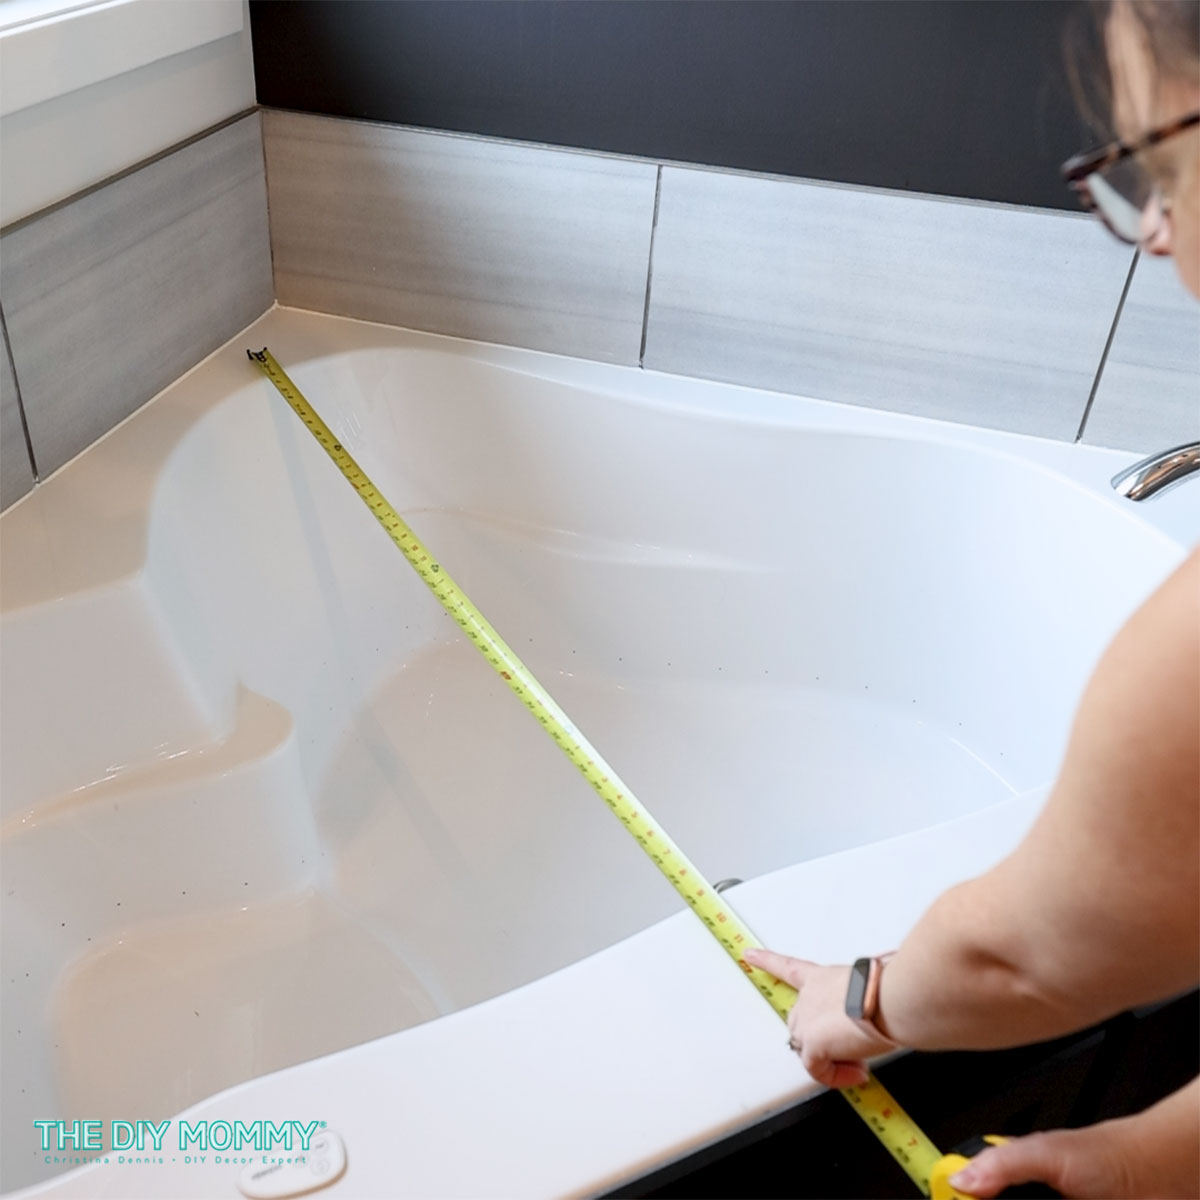
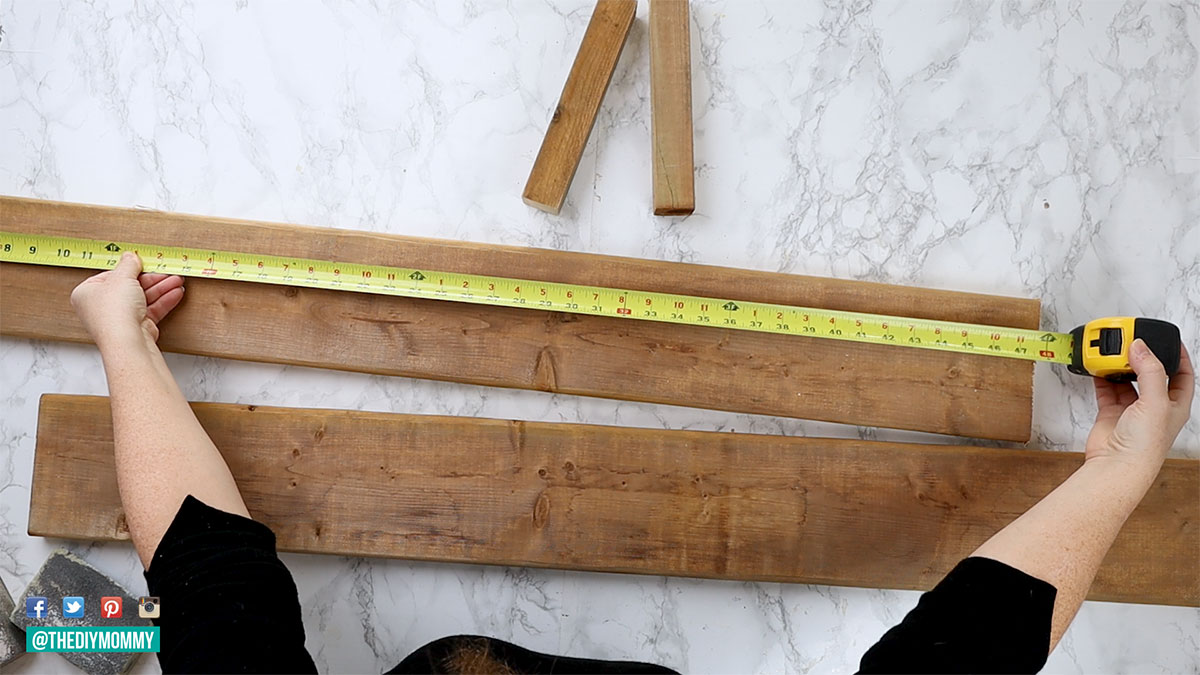
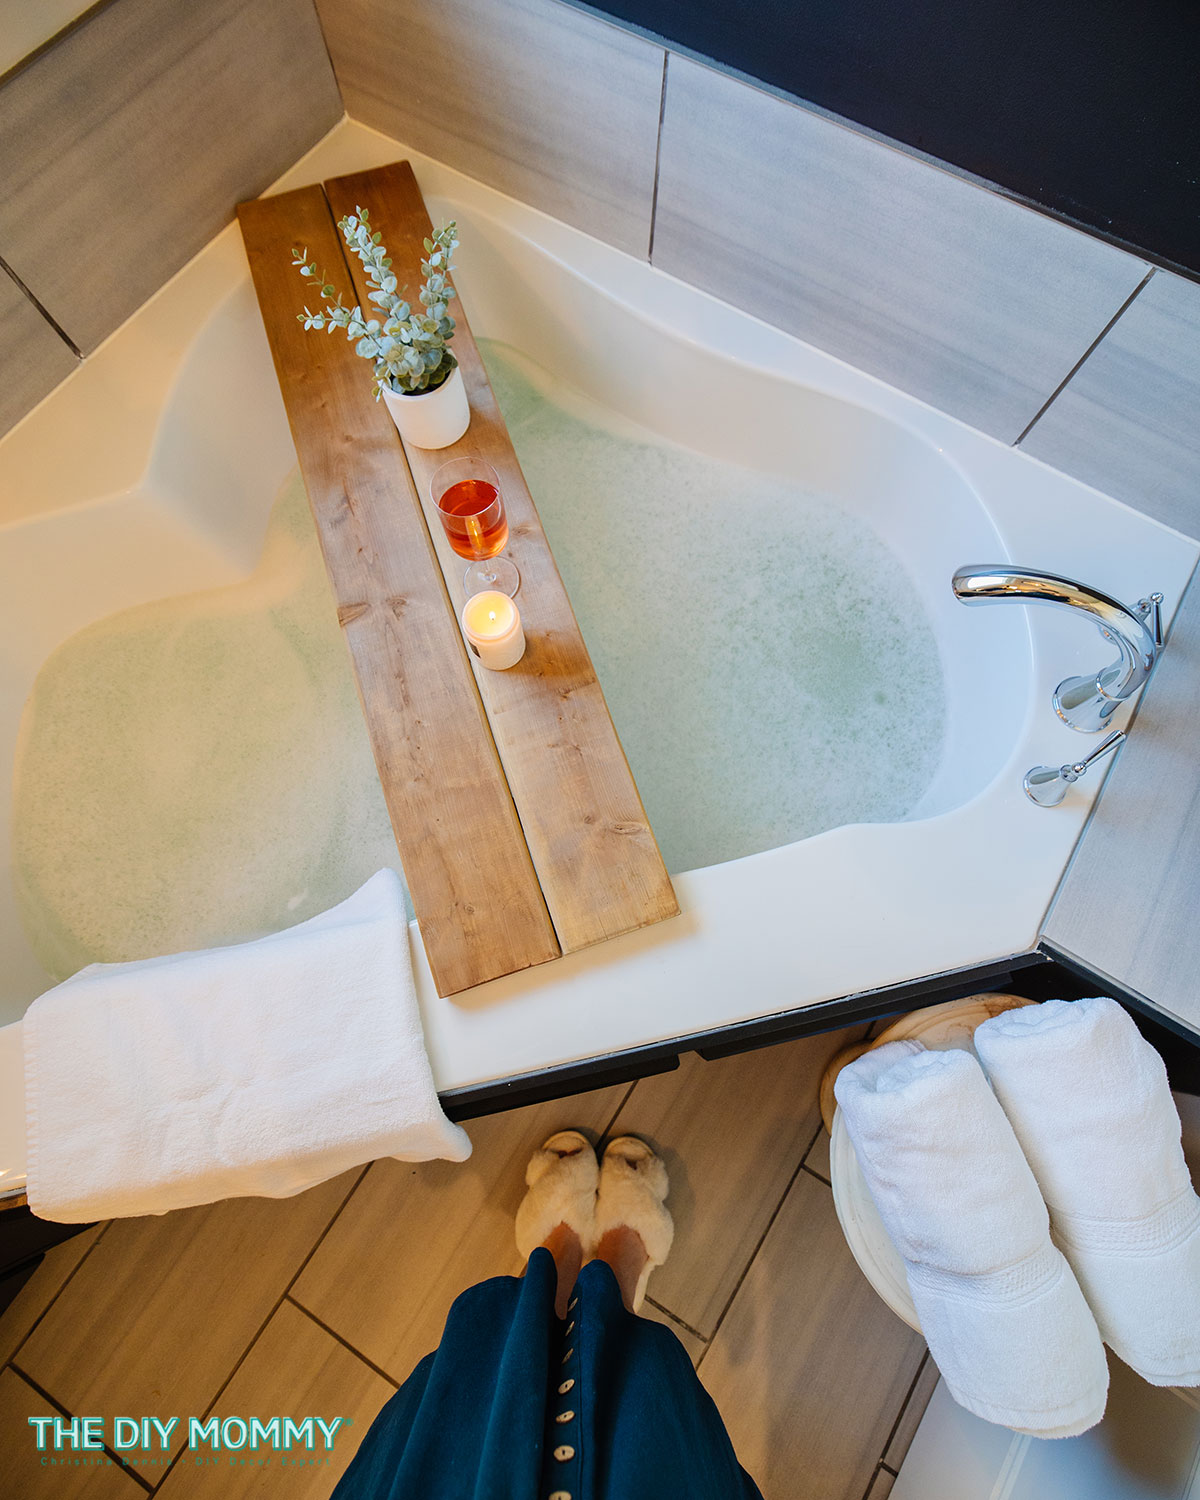
Measure your bathtub from one outside edge of the tub to the opposite outside edge and cut the two deck boards / 1x6s to that length. Cut two 2x2s to about 8″ long for the bumpers. Since my bathtub is a corner tub, my bath tray will be slightly shorter than the outer edge to outer edge of my tub.
Treating the Wood
Sand the wood pieces until they are smooth and even. You can apply a coat of wood stain or paint to the planks using a paintbrush if desired. Allow the coat to dry completely before applying another coat (if needed). I left my wood pieces natural because I’m using treated lumber and I like the colour (MicroPro Sienna).
Apply a waterproof sealant to the wooden plank. This will help protect the wood from water damage or prevent any stains from affecting the water.
Attaching the Bumpers
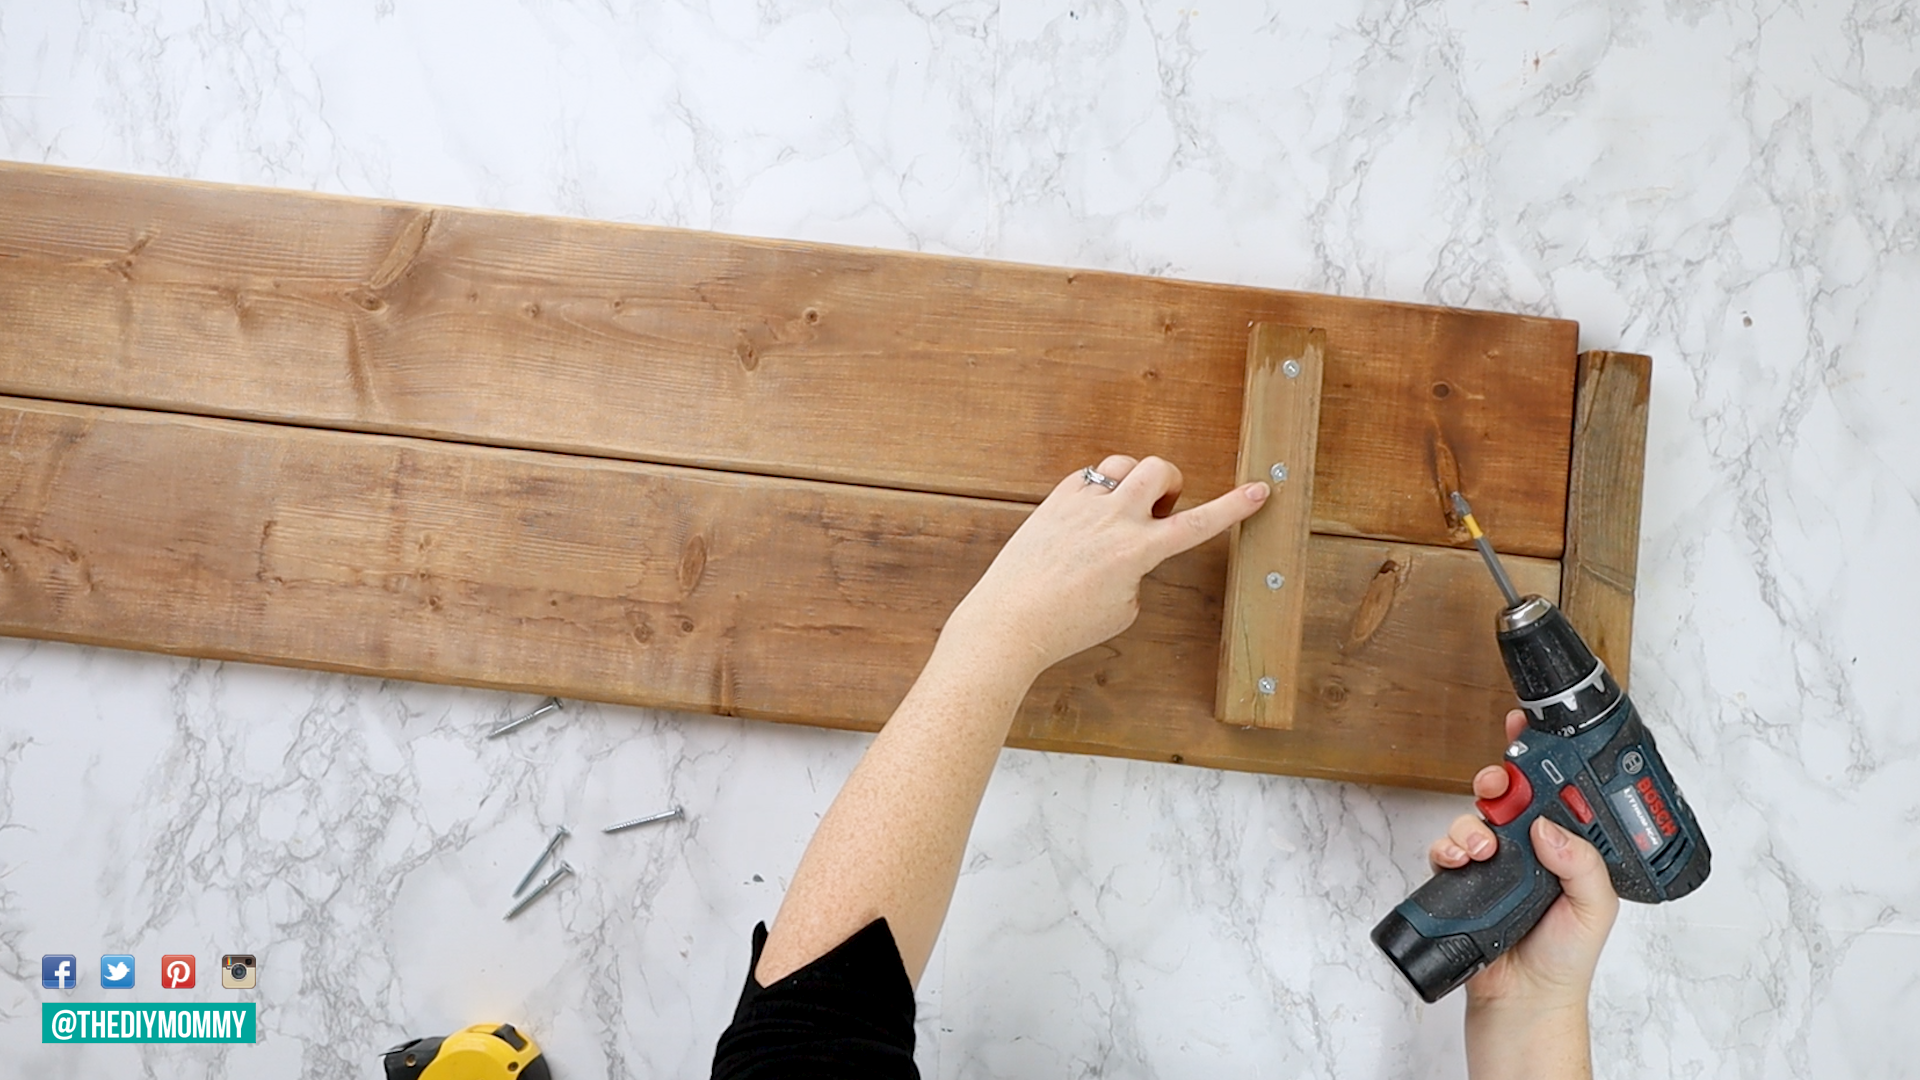
Once your lumber is dry, it’s time to attach the bumper pieces. Place the two long planks together upside down, then measure and mark where you’d like the bumpers to be placed on either side of the planks. You’ll want the bumpers to sit just inside your bathtub, so measure from the inside edge to the opposite inside edge of your tub for proper placement.
Using a screwdriver and screws, carefully attach the first bumper piece to the back of the deck boards / 1x6s. I used 4 wood screws to attach mine. Make sure that your planks are flush together.
Drilling pilot holes before installing the screws can help prevent the wood from splitting.
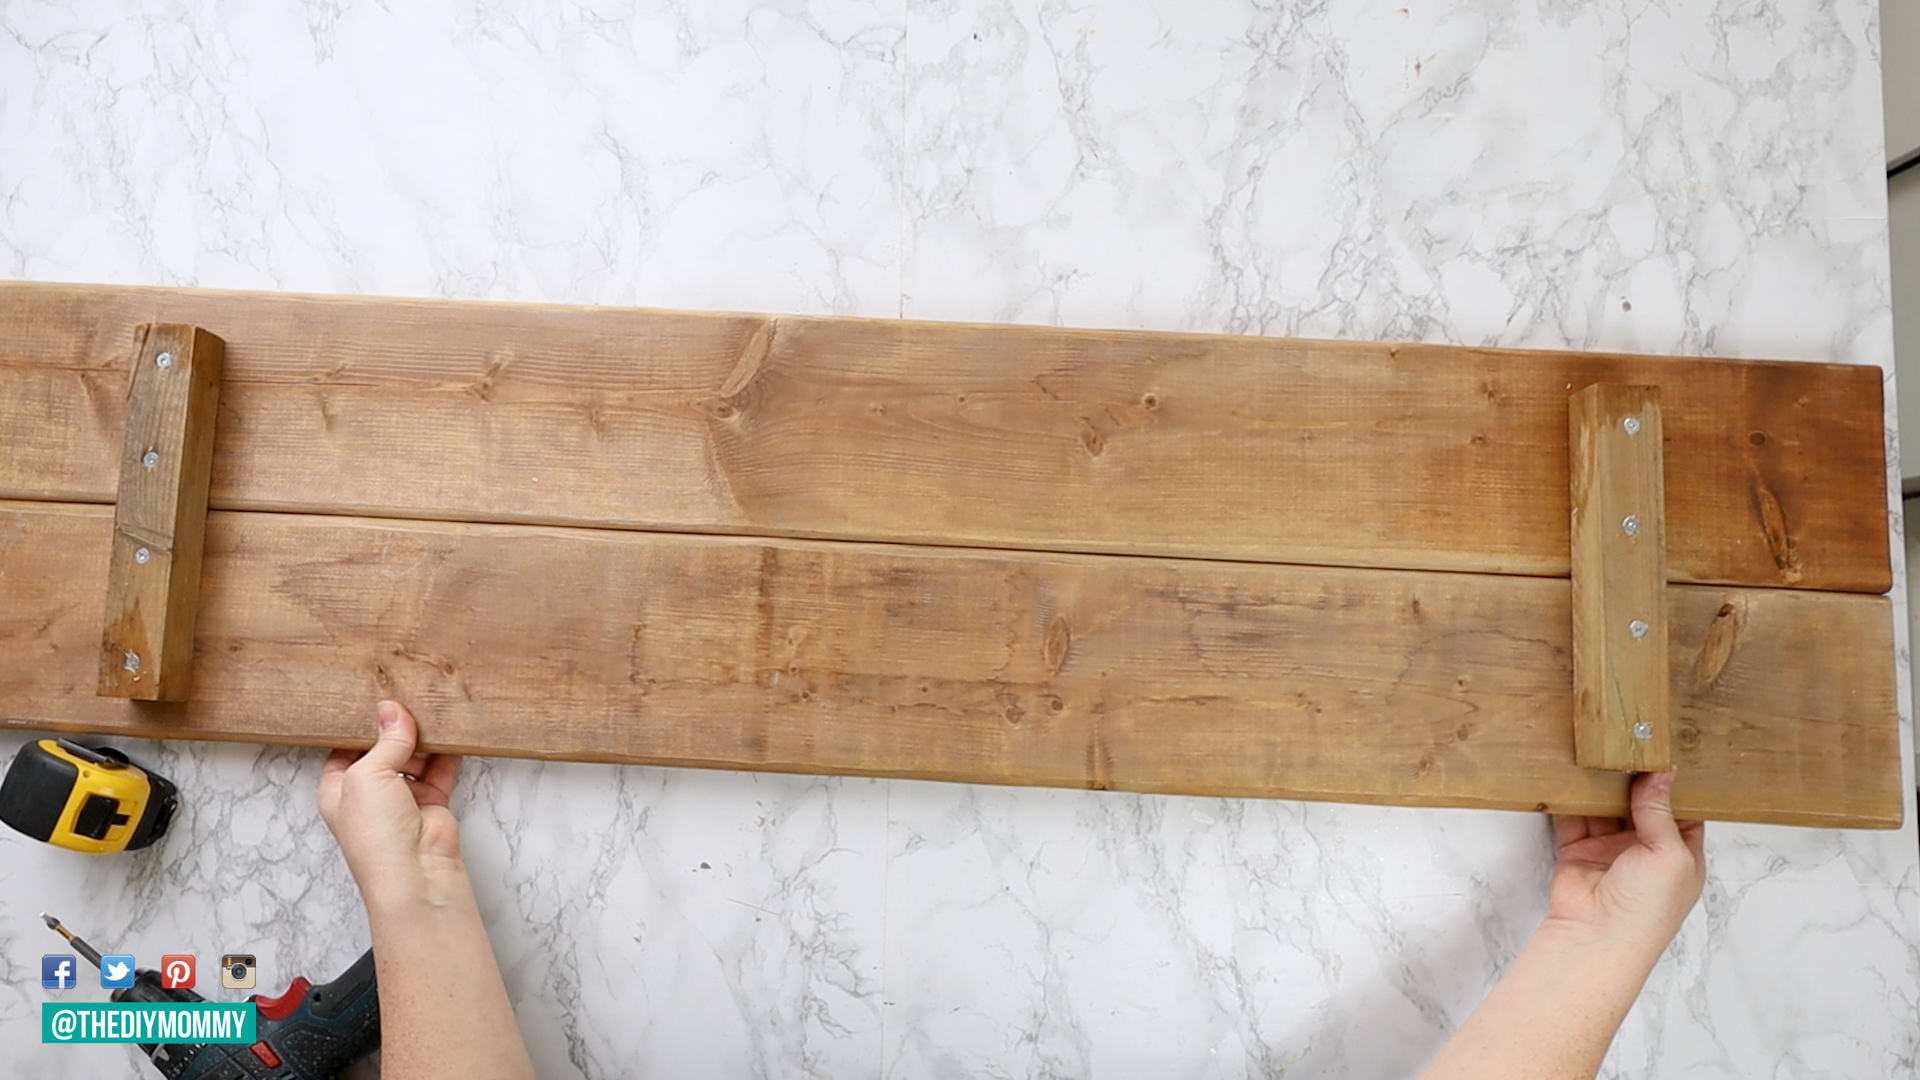
Repeat with the opposite side of your DIY bathtub tray, attaching the second bumper to the bottom of your planks with wood screws.
Finishing the DIY Bathtub Tray
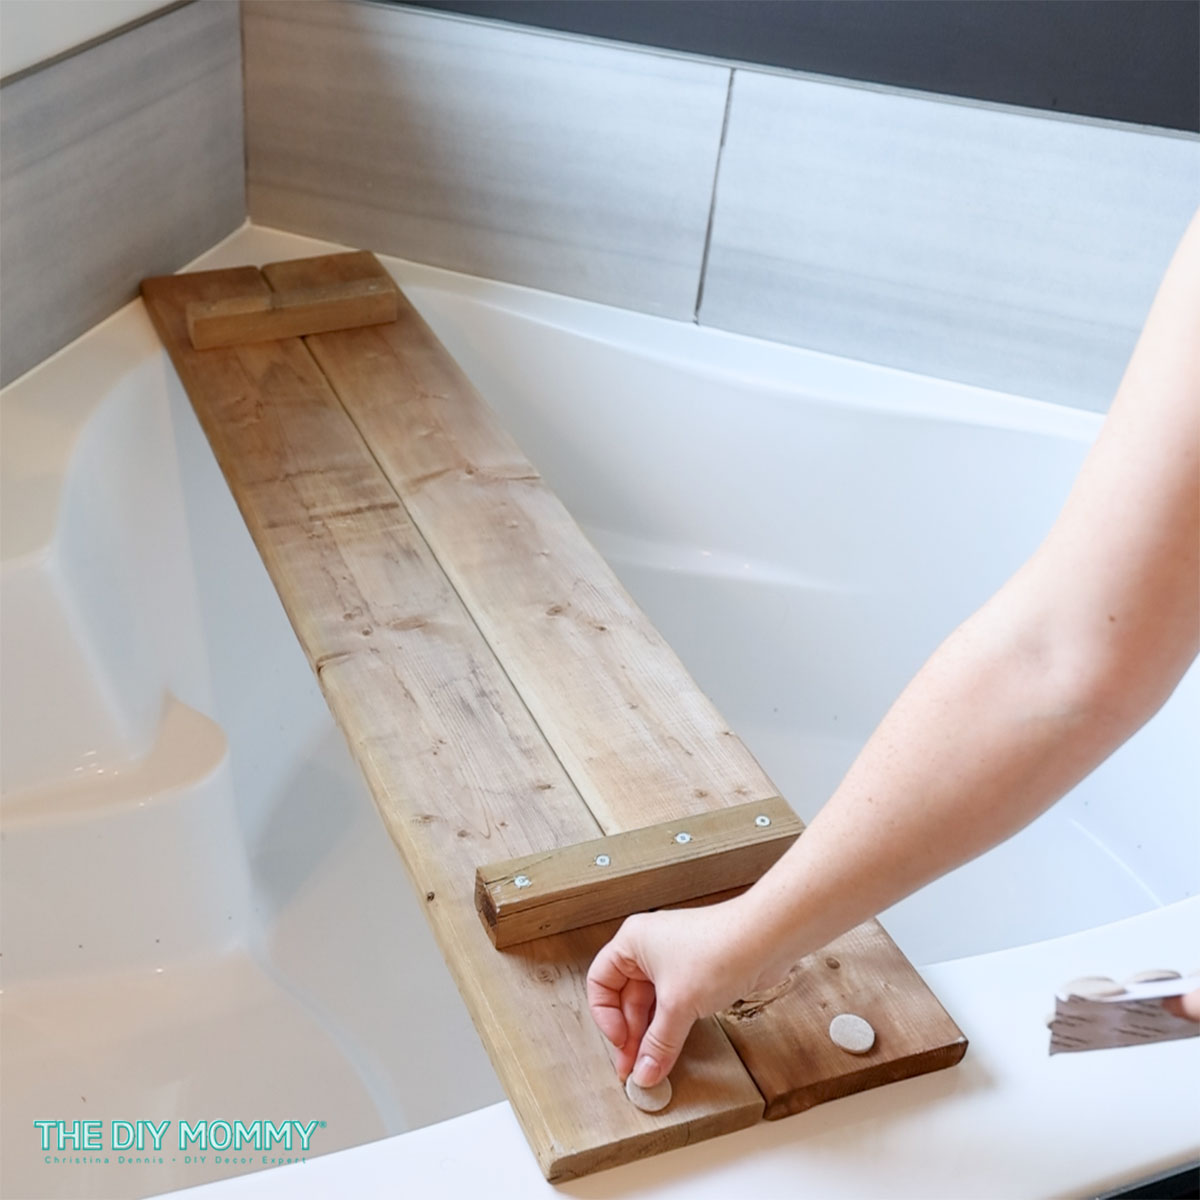
Next, adhere a couple of felt pads on the bottom of either end of your tray. This will keep the wooden tray from scratching your bathtub’s finish, and it will help it sit nicely on the tub.

Finally, place your finished bathtub tray on top of your tub and enjoy a relaxing bath!
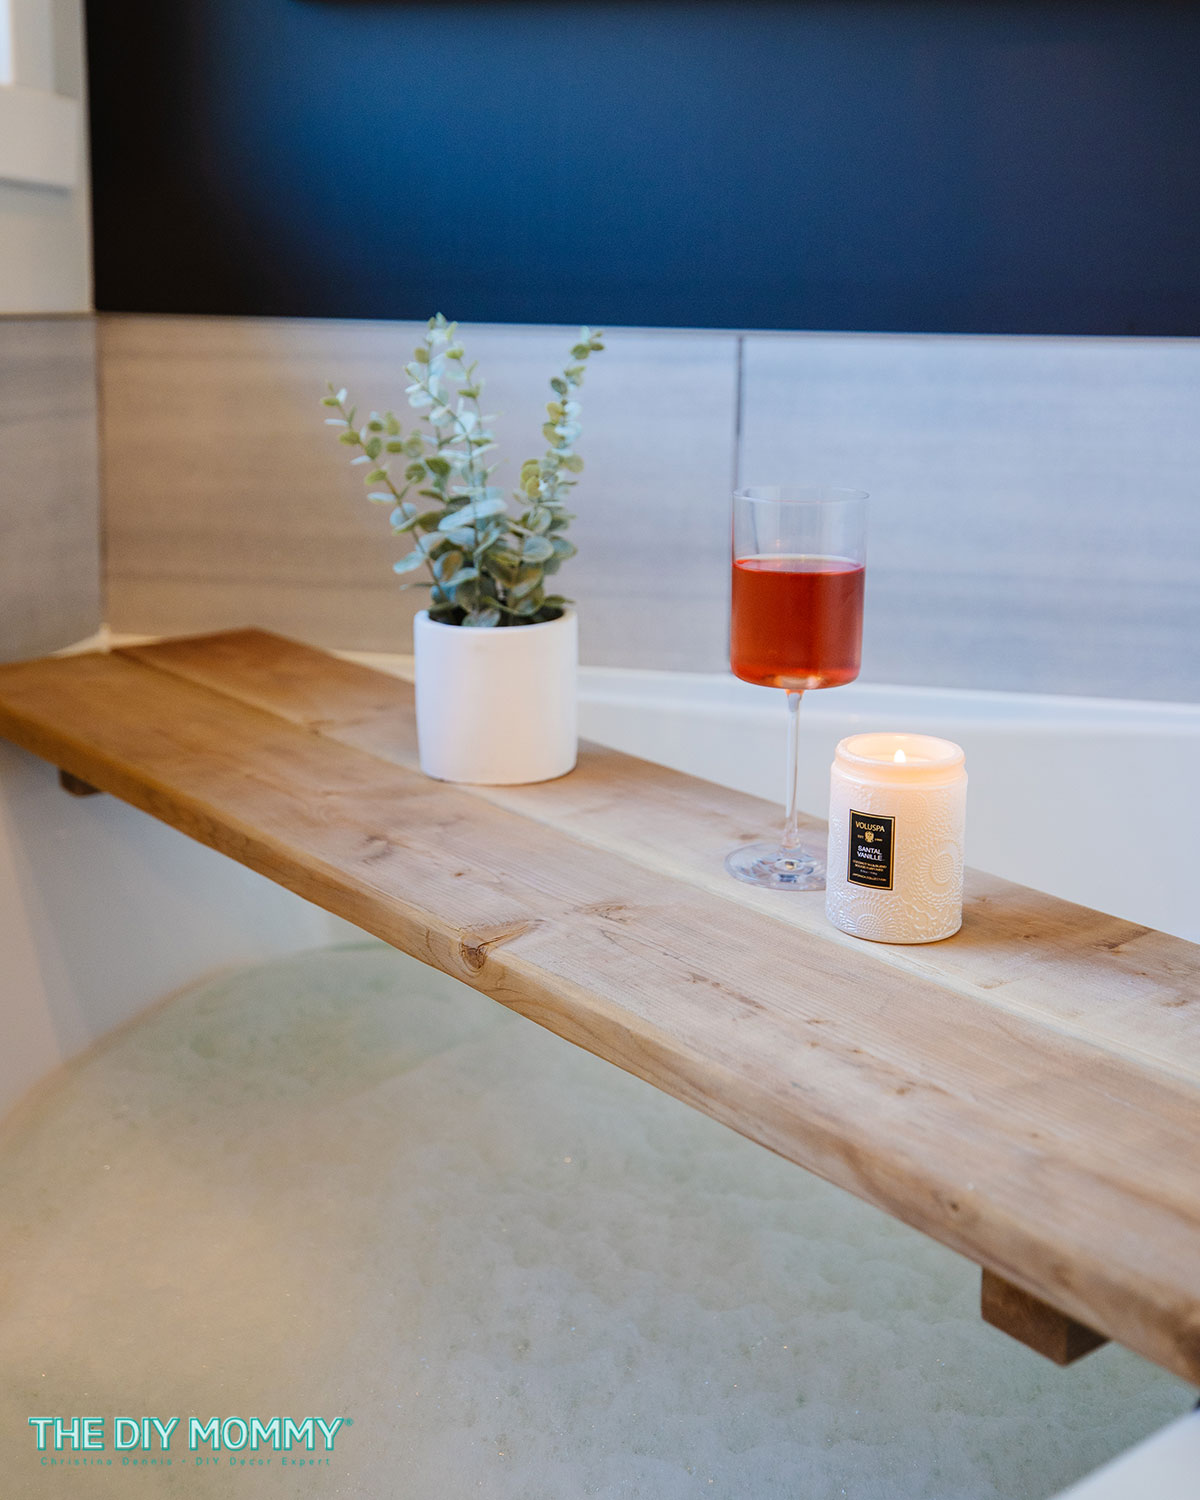
You can use your tray as a surface for watching TV on your phone or tablet, holding candles or a glass of wine, or simply to display decorative items like plants or flowers.
Customization
Don’t be afraid to add your own personal touch to your bathtub tray. You can decorate with stencils, add your own quotes or phrases, or customize the color to match your bathroom decor. The possibilities are endless!
Safety Tip:
While using your bathtub tray, make sure to avoid sharp objects as they may scratch the wood and cause damage. Additionally, never leave your bathtub tray unattended with items on it, as this can be a safety hazard. Always place your tray on the tub securely.
Creating a DIY bathtub tray is an easy and affordable way to unleash your inner creativity and make your bath time feel more luxurious. With a few simple steps and some creativity, you can have a beautiful and functional bathtub tray that’s unique to you. Have fun DIYing!