• Skip to primary navigation
  • Skip to main content
  • Skip to primary sidebar
The DIY Mommy
  • Decor
  • DIY
  • Clean + Organize
  • Printables
  • Recipes
  • Life
  • The Academy
  • Shop My Home
  • About
  • Contact
    • Facebook
    • Instagram
    • Pinterest
    • Twitter
    • YouTube
menu icon
go to homepage
search icon
Homepage link
  • Decor
  • DIY
  • Clean + Organize
  • Printables
  • Recipes
  • Life
  • The Academy
  • Shop My Home
  • About
  • Contact
    • Facebook
    • Instagram
    • Pinterest
    • Twitter
    • YouTube
  • ×

    Home » Home Decor » IKEA Hacks & Decor

    Paint an IKEA Cart

    Published: Aug 7, 2012 · Modified: Dec 25, 2022 by Christina Dennis · This post may contain affiliate links · This blog generates income via ads · 4 Comments

    by Christina Dennis

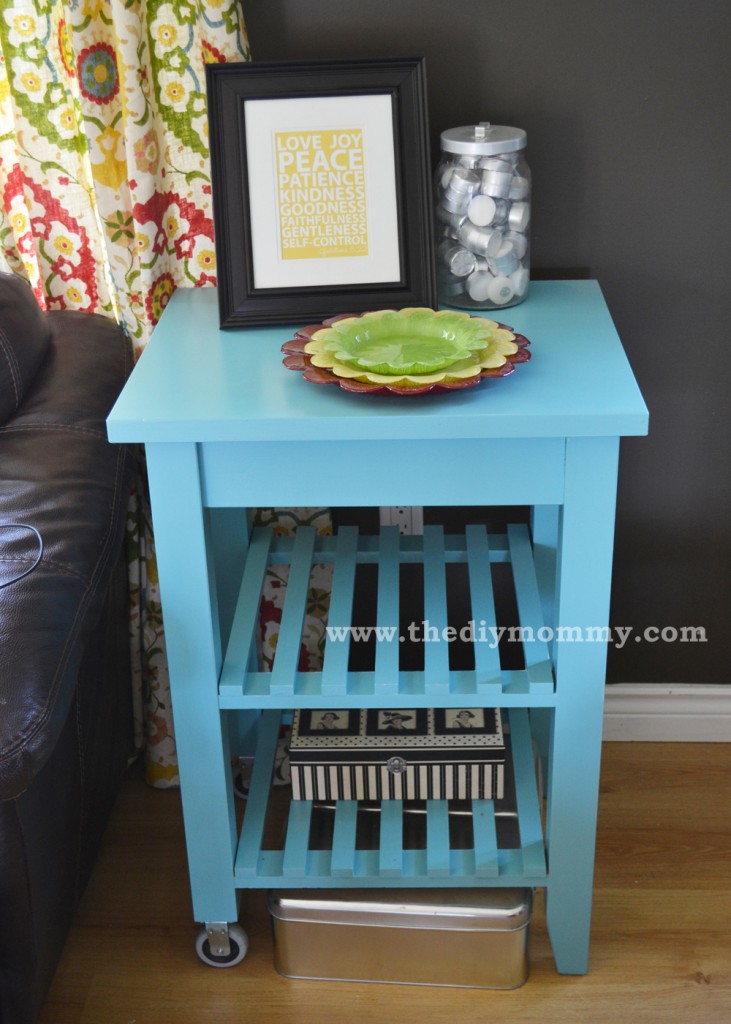
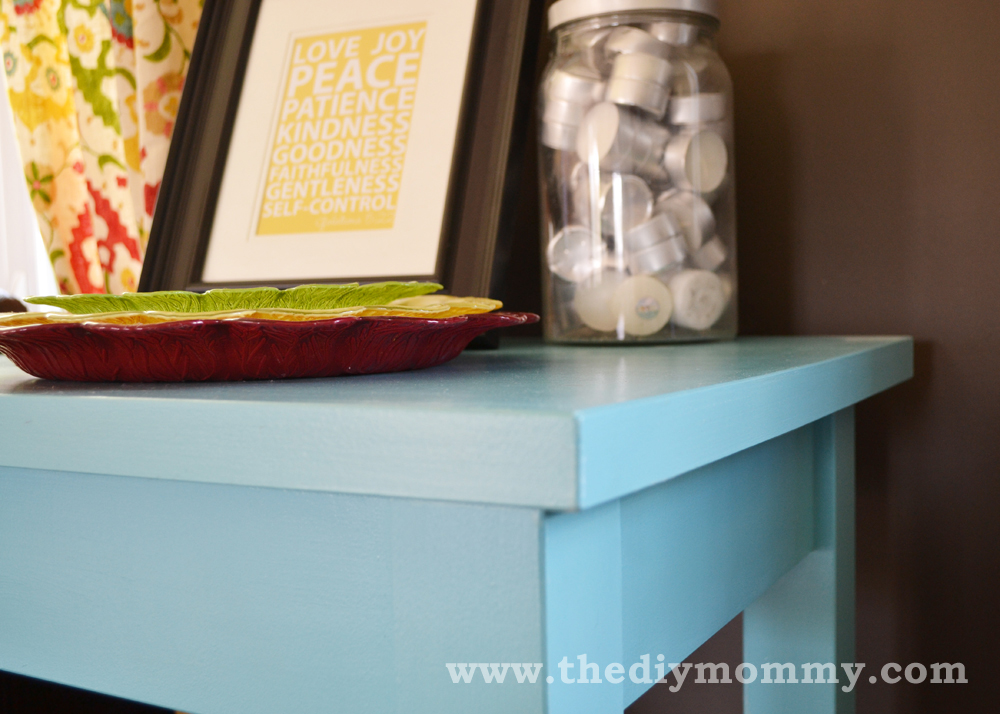
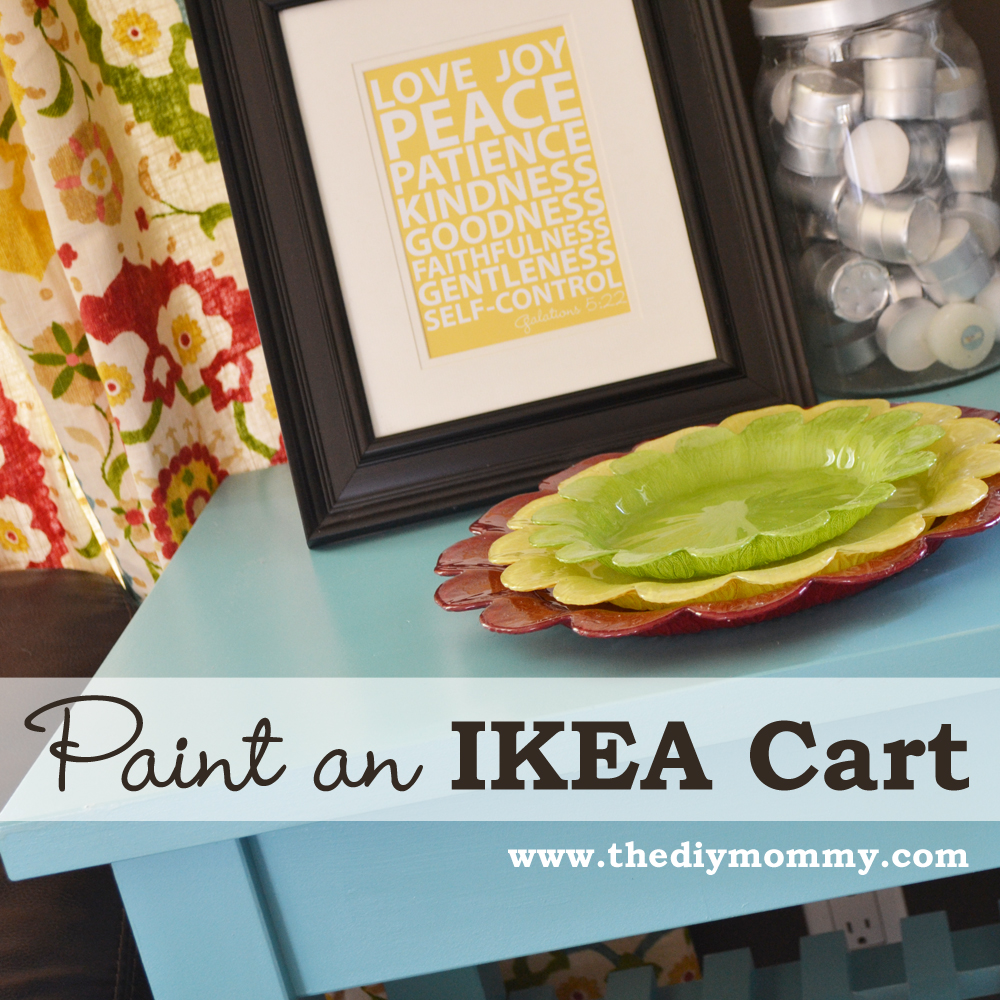
    Paint an IKEA Cart by The DIY Mommy

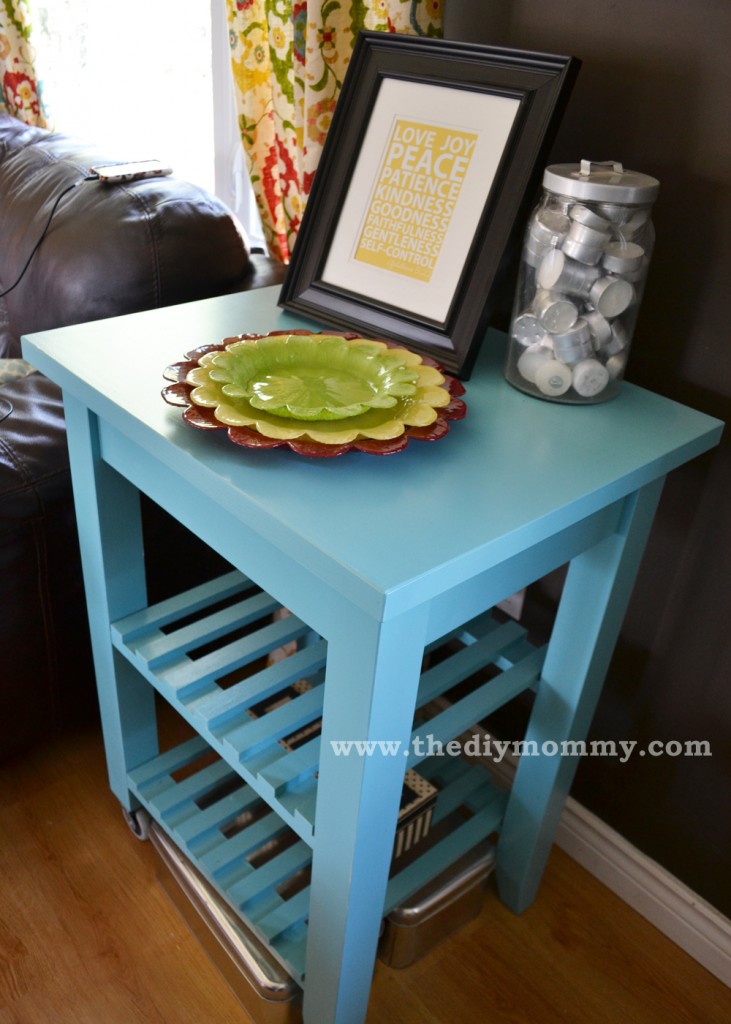
    Yes. I do have a wee bit of an obsession with all things IKEA. The prices work well for my little decor budget, and I've been really getting into "hacking" and glamourizing items from there! A few weeks ago, I added a bit of excitement to a plan IKEA doormat with leftover paint from this project that I want to share with you today: painting a "Bekvam" kitchen cart! I've painted furniture before, but since then I've learned a few more tips on how to make painted furniture look even better. Plus, I've simplified the process here by using a paint+primer product.

    Paint an IKEA Cart by The DIY Mommy

    Materials:

    • a "Bekvam" kitchen cart (or any unfinished wooden furniture)
    • a pint of paint + primer (I used Behr's new paint+primer)
    • Varathane wood finish (I used a satin finish which I love)
    • sander (my husband was kind enough to lend me his power sander)
    • mini foam roller
    • foam brush

    Paint an IKEA Cart by The DIY Mommy

    Directions:

    1. Sand the piece well. I had used my cart for a few years prior to painting it, so I had to sand it quite a lot to get the dents and dings out.
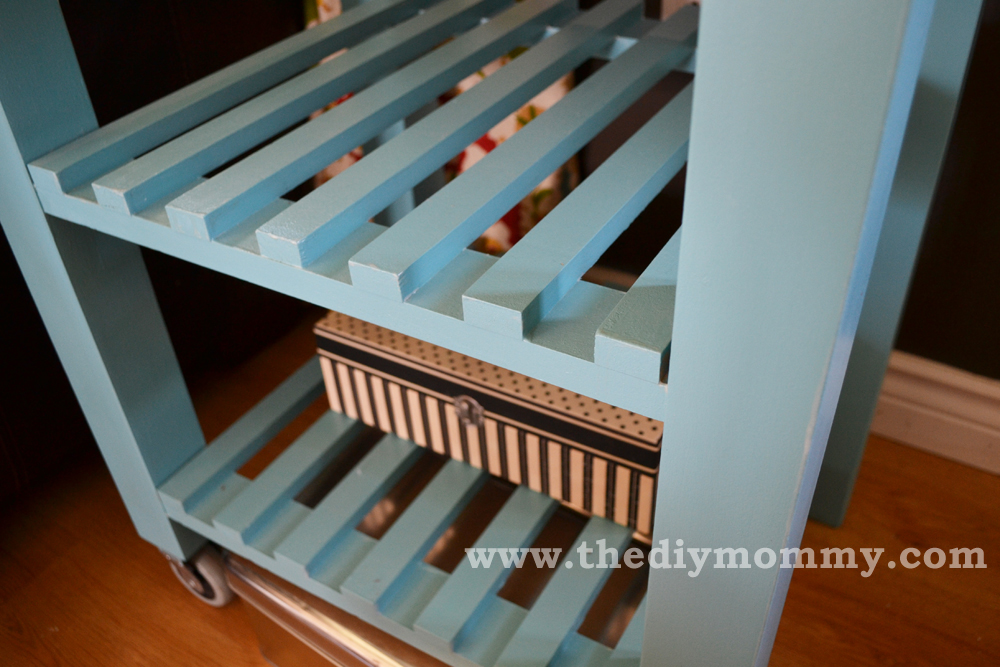
    2. Paint the cart with one thin coat of paint + primer. I used a foam roller on the flat parts and had to use a small foam brush on the hard-to-reach parts (in between the wooden slats on the shelves and the interior corners).
    3. Let the paint dry for at least 2 hours.
    4. Repeat with a second thin coat of paint + primer and let dry for at least 2 hours.
    5. Paint the cart with a thin coat of Varathane using a foam brush. Use long, even strokes. Let the cart dry for at least 3 hours and then sand it very lightly if there are any brush strokes or bubbles.
    6. Repeat with a final coat of Varathane. This clear top coat protects the paint and makes the cart feel smooth and finished!

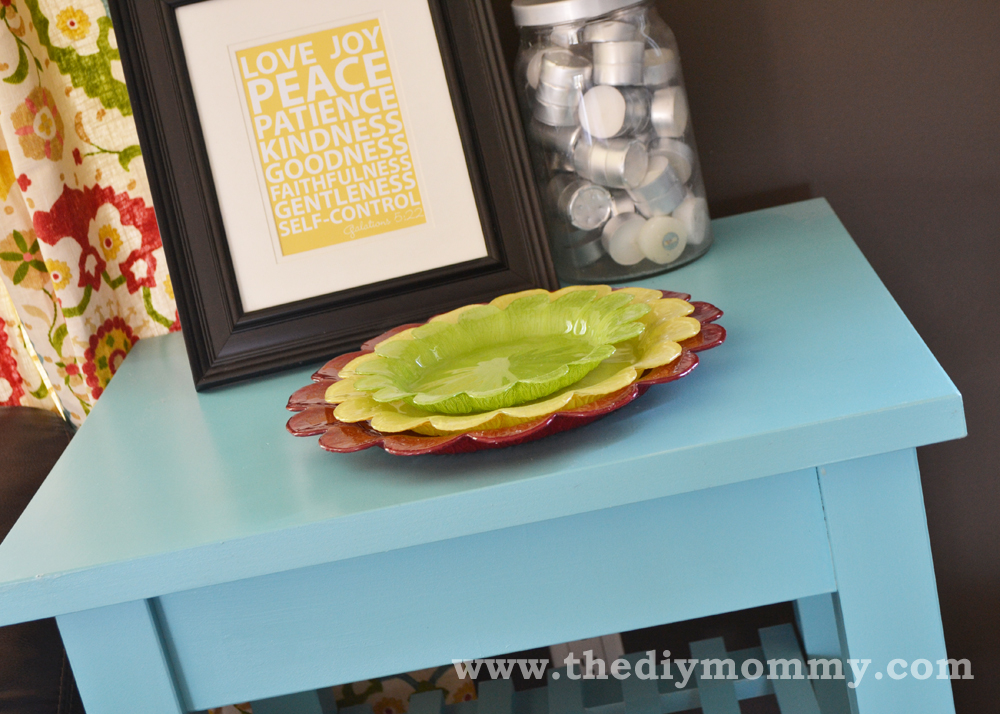
    Paint an IKEA Cart by The DIY Mommy

    Paint an IKEA Cart by The DIY Mommy

    Paint an IKEA Cart by The DIY Mommy

    Christina Dennis is the creator and designer behind Golly Gee Baby, a collection of unique and colourful baby clothing and accessories that are ethically manufactured.

    More Inspiration

    • Build a Simple DIY Boho Picnic Table (Low Profile)
    • Beginner DIY Macrame Keychain Tutorial (2 Easy Patterns)
    • Cricut Must Haves for Beginners: Materials & Tools Guide
    • Modern coastal bedroom makeover with deep blue shiplap wall, vinyl plank flooring, IKEA furniture, and gold accents
      How to Make a Shiplap Wall - Step by Step Tutorial

    Reader Interactions

    Comments

    1. Sara Gibson

      July 24, 2013 at 9:54 am

      Looks great!

      Reply
    2. Kathryn

      October 25, 2015 at 5:36 pm

      It looks AWESOME! What is the color of Turquoise you used? Thanks!

      Reply

    Trackbacks

    1. 2014 Christmas Home Tour: A Teal & Green Vintage Inspired Christmas | The DIY Mommy says:
      November 24, 2014 at 11:16 pm

      […] the corner of the family room, I’ve decorated my Ikea cart with some bottle brush trees in a dome server, wrapped in adorable little twinkle lights. I’ve […]

      Reply
    2. Fall 2015 Home Tour: Simple Woodland-Inspired Country Decor | The DIY Mommy says:
      September 28, 2015 at 6:45 am

      […] in a corner is my turquoise Ikea cart with some fun things on top like this faux pumpkin under […]

      Reply

    What do you think? Cancel reply

    Your email address will not be published. Required fields are marked *

    This site uses Akismet to reduce spam. Learn how your comment data is processed.

    Primary Sidebar

    Welcome!

    Christina Dennis, The DIY Mommy

    I'm Christina and I'm sharing budget-friendly DIY & decor ideas to create a cozy home and life you love!

    Read more about me

    Latest Posts

    • Learn how to find FREE vintage botanical art to print at home. This is a fantastic, budget-friendly wall art solution!
      How to find FREE vintage botanical art to print at home
    • Build a Simple DIY Boho Picnic Table (Low Profile)
    • Modern coastal inspired bathroom renovation with marble tile, shiplap, gold and black accessories, clear shower door, blue and white colors & rattan accents
      Easy IKEA Makeover: DIY Painted Bathroom Vanity

    What's my home decor style?

    Discover the home decor style that best fits your personality and lifestyle. This two-minute quiz is going to give you the direction you need to start the big, bold room makeovers that you've always wanted to try!

    Find out now!

    Footer

    ↑ back to top

    About

    • About The DIY Mommy
    • Privacy Policy
    • Disclosure Policy
    • Terms of Service

    Newsletter

    • Sign Up! for emails and updates

    Contact

    • Contact

    As an Amazon Associate I earn from qualifying purchases.

    Copyright © 2009 - 2023 The DIY Mommy. "The DIY Mommy" is a registered trademark.