Sew an Easy Ruffled Crib Dust Ruffle
This post may contain affiliate links · This blog generates income via ads
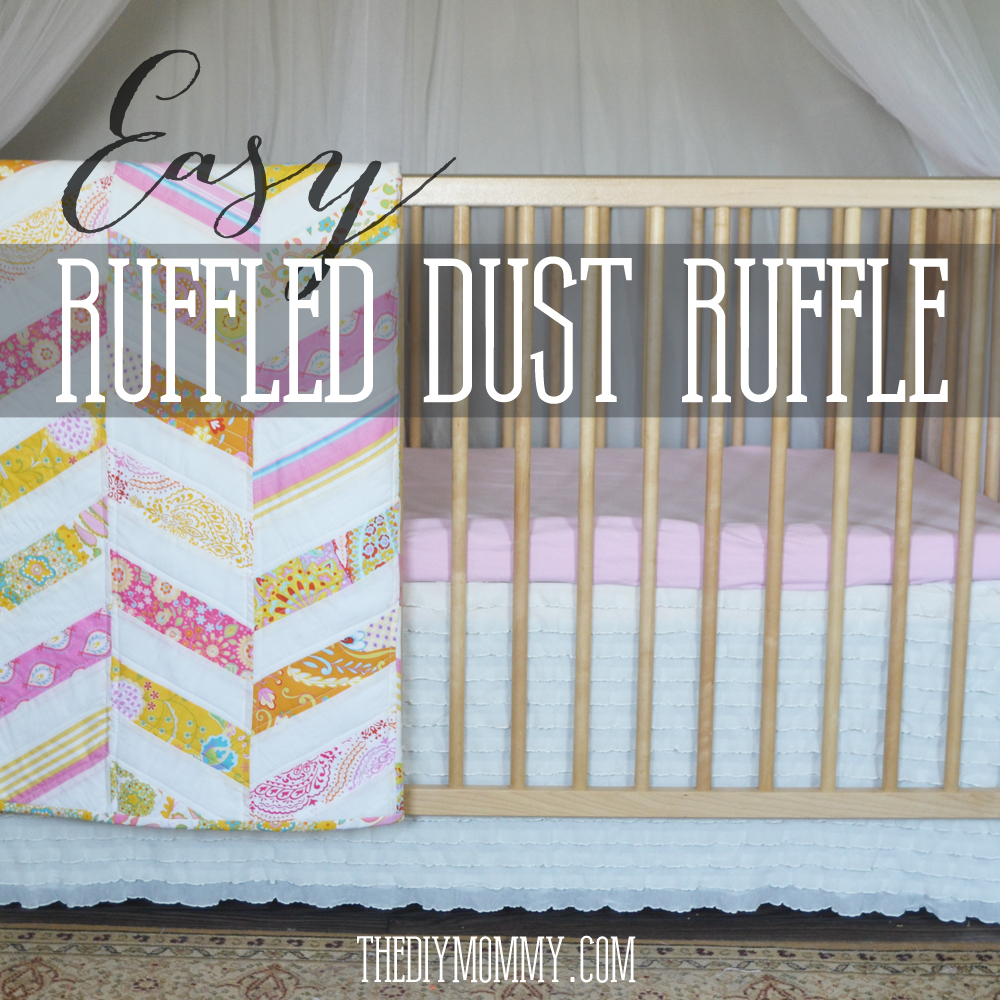
Okay, the title of this post sounds horribly redundant (a ruffled dust ruffle), but there are some dust ruffles that aren’t ruffly at all. Right? Right. Today, I want to share with you how I made the simplest, cutest dust ruffle featuring rows of mini ruffles for Baby B’s crib. I think it looks so cute and detailed, but it was a really easy project – one that’s completely doable with a new baby in the house!
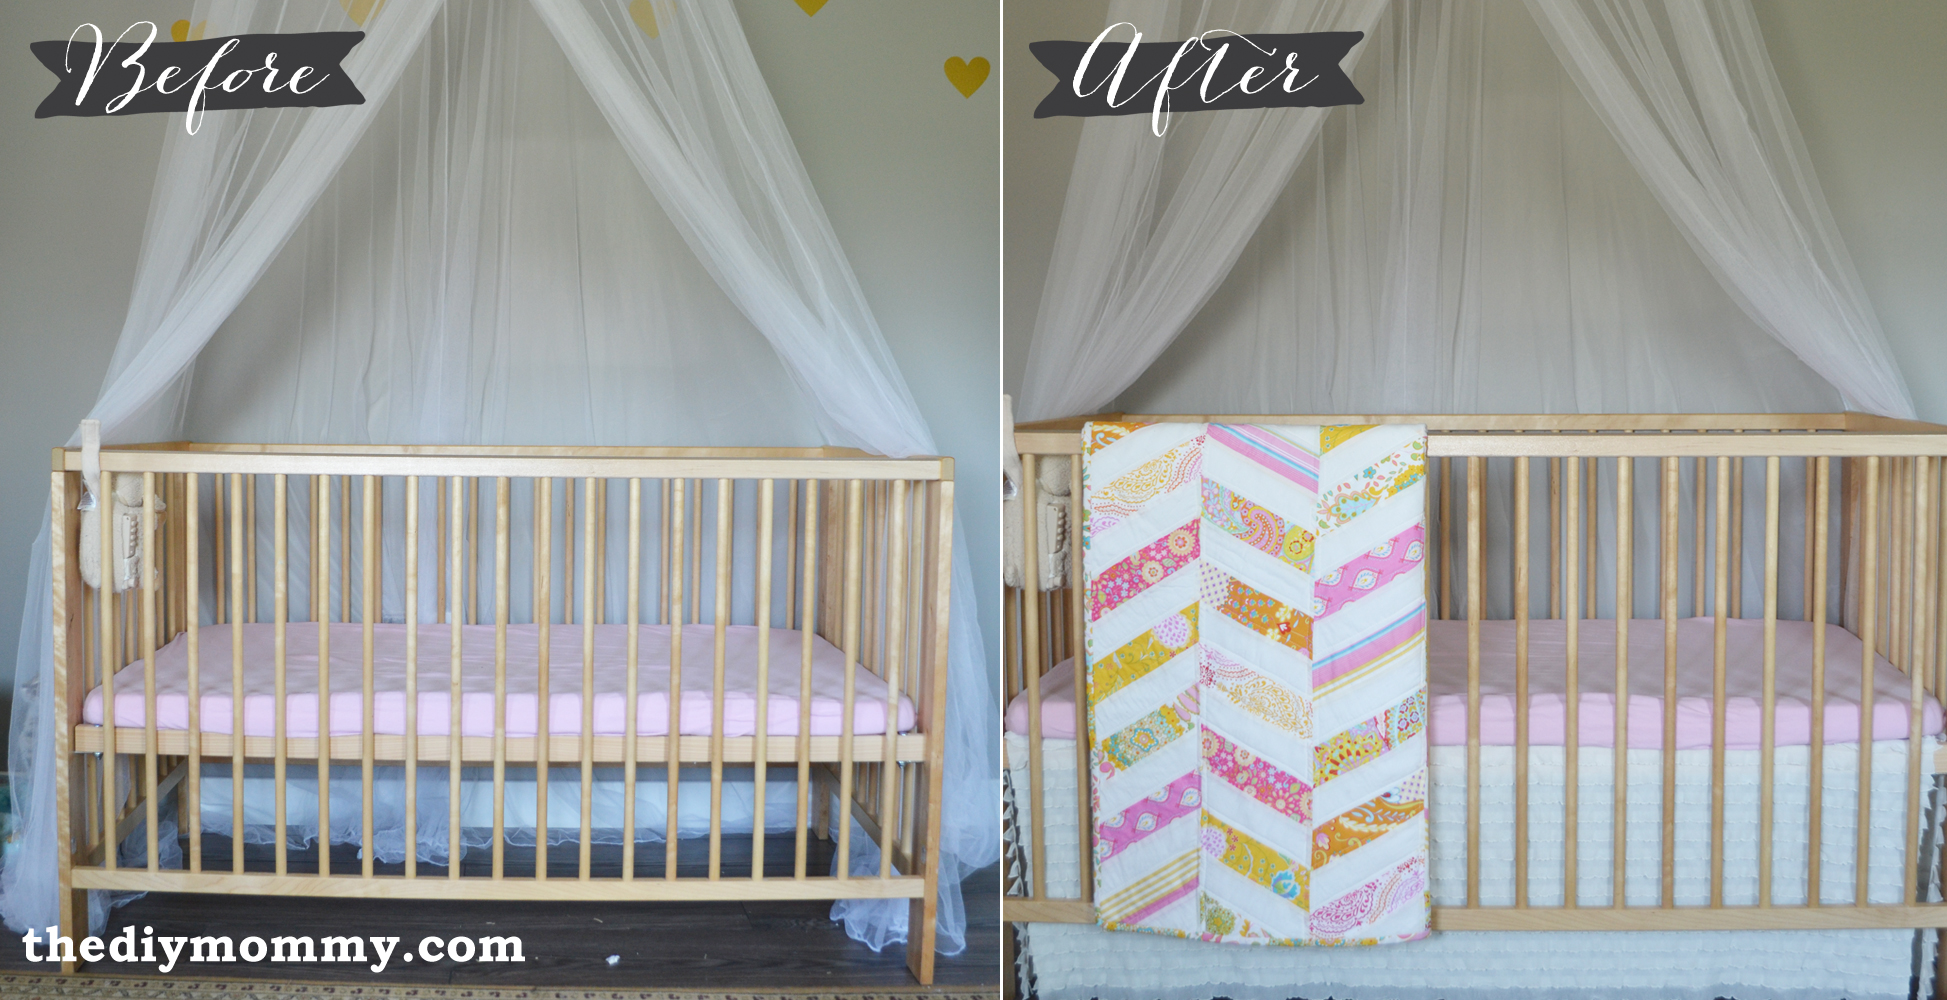
If you’re following me on Instagram, you’ll know that we recently did a bed switcheroo. Baby B suddenly grew too big for her moses basket (*sniff!*), so we gave Little A’s crib to her and we bought Little A an adorable vintage-inspired white metal “big girl” bed from Ikea (we had to rearrange A’s room, and I’ll share photos of that with you soon).
I made this simple crib skirt in an afternoon while one or two of my girls were sleeping (I think it was two, but days have been running together lately) and it was really easy. The secret material that you need is… pre-ruffled fabric! This helps a pretty ruffled bed skirt almost make itself!
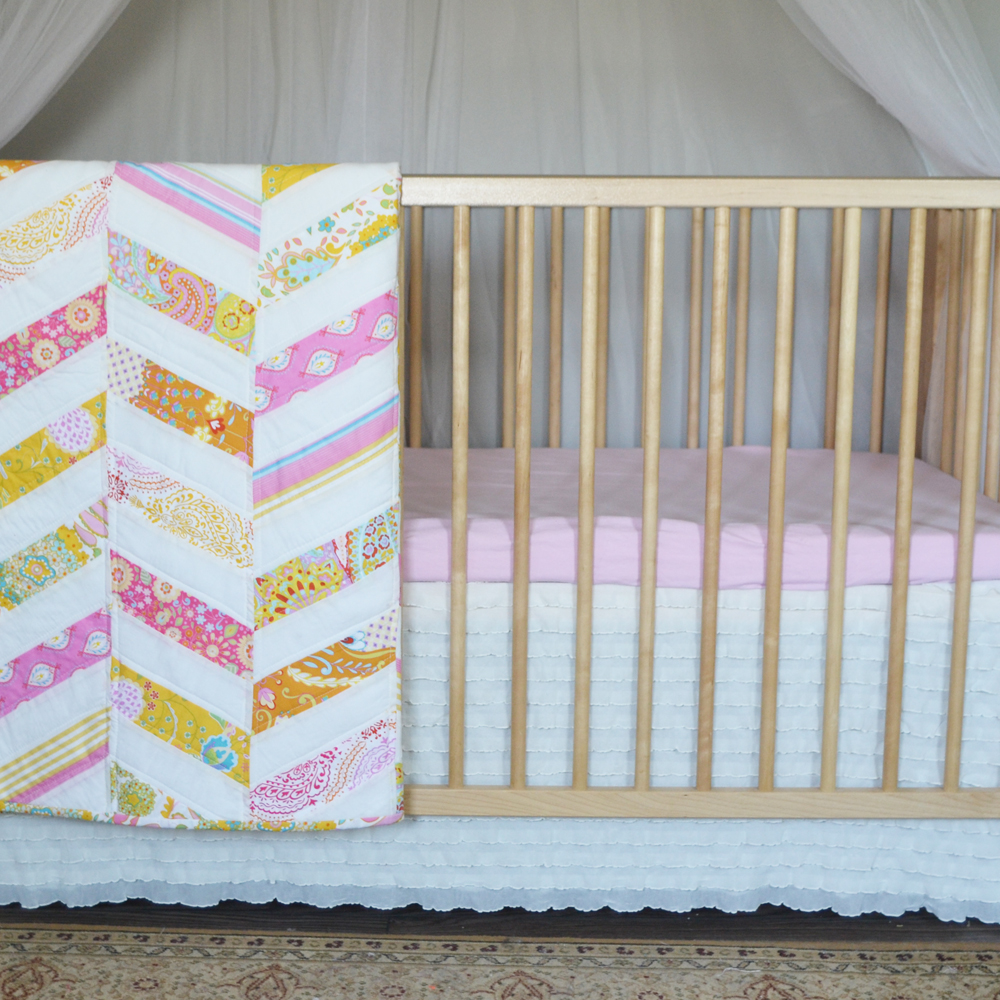
Doesn’t it add such a nice, finished look to Baby B’s crib? (The tutorial for her herringbone quilt is here if you were wondering!)
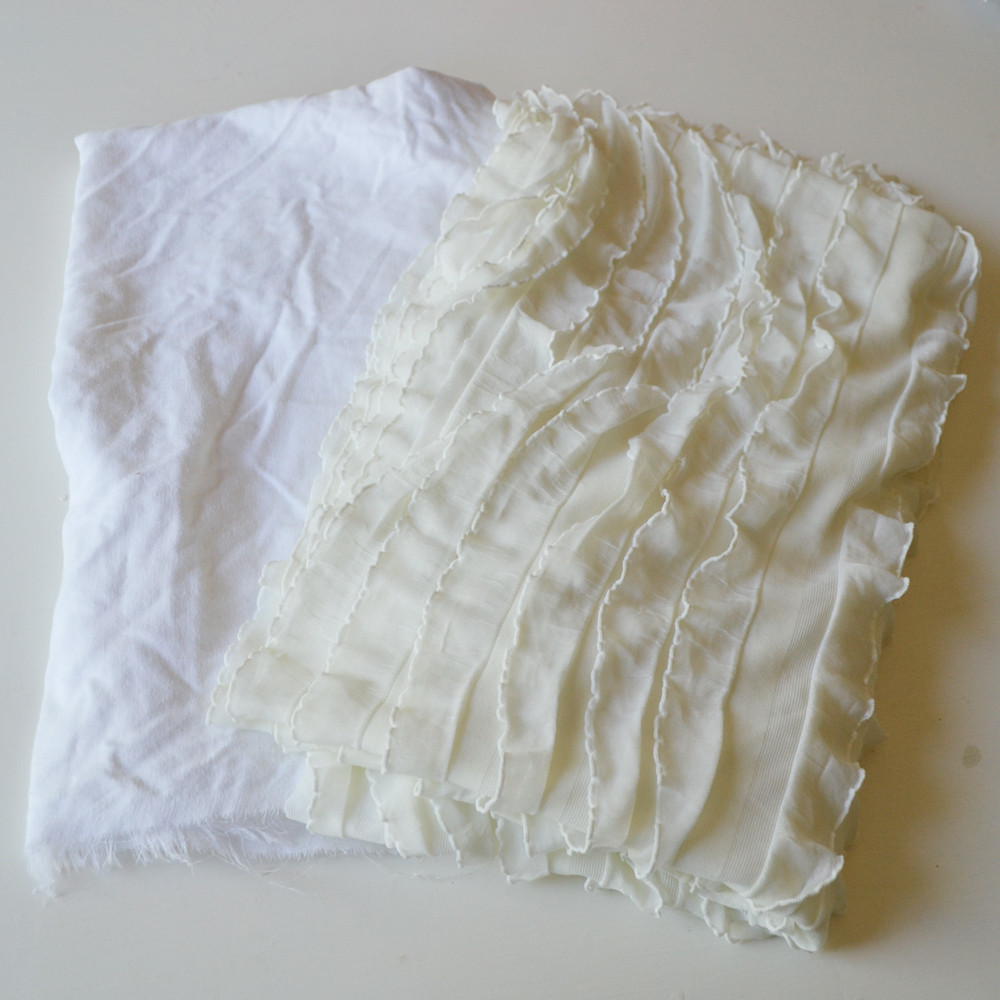
You can buy pre-ruffled knit fabric at Fabric.com in many different colours and ruffle sizes. For Baby B’s ruffled dust ruffle, I bought a yard of pre-ruffled knit fabric in a soft ivory colour.
Easy Ruffled Crib Skirt / Dust Ruffle
Materials:
- 1 yard pre-ruffled knit fabric
- an old sheet or scrap fabric that’s large enough to cover the crib base (mine was 52 x 27″)
Directions:
Cut the old sheet or scrap of fabric to the size of your crib’s base. Mine was 52 x 27″. Use a hard ruler to make sure all of your corners are square!
Measure the length of the top of your crib base to your floor to find the height you’ll need to cut your skirt pieces from the ruffled fabric.
Cut one piece of ruffled fabric that’s the height x the longest side of the crib base, and two pieces that are the hight x the short sides of the crib base.
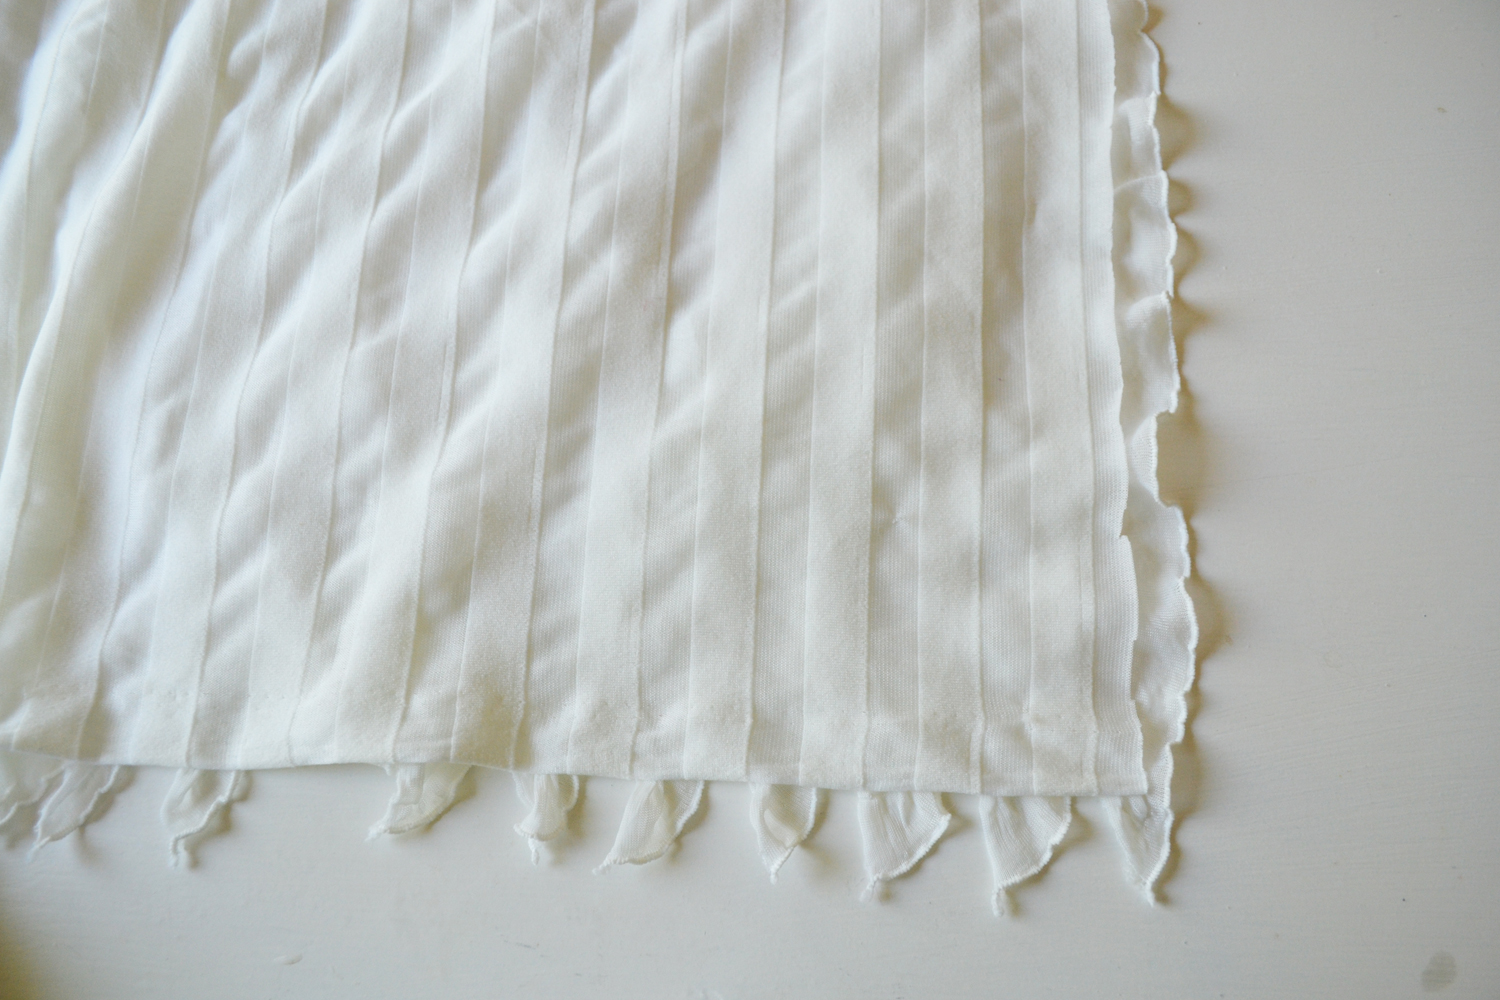
The secret to cutting pre-ruffled fabric is to make sure you don’t actually cut any of the ruffles. Cut from the wrong side of the fabric, and make sure you’re just cutting the backing. Since this fabric is a polyester knit, it shouldn’t fray so there’s no need to hem the raw edges. Hooray!
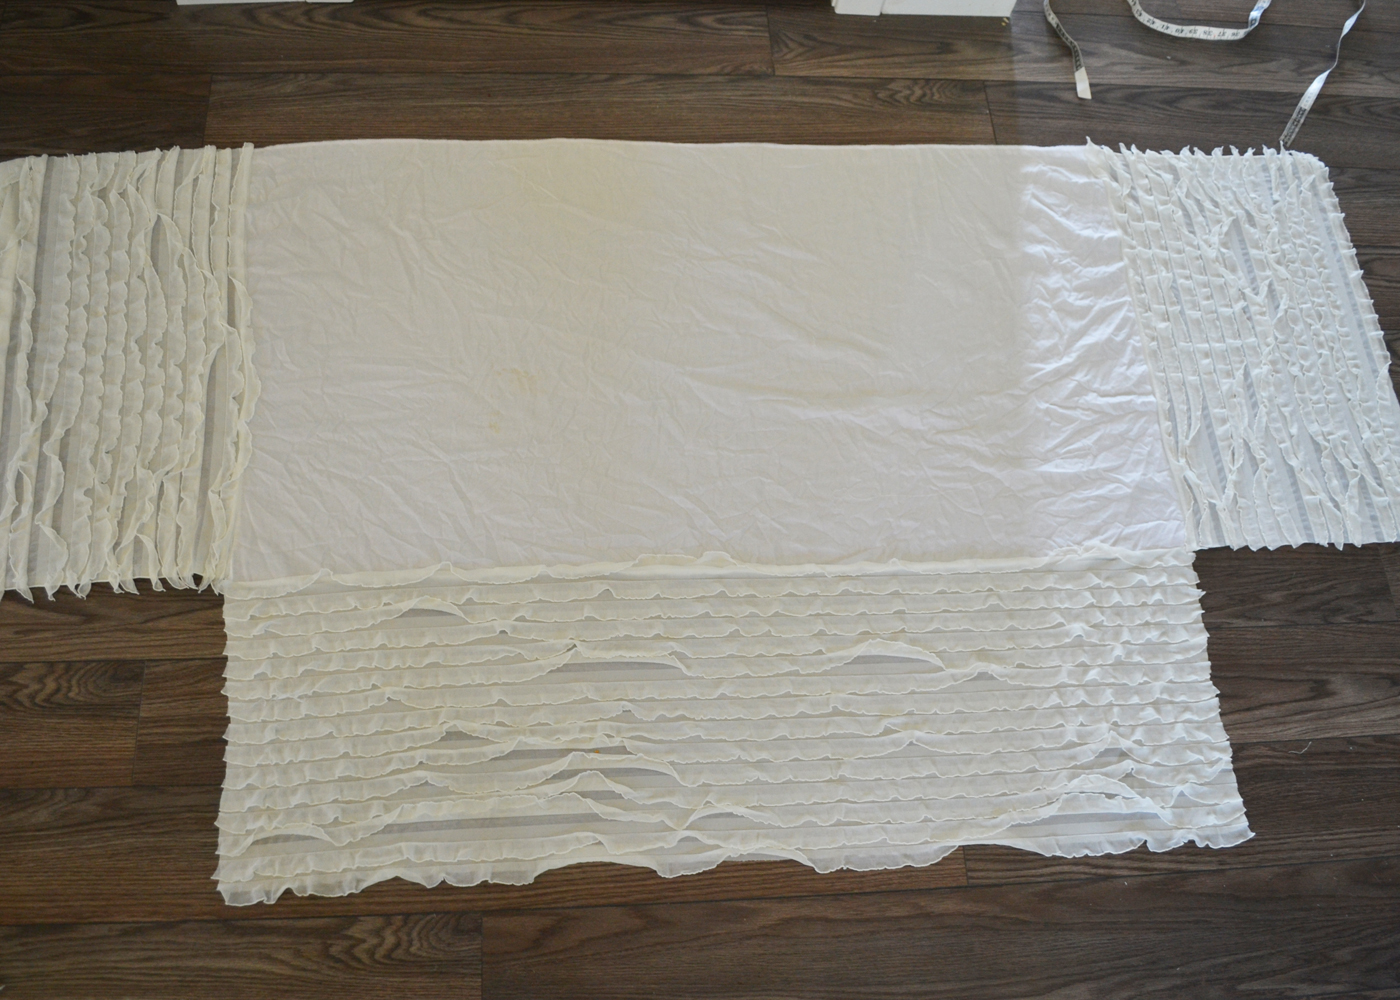
Pin your ruffled fabric to your rectangular base piece as shown, right sides together, and stitch them together with a 1/4″ seam allowance. Make sure that you don’t pull the ruffled knit fabric as you sew (or you’ll end up with little gaps at the bottom of your crib skirt like mine has… let’s just pretend they don’t exist, OK?). Even if you have to gather or pleat the knit fabric a little if you accidentally stretch it as you sew, you shouldn’t notice it after the skirt is installed.
You can finish the back raw edge of the skirt base with a zig-zag stitch or a serged stitch.
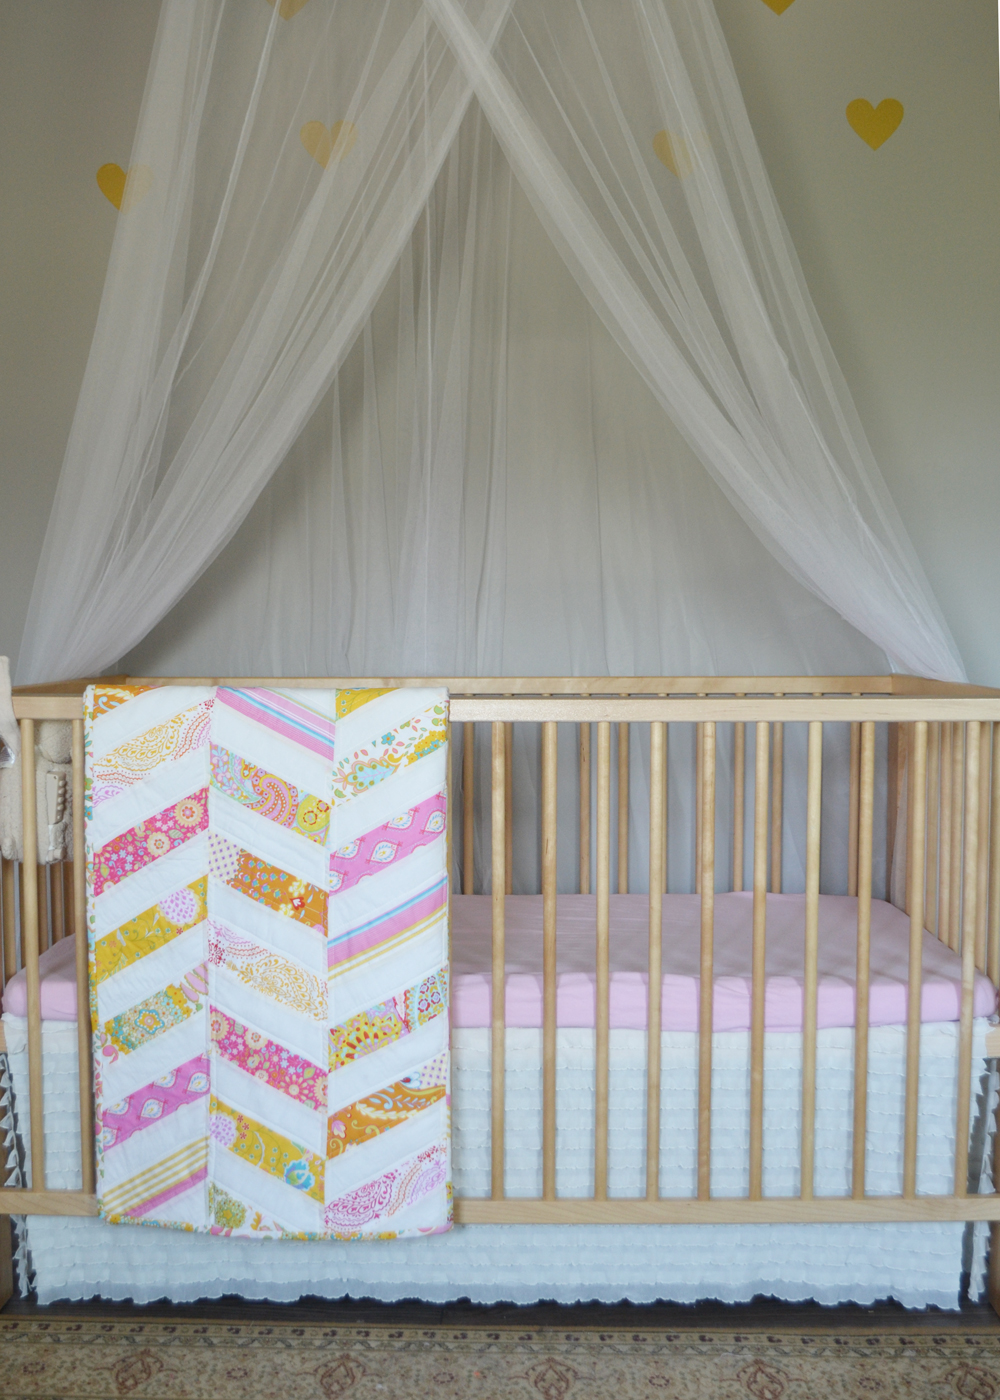
Place your new ruffled dust ruffle over the base of the crib, pull the sides down, place the mattress on top and enjoy it!
So far, Baby B has transitioned quite well to her new, big baby crib. I think she just loves all the space to stretch her body out as she sleeps.
Sigh. Babies grew so very quickly, don’t they?
Have fun sewing this simple crib skirt dust ruffle!
(Disclosure: This post contains affiliate links. If you decide to purchase products via these links, a small percentage of the sale will be given to me at no extra cost to you. It’s a win-win – thanks for helping support thediymommy.wpsc.dev!)
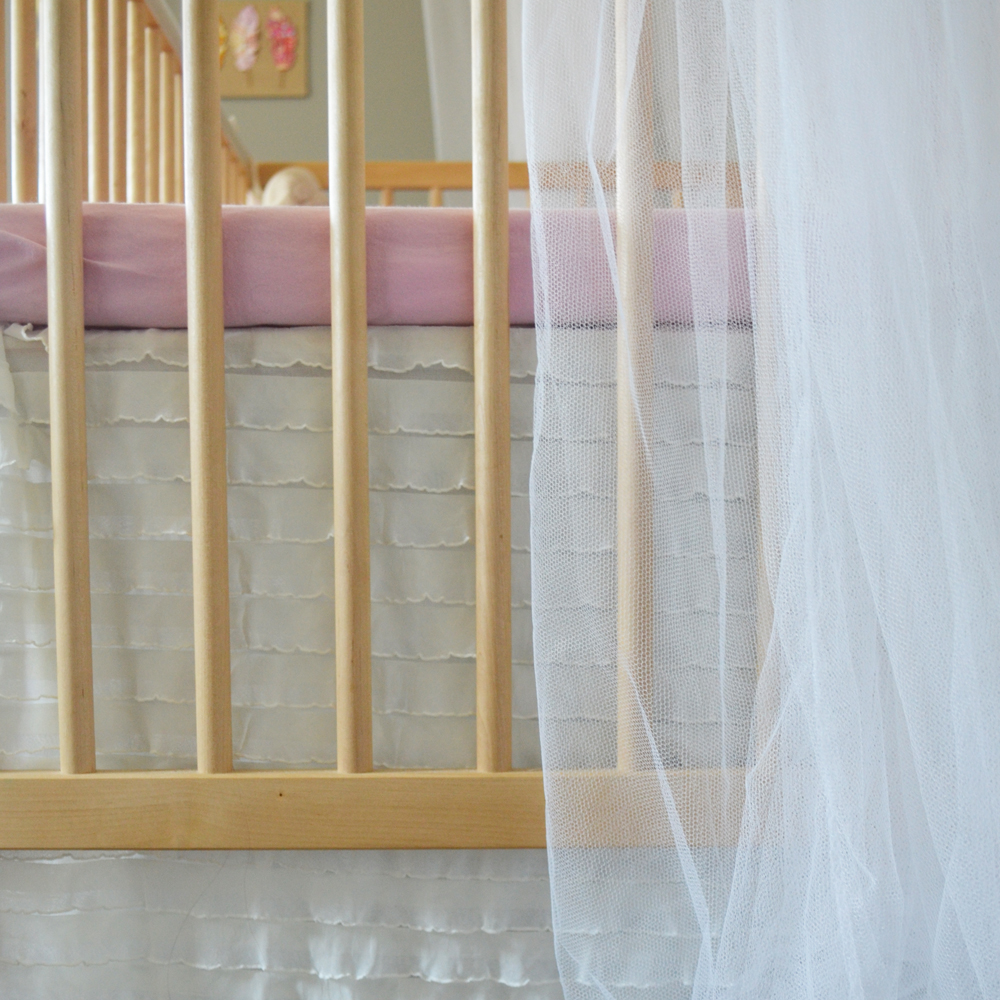
I love the delicate ivory ruffles. It really softens up the space.
Thank you! I agree. I’m a huge fan of ruffles!
I love how this turned out, Christina! The ivory ruffles are perfect. I had no idea it was this easy to make your own dust ruffle!