Sew Linen Napkins (+ How to Make a Rolled Hem with a Serger)
This post may contain affiliate links · This blog generates income via ads
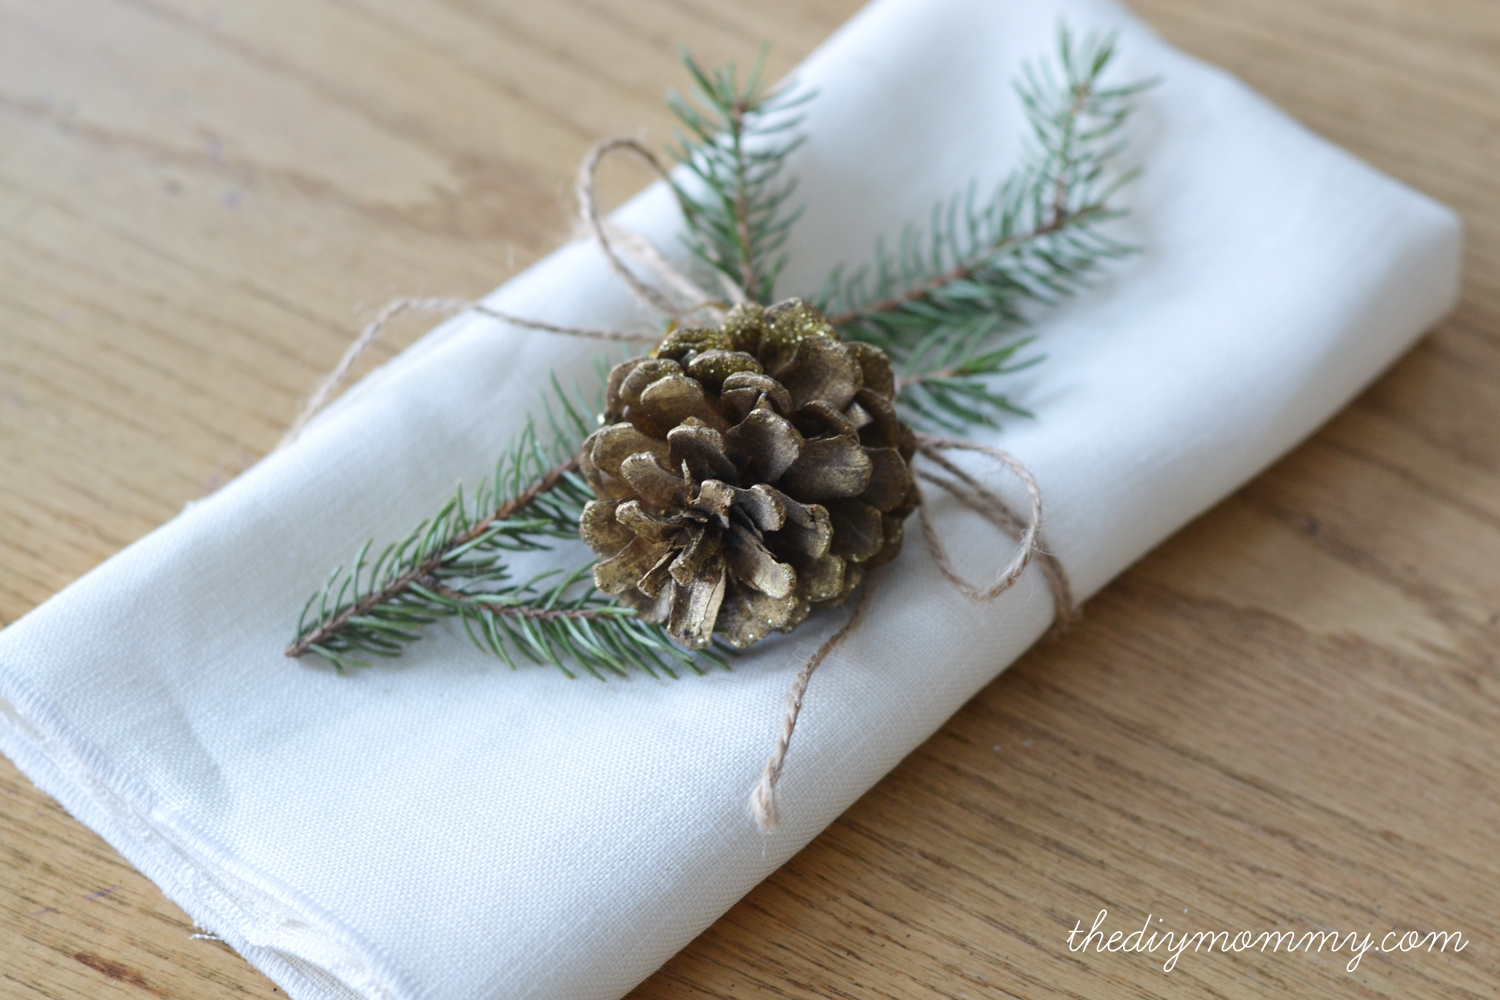
Linen napkins are so sophisticated and gorgeous, and they’re a pretty way to formalize a table setting for Christmas dinner.
I’m hosting my first ever Christmas Day dinner at our home this year (hooray for a house that can actually fit company in it!) and I wanted to make our Christmas table extra special. I have a decently sized fabric stash (*guilty*!) and found a piece of off white linen that would be perfect for cloth napkins. With the help of my serger, I whipped up 8 DIY linen napkins in less than an hour!
If you don’t have a serger, you could easily make these with your sewing machine (just fold the edges 1/4″, then fold them 1/4″ again before stitching), but if you DO have a serger, this is such a quick & professional looking way to finish napkins!
Not only are these fun to make for yourself, but wouldn’t they make a lovely hostess gift?

The narrow rolled hem feature on my serger is so simple to do, and it makes a nice, tidy finished edge on my new linens. If you have a serger at home, I encourage you to try this feature – it’s so useful for all sort of applications!
Materials:
- linen or cotton fabric
- serger
- cutting mat
- rotary cutter
- hard edged ruler
Directions:
Cut a perfect square from your fabric using a ruler, rotary cutter and mat. I’ve seen all sorts of different sizes used for cloth napkins, but I chose to cut my squares at 19″ wide so that the napkins would measure approximately 18″ wide when they were finished.
Now, you can finish the edges by pressing them and sewing with a sewing machine, OR you can do it with your serger’s narrow-rolled hem feature like I did.
I have a Janome serger, but this method will probably work for most sergers. If not, consult your serger’s manual for the directions on how to do a narrow rolled hem.
First, take out the left needle on your serger. You only need the right one to make the narrow hem.
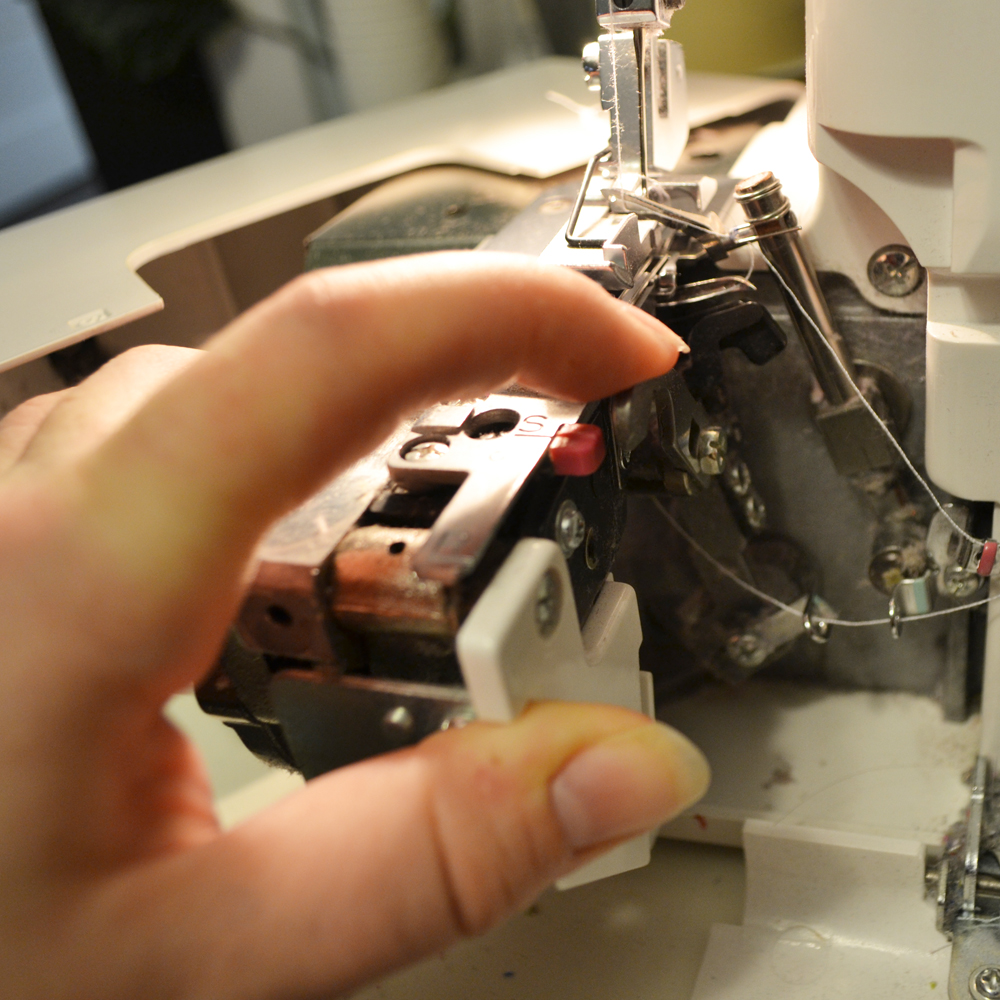
Next, disengage the blade by folding it down (there’s a button on the left of my blade that I press as I fold the knife down). You won’t be cutting fabric as you serge a narrow rolled hem, your serger will fold it under.
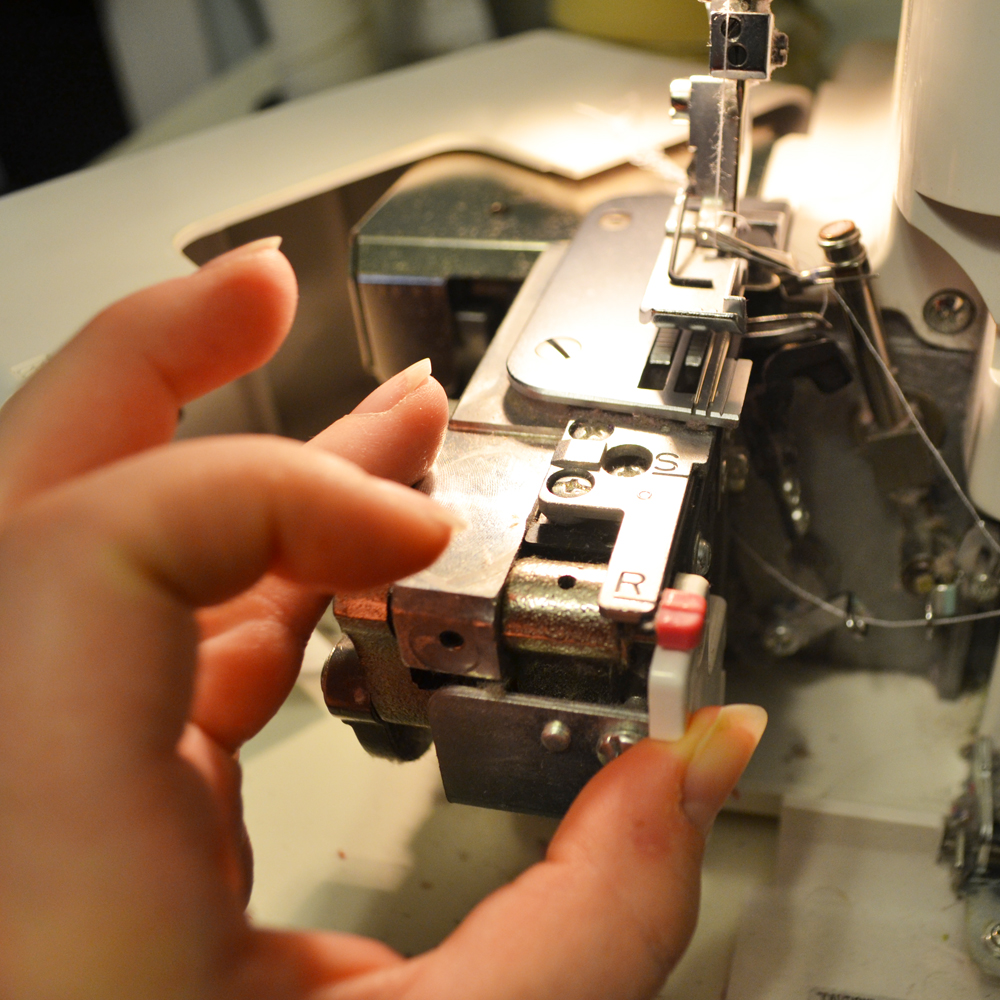
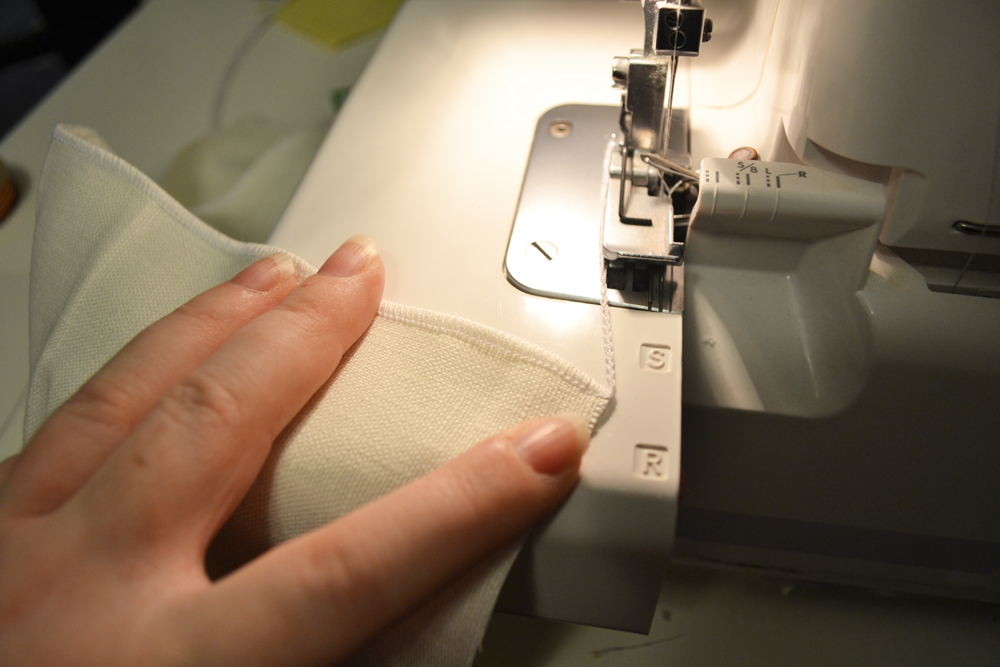
Then, change your serger’s setting from “standard” to “rolled”. On mine, there’s a knob that I move to “R”.
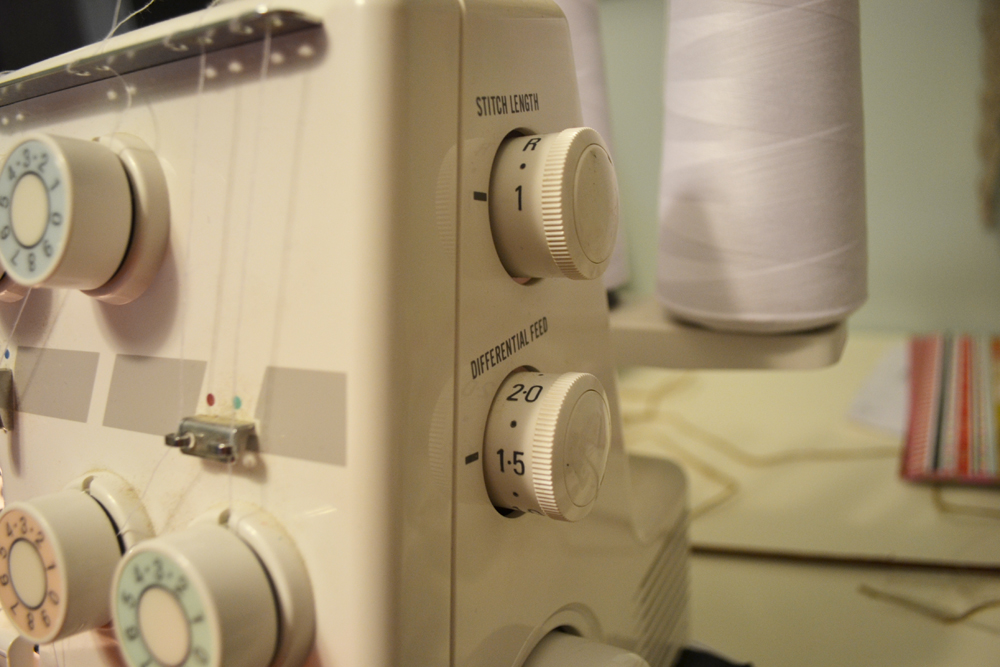
Adjust your stitch length to the smallest there is (on mine it’s “1”). You may have to adjust the tension of your lower threads too if you’re sewing with a thicker fabric like linen. For my serger and this project, I had to tighten the tension on both lower threads to make the fabric fold under properly. Test your hem on a scrap piece of fabric before doing the real thing.
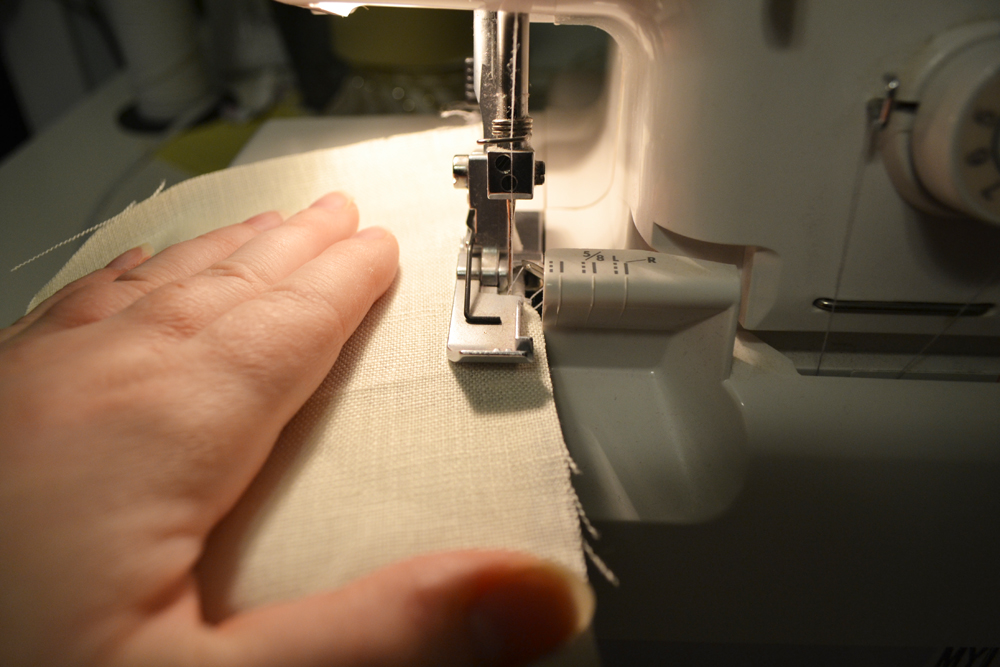
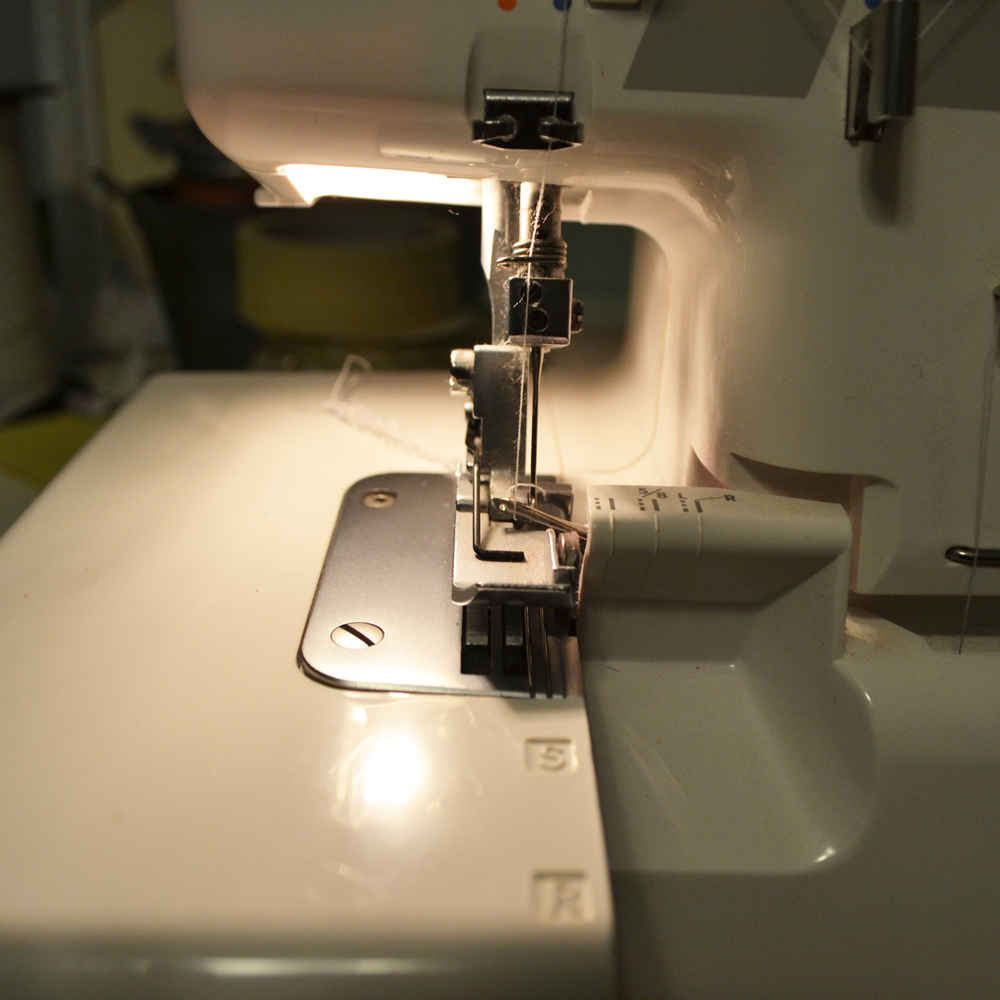
Starting at a corner, lift up your presser foot and slide your fabric in so that it’s a half inch or so in front of the presser foot. On my serger, I place the raw edge of the fabric so that it just touches my guide, as above. Put the presser foot down and sew. You should see the fabric folding under as you stitch a narrow, finished hem.
For corners (like on these linen napkins), I found it looked the best to sew right off of one corner, trim the thread, and then begin again on the next corner. Trim all of your threads when you’re finished, and your project is already complete!
Not only is this technique wonderful for cloth napkins, but I’ve used it to hem ruffles on my girls’ clothes and many other projects too.
Happy napkin sewing!
Most sump pumps have a pressure valve or float activator.
Most plumbers either do residential or commercial work.
With the help from clientele documented support, the
company is proficient to take care of all your residential plumbing
requirements.
I was working with linen today and deeply regretted using the right needle for a rolled hem because linen frays so easily. If I would have chosen the left needle, it would have made a wider stitch and would give the hem something a little deeper to hang on to in order to counteract the tendency toward fraying.