Knot Just Your Average DIY: Unraveling the World of Macrame
This post may contain affiliate links · This blog generates income via ads
Macrame! It’s one of those crafty things that’s been around for ages, but it’s become super trendy again. It’s all about knotting cords together to create beautiful patterns and designs. And the best part? It’s surprisingly easy to learn and incredibly therapeutic. In this post, I’m going to teach you all about some basic knots and give you some ideas for projects including a DIY macrame wall hanging to get you started.
Macrame allows you to whip up all sorts of cool decor stuff. Think dreamy DIY macrame wall hangings that’ll make your space feel zen, or cute plant hangers that’ll give your green friends a stylish home. You can even make your own jewelry (think bracelets, necklaces, and even earrings if you want to) that’ll have everyone asking, “Where’d you get that”? Don’t forget about the practical stuff too – coasters, keychains, and even stylish bags are all fair game.
In this blog, we’re exploring macrame from A-Z: how it’s done, the cool techniques and knots involved, and why picking up this skill is an awesome idea. Plus, I’ll be your guide as you tackle some fun projects of your own! Ready to get knotty? Let’s do this!
Table of contents
Macra-why?
Interest is piqued, but still not quite sold? Macrame doesn’t just look cool, it offers a bunch of other benefits as well. Macrame is my go-to stress reliever. The rhythmic knotting process helps me unwind and stay focused, leaving me feeling super relaxed. Taking on new skills and challenges is a also great way to ensure continuous learning and provide a fun new creative outlet to practice and share.
Lastly, the revival of macrame blends modern with tradition. You’re not stuck with your grandma’s old arts and crafts – you can make something beautiful to call your own! There’s also no such thing as the “right cords” anymore. You can use any kind of cotton rope, hemp, or jute cord depending on the look you want. You really can get creative and do your own thing.
Now, grab your cords and a pair of sharp scissors, and let’s knot our way to some seriously cool creations!
Tying the Knot
There are a few different macrame knots you’ll want to get familiar with. First, we have the square knot – it’s like the bread and butter of macramé. It is super versatile and used in many patterns.
Then, there’s the lark’s head knot, which is great for attaching cords to things like dowels or rings, which will be the start of any macrame wall-hanging DIY.
Let’s not forget about the half knot and the double half hitch knot. These knots will both add lovely texture and detail to your creations. The diagonal clove hitch knot is a variation of the traditional clove hitch knot used in macrame. Instead of being tied horizontally, this knot is tied at an angle, creating a diagonal pattern in the cords. It may sound a bit tricky, but with a little practice, you’ll be knotting like a pro in no time!
Knot Know-How

First, we have square knots, which are made by crossing two cords over each other and then looping one under and through the other. Repeat in the opposite direction to create a nice, tight knot.
Next, there’s the lark’s head knot – simply fold a cord in half, loop it around your dowel or ring, and pull the ends through the loop. For the half knot, start with a base cord and loop the working cord over it, then pull it under and through to create a knot. And for the double half hitch knot, it’s like the half knot but done twice – loop the working cord over the base cord and pull it through twice for a secure knot.

We’re also going to work with the diagonal clove hitch knot in this project. This one sounds tricky, but I promise it’s knot (so punny!).
To tie the diagonal clove hitch knot, start by crossing one cord over another at a diagonal angle. Then, bring the working end of the first cord under the second cord, forming a loop. Next, bring the working end of the first cord over the second cord and through the loop created in the previous step. Tighten the knot by pulling both ends of the cord. Repeat this process to create a row of diagonal clove hitch knots, alternating the direction of the diagonal for each knot.

Don’t worry if it sounds a bit complicated – I’ll break it all down for you in easy-to-follow steps! And of course, you can watch me do it in the video tutorial! Let’s knot our way through these techniques and get ready to create some impressive macrame pieces.
Knot by Knot: Crafting Your Macrame Masterpiece
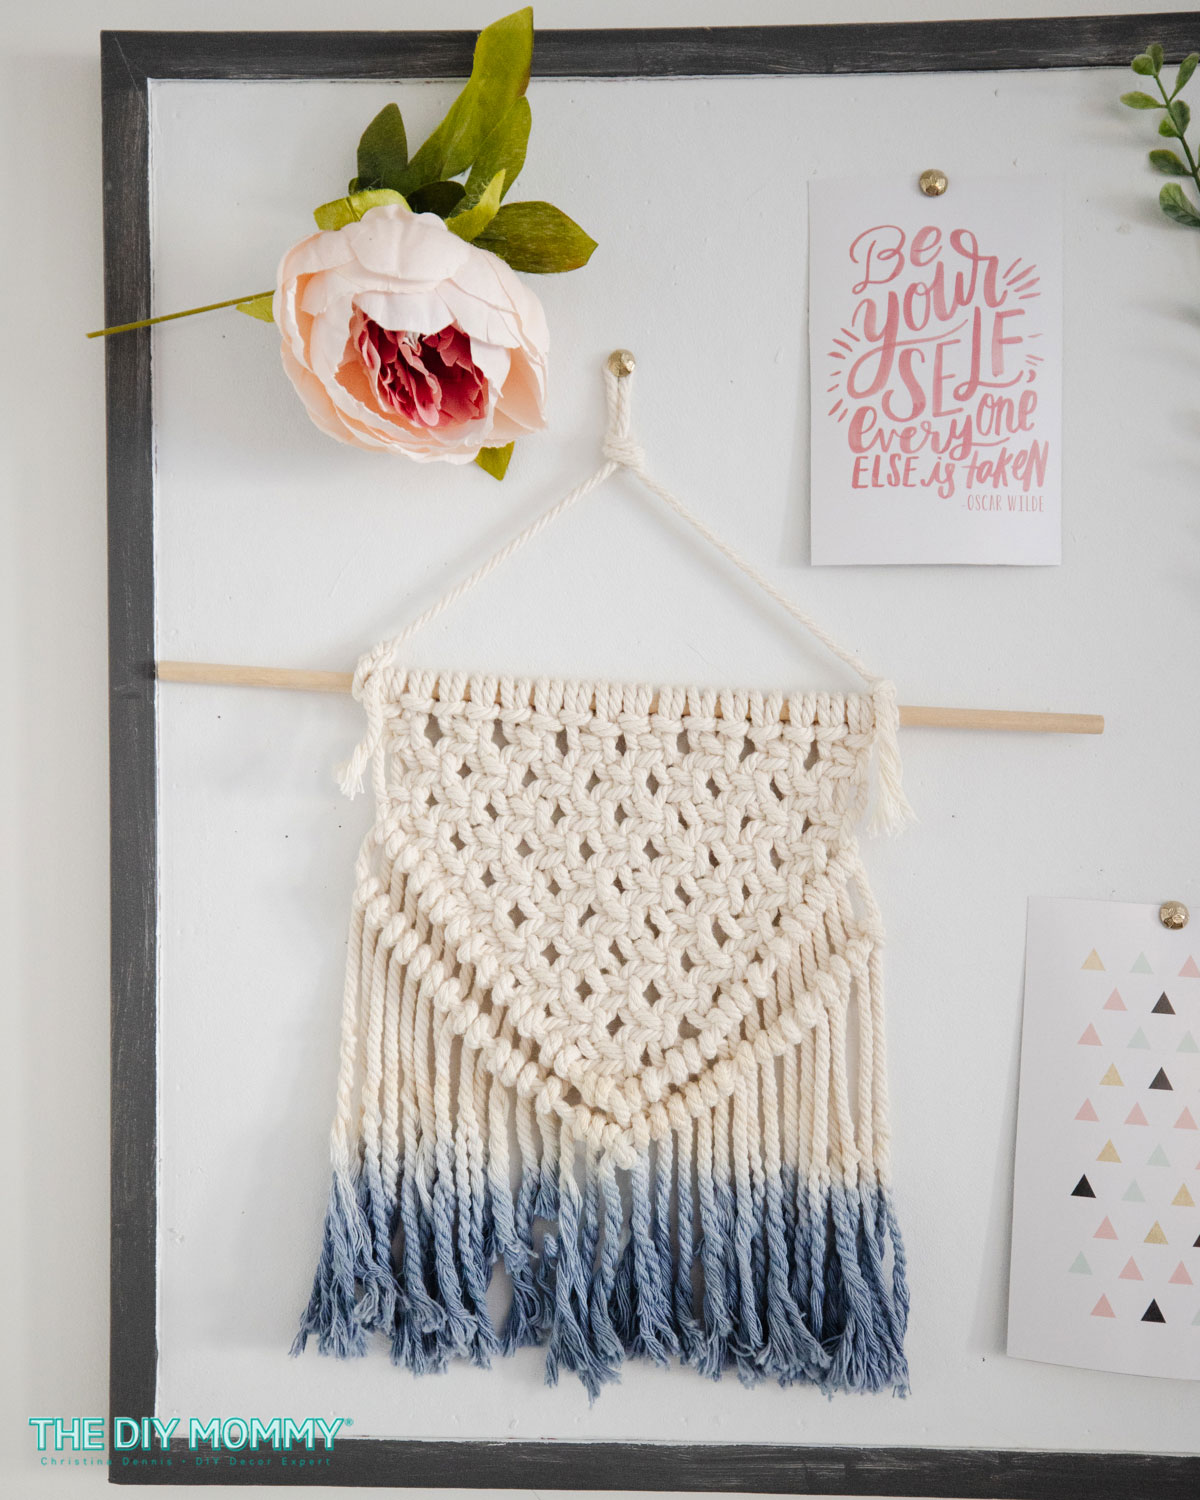
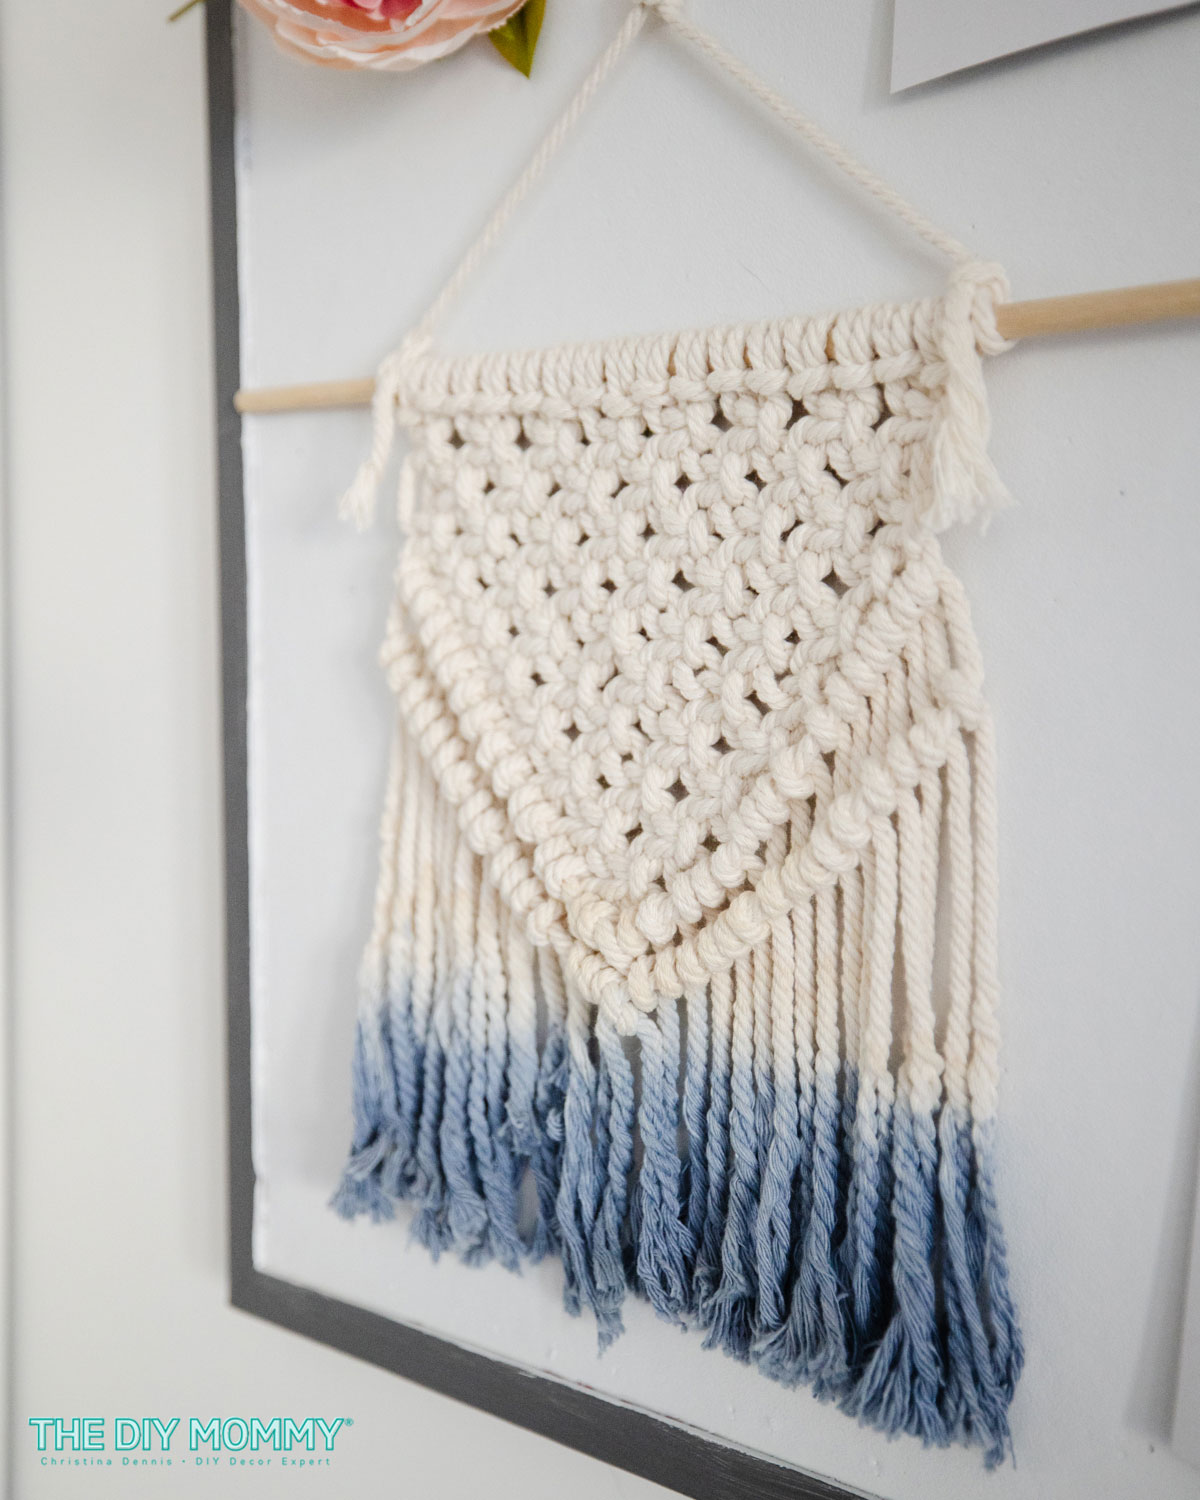
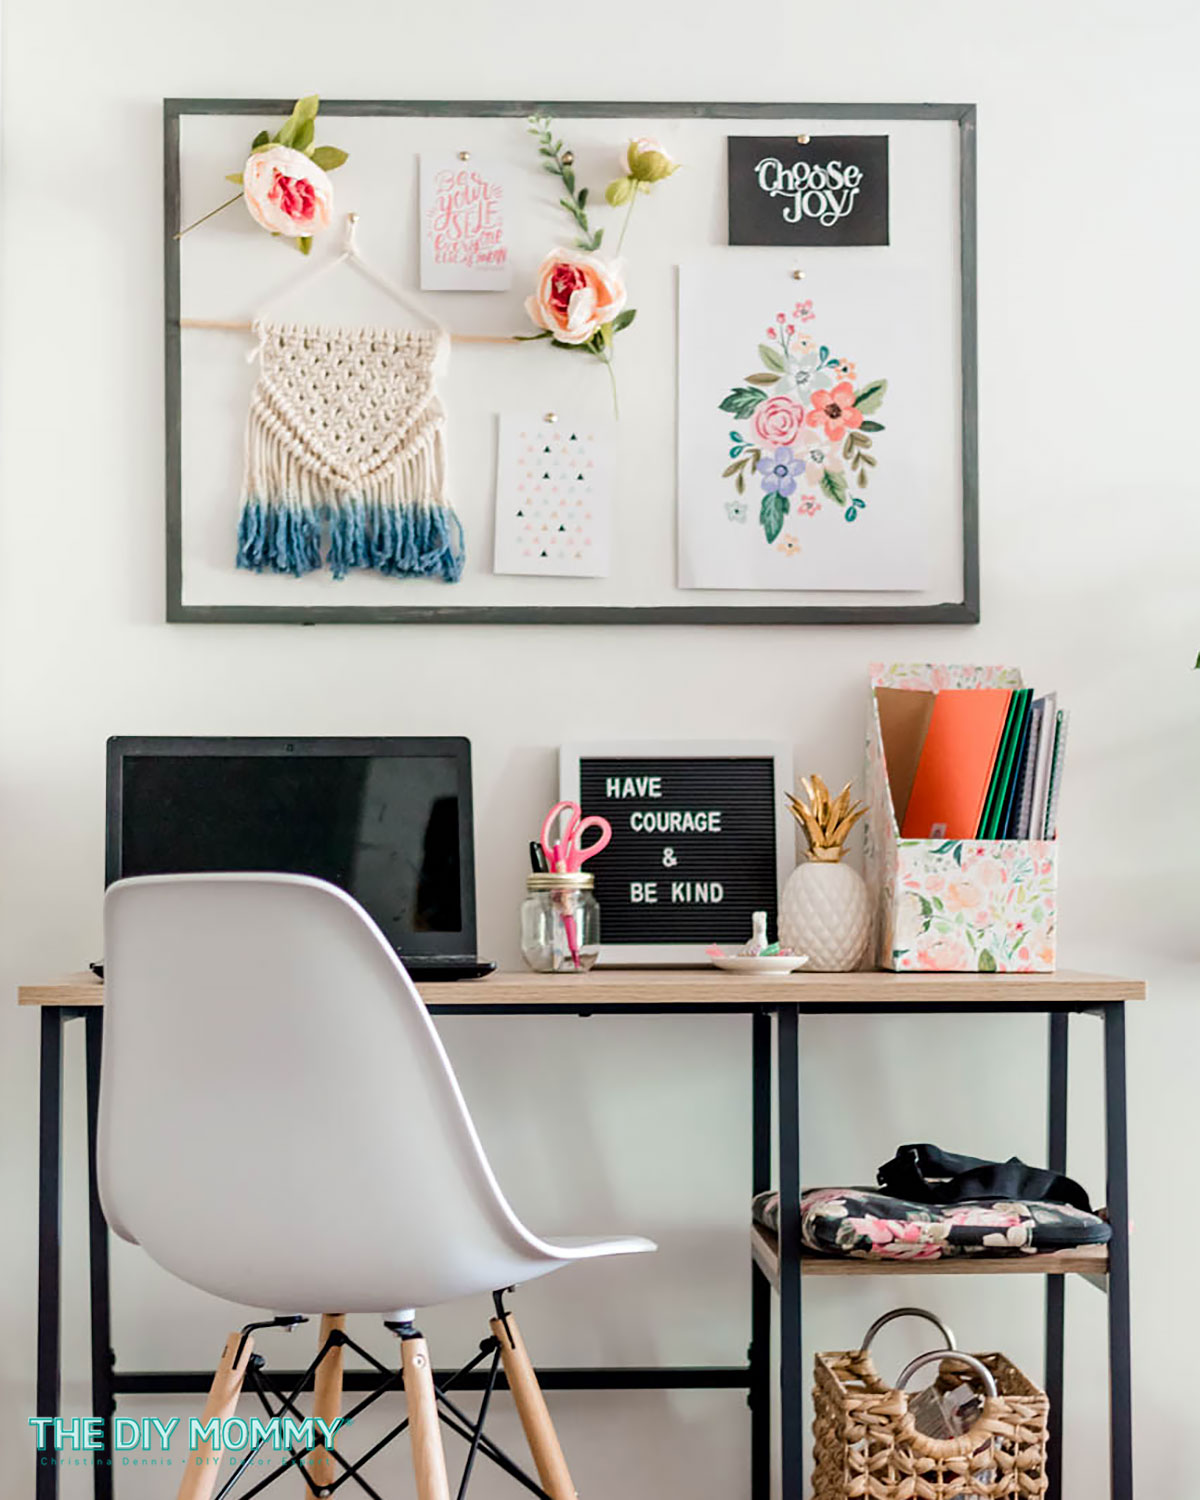
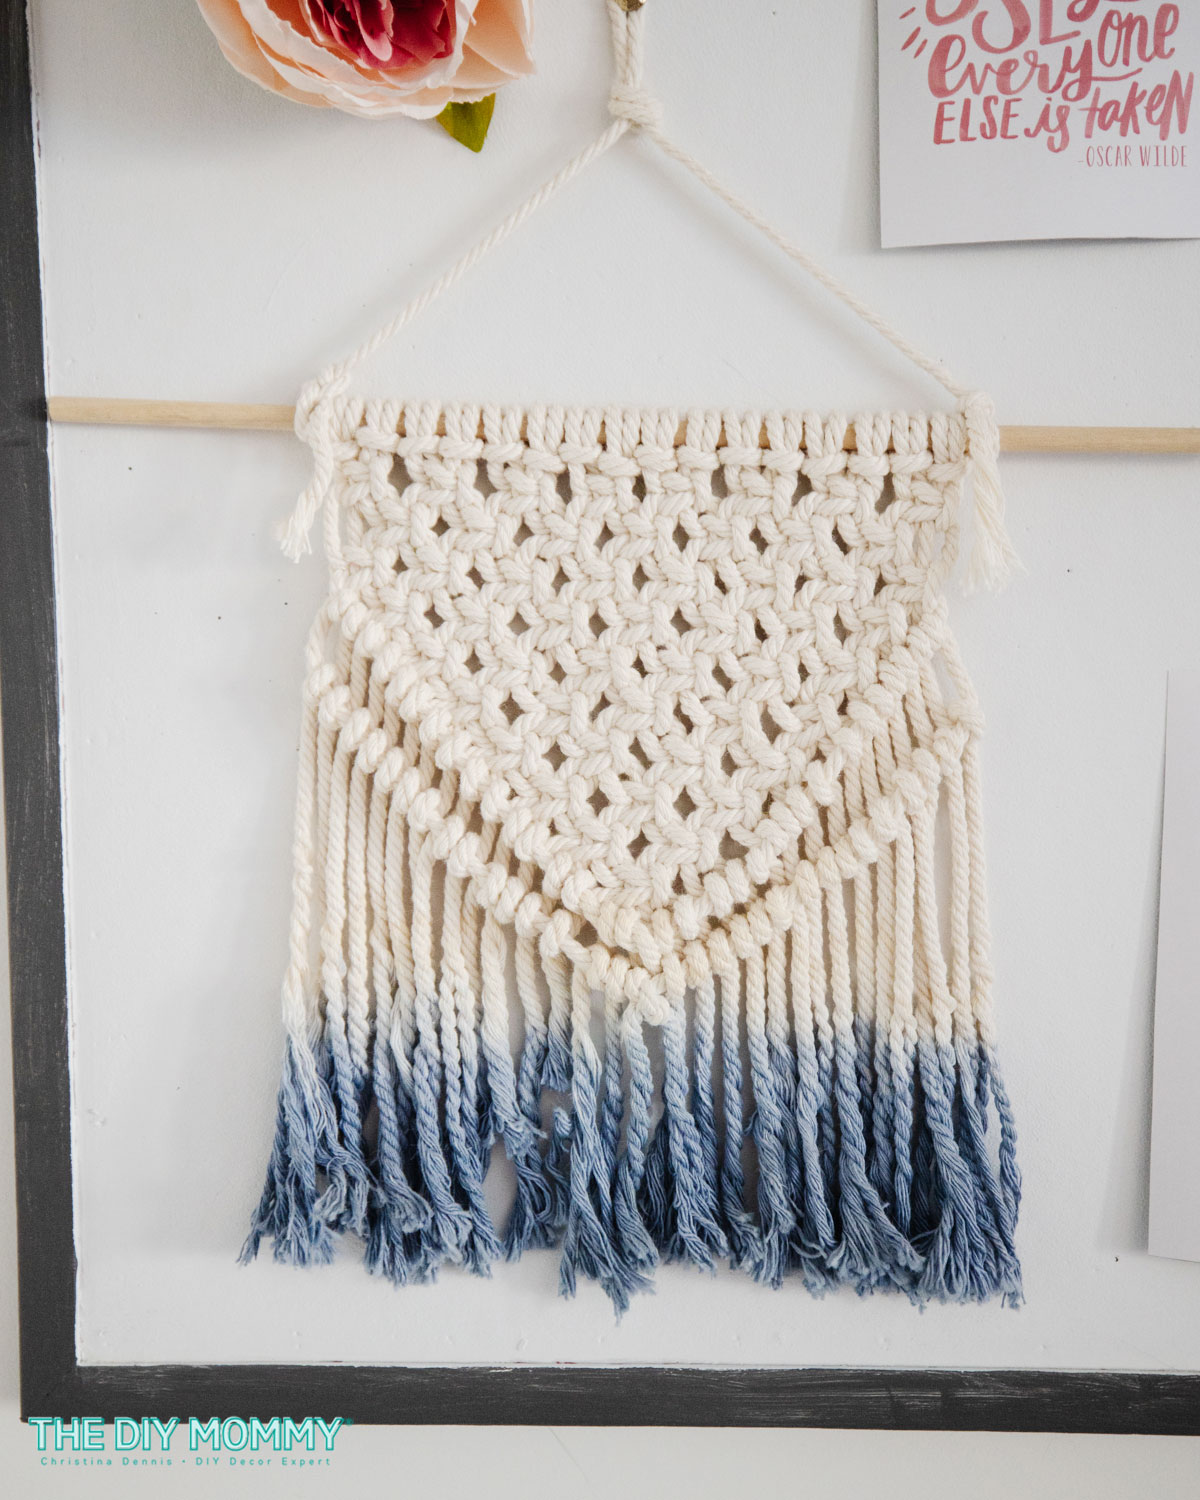
Ever wanted to add a bit of personality to your walls? I recently found myself scrolling online, admiring all the stunning macrame wall hangings the internet has to offer. Inspired by Angela Holm’s creativity and her beautiful pattern and easy instructions, I decided to take matters into my own hands and create my very own DIY macrame wall hanging work of art based on her inspiration. The process was both relaxing and rewarding, and the end result? Let’s just say my living room has never looked better! Make sure you check it out. (And remember, if you don’t have copper pipe a piece of wooden dowel or driftwood works just as well!)

If you feel like getting extra fancy, take things a step further and add some color to your walls! I LOVE Anthropologie’s dip-dyeing technique for their clothes, so I was inspired to give it a try with my wall hanging and turn my fringe a beautiful shade of denim blue. Perfection. There are so many ways to customize each project, which is another thing I love about this crafty art form.
DIY Macramé Projects for Every Skill Level
Ready for more? Here are some of my top DIY picks to inspire you. All of them are simple and will give you a real confidence boost as a beginner macrame artist!
Easy Keychain Patterns for Beginners
If you’re new to macrame, making a smaller project like these keychains is a fantastic way to dip your toes into this textile art. The tassel keychain is SUPER simple with only one macrame knot, while the square knot keychain is the next step up with two macrame knot styles. Both are very quick to make and require minimal supplies (a metal ring and some cotton strands), and they would make lovely gifts. You can find the inexpensive materials required to make these at your local craft store or on Amazon (and I’ve linked them to make it extra easy for you!). Let’s get started with these easy step-by-step tutorials!

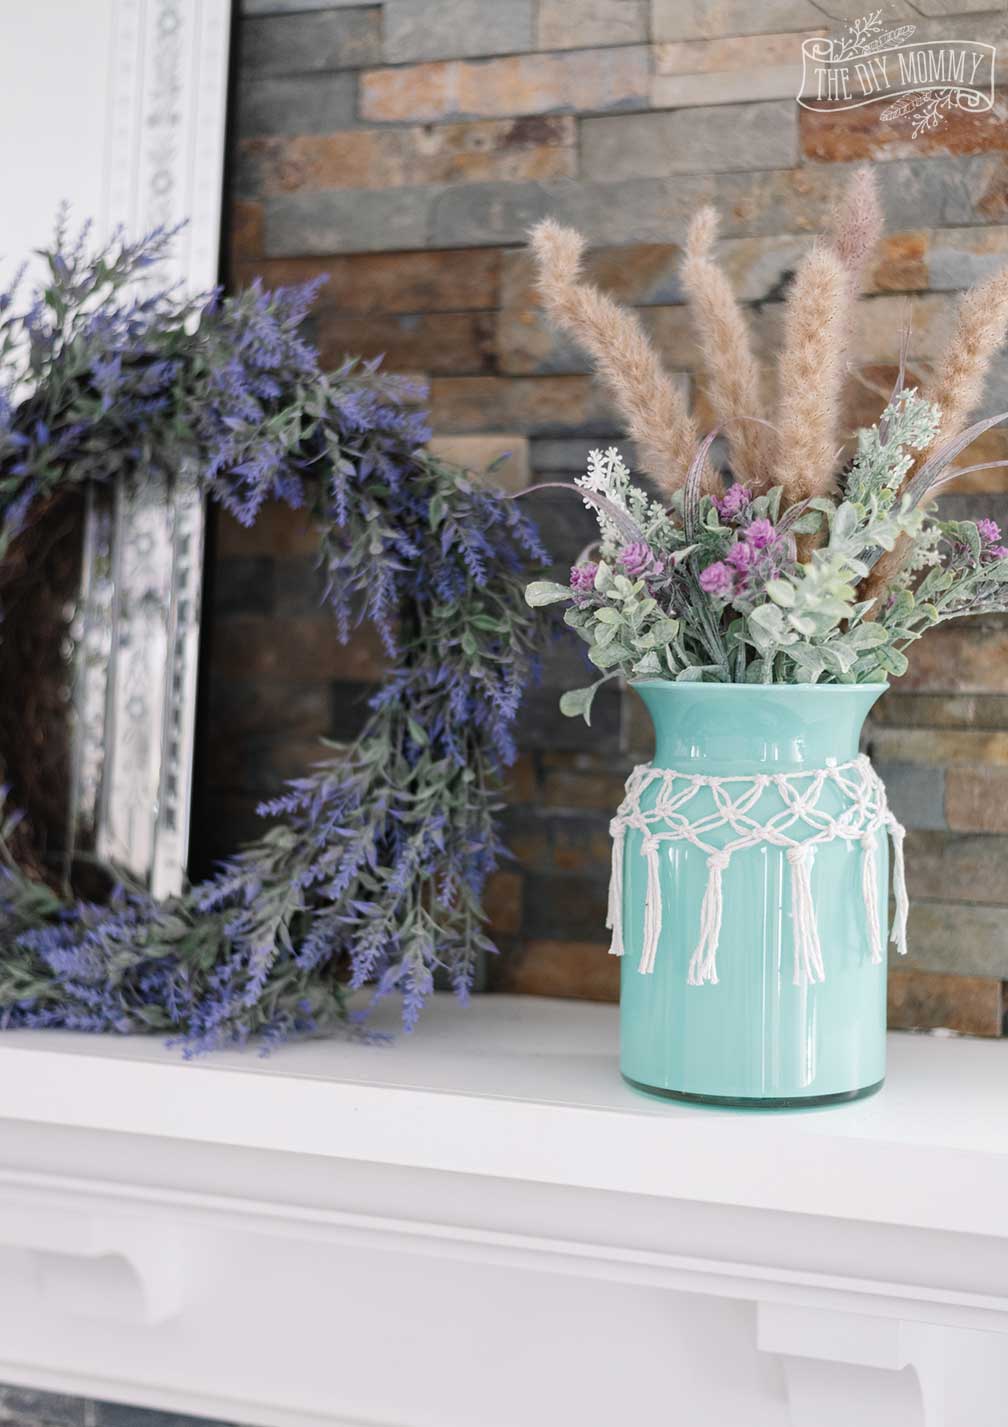
Spring Vibes: Dollar Tree Macrame Vase DIY
Transform your Dollar Tree spring vase into a masterpiece with a cute macrame detail! This beginner-friendly craft will add a perfect boho vibe to your spring decor. I opted for a vibrant turquoise vase from the dollar store to add an extra burst of color and cheer to my seasonal display.
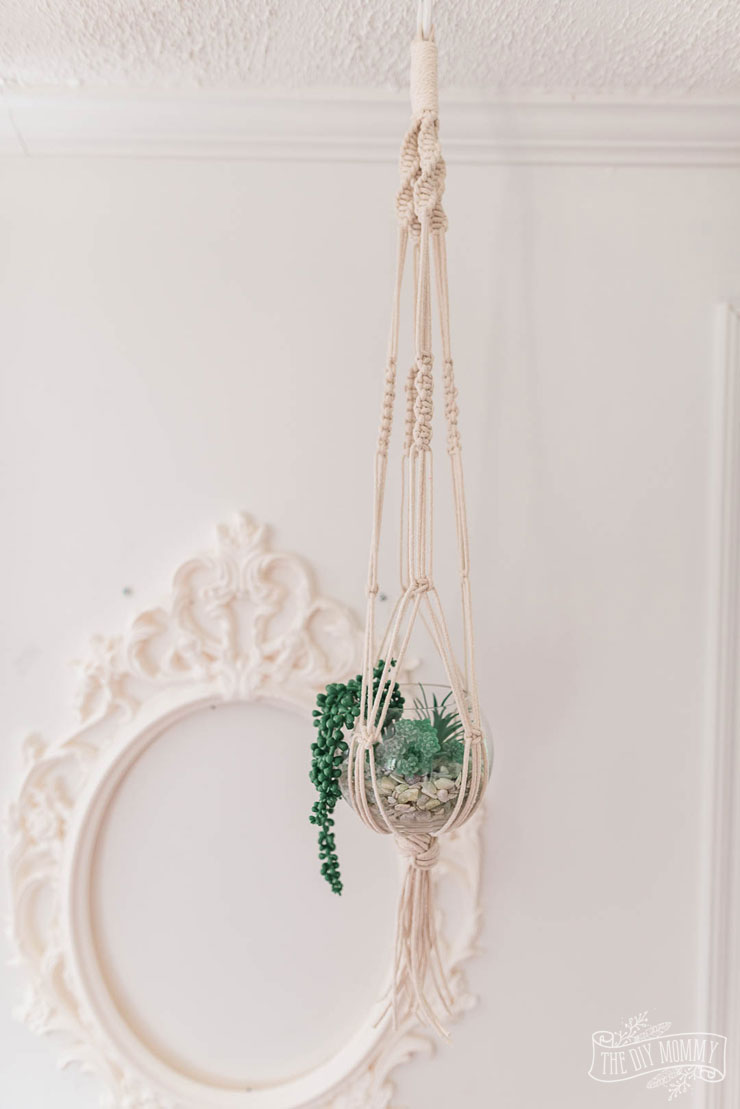
Upcycled Chic: Macrame Plant Hanger DIY Tutorial
Transform thrifted globe vases into chic studio decor with a DIY macrame plant hanger! Get the full tutorial to create your own stylish pieces for the summer season. Perfect for beginners, these plant holders require only a few basic macrame knots (and some ceiling hooks!) and they offer endless opportunities for creative expression.
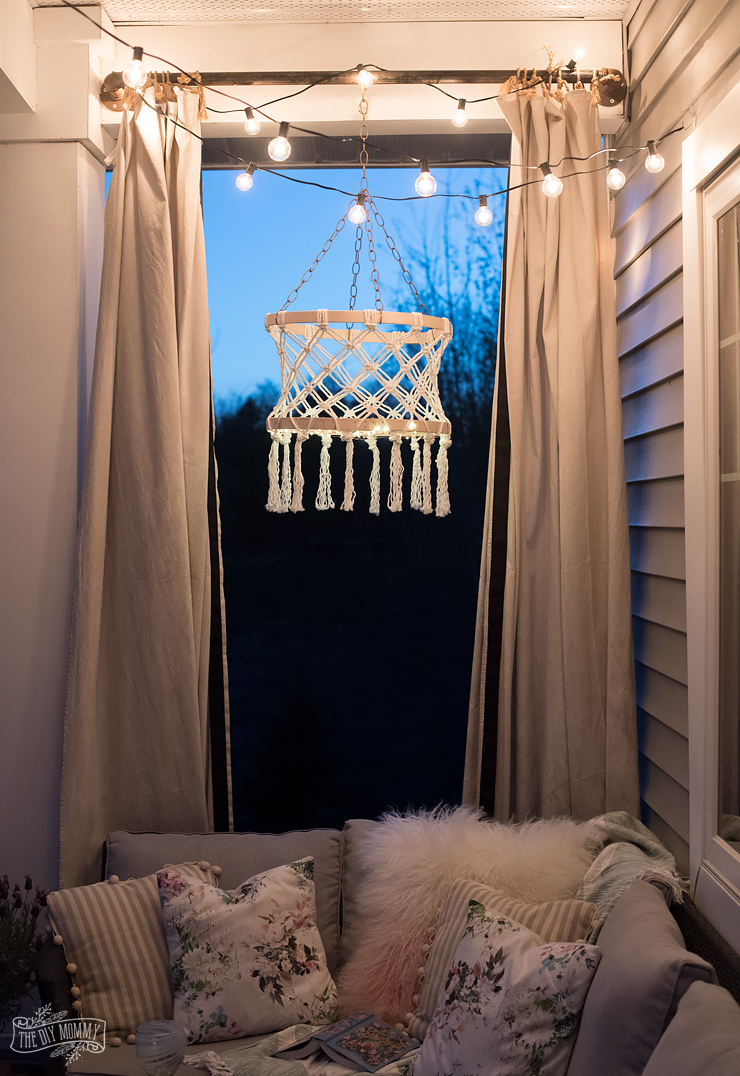
Creating Cozy: Macrame Chandelier with Fairy Lights
Follow along with my video tutorial and transform your space with this enchanting DIY macrame boho chandelier with fairy lights! Perfect for both indoor and outdoor settings, this project is simple and wire-free. With minimal macrame supplies like macrame cord, an embroidery hoop, a chandelier chain, and affordable fairy lights, you’ll craft a stunning decor piece that adds warmth and ambiance to any room or garden.
So fun, right? Whether you’re a seasoned crafter or just starting out, there’s so much creativity to explore with macrame. I hope this journey sparked some inspiration for your next project. Don’t forget to share your creations on social media and tag me @thediymommy – I can’t wait to see what you come up with
Pin Me!
