Before & After: Small Entryway Makeover in our Tiny Cabin
This post may contain affiliate links · This blog generates income via ads
If you’ve been following our Tiny Cabin makeover, you know that one of the biggest challenges has been making the most out of every nook and cranny. Our small entryway was no exception. But after a little creativity and a lot of DIY, we were able to give it an extreme makeover! Check out the transformation below.
This Spring, I introduced our latest project to you: the Tiny Lake House renovation! We’ve finished painting the exterior of the cabin and completely remodeling the front porch, and then we completed the small bedroom makeover. This week, we’ve finished the tiny entryway!
Here’s how this little entryway looked BEFORE:
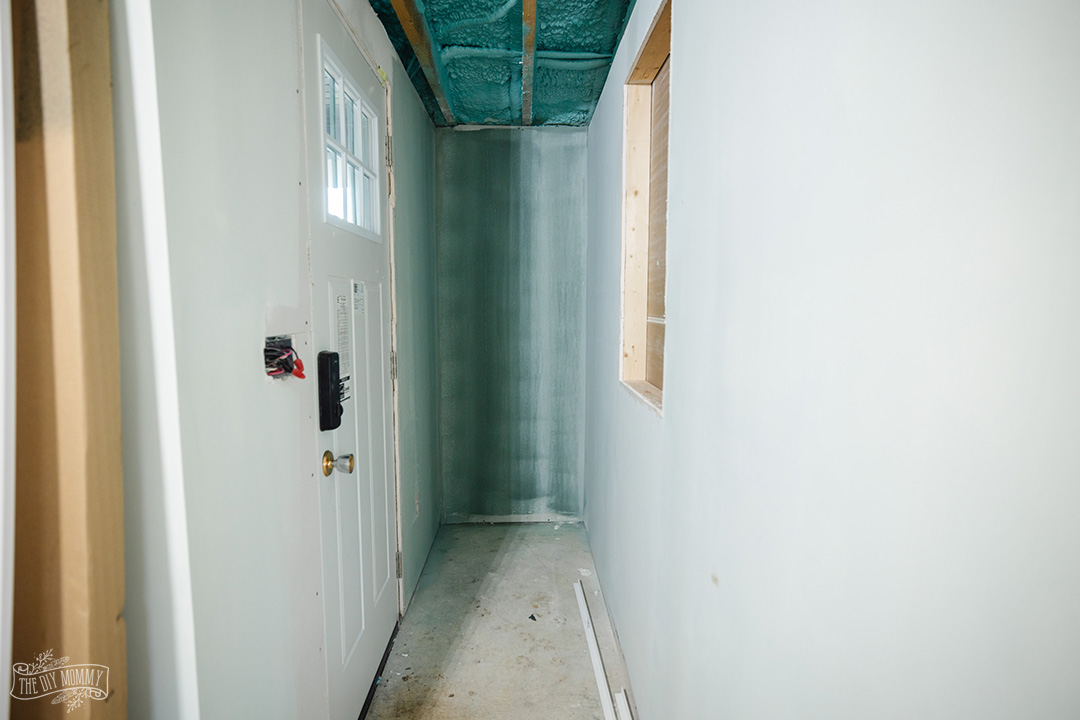
The original 1957 cabin didn’t have an entryway. The door opened up into the living room. Because we wanted to add a bathroom and a mechanical room, we completely changed the layout of the cabin. You can see what we did here, and how this small entry was created. It’s certainly narrow, but I like that it gives us an opportunity to add storage to the cabin.
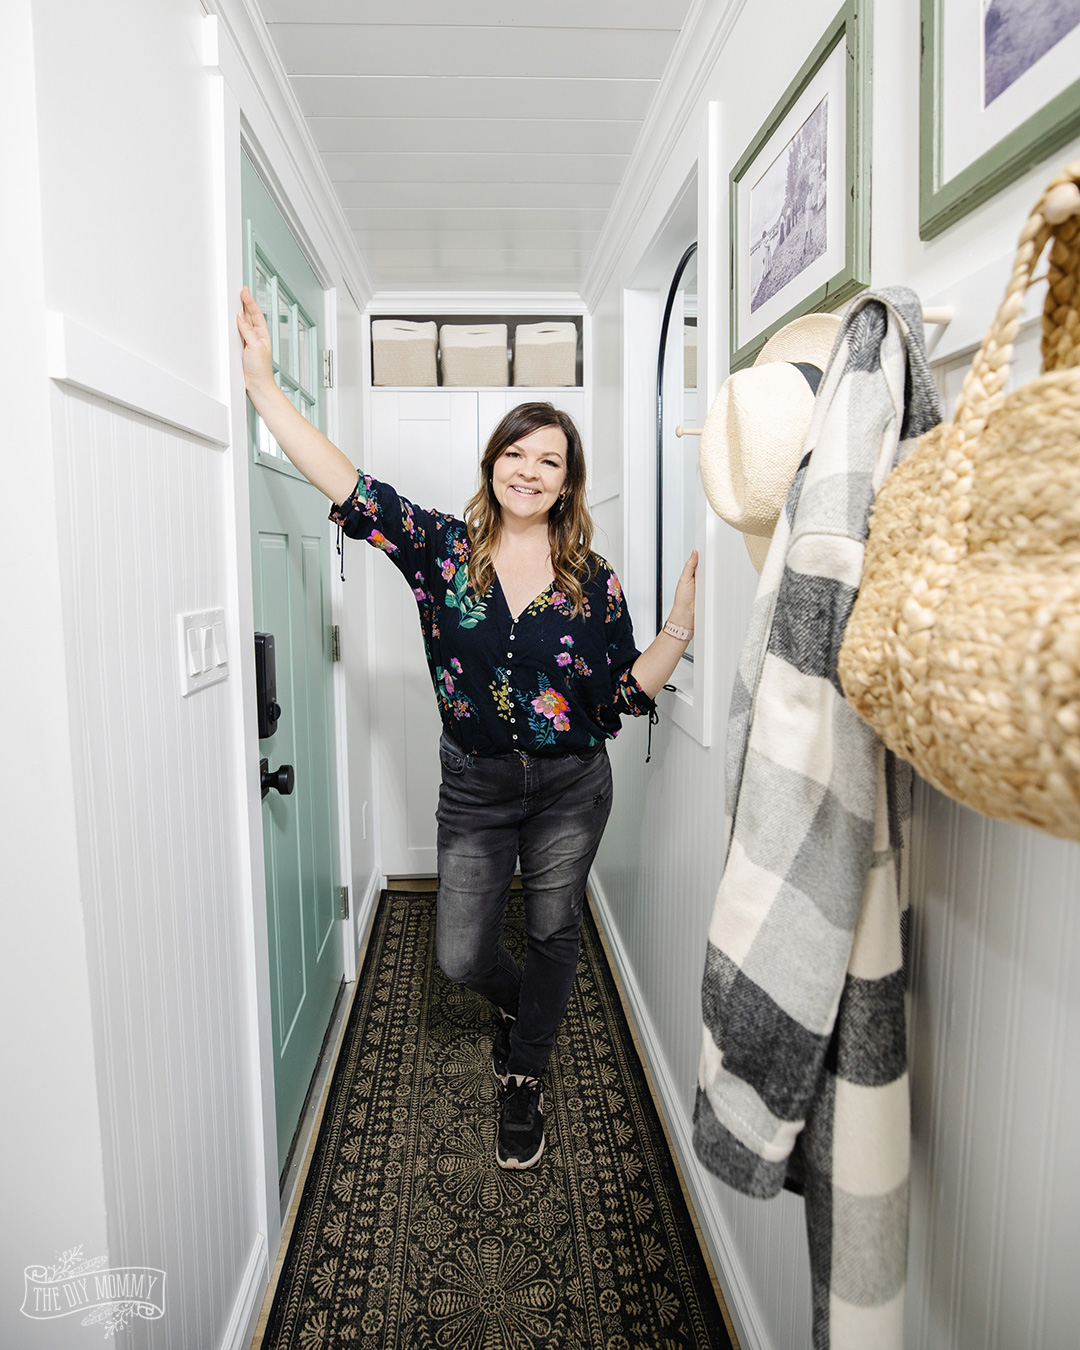
Here’s how this small entryway looks NOW:
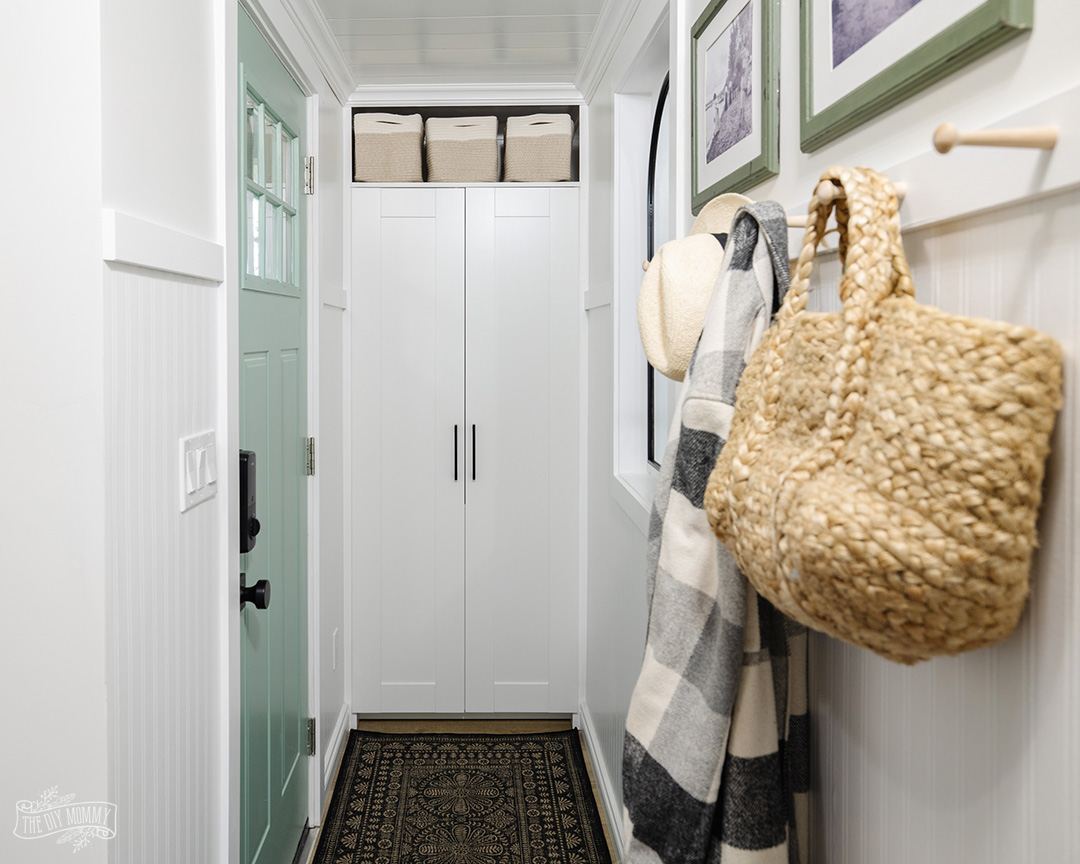
At only 33 inches wide and 7 feet long, we had to be creative with the design of this tiny entry hallway!
For this space, we wanted to add floor-to-ceiling storage, some hooks for coats and bags, a mirror to bounce the light around, and a bold coloured front door.
Watch my YouTube video to see the whole entry hallway makeover from start to finish:
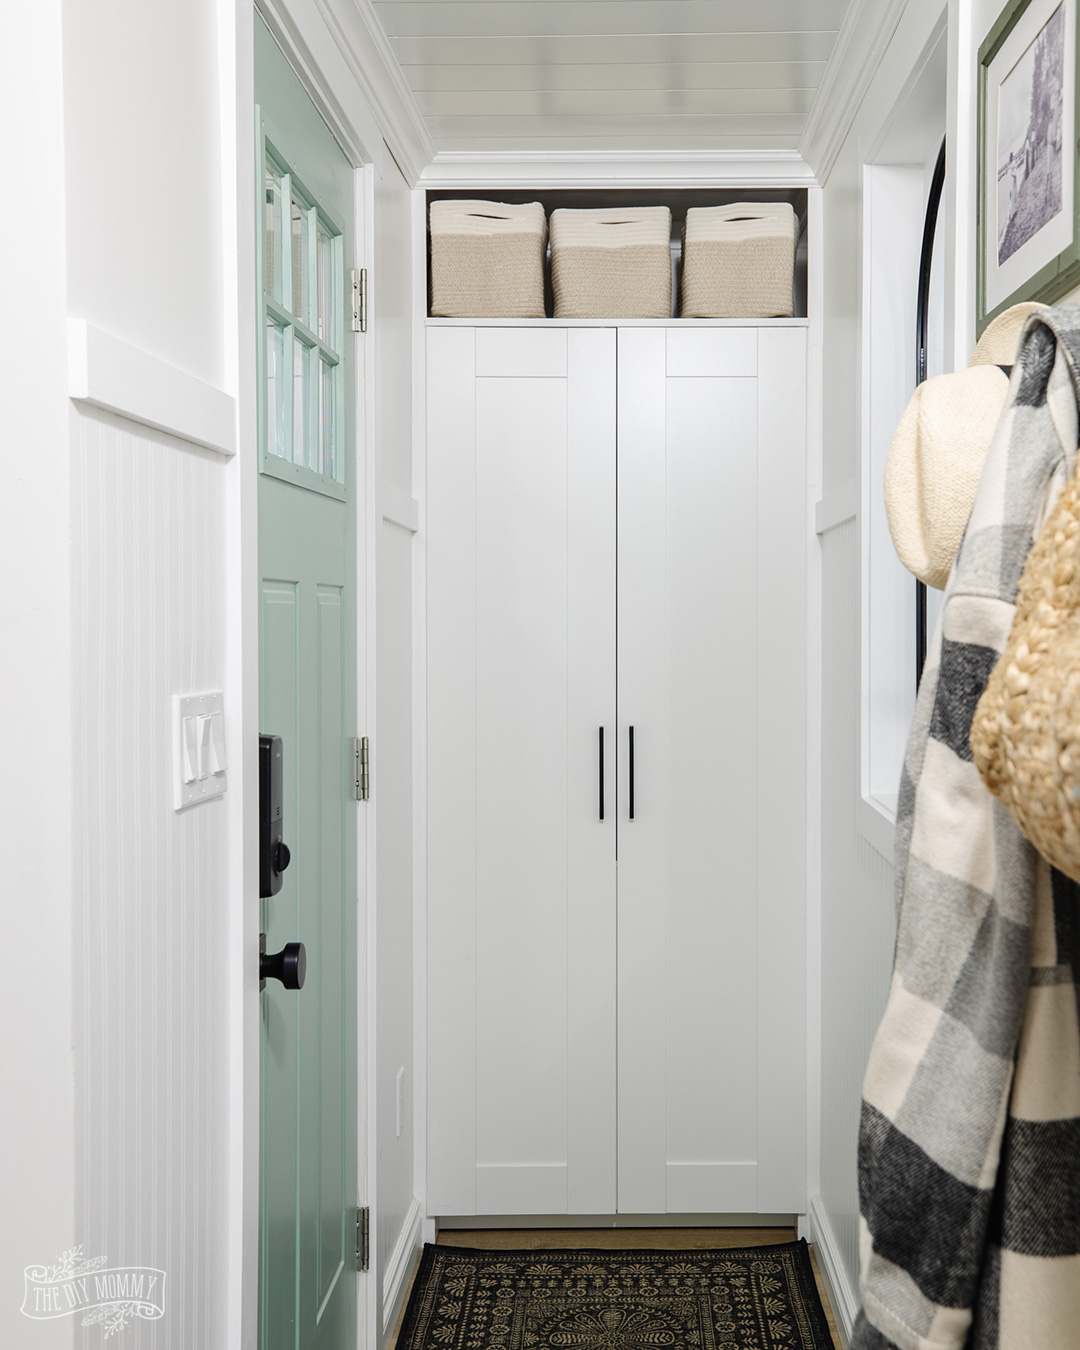
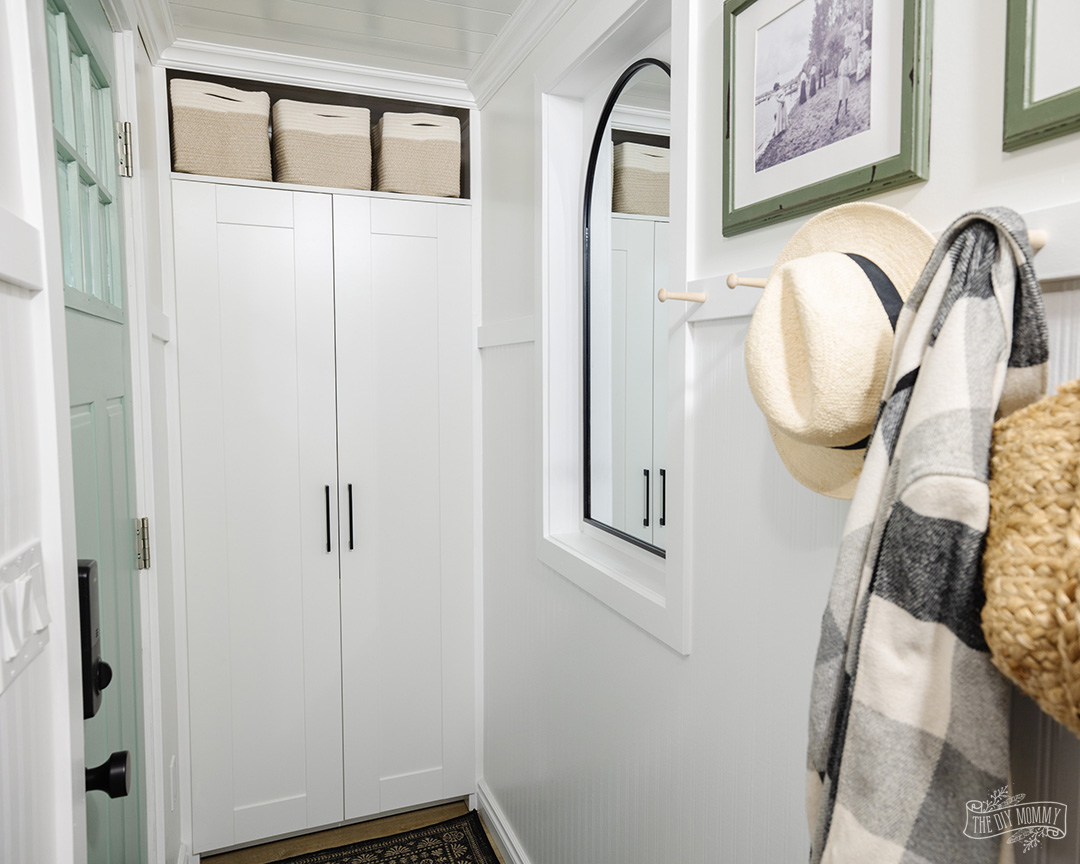
IKEA Hack Built In Wardrobe
To add some floor-to-ceiling storage at the end of this entry hallway, we started with an IKEA BRIMNES wardrobe. At only 30 3/4″ wide, this was the perfect piece to fit in our narrow hallway. After building the wardrobe, we placed it in the entry and added some MDF trim on either side to fill in the gaps. Adding some crown moulding to the top makes it look built-in, and it created the perfect nook for these baskets. I also swapped out the original BRIMNES handles for these ones to make it look higher end.

Fresh, Bright Paint Colours
To make this small entry feel larger, I opted for bright paint colours to bounce the light around. The door is a beautiful mint green colour called Copper Patina by Behr, the trim and paintable beadboard wallpaper are Ultra Pure White by Behr, and the upper walls are Blank Canvas by Behr. I’m so happy with these colours, and I’m using them throughout the rest of the tiny cabin too.
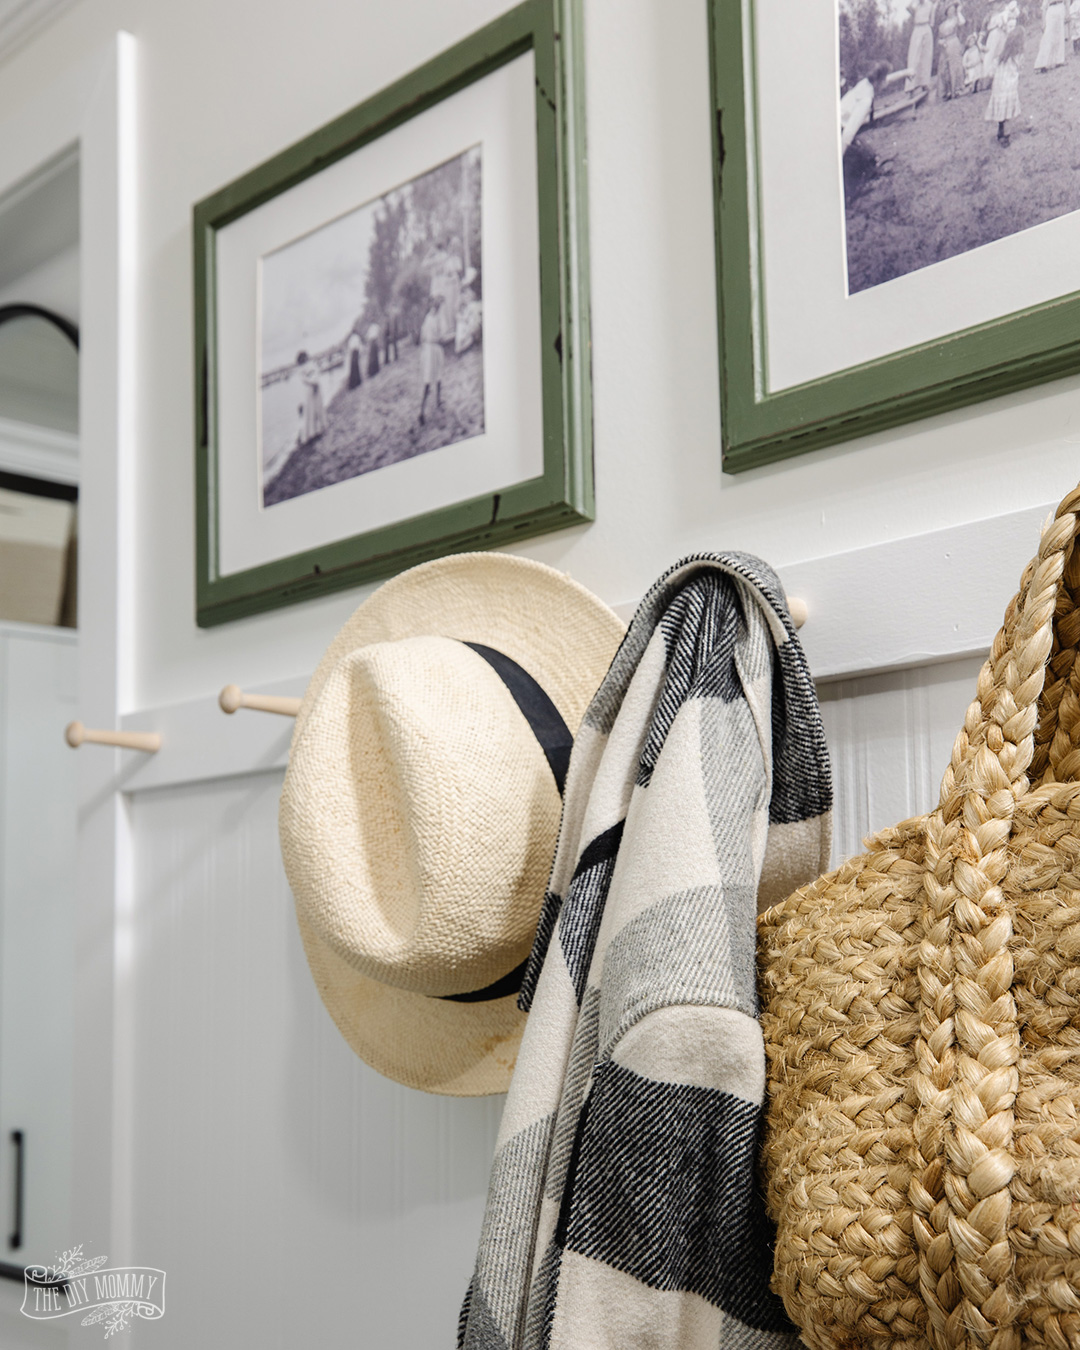
Shaker Peg Hook Wall
For another spot where folks can hang their bags and coats, I created a shaker peg hook wall. I added a piece of 2 1/2″ MDF trim on top of the beadboard wallpaper I installed, and then I screwed these wooden pegs into the trim. Over this hook wall, I put up some historical photos of Seba Beach – where our Tiny Cabin is located – from the year 1900.
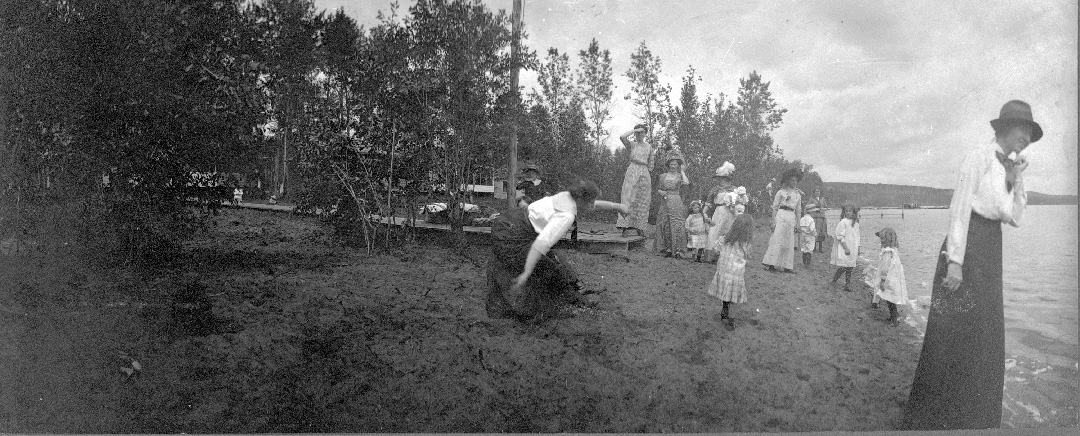
Where did I find the historical lake photos?
When I shared these on Instagram, many of you asked where I found these amazing historical photos. I found them on the Provincial Archives of Alberta website! You can search for keywords, and if there are any related historical photos you can buy the digital file and print them at home (or at a print shop).
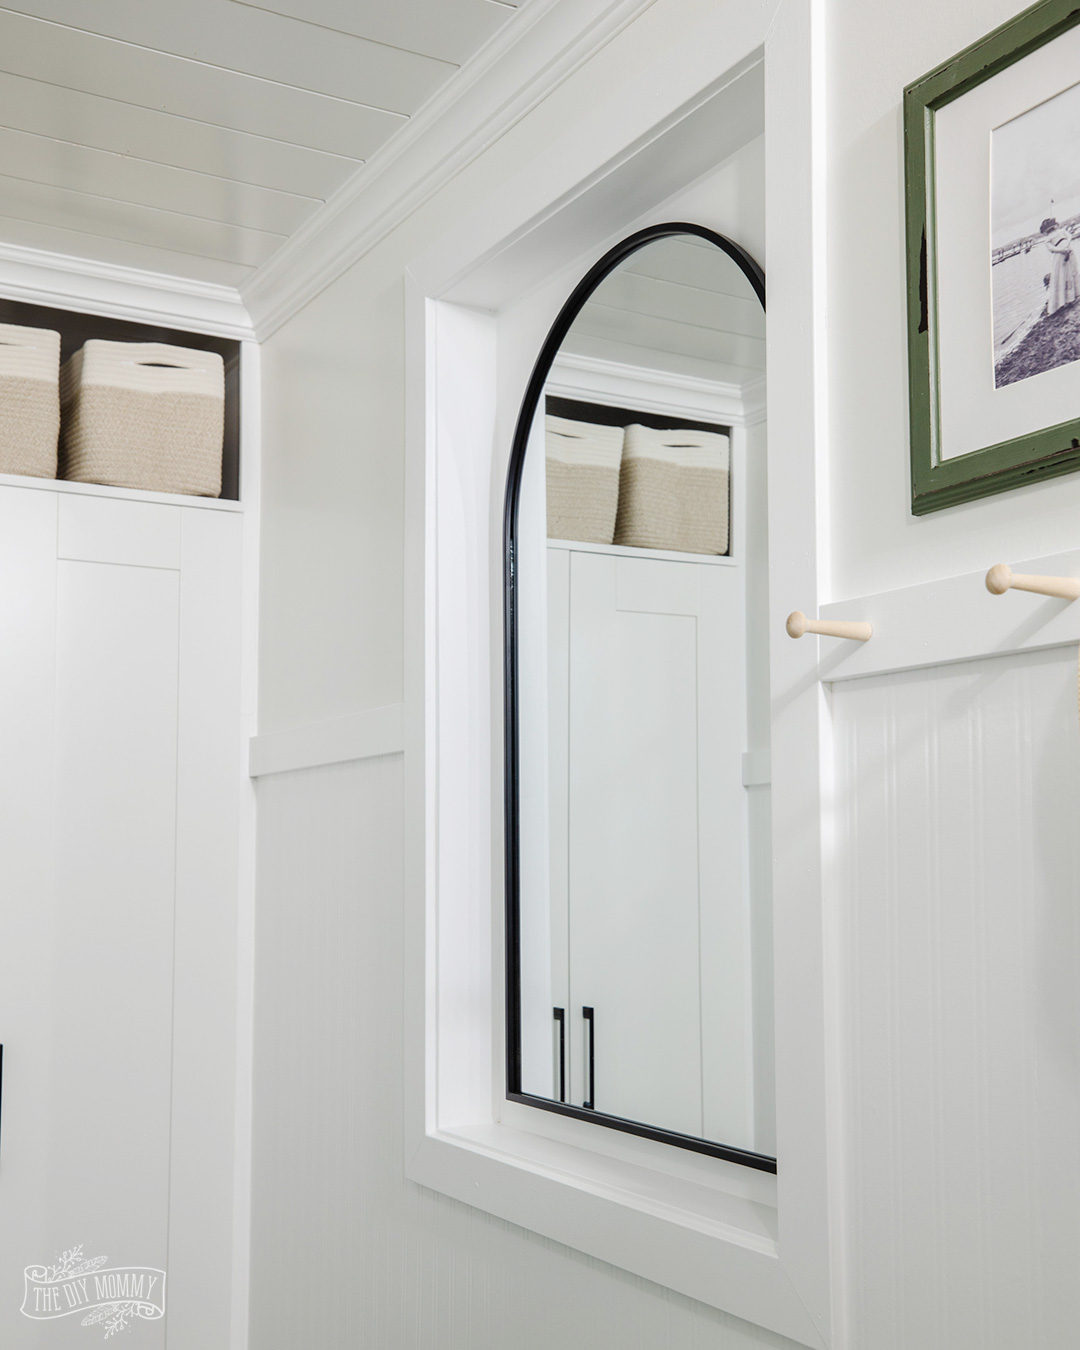
A Niche for the Mirror
I knew I wanted a mirror in the entryway for people to use, and to bounce the light around even more. Sean created a niche when he framed this hallway so that a mirror would take up even less of the much-needed space in this area. I love how it turned out… and I love this arched mirror I found.
Overall, I’m thrilled with how this entryway makeover turned out at our Tiny Cabin! We were able to pack everything we wanted into this wee space, and it still looks bright, clean, and welcoming. I can’t WAIT to move on to the next room makeover in the cabin… the KITCHEN!
Tiny Lake House entryway Source List:
- Paintable bead board wallpaper
- Pre-painted shiplap
- LVP flooring
- Maia Soft Black Re-Jute Rug (7 foot runner size)
- IKEA BRIMNES wardrobe
- Black cabinet pulls
- Cotton rope storage baskets
- Wooden peg hooks
- Black door knob
- Arched mirror
- Door paint colour: Copper Patina by Behr
- Wall colour: Blank Canvas by Behr
- Trim colour: Ultra Pure White by Behr
- crown moulding, baseboard & casing were recycled from another project
- picture frames were upcycled from another project
What do you think of this new entry look? Let me know in the comments below and stay tuned for more room makeovers in our Tiny lake House!
Awesome!
Love the results! Very good idea to have a niche for the mirror….I could otherwise see it getting knocked off the wall due to the narrow width of the hallway. As a bonus, it can be switched out for a decorative wreath during the holiday season!
Hi Cristina! I been fallowing you for a long time. I really enjoy reading your posts and watching your videos. You are a super creative woman that knows her way around tools.
I hope someday stay in one of your cabins. It was a delight to see you making them in to beautiful places
Cristina,
I love how it all turned out. So bright and cheerful. The green with the blank canvas looks great! Are used blank canvas for a ceiling, but I think it makes it too dark looking. I don’t know if I should do the trim and walls in the same color with different sheens to make it look better or just repaint?
May I ask where you found that rug? I would love to have a larger size in that.
You can find all my sources for the Tiny Lake House here: https://thediymommy.com/our-tiny-lake-house-vintage-cottage-sources/