DIY Christmas Stocking Pattern: Sew with an IKEA SORTSO Rug
This post may contain affiliate links · This blog generates income via ads
Looking for a beautiful boho or modern farmhouse style Christmas stocking to make? Grab an inexpensive IKEA SORTSO rug and use my free DIY Christmas stocking pattern to make a beautiful, fringed creation! Let me show you how in this step-by-step tutorial.

You will need:
- IKEA SORTSO rug
- my free DIY Christmas stocking pattern
- stick pins
- fabric scissors
- rotary cutter (optional)
- sewing machine
- thread
- sewing needle
- 4″ piece of 1/2″ wide ribbon (cotton or grosgrain)
How to make the DIY Christmas stocking
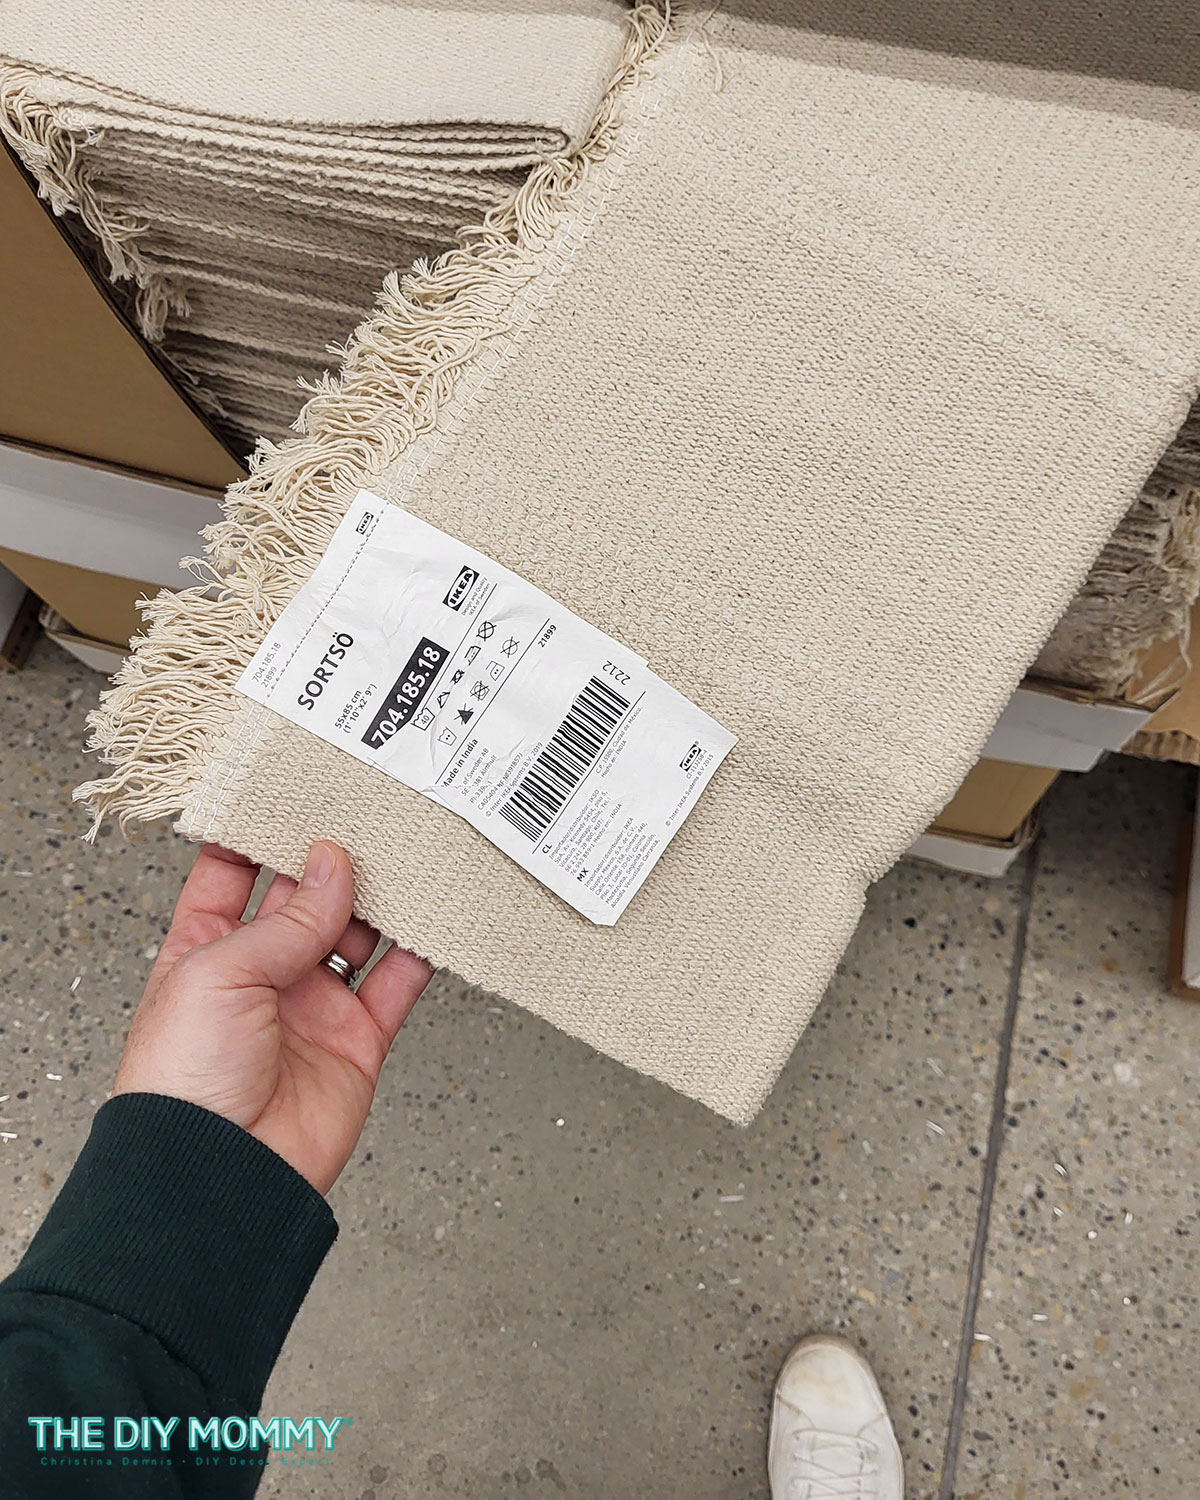
Start with one of the SORTSO rugs from IKEA. You can do so many amazing DIYs with these! I’m using a cream colored one for my DIY Christmas stocking.
Click here or on the image below to download my free Christmas stocking sewing pattern PDF.
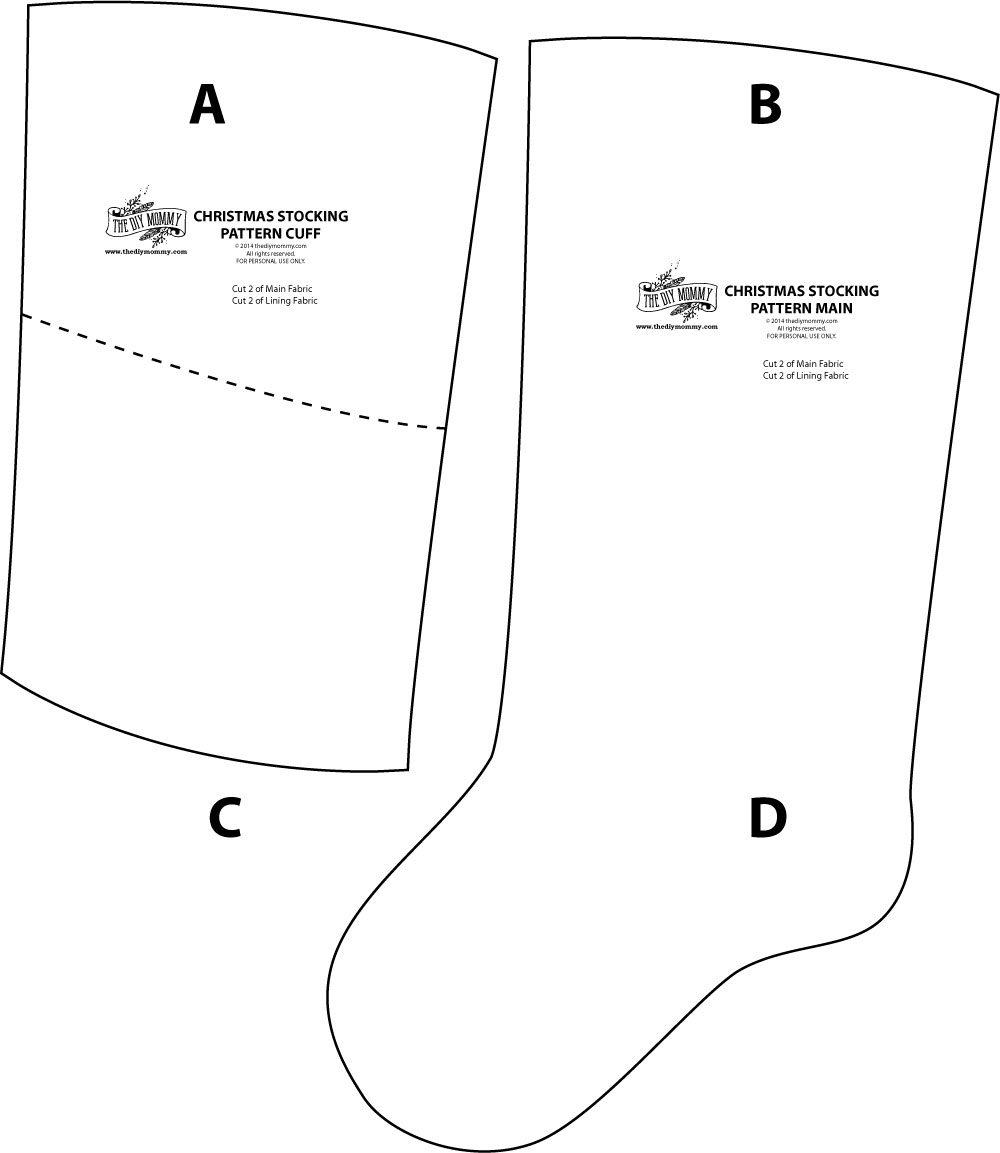
Tape the pattern together and then cut it out with fabric scissors or a rotary cutter. I’m using the shorter size of the stocking cuff.
Iron out the SOTRTSO rug to get all of the creases out.
Cutting the stocking pieces
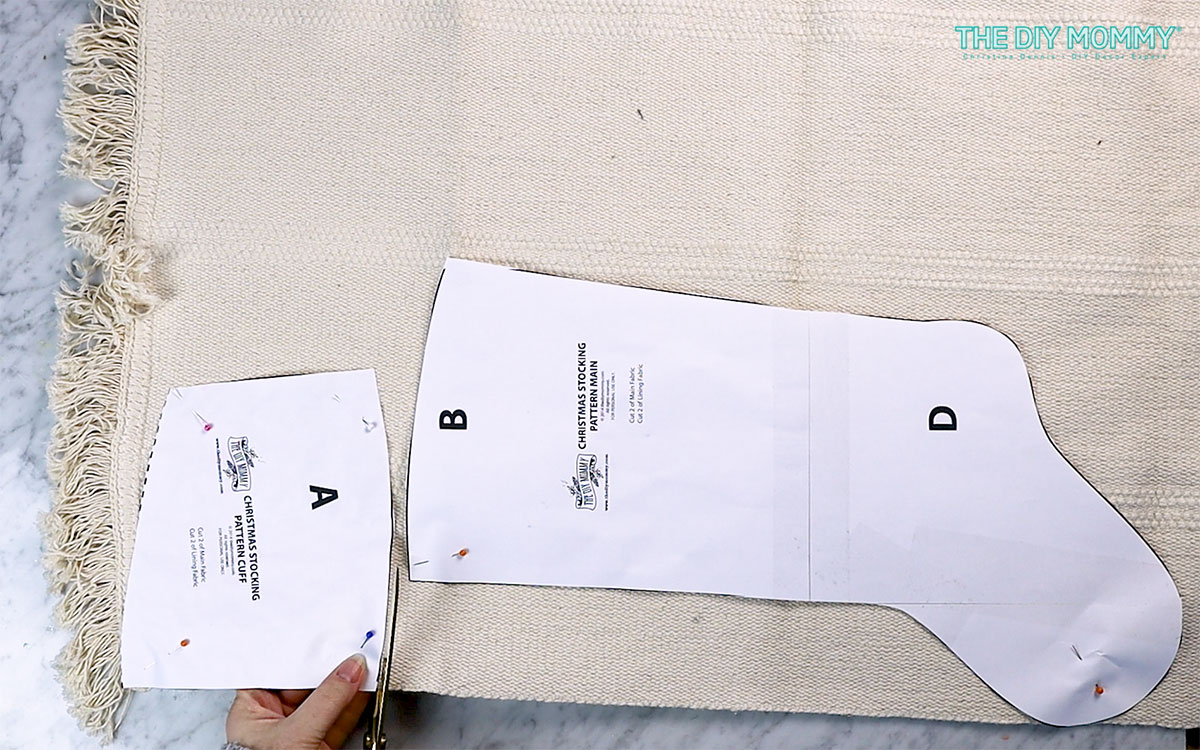
Then, pin the stocking pattern piece and the stocking cuff pattern piece to the rug so that the pattern on the rug runs vertically along both pieces. Line the bottom edge of the stocking cuff with the fringed end of the SORTSO rug. The fringed end of the rug will turn into the trim on the cuff of the stocking!
Use sharp scissors or a sharp rotary cutter to cut out the pattern because the mat is quite thick.
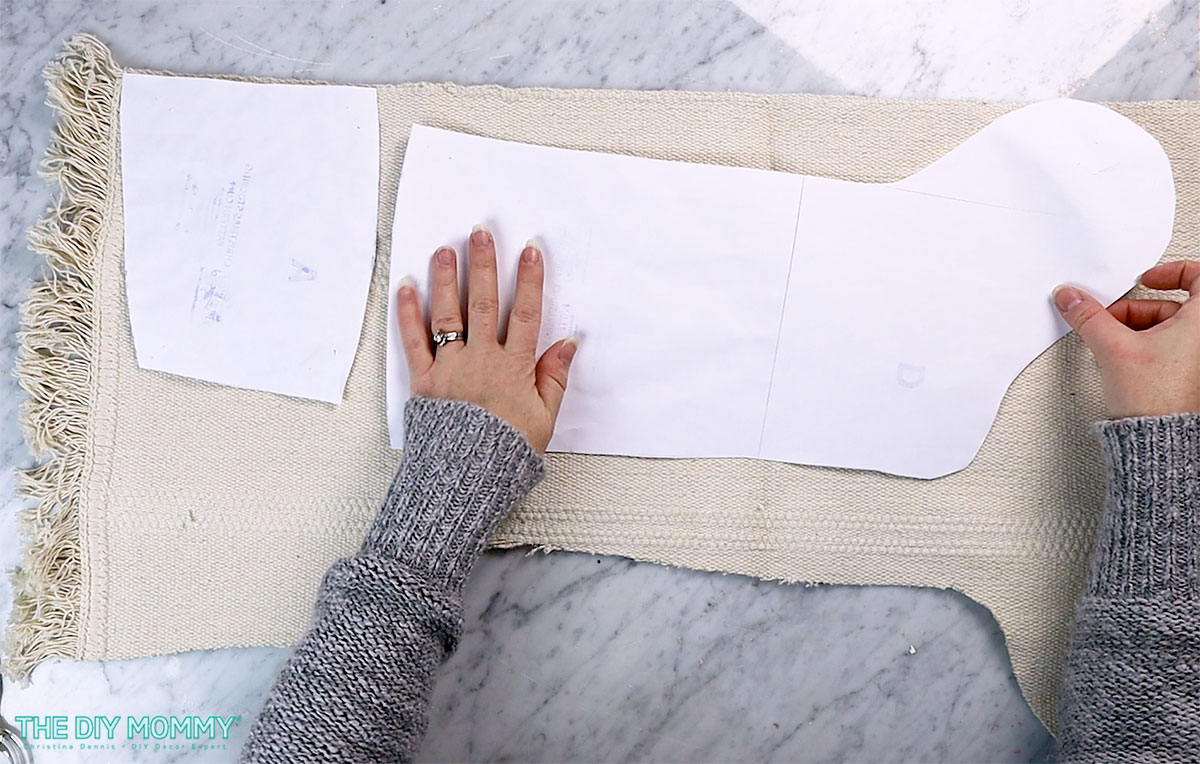
Now, repeat this process cutting one more stocking piece and one more cuff piece. Flip the pattern pieces to the wrong side so that you cut mirrored image pieces. Ensure that the pieces are placed the same as the previous pieces.
Sewing the stocking
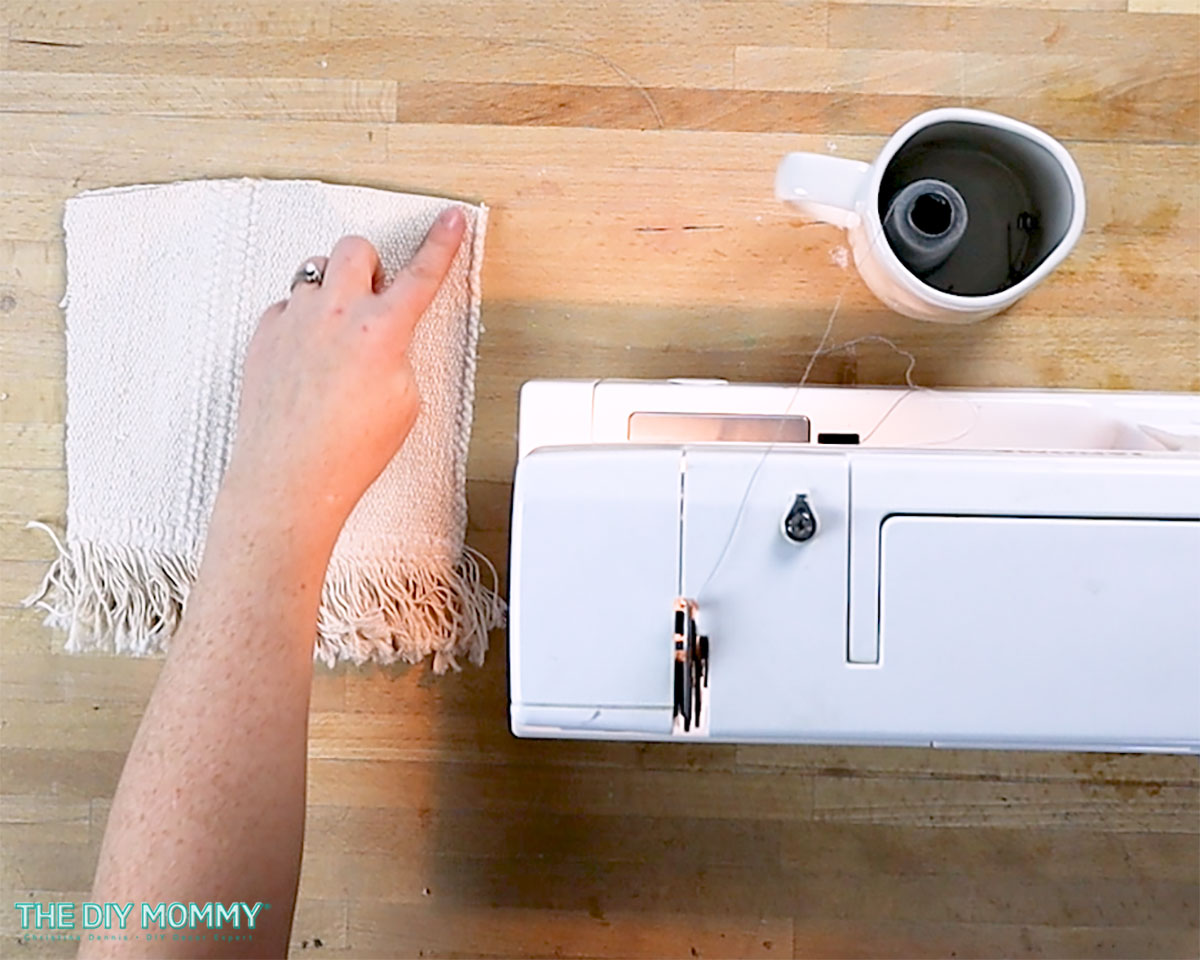
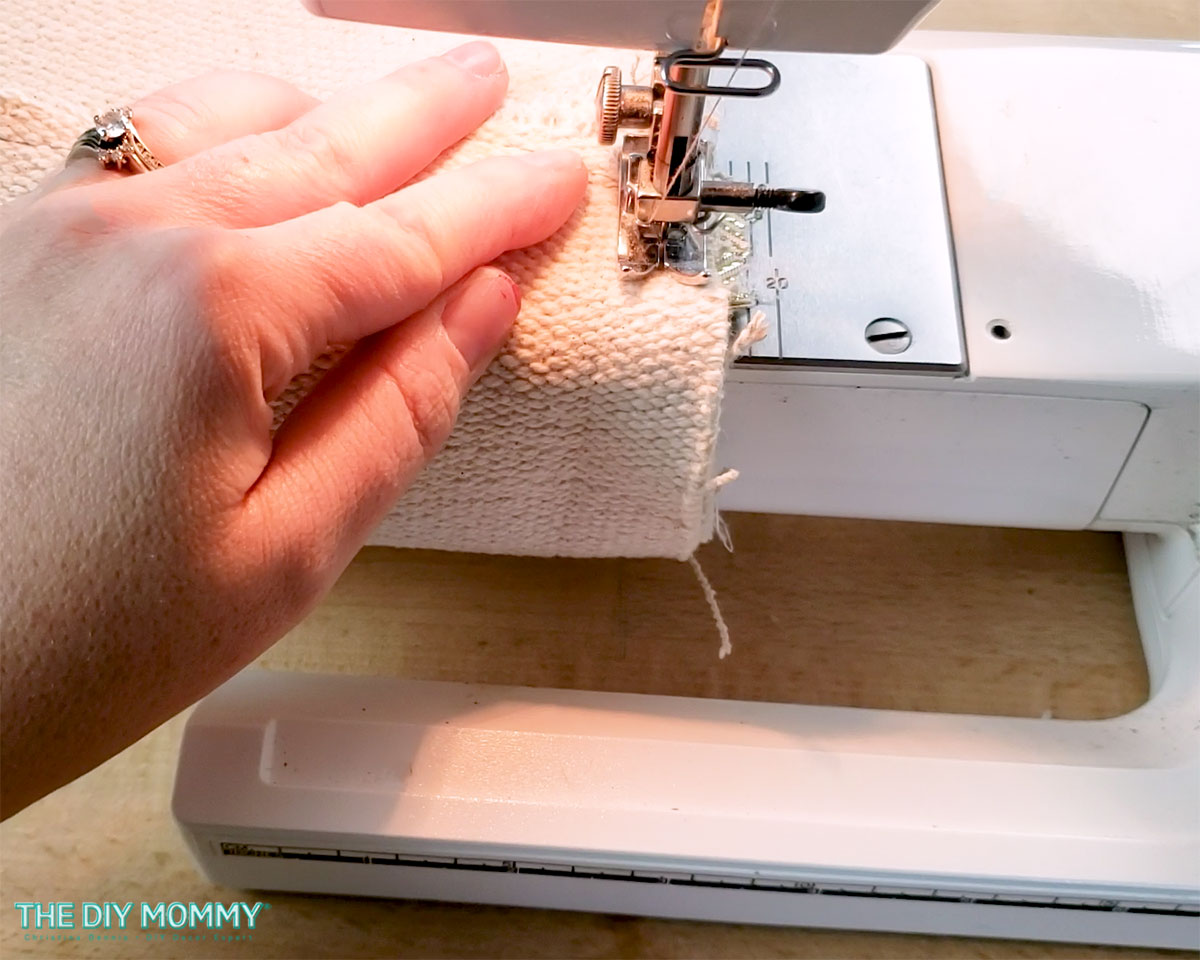
Next, put the cuff pieces right sides together and sew the side seams on the right and left sides with a sewing machine. Use a 1/4″ seam allowance and a strong denim needle. You can zig-zag the seams after stitching so they don’t fray.
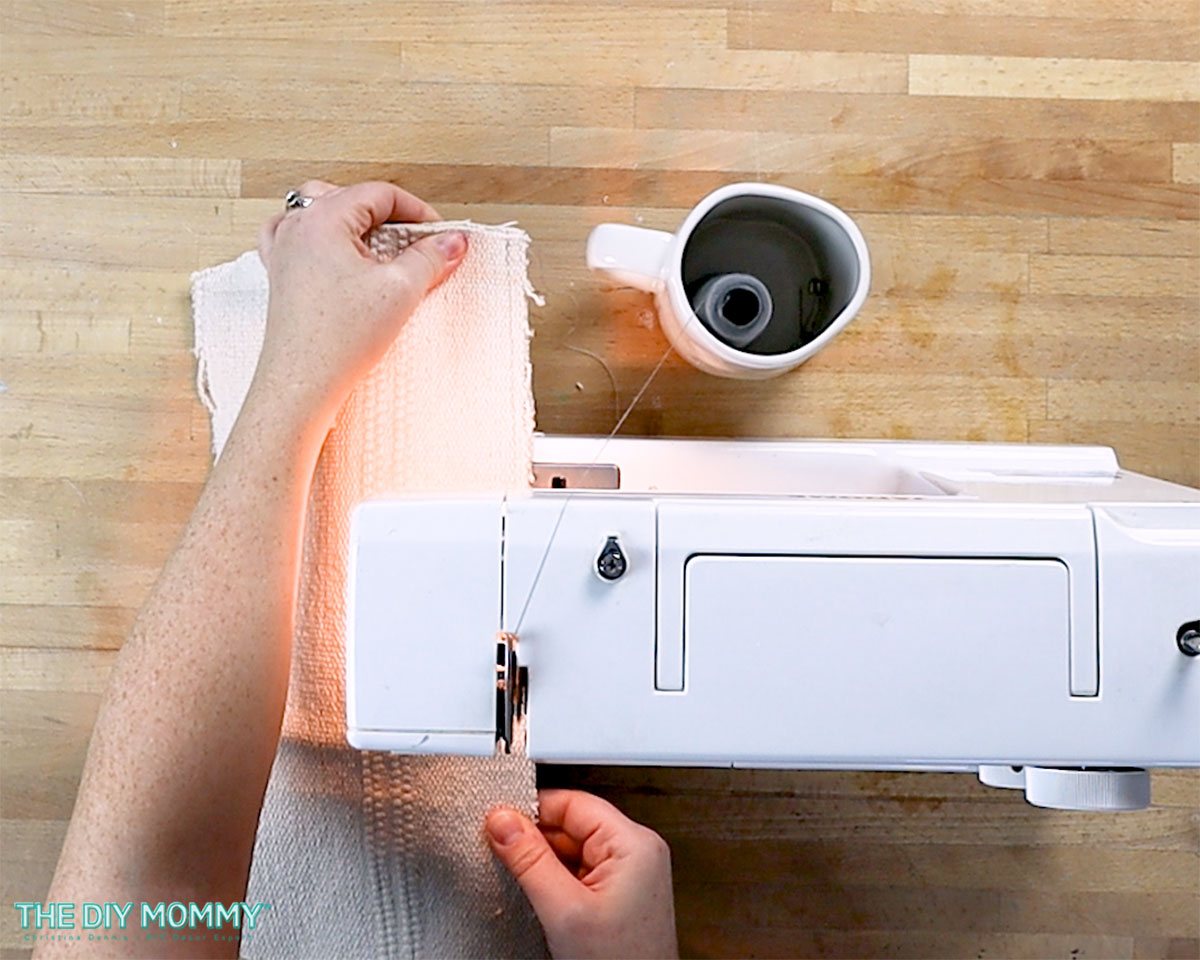
Then, take the main stocking pieces and place them right sides together. Sew all the way around the perimeter of the stocking leaving the top of the stocking open. Use a 1/4″ seam allowance and zig-zag the raw edges.
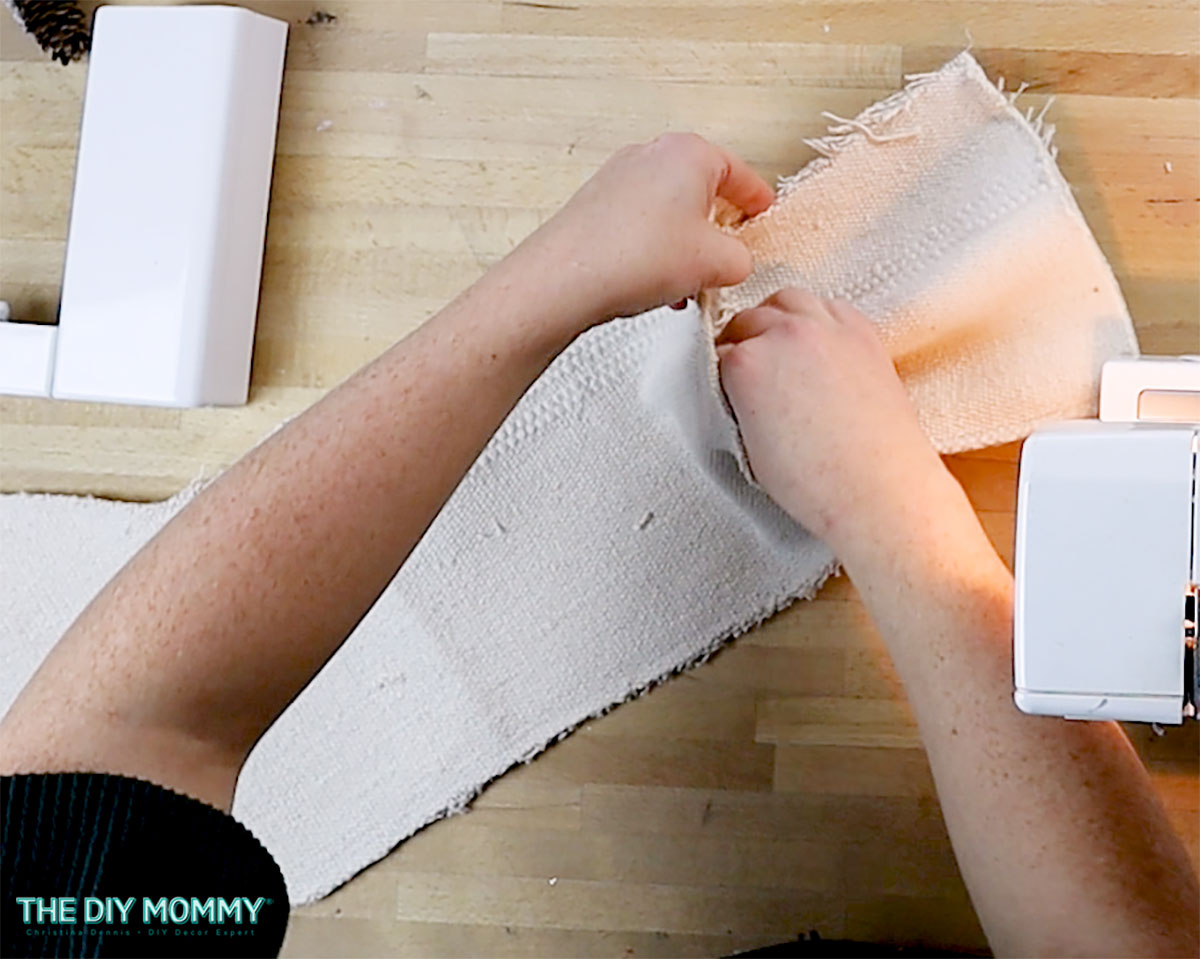
Now, insert the cuff piece inside the stocking piece. The wrong side of the cuff will be facing the right side of the stocking.
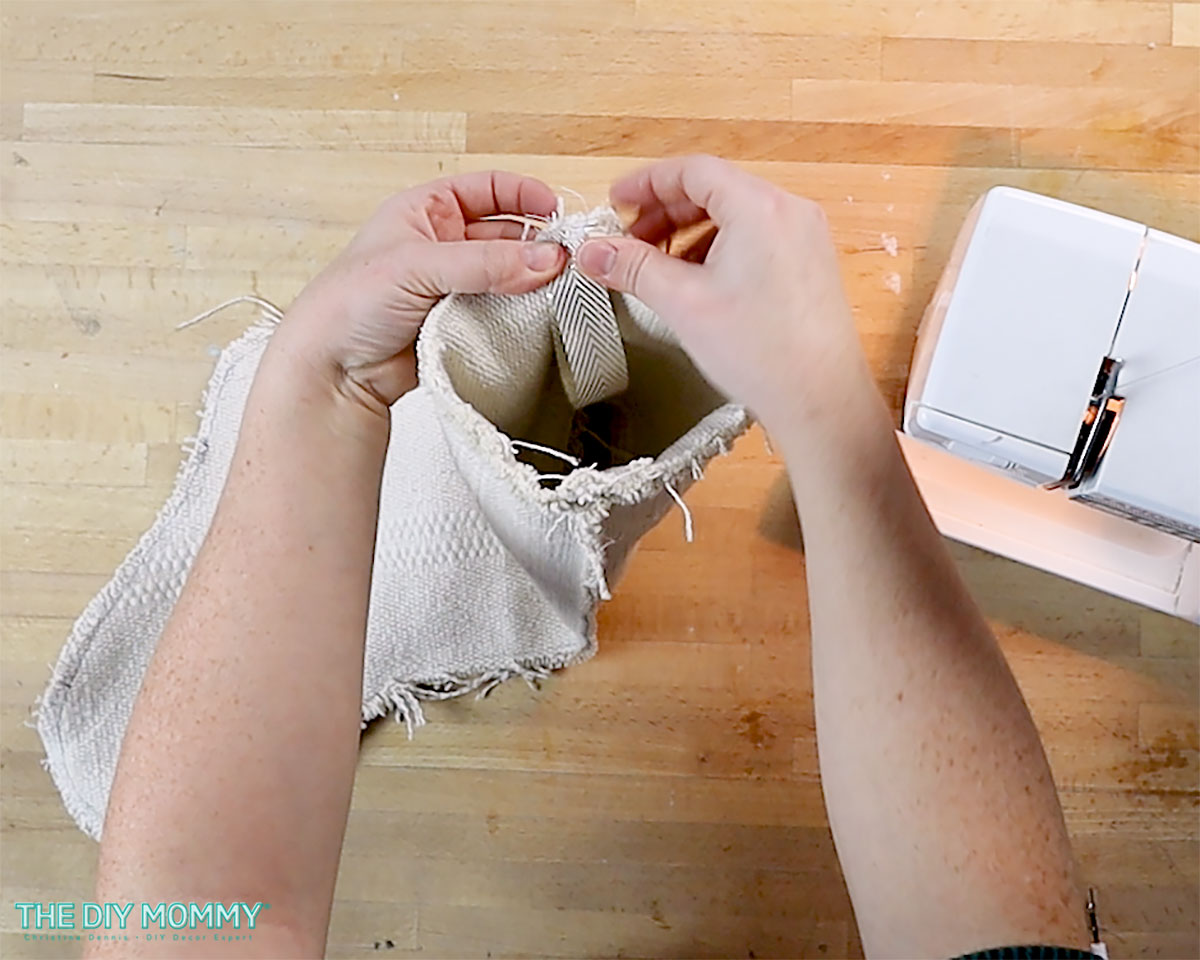
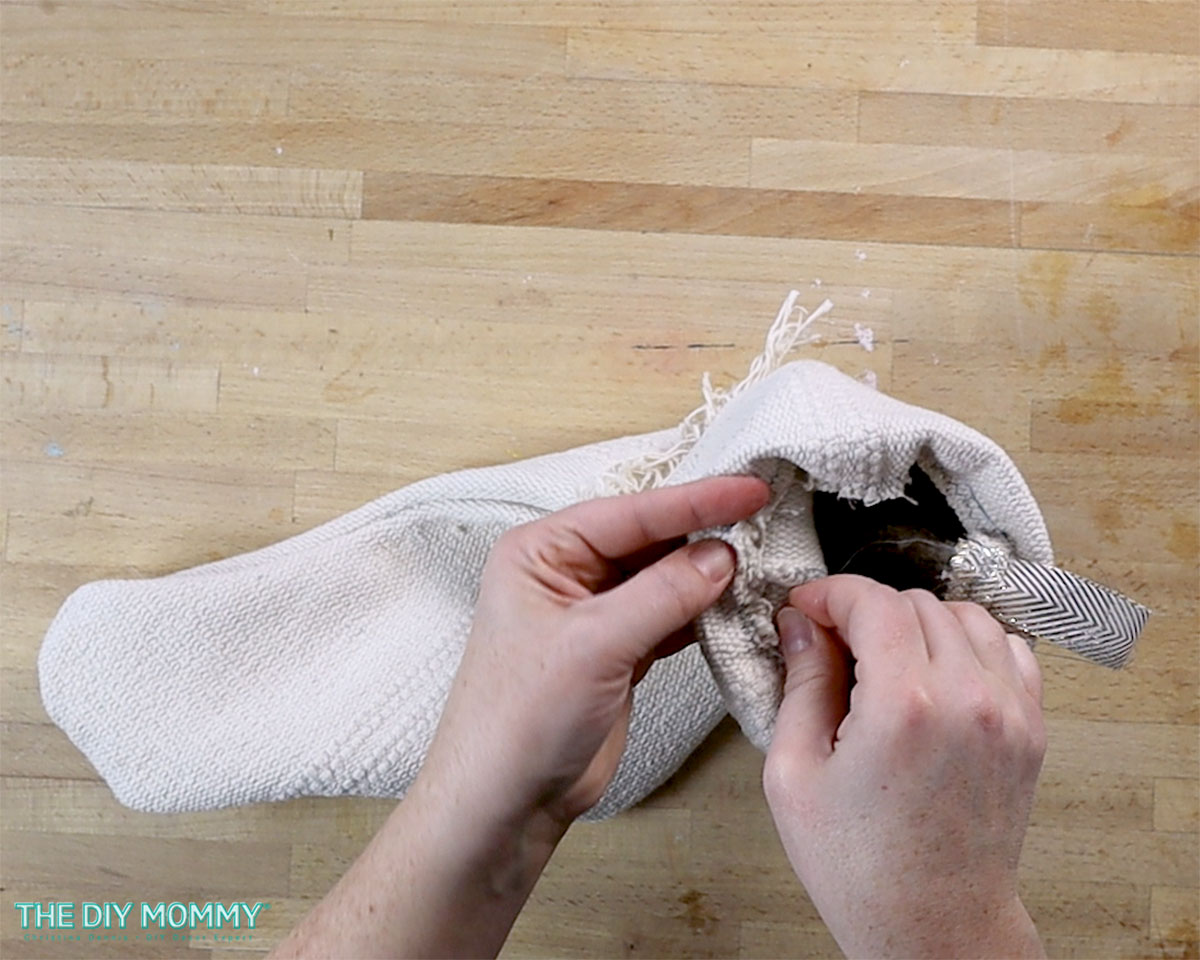
Take a strip of ribbon that’s about 4″ long, fold it in half, and place it on the inside of the stocking between the layers at the back of the stocking. This will be the stocking’s hanging loop.
Then, sew all the way around that top seam of the stocking.
Finishing the stocking
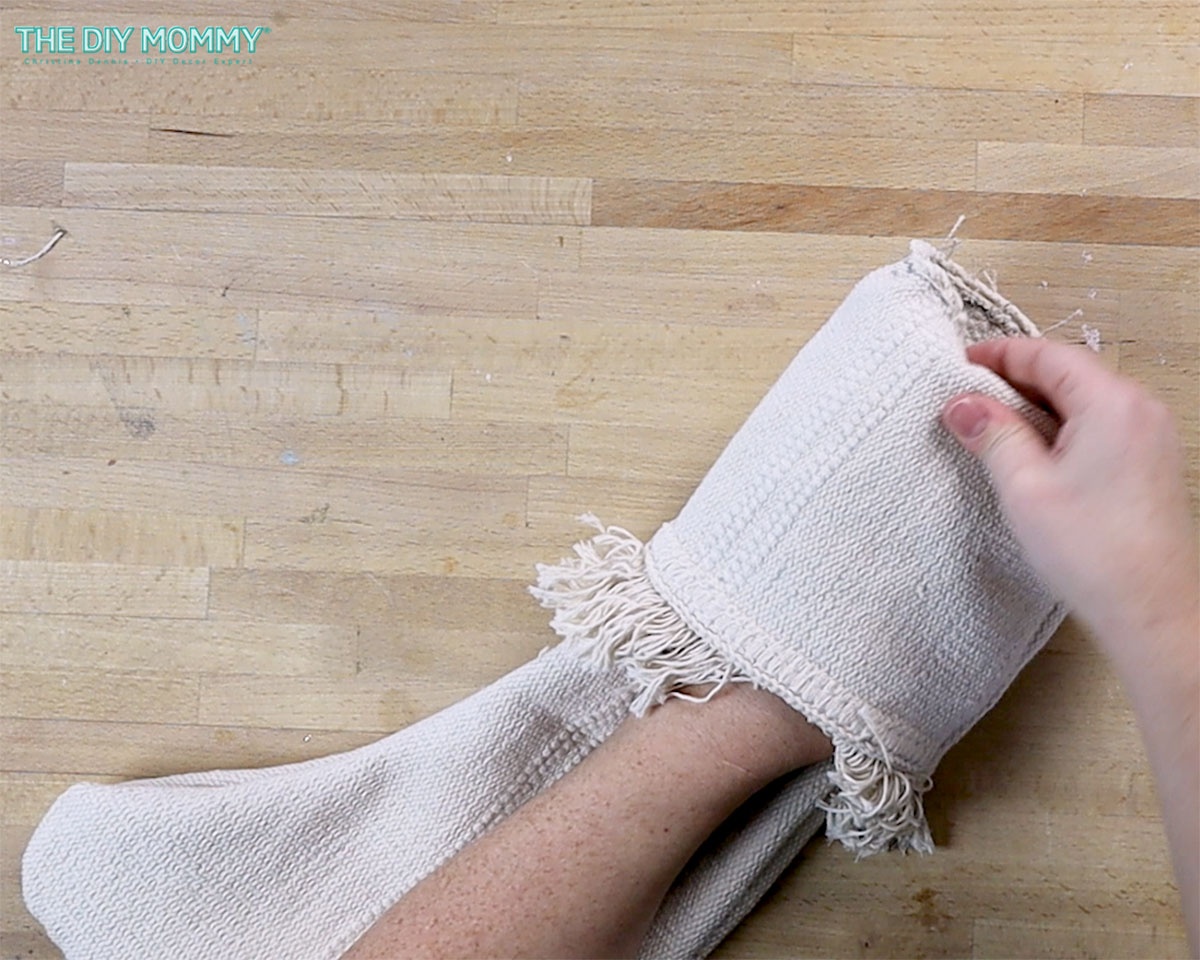
Next, pull the stocking right side out and make sure the top seam is tucked inside the stocking about 1/2″ so it doesn’t show.
Next, take a needle and thread and tack down the cuff on either side so it doesn’t flip up. If you don’t like the look of the raw edge, you can sew a lining with inexpensive lining fabric for this stocking like I did with these DIY Christmas stockings.

You can also choose to add embellishments to the stocking like an extra ribbon piece at the cuff, or a ribbon bow near the hanging loop. I love the stocking simple!
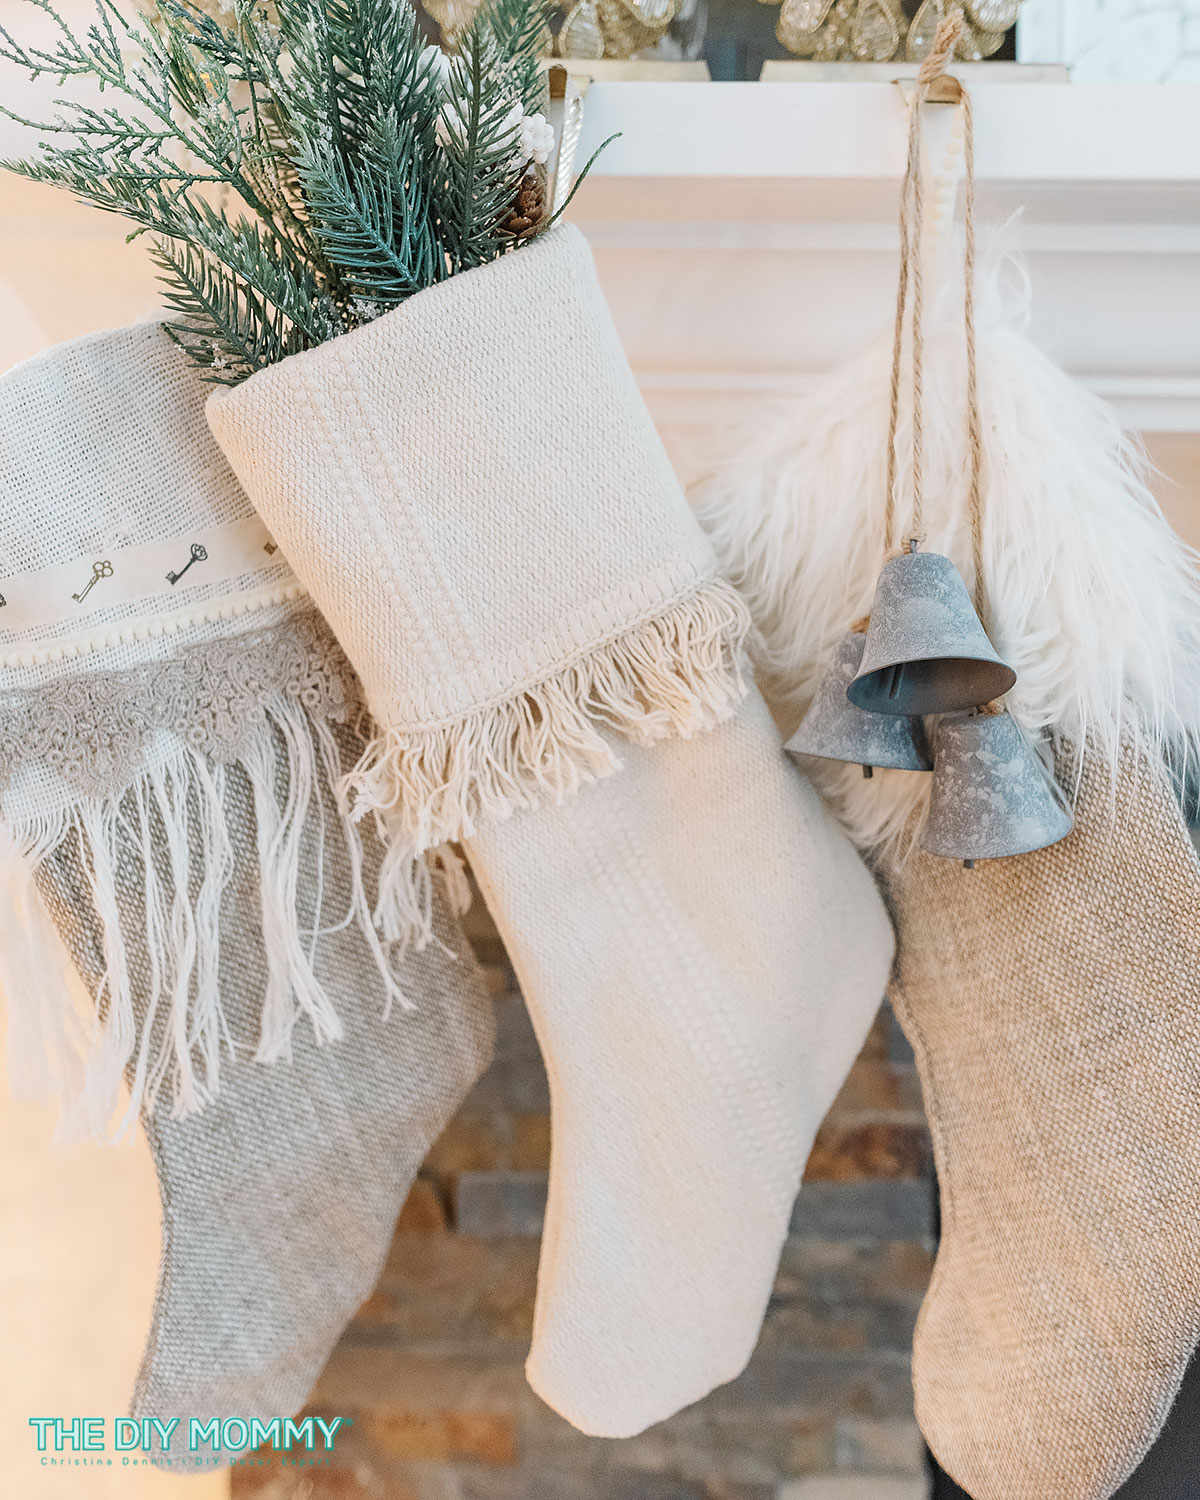
You’re all done your beautiful boho inspired stocking! I love how inexpensive this is to make, and how it can match so many different Holiday decor schemes. Now, hang it on a stocking hanger the mantel for Santa to fill. A handmade stocking filled with festive treats would also make a beautiful and heartfelt Christmas gift for someone special.
Have fun crafting!