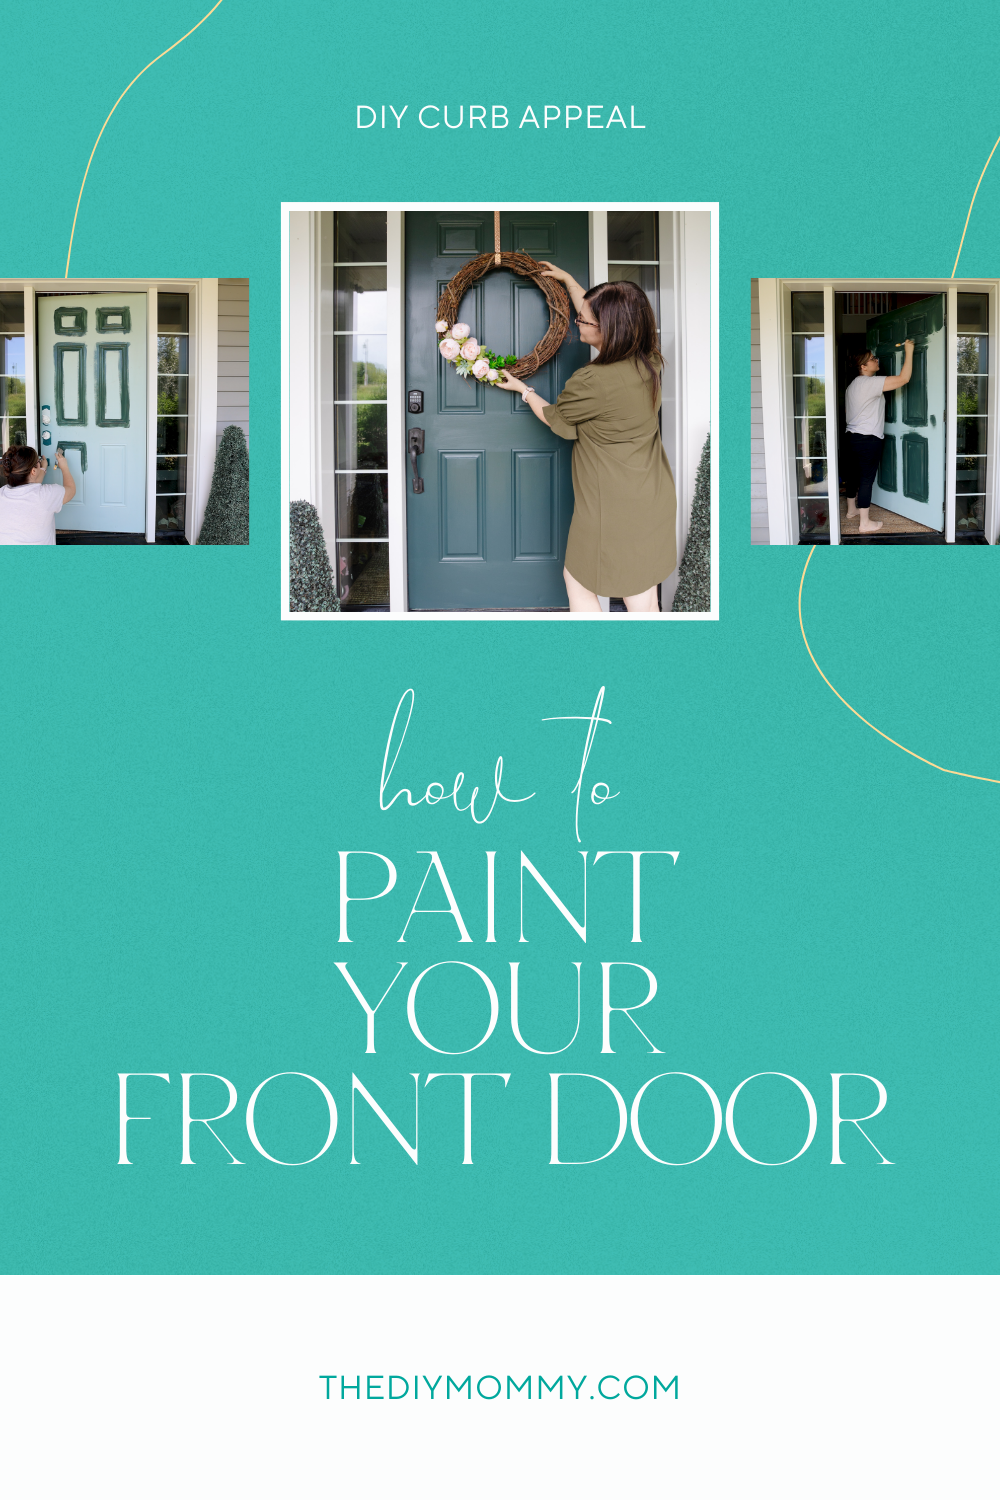
DIY: How to Paint Your Front Door for Ultimate Curb Appeal
This post may contain affiliate links · This blog generates income via ads
It’s no secret that the exterior of your home is ultra important for a great first impression. Your front door serves as the focal point of your house and deserves some love and attention. If you want to add some curb appeal to your home without breaking the bank, painting your front door is a great place to start… I’ve done it many times! If this DIY task feels daunting, don’t fear! I’ve got you covered. In this blog post, I’ll take you through the steps to transform your front door from drab to fab!
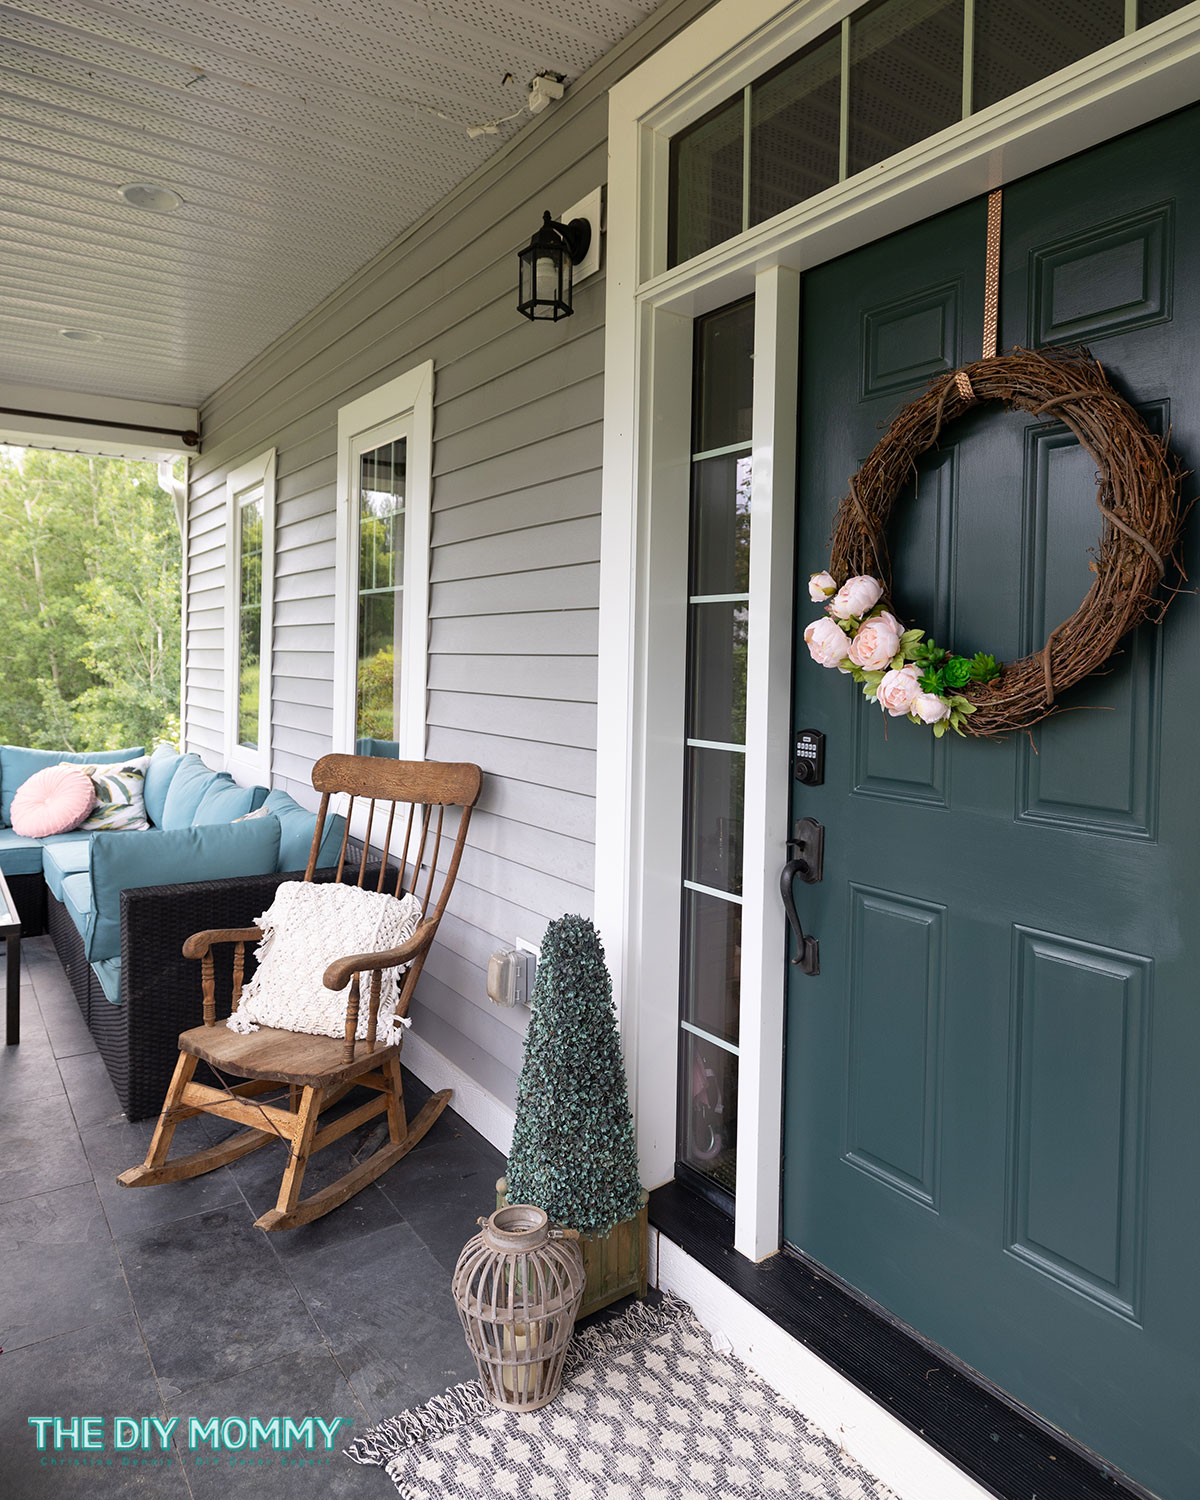
Last month, we changed the locks on our home. When I removed our old lock on our front door, I realized I’d have to do some paint touch-ups since it was a different size than the new lock. Instead of touch-ups, I thought this was the perfect opportunity to put a different colour of paint on my door! The colour I used is Black Evergreen by Behr, and I love how it turned out. I enjoy painting front doors, and I can’t wait to show you how simple it is to give your entry a whole new look.
Step 1: Choose Your Color
One of the most vital aspects in painting your front door is picking the right paint color. To select a hue, start by considering your home’s exterior and style, and if you want a bold or subtle look. Look for color schemes online that complement your house or simply make you smile. I’m always drawn to blues and greens for front door colours, but I’ve seen some stunning yellow and pink doors too! For something more subtle, a black door is always a classic.
I recommend buying a small sample of the colours you wish to try, and then painting some swatches on your door before committing. Paint always looks different in natural light than it does on the paint chips in the store!
Step 2: Prepare Your Door
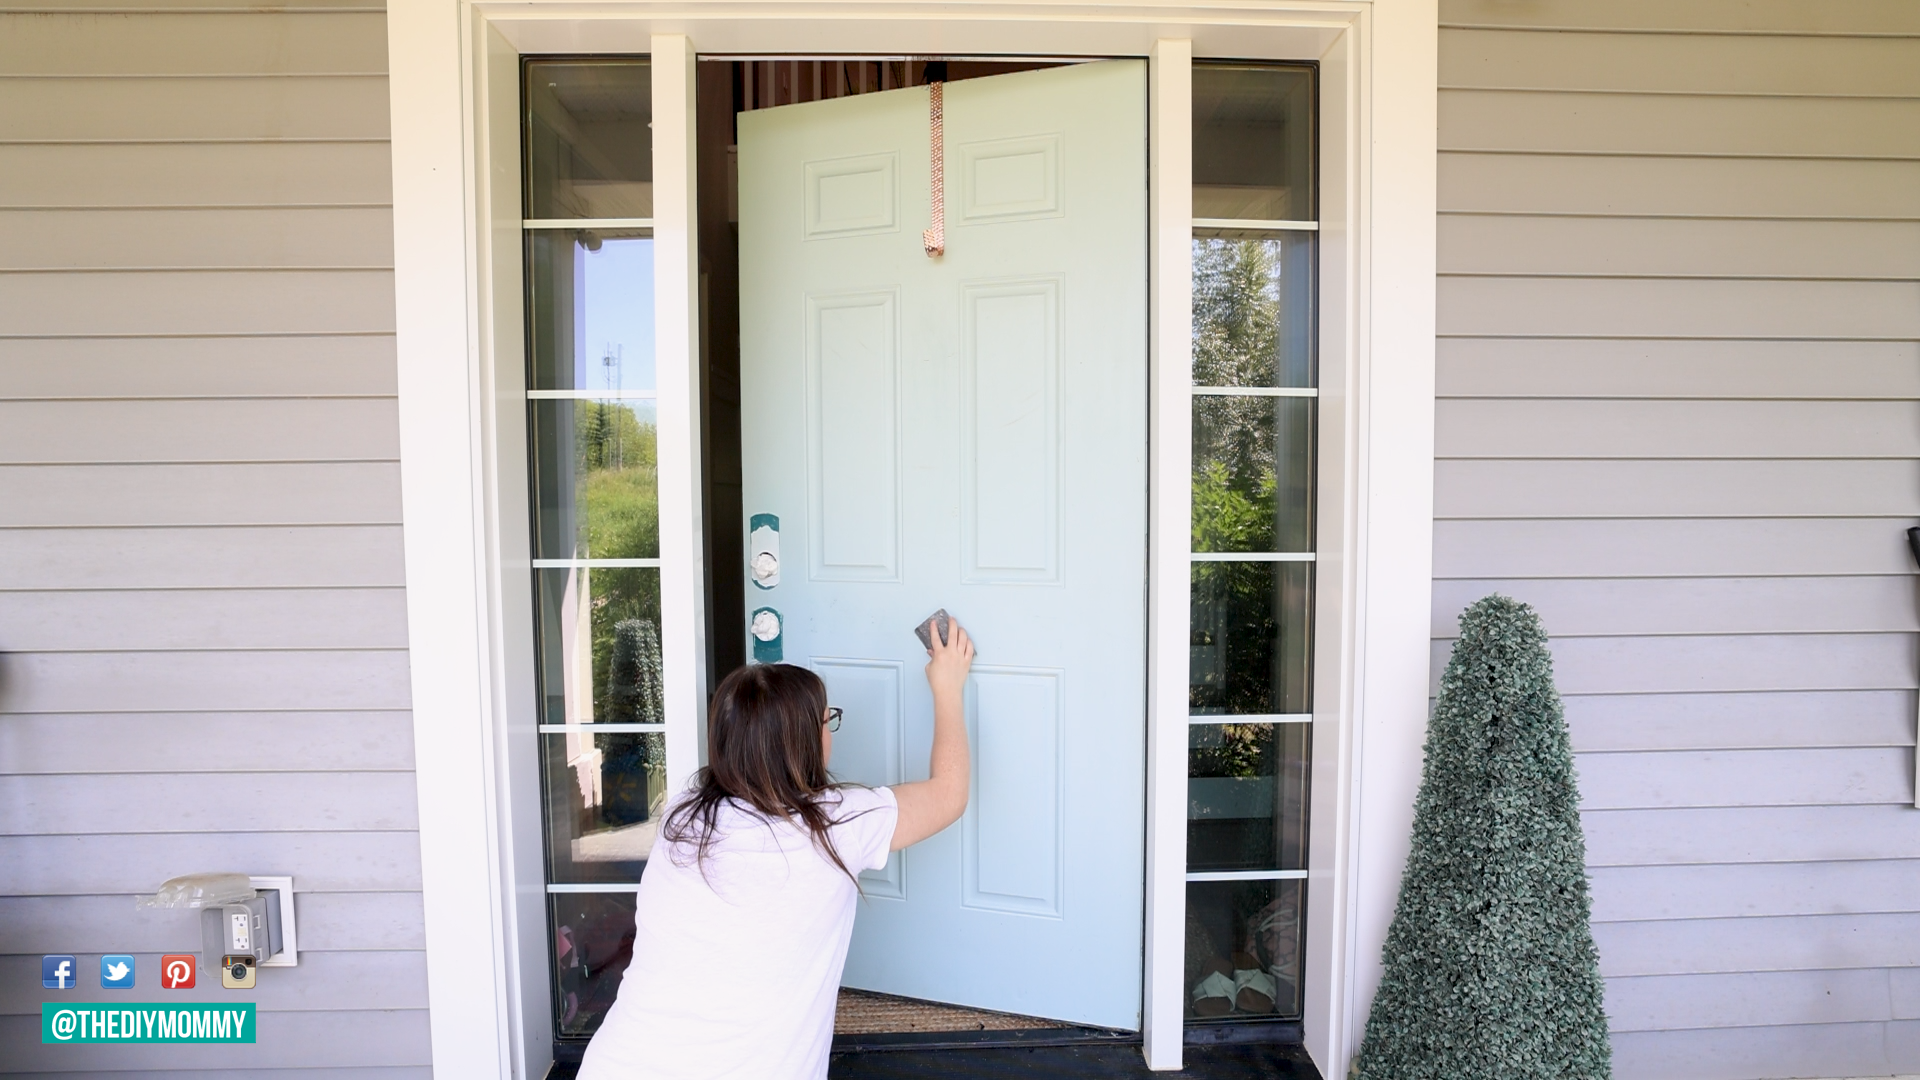
Before you can start painting your front door, you must prepare it properly. If you skep the preparation steps, you run the risk of having a paint finish that peels, scrapes and flakes easily.
For an existing door that’s already been painted:
First, remove all of the hardware like the door knob and deadbolt lock. Next, sand the surface lightly to remove any stains and uneven texture. This will also roughen up the old paint a bit so that the new paint sticks well. I like to use a 120 grit sandpaper. If you have a lot of old, peeling paint you may also have to use a paint scraper to remove any large peeling pieces. After sanding and scraping, wipe the door again using a tack cloth, so the surface is ready to absorb the paint. If you don’t have a tack cloth, a microfiber cloth also works well to remove any dirt and debris.
If there are any damages to your existing door like dents, cracks, or scratches, you can use some wood filler and a putty knife to fill any holes or dings. Once the filler is dry, sand the door once again for a smooth finish and wipe with a rag.
For a brand new door that’s never been painted:
I always recommend wiping down a new door with water and a microfiber cloth to remove any dust or debris. Then, prime the door with a bonding primer and a paintbrush letting it dry and cure completely before painting the door. I’ve skipped this step a couple of times, and regretted it. A coat of primer is essential for preventing peeling paint and scratches on your door’s finish. It will also significantly increase your door’s durability and the longevity of the paint.
Step 3: Start Painting
Once your door is cleaned and prepared, it’s time to start painting. Mask any areas, you don’t want to paint, like the hinges using painter’s tape. Apply the first coat over the entire door and let it dry for the recommended time according to the instructions on the paint can.
I recommend using an exterior latex paint for front doors, and applying it with a paint brush. I’ve used foam rollers in the past, but sometimes the finish bubbles. A paint brush and a good quality exterior paint has proven to be my favourite combo when painting front doors. My favourite paint finish for a door is satin, but you could also use a semi-gloss. However, the latter is less forgiving when it comes to brush strokes and bumps.
If you want the paint to dry properly, I also suggest waiting until it’s about room temperature outside before you paint your door. Your paint will dry too quickly if it’s hot, which can lead to visible brush strokes. If it’s too cool, the paint might not cure properly.
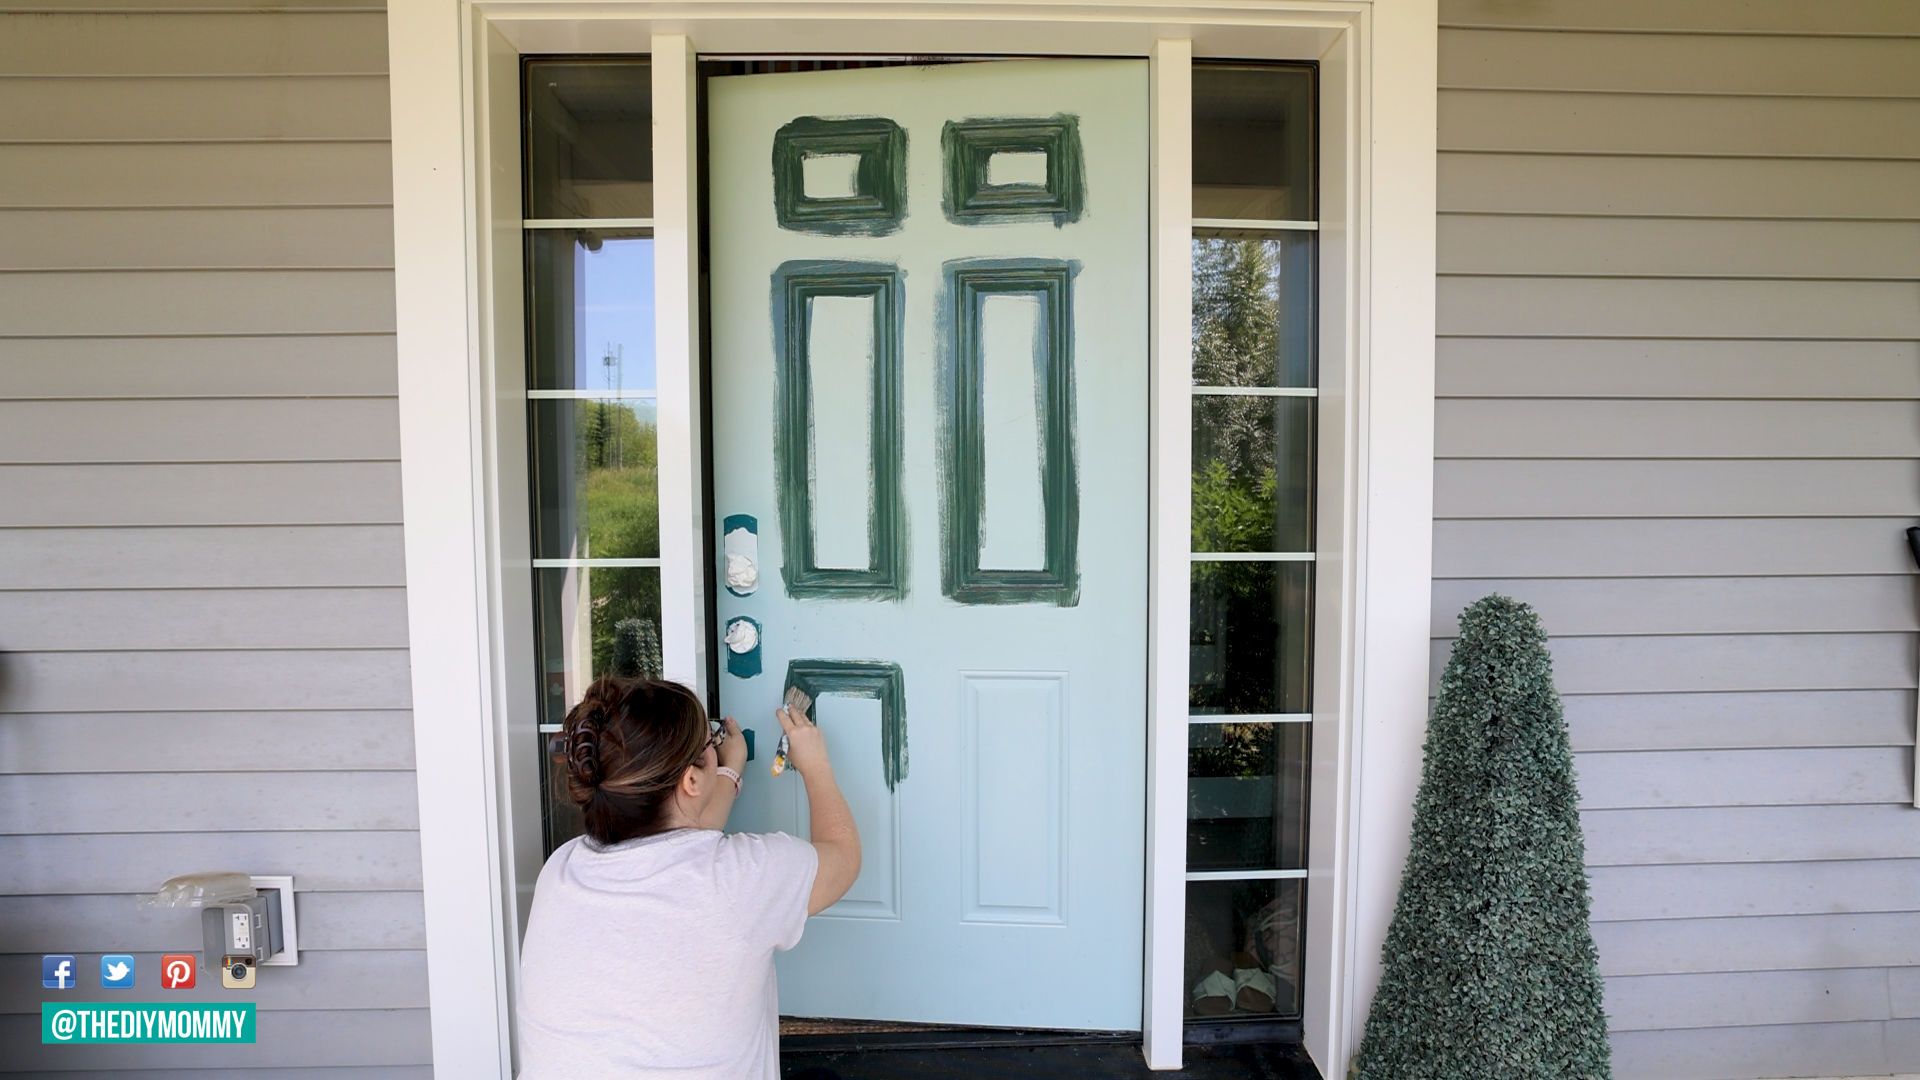
When painting a door, I always:
- paint inset frames first (if you have them)
- then, paint the interior of the framed areas
- next, paint the horizontal sections of the door
- finally, paint the vertical sections of the door
Take your time as you paint, and watch for any drips as you go along. You can quickly wipe over the drips with your brush to fix them, but don’t wait longer than a few minutes to do so or you’ll risk ruining the texture of your paint job.
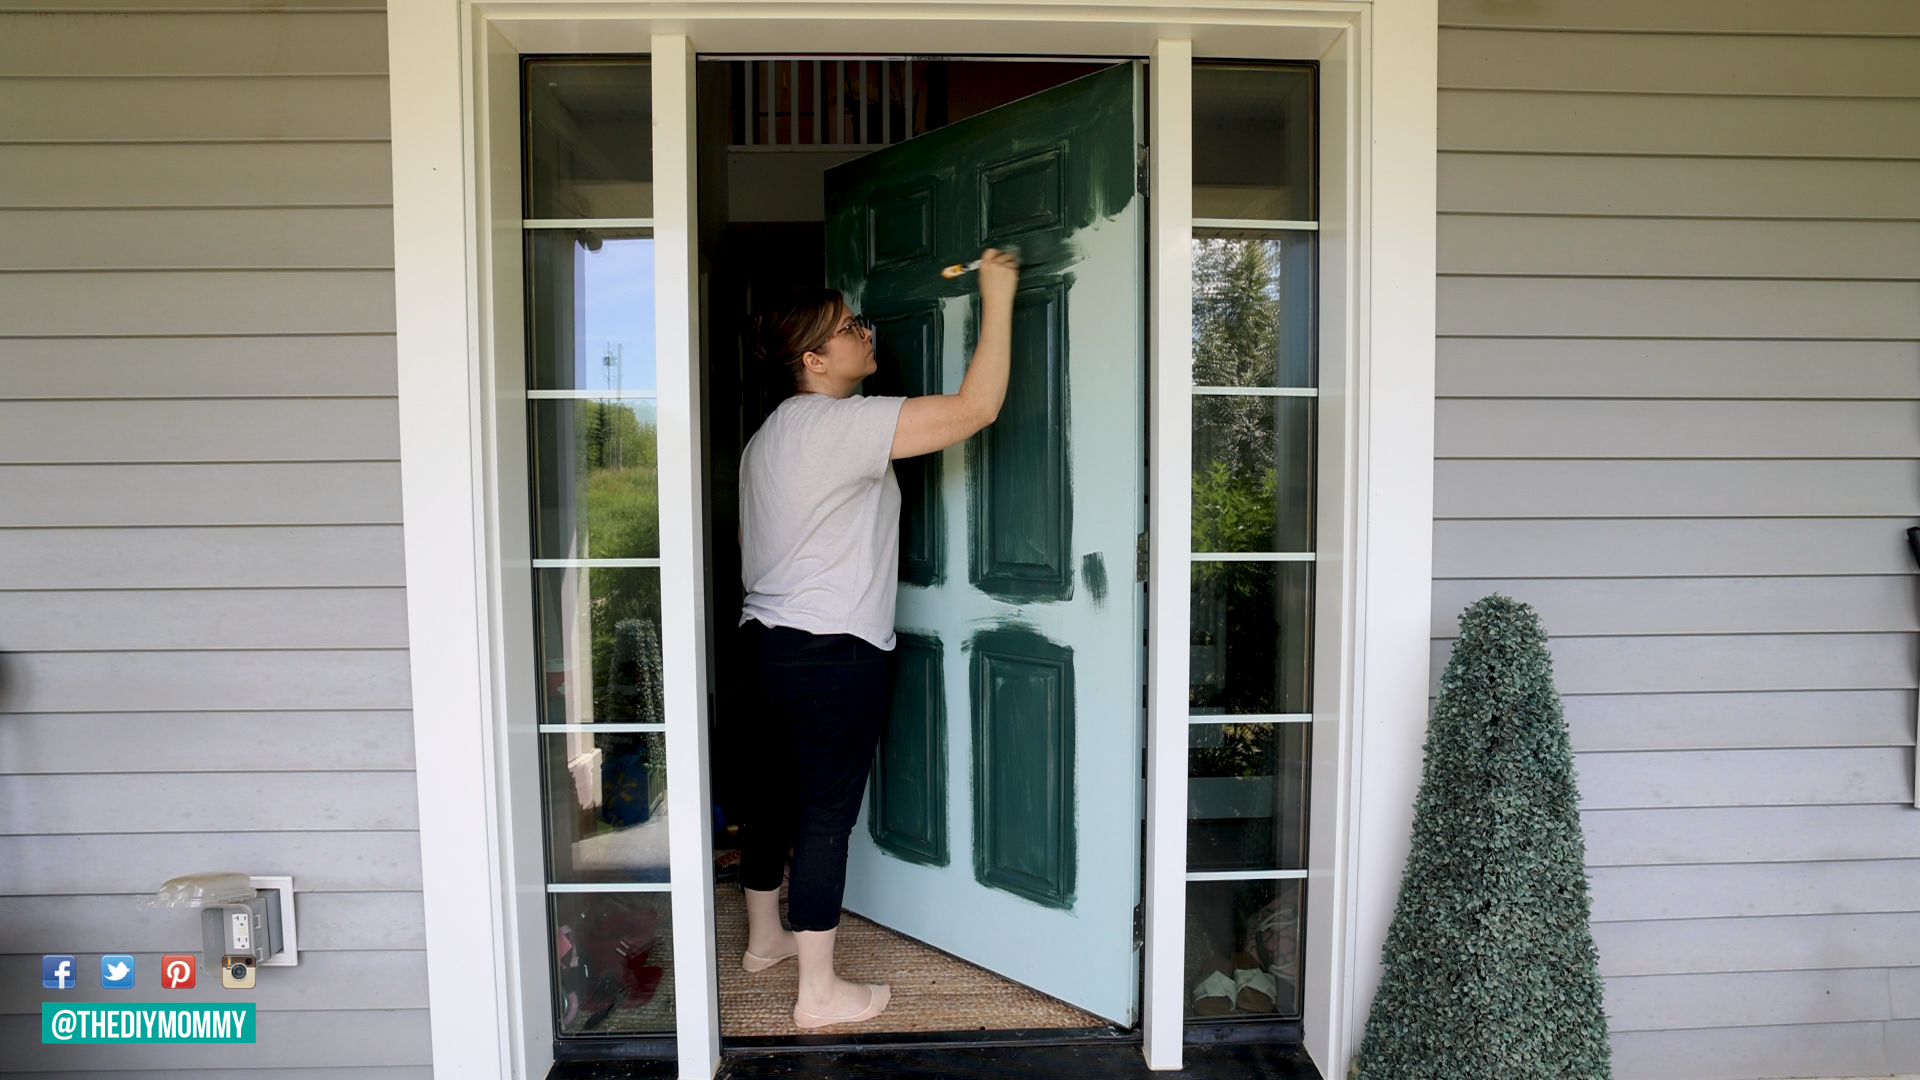
I leave the door slightly open as I paint, so I also recommend waiting until a time of year or day when there’s the least amount of bugs outside!
You could also consider taking your door completely off its hinges to paint. Do so by removing the hinge pins from the hinges and lifting the door away from its frame. Make sure to do this with a couple of people so you don’t hurt yourself! You can then lay the door on sawhorses over some painter’s drop cloth and paint it horizontally.
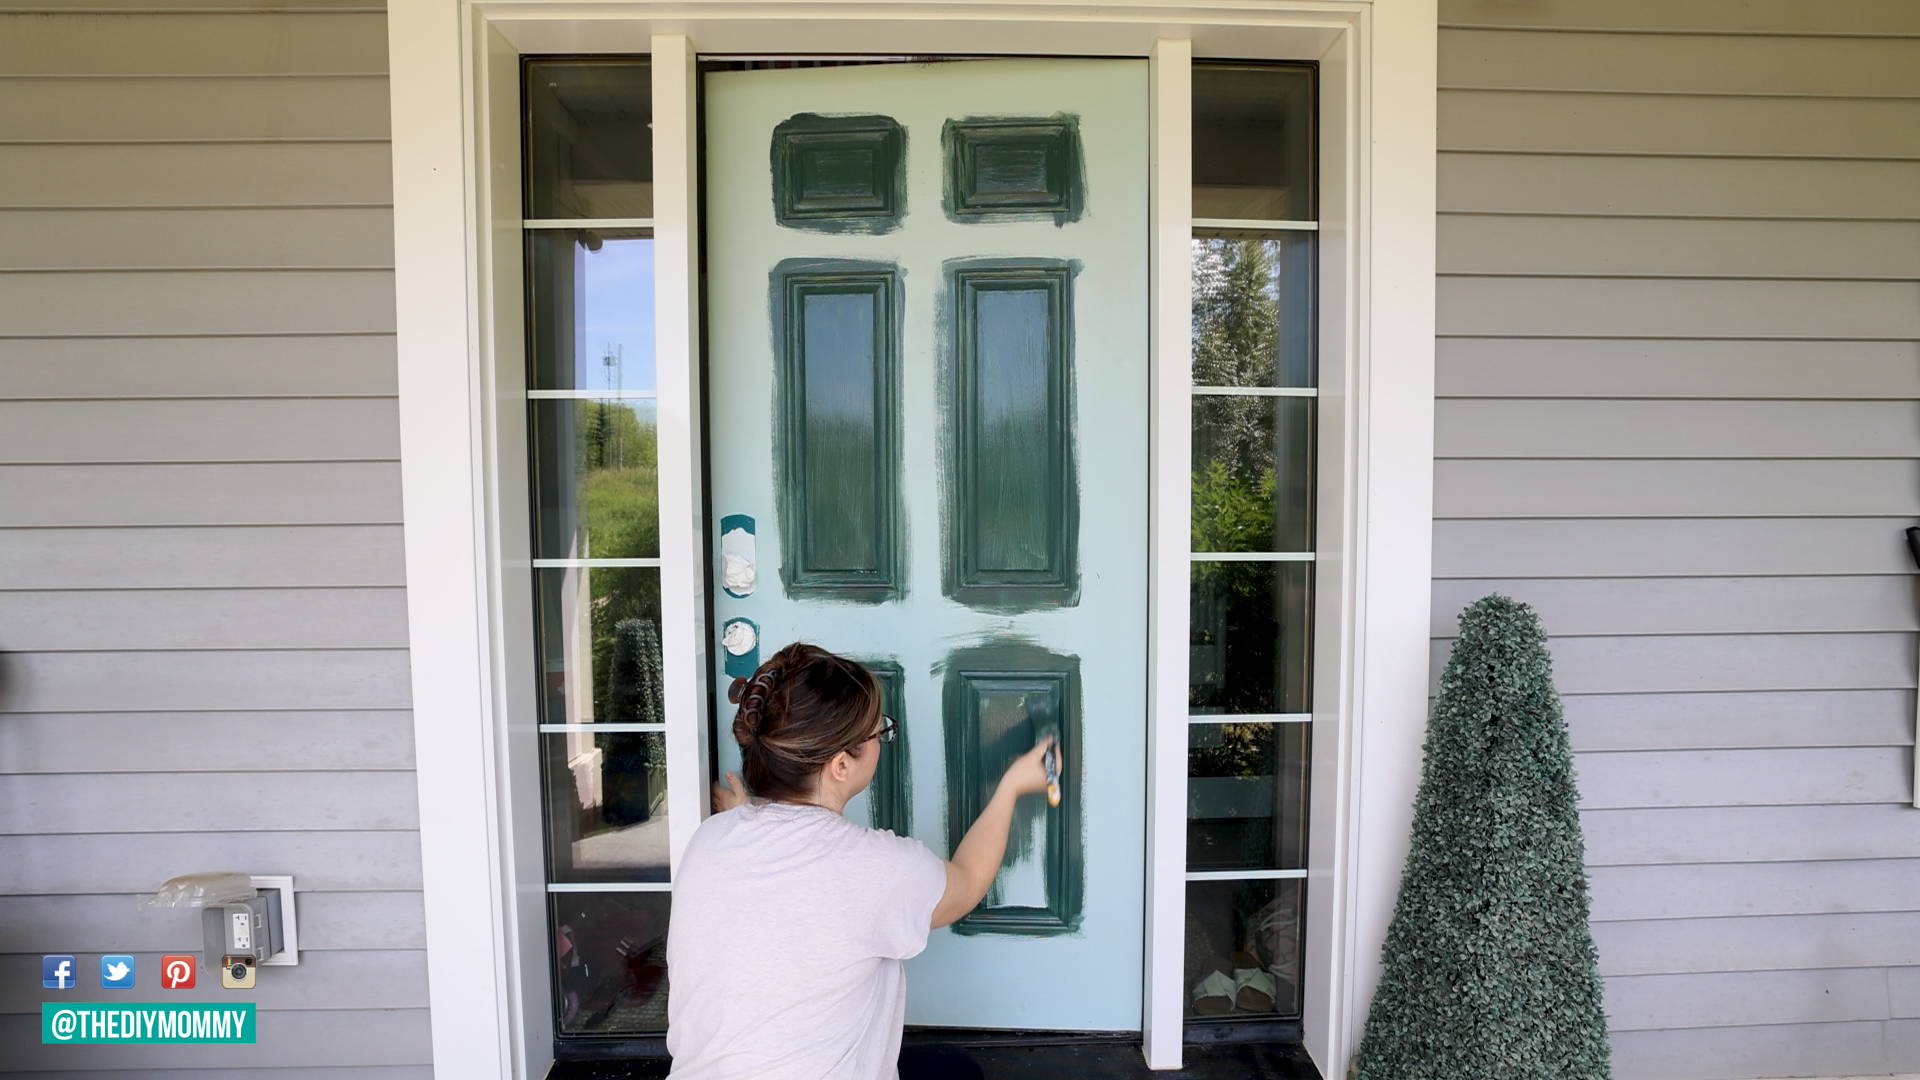
After the first coat of paint has dried, apply the second coat, which should give you excellent coverage. If you’re using a lower quality paint or painting a light colour over a dark one, you may have to paint a third coat. After the final coat is fully dry, remove the painter’s tape.
Step 4: Finishing Touches
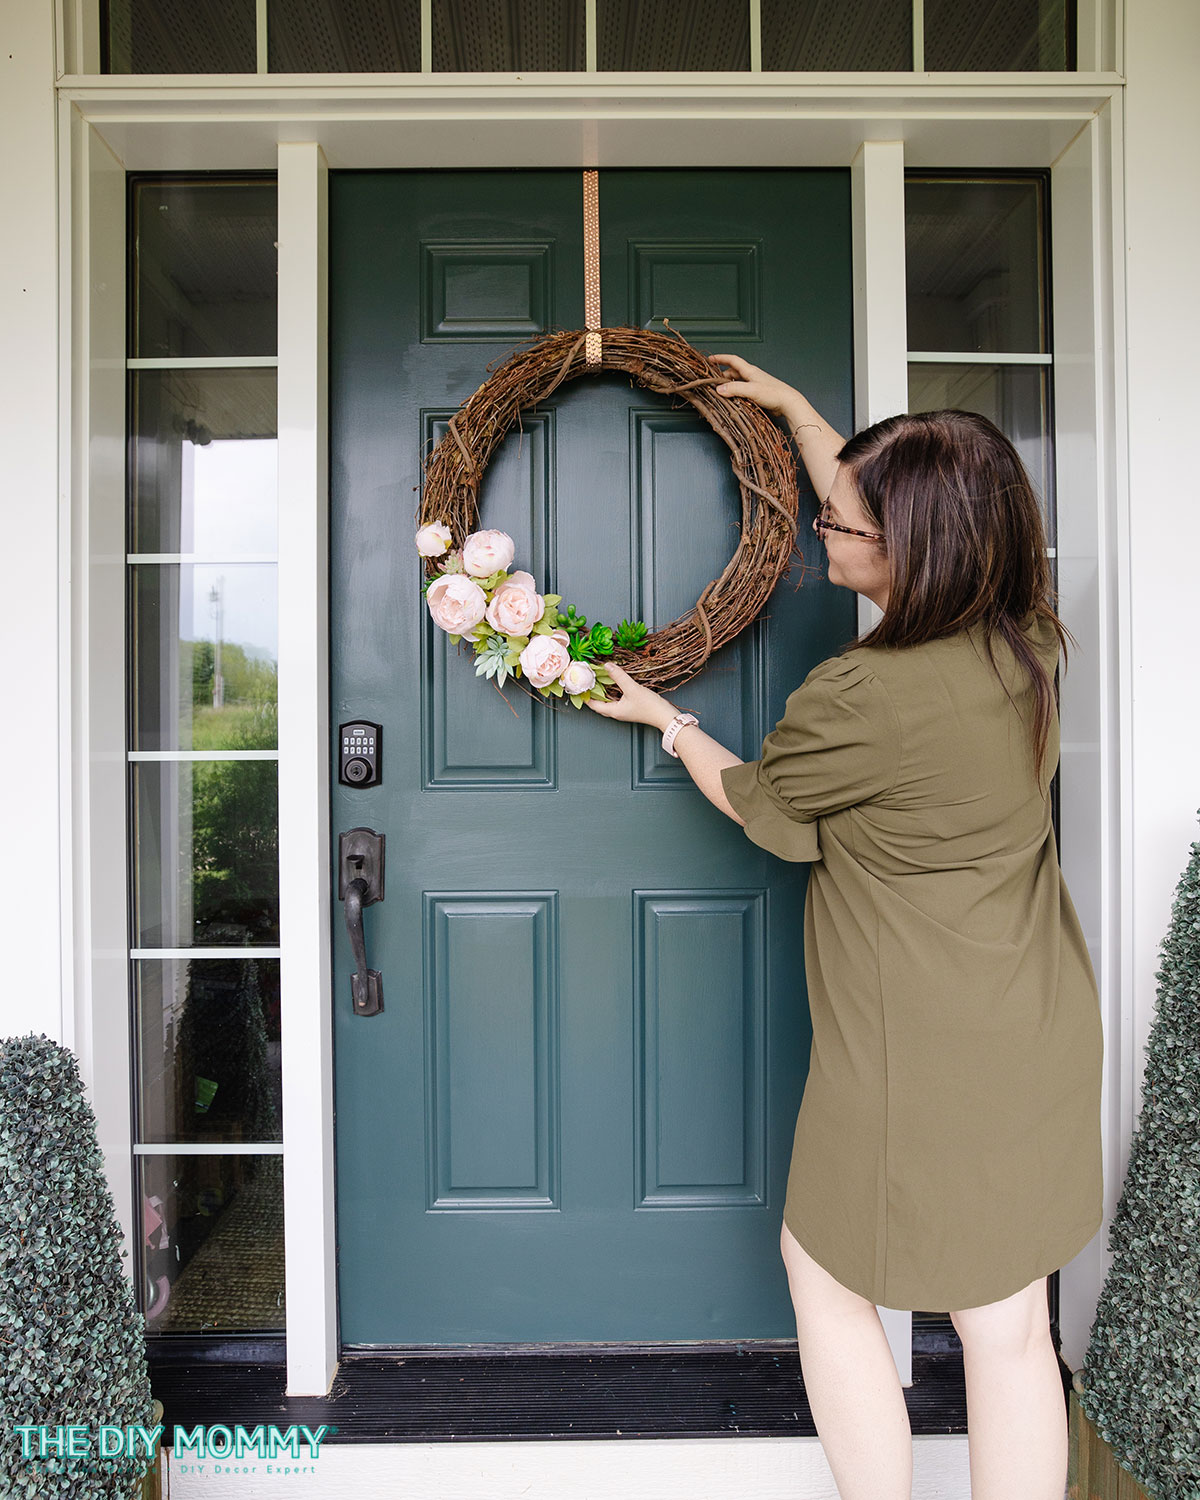
Once you’ve finished painting over your front door, the final touches should help create that ultimate ‘wow’ factor. Put your DIY skills into action by adding any locks, doorknobs, letter boxes, door numbers, or knockers that need installing. I did have a DIY door number decal on our front door, but didn’t add one this time… I’m liking the simple look!
A wreath is always a beautiful way to add personality to your entry, and I have tons of DIY wreath ideas right here.
I hope you found this post helpful as you consider painting your front door. A fresh coat of paint is such a fantastic, budget-friendly DIY project to make your home’s exterior more charming, and I hope you consider giving it a try. Don’t forget the prep work, and happy painting!
PIN ME:
Such an informative blog! I would like to say that before start painting we should keep our project dust-free by using a tack cloth. Everyone should follow the tips provided by you, it will make their work easier. Thank you for sharing! I will share it to all my friends and relatives. Keep Posting! Keep Sharing!
Can I ask what colour the exterior walls on your house are?