• Skip to primary navigation
  • Skip to main content
  • Skip to primary sidebar
The DIY Mommy
  • Decor
  • DIY
  • Clean + Organize
  • Printables
  • Recipes
  • Life
  • The Academy
  • Shop My Home
  • About
  • Contact
    • Facebook
    • Instagram
    • Pinterest
    • Twitter
    • YouTube
menu icon
go to homepage
search icon
Homepage link
  • Decor
  • DIY
  • Clean + Organize
  • Printables
  • Recipes
  • Life
  • The Academy
  • Shop My Home
  • About
  • Contact
    • Facebook
    • Instagram
    • Pinterest
    • Twitter
    • YouTube
  • ×

    Home » DIY Family Food

    Bake the Flakiest Country Apple Pie

    Published: Nov 2, 2012 by Christina Dennis · This post may contain affiliate links · This blog generates income via ads · 7 Comments

    by Christina Dennis

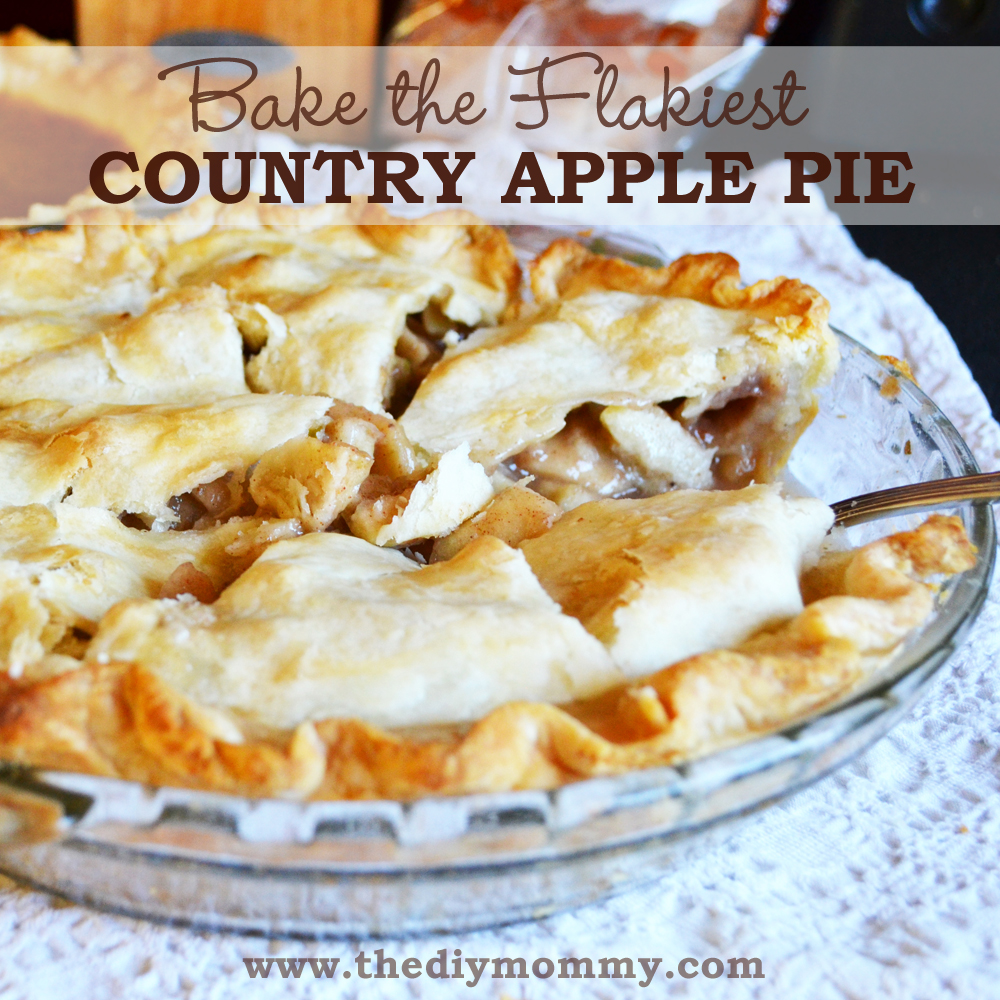
    Bake the Flakiest Country Apple Pie by The DIY Mommy

    Oh Apple Pie, how I love thee. You are the ultimate combination of all things yummy - crisp fall apples, spicy cinnamon, and a buttery, flaky crust.

    This apple pie recipe is a combination of a couple of different cookbook recipes, some of my mom's baking tips, and some of my own changes I've made along the way. This is how I make apple pie, and I swear by this method to get the flakiest crust and the most flavourful filling.

    Ingredients:

    (Makes 2 pies)

    Crust

    • 3 cups flour
    • 1 ½ teaspoon salt
    • 1 cup pure lard
    • ½ cup cold water

    Filling

    • ⅔ cup sugar
    • ½ cup flour
    • 1 teaspoon ground cinnamon
    • ½ teaspoon salt
    • 12 medium Granny Smith apples, peeled, cored and thinly sliced

    Directions:

    For Crust

    Mix the flour and salt in a medium bowl. Cut in lard, using a pastry blender or criss-crossed knives until you achieve a crumb-like texture (it doesn't hurt to blend the mixture a lot at this stage). Pour in cold water, one tablespoon at a time, and mix very lightly with a fork until the pastry pulls from the side of the bowl. Don't over-mix once you've added water! This is one of the secrets to a flaky crust. Roll the pastry gently in a ball, cover in plastic wrap, and place in the fridge to chill while you make the filling.

    For Filling

    Peel and cut the apples into thin slices. In a very large bowl (when I'm in a bind, I just use an ice cream pail) combine the sliced apples, sugar, flour, cinnamon and salt. Mix together and let the mixture sit while you complete the crust.

    Finishing the Pie

    Preheat the overn to 425 degrees F. Take the pastry dough out of the refrigerator and separate it into four equal portions. On a well-floured surface, roll out one portion to make a thin circle that will fit in your pie plate and over the sides. Place it in the pie plate.  Repeat for the second pie. Divide the apple mixture between the two pies, spooning it over the crust. Roll out the remaining two balls of dough and place them over the pies.

    Cut the excess dough around the pie plates, leaving about a 1" overhang. Fold this excess dough under, pushing the pastry down a little as you go. I like to flute the edges of my pastry with my thumbs (like this).

    Cut slits in the tops of the pies with a knife (I do a little star pattern). Optional: Brush milk over the pastry and sprinkle it with a little bit of sugar for a crunchy, sparkly effect.

    Bake for 40 to 50 minutes and let cool before cutting.

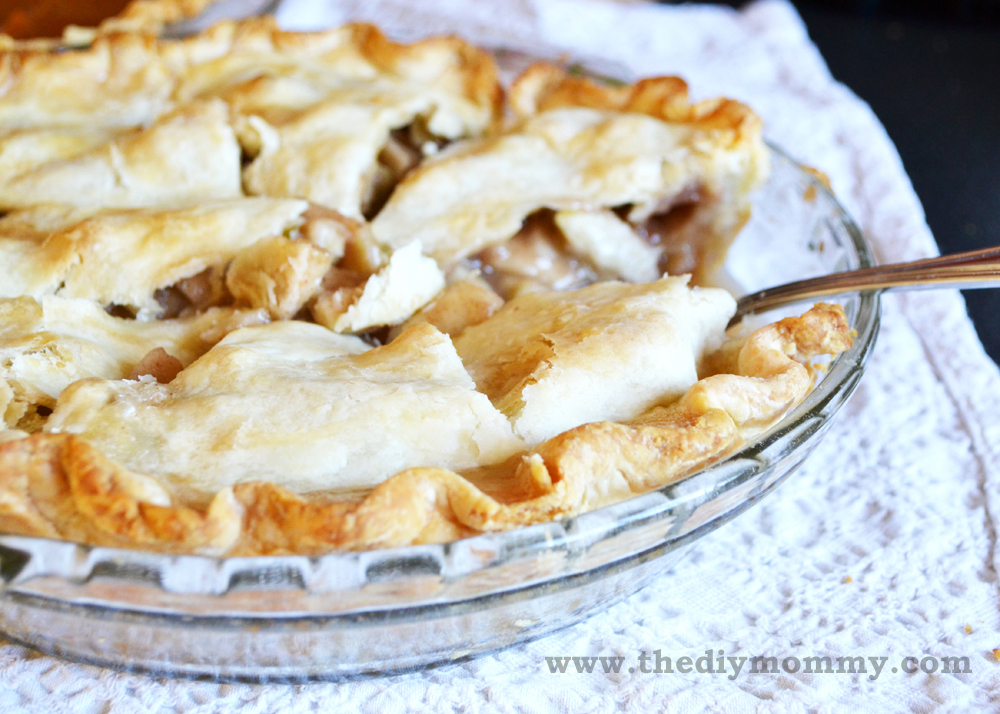
    Bake a Flaky Country Apple Pie by The DIY Mommy

    Your apple pie is now ready to enjoy. I love to eat my apple pie with a smidgeon of ice cream. How do you like to eat yours?

     

    More Inspiration

    • Peppermint Pretzel Chocolate Bark
    • How to make an epic Christmas charcuterie cheese board in red & green
      Make a Christmas Charcuterie Board in Red & Green
    • My Favourite German Christmas Recipes
    • How to make a Jarcuterie (a single-serve charcuterie)

    Reader Interactions

    Comments

    1. Amanda @ The Scacchi House

      November 03, 2012 at 9:57 pm

      Mmmmm.... I haven't made an apple pie in a while. Thanks for the yummy reminder!

      Reply
      • Christina Dennis

        November 04, 2012 at 8:08 pm

        My pleasure, Amanda! 🙂 Thanks for visiting.

        Reply
    2. Mark

      November 07, 2012 at 9:31 am

      I am getting tired of eating all of these apples plain. I do need a good recipe before the season is over. This one looks superb. Thanks!

      Reply
      • Christina Dennis

        November 07, 2012 at 10:55 pm

        Thanks, Mark! It is my favourite recipe so I hope you like it too.

        Reply
    3. Laura Poulter

      September 14, 2021 at 1:43 pm

      Gonna try your recipe sound easy and yummy

      Reply

    Trackbacks

    1. Favorite Pie Recipes of Friends | Common Cents Mom says:
      October 11, 2013 at 9:38 am

      […] then finally Christina from The DIY Mommy sent this beautiful recipe for the flakiest apple pie. Can I just say yum now. Doesn’t it […]

      Reply
    2. Make the Most Delicious Country Strawberry Rhubarb Pie | The DIY Mommy says:
      May 7, 2016 at 10:03 pm

      […] like my country apple pie, I use a very traditional sort of pie crust recipe for this pie that I find is so deliciously […]

      Reply

    What do you think? Cancel reply

    Your email address will not be published. Required fields are marked *

    This site uses Akismet to reduce spam. Learn how your comment data is processed.

    Primary Sidebar

    Welcome!

    Christina Dennis, The DIY Mommy

    I'm Christina and I'm sharing budget-friendly DIY & decor ideas to create a cozy home and life you love!

    Read more about me

    Latest Posts

    • Cricut Must Haves for Beginners: Materials & Tools Guide
    • RV Tips 101 - RVing Guide for Beginners
    • Build a Bench Seat for the Kitchen Table - DIY IKEA Hack

    What's my home decor style?

    Discover the home decor style that best fits your personality and lifestyle. This two-minute quiz is going to give you the direction you need to start the big, bold room makeovers that you've always wanted to try!

    Find out now!

    Footer

    ↑ back to top

    About

    • About The DIY Mommy
    • Privacy Policy
    • Disclosure Policy
    • Terms of Service

    Newsletter

    • Sign Up! for emails and updates

    Contact

    • Contact

    As an Amazon Associate I earn from qualifying purchases.

    Copyright © 2009 - 2023 The DIY Mommy. "The DIY Mommy" is a registered trademark.