DIY Beer Can Glass for Fall & Halloween
This post may contain affiliate links · This blog generates income via ads
Learn how to make an adorable DIY beer can glass that’s perfect for Fall & Halloween! All you need are glass cups from Amazon, a Cricut and some permanent vinyl.
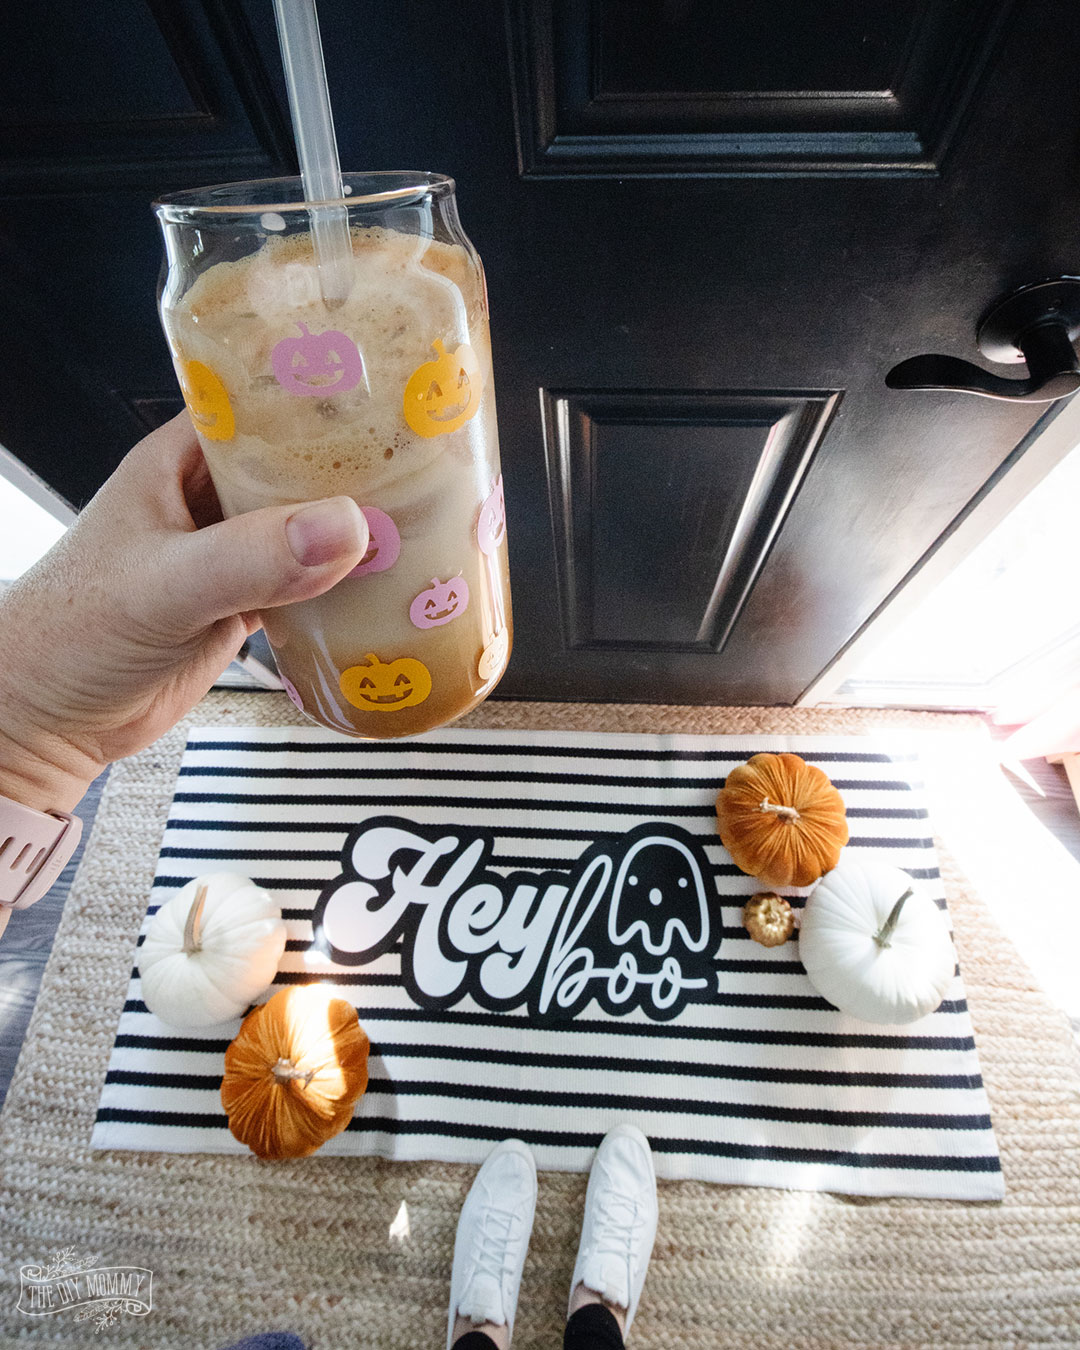
Beer can shaped glasses have been very popular this year, and I think they’re extra cute! For Halloween this year, I created some adorable pumpkin and ghost patterned beer can glasses for my girls (and myself!) to enjoy.
Here’s how to make a DIY beer can glass:
Materials:
- beer can cups
- Cricut machine
- permanent vinyl
(Want to learn more about a Cricut? Click here!)
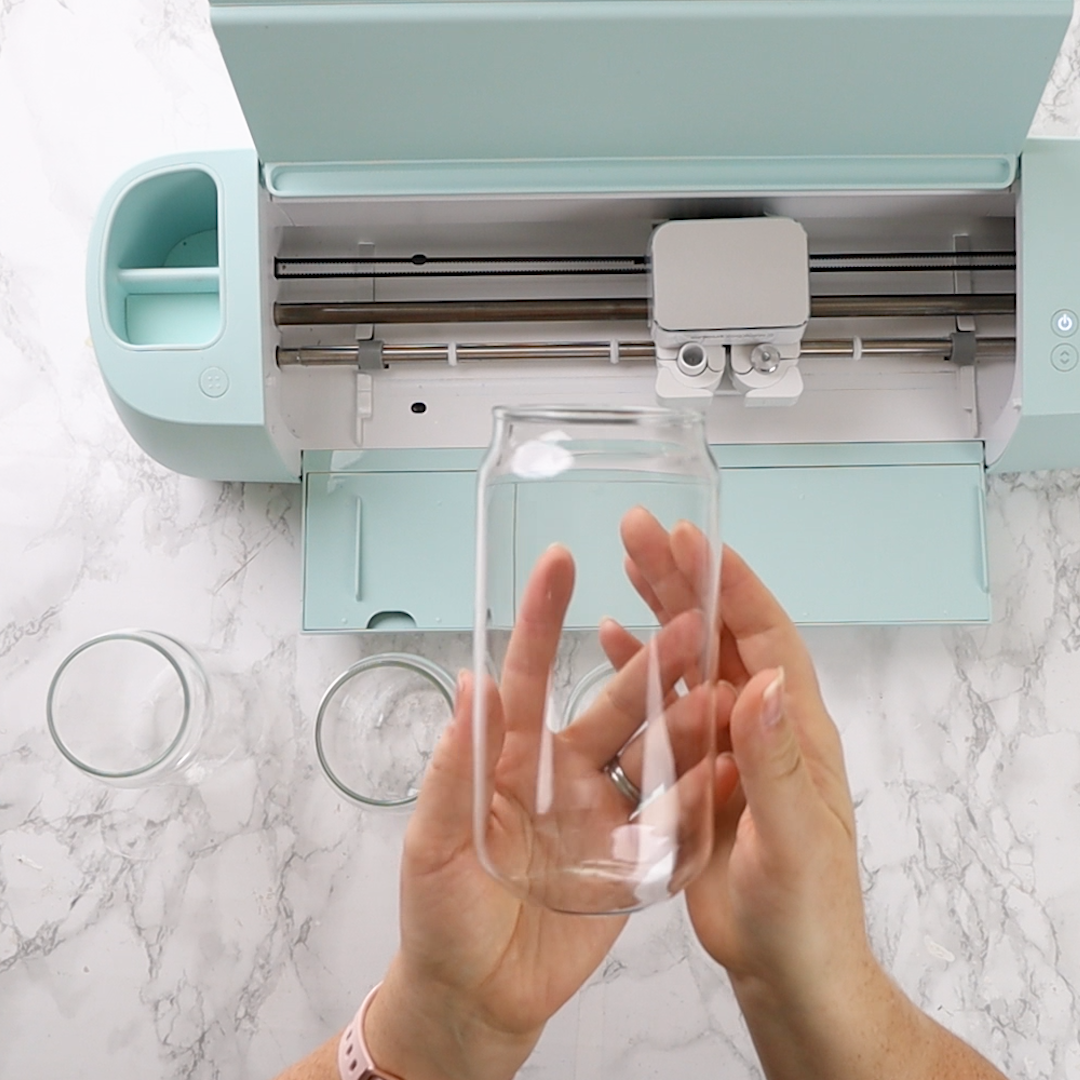
To begin, purchase these beer can cups from Amazon. I’ve had these for months and I love them!
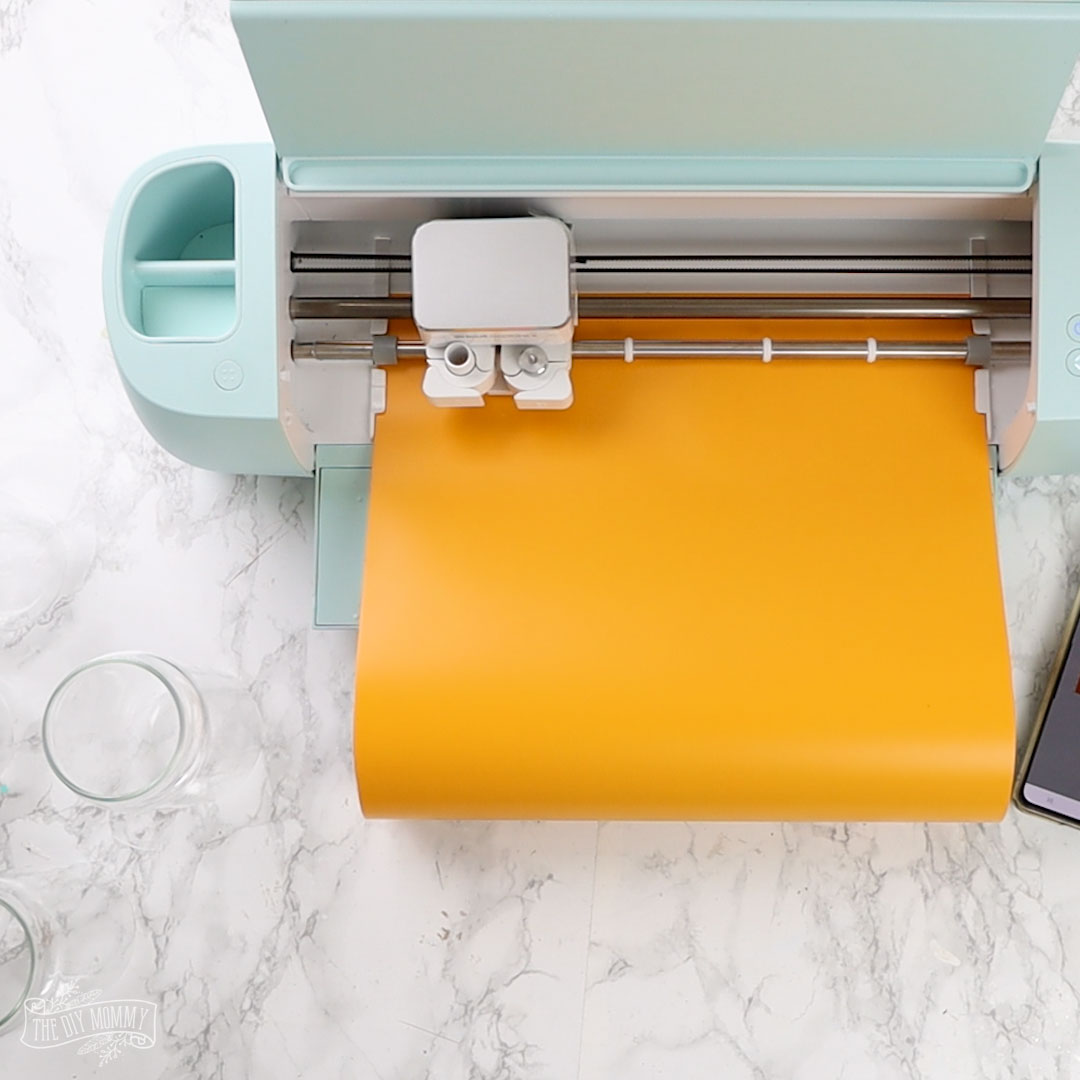
Next, open my Halloween Cups Design Space Project in Cricut Design Space and send the design to cut on your Cricut machine. Use Permanent Vinyl or Permanent Smart Vinyl for this project, and whatever colours you desire. I used a combination of deep yellow, pink & white permanent vinyl for my glasses. Cut the design ONCE for a set of 2 cups (1 pumpkin and 1 ghost cup) or TWICE for a set of 4 cups.
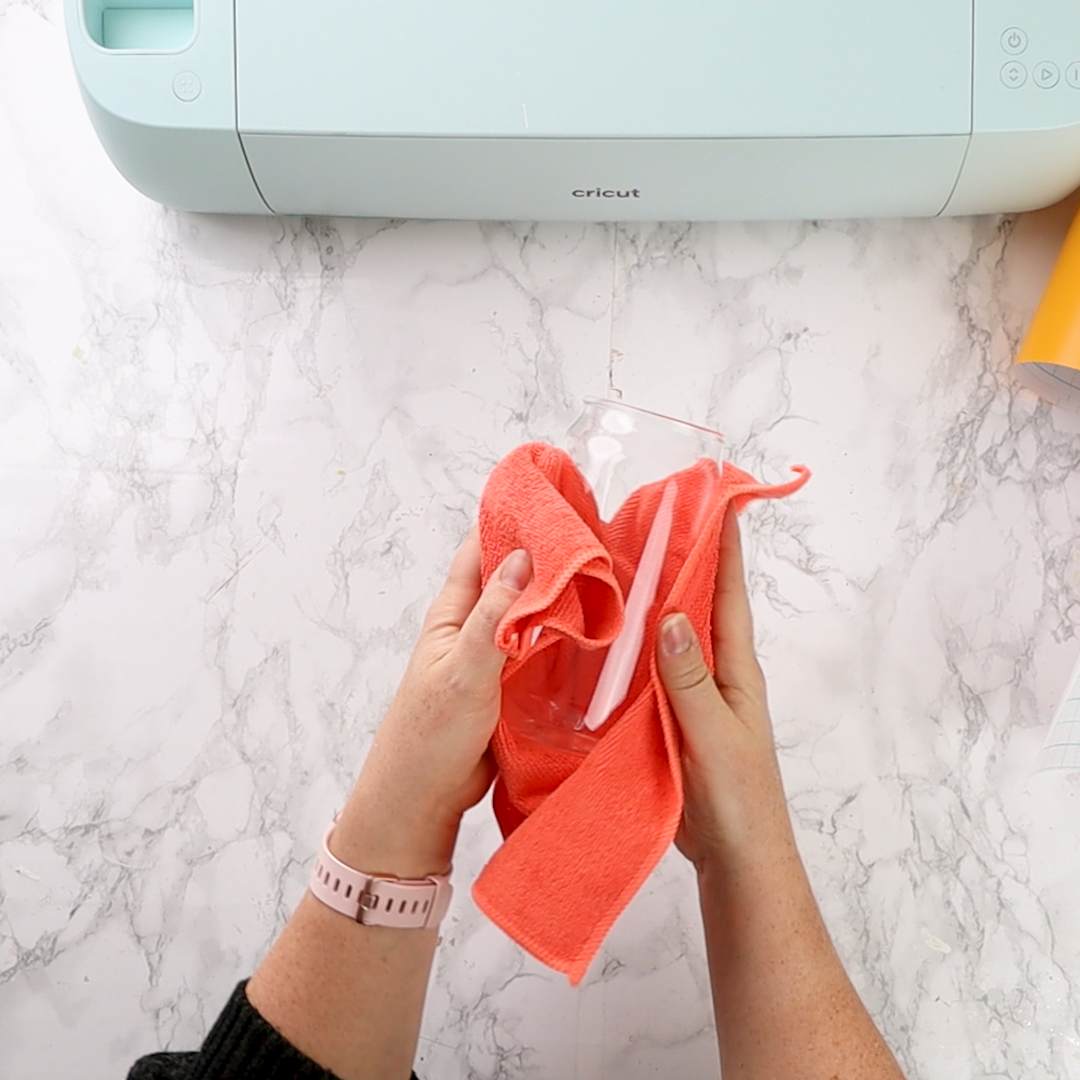
While the design is cutting on your Cricut, make sure your cups are clean by wiping them with a microfiber cloth.
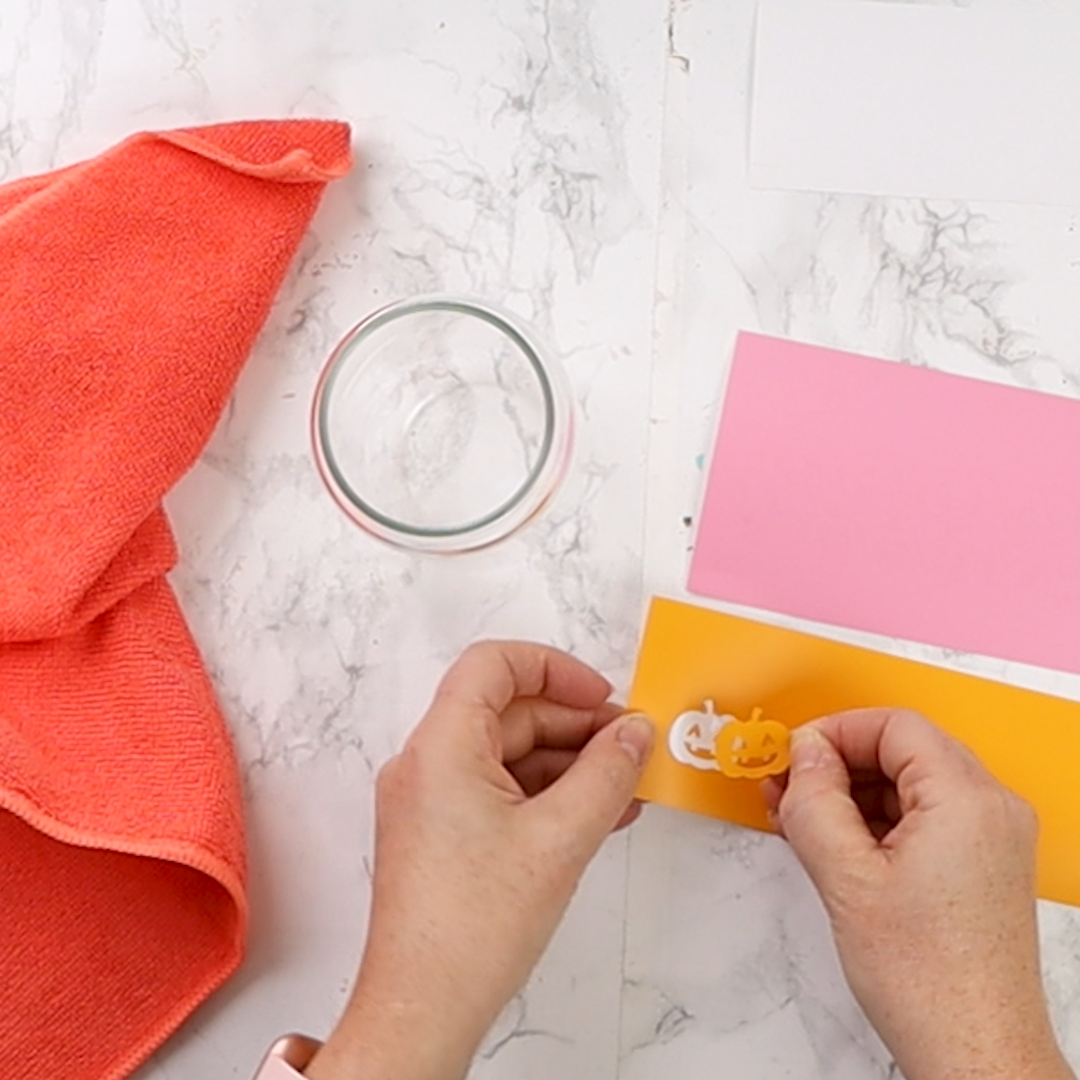
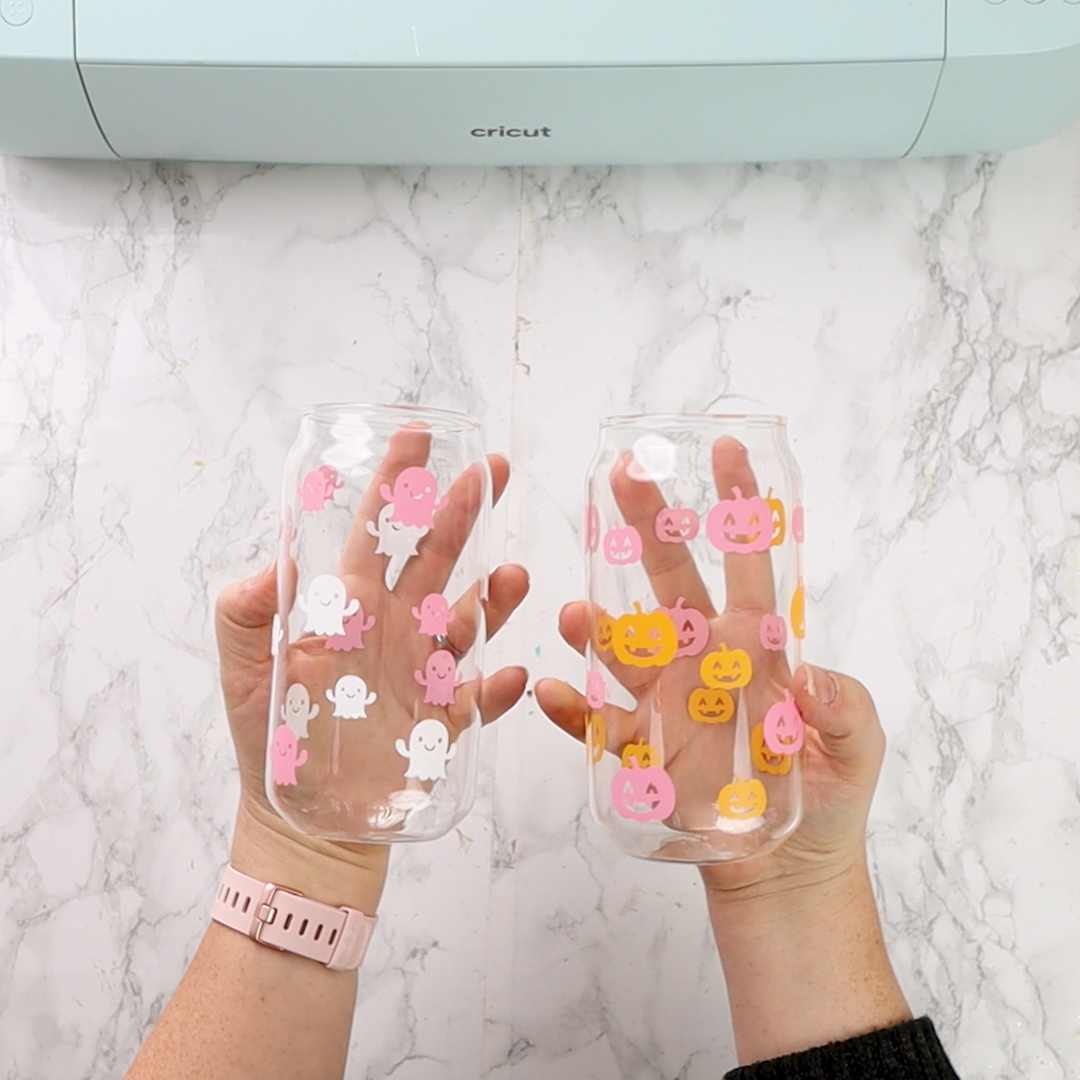
Once the pumpkin and ghost decals are cut, remove them from the backing and place them on your cups.
You can make 1 pumpkin-themed glass and 1 ghost-themed glass with my Project file. There will be two colours and two sizes of each pattern.
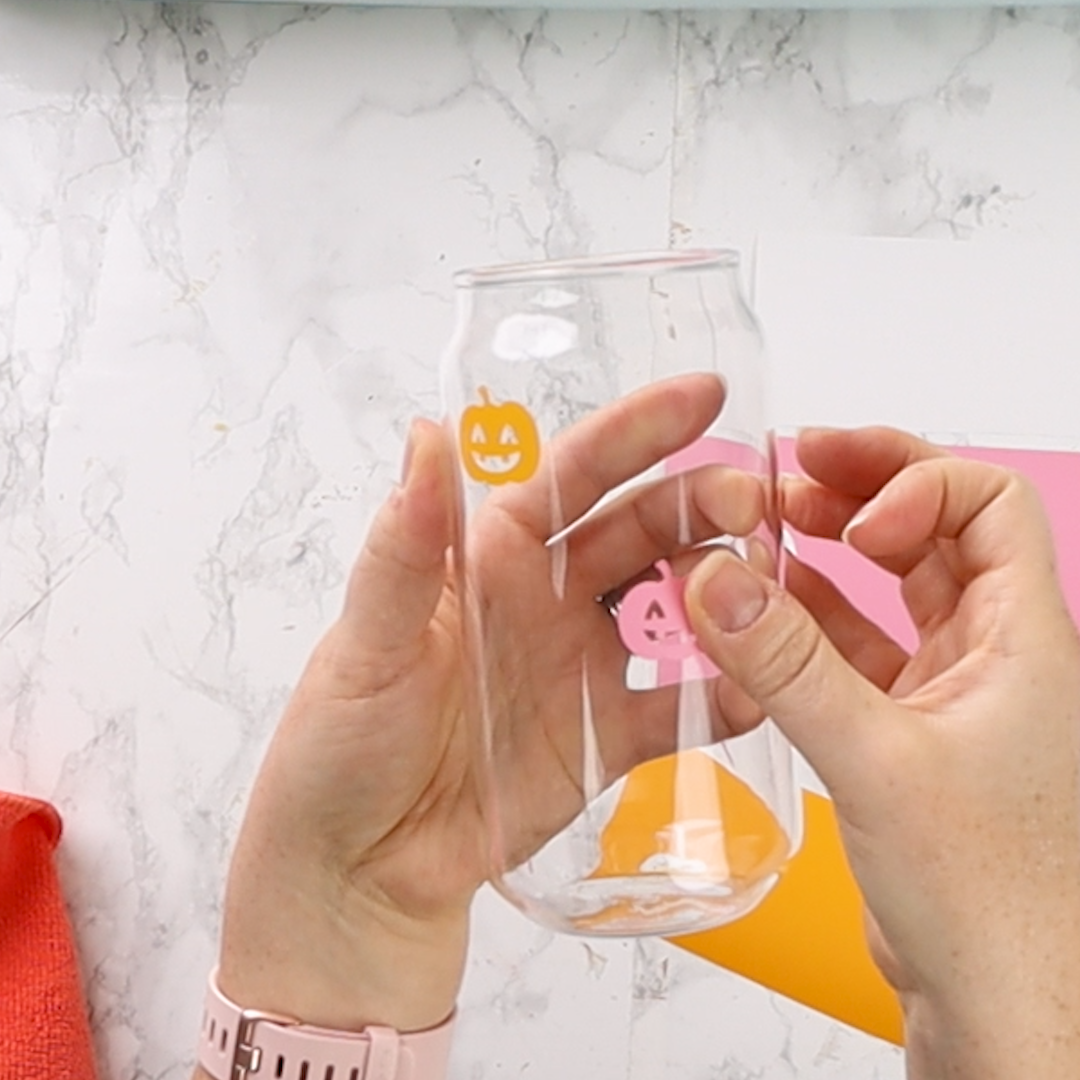
You can place the decals on the cups in a random pattern, or make your design more symmetrical. It’s totally up to you! I put mine on randomly, alternating the small and large decals.

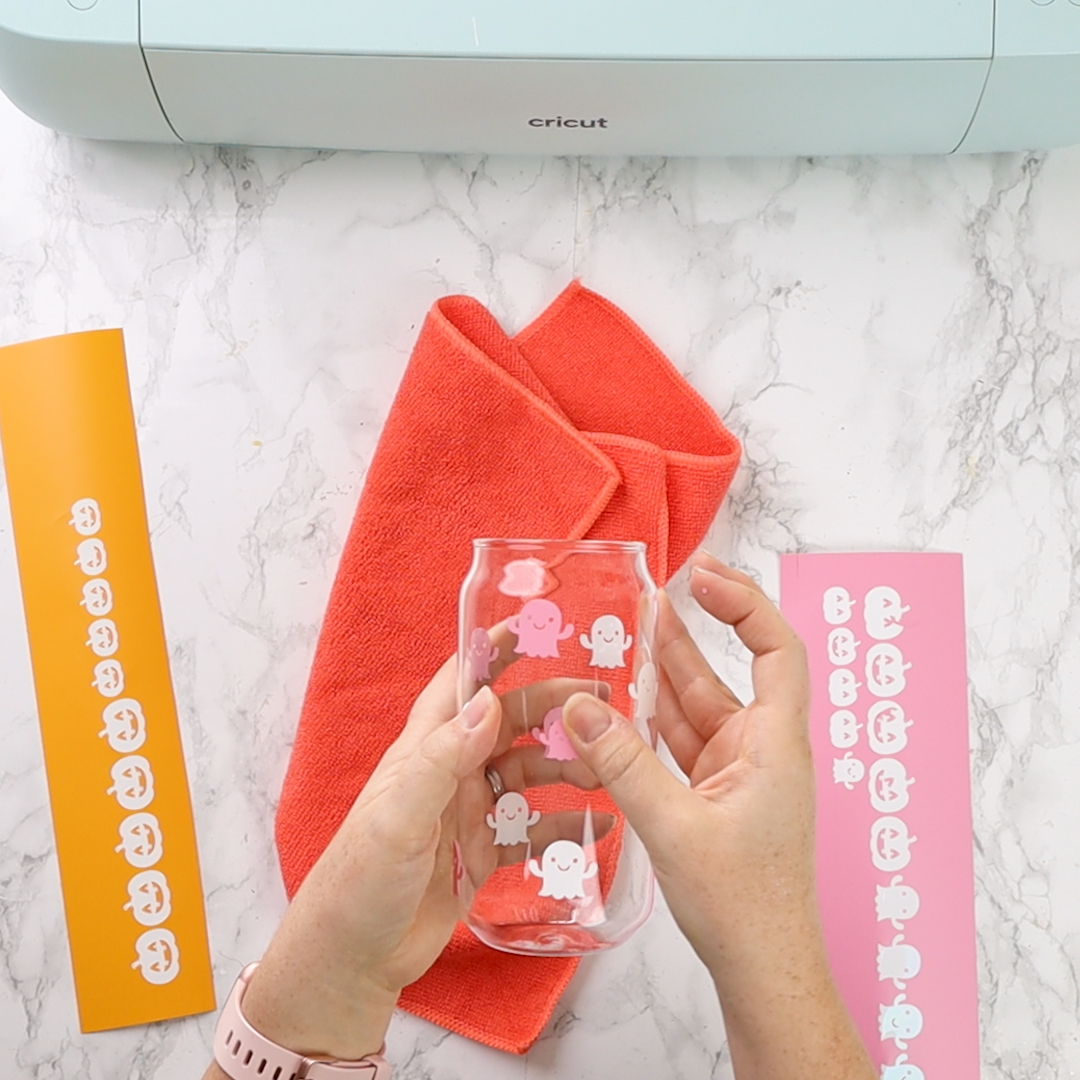
All done! These DIY beer can glasses are so easy to make and my daughters love them. The Permanent Vinyl usually lasts through washing in the top rack of a dishwasher, but you can also hand wash these to be extra careful.