How to Add Handles to Kitchen Cabinets – An Easy Guide
This post may contain affiliate links · This blog generates income via ads
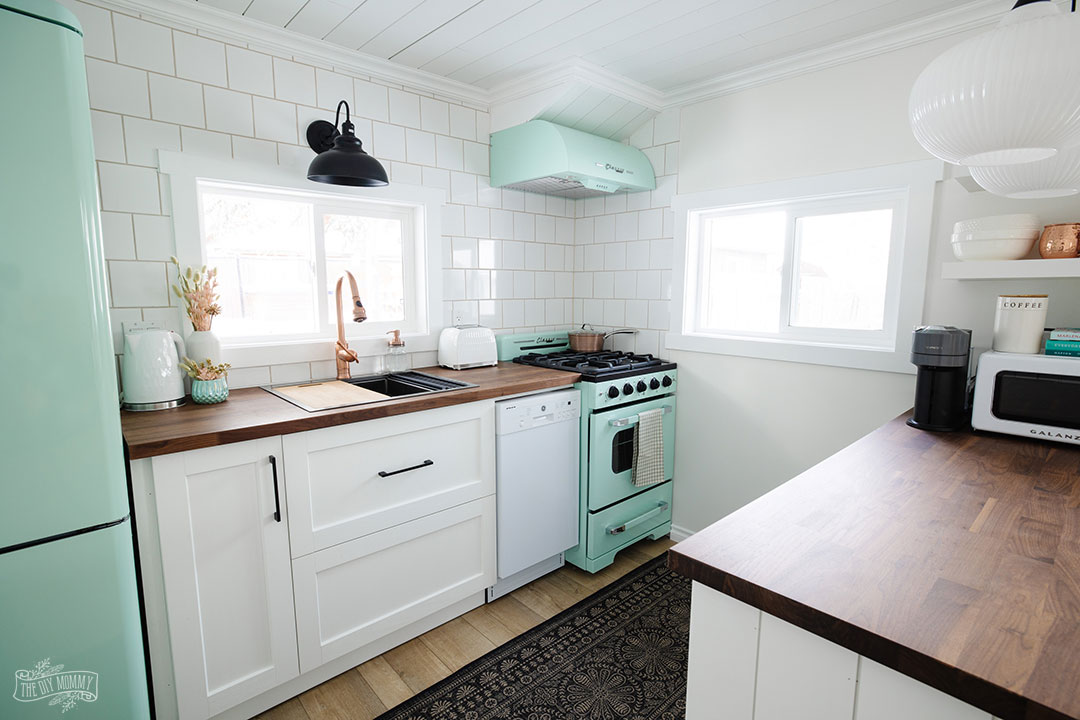
One of my most favourite elements in any kitchen design is the hardware. I love handles, cabinet pulls, and cabinet knobs and how they can magically elevate the look and feel of a space. Adding different handles (or new handles!) to your kitchen cabinets is a simple yet impactful upgrade that can give your space a fresh and modern feel. Whether you’re a seasoned DIYer or just getting started, I’ve got you covered with this easy guide!
Materials You’ll Need:
- Cabinet handles or knobs
- Measuring tape
- Pencil
- Cordless drill & drill bit (the size of the drill bit should be the same diameter as the hardware screws)
- Screwdriver
- Screw template / jig (optional but helpful)
- Level
- Sandpaper
- Paint or stain (optional)
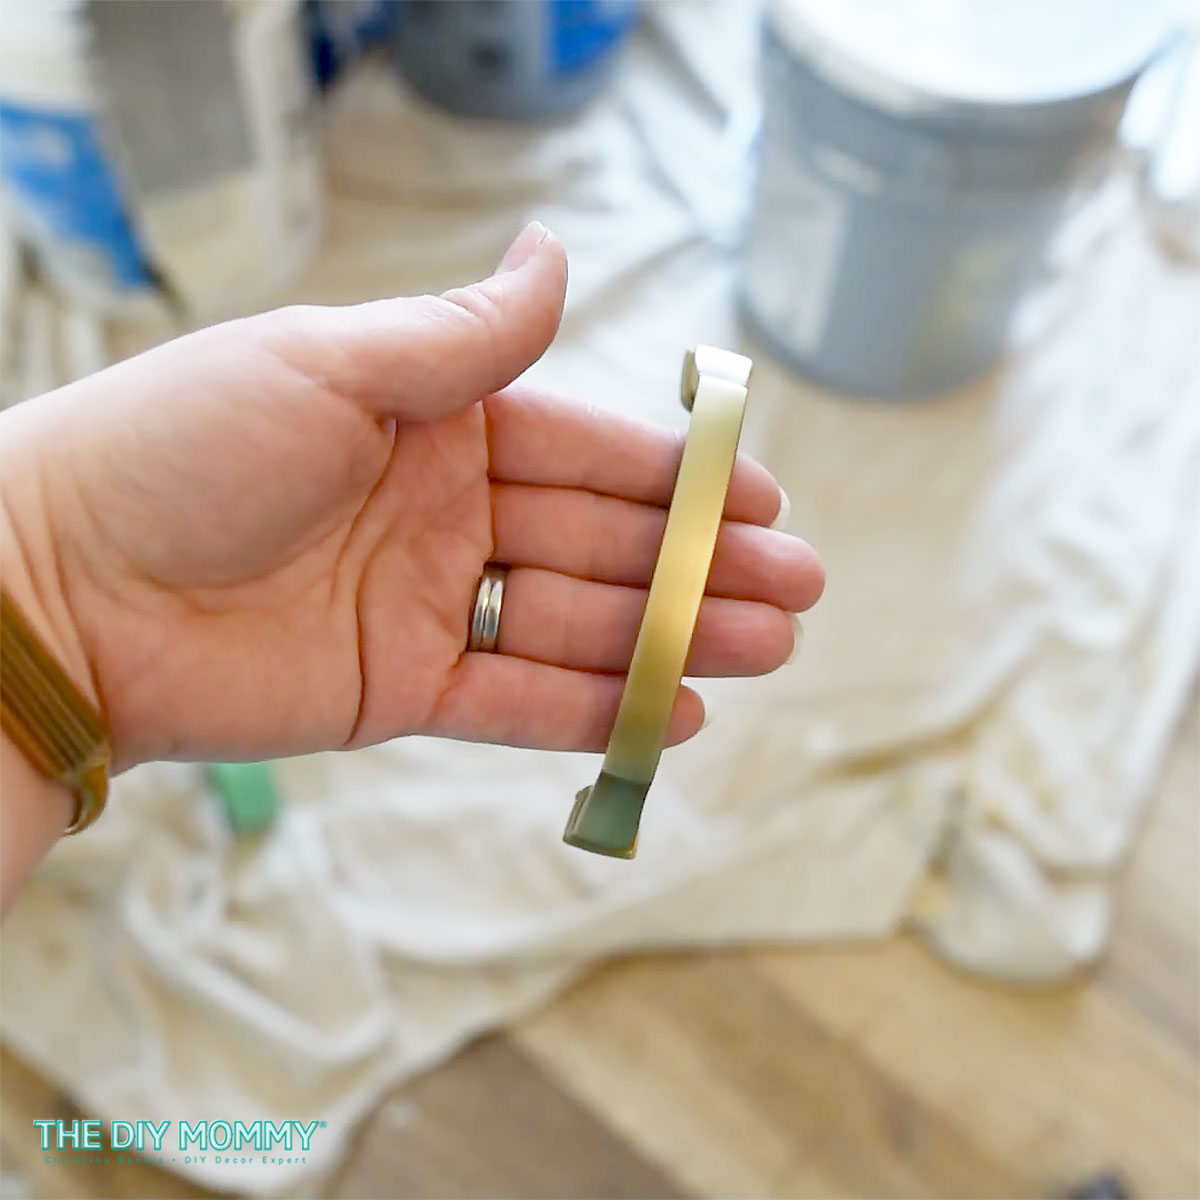
Step 1: Choose Your Handles
Before diving into the installation, it’s essential to choose handles or knobs that match your kitchen’s style and your personal taste. There are countless options available, from sleek and modern to classic and rustic. Consider the finish, size, and shape that will best complement your cabinet doors.
Drawer pulls or handles usually work best on drawers and knobs usually work best on doors, however you can mix and match these according to your personal preference. If you have old cabinets and want to swap out the current handles, choosing new cabinet pulls that are the same size is the easiest so you don’t have to drill and fill holes. If you’re swapping out pulls or handles, make sure the center-to-center measurement of the new hardware is the same as the old hardware.
The finish of your knobs or handles doesn’t necessarily have to match your cabinet hinges, but if you can coordinate them it looks great. Don’t be afraid to mix metals in your kitchen. A simple trick is to repeat each metal colour at least 3 times in your space to make it look like it belongs.
My Favourite Kitchen Hardware


Step 2: Measure and Mark
Kitchen hardware installation is relatively easy, but measuring is the most important step. Start by measuring and marking where you want your handles to be placed. A good rule of thumb is to center the handle horizontally across the width of a cabinet drawer front and position it slightly higher than the center mark vertically. You can use double-sided tape or sticky tack to tack hardware on your cabinets and help you visualize the finished look.
For doors, knobs at the bottom of the door corners (for upper cabinets) and the top corners (for lower cabinets) is usually standard. However, you can take some creative liberty here, but always keep function in mind. Does the handle or knob placement feel natural when opening & closing the door or drawer? Once you’ve decided on placement, us a measuring tape to mark the spots with a pencil.
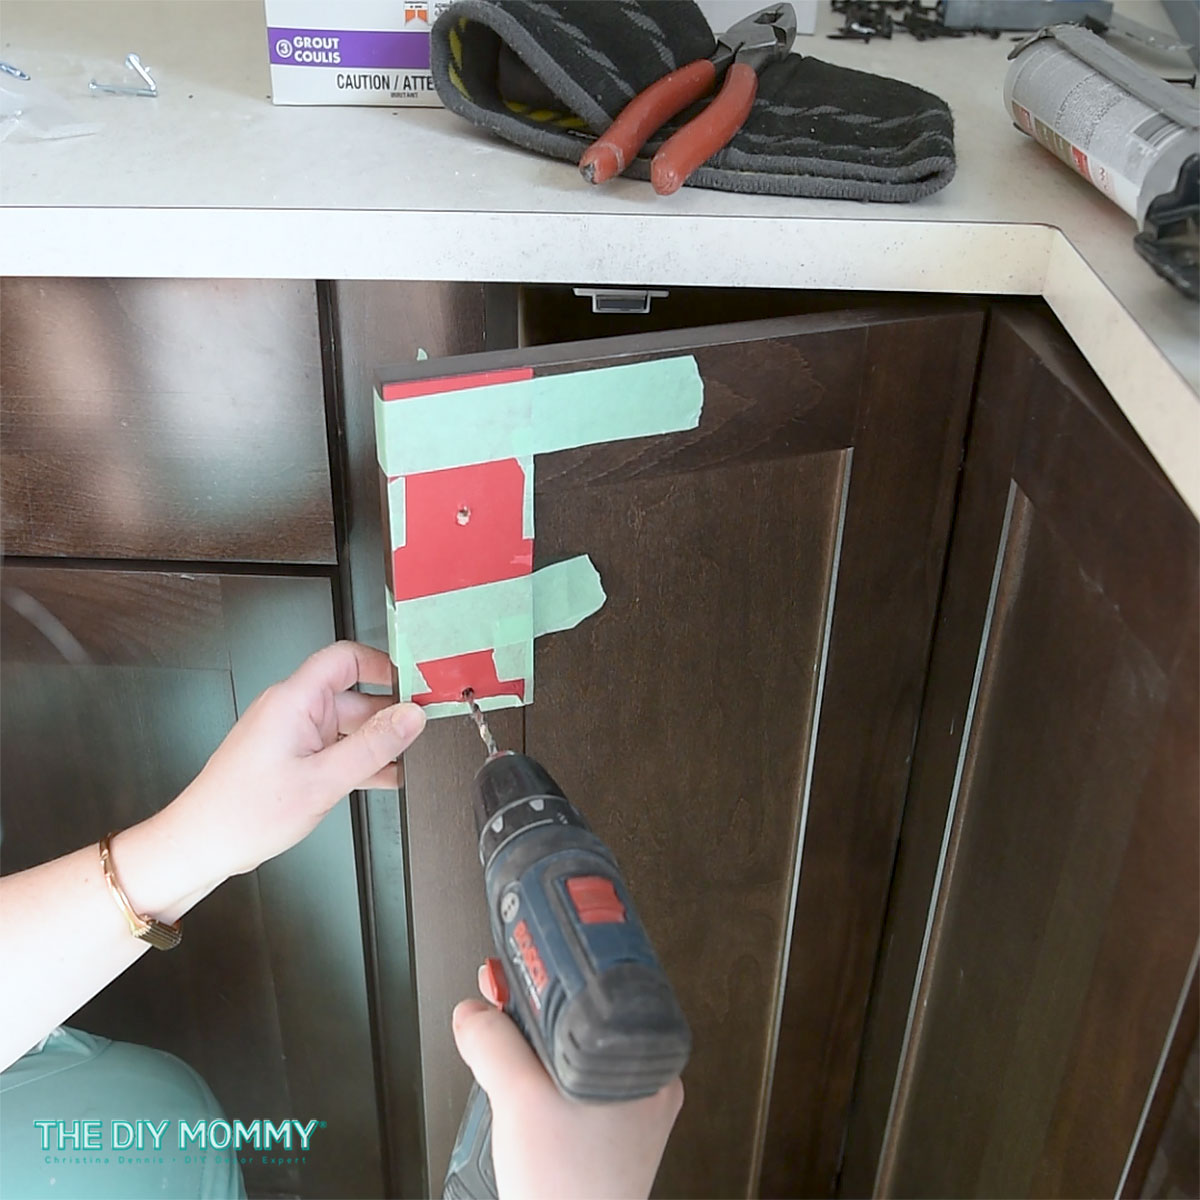
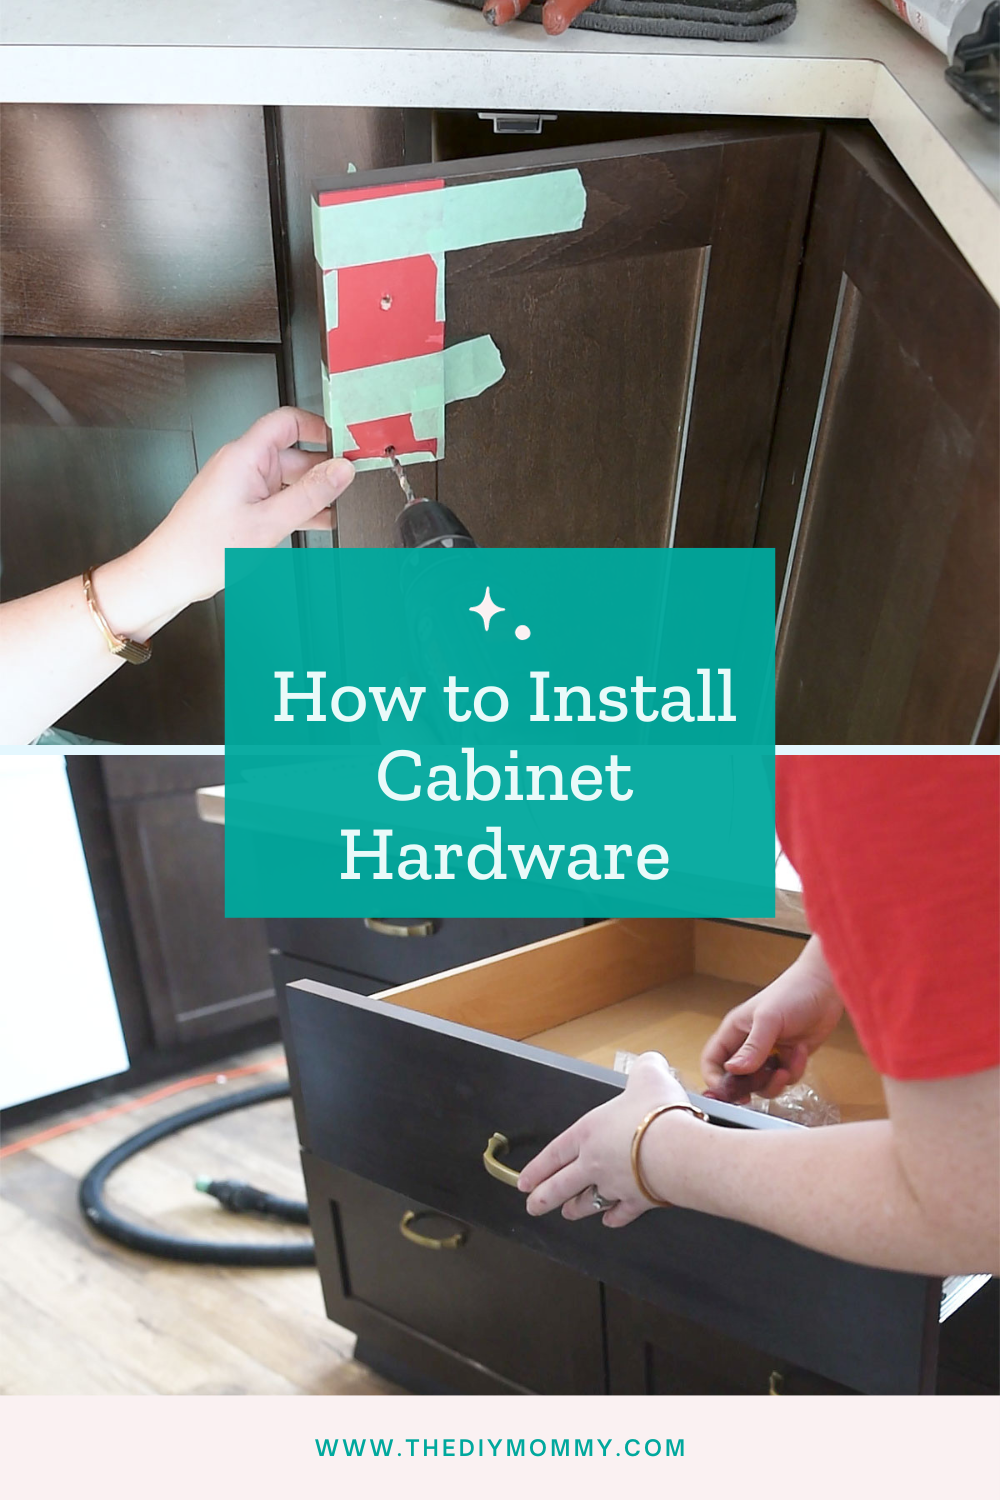
Step 3: Create a Guide & Drill the Holes
To make installation a breeze, you can use screw templates or a “jig”. These templates ensure that all your handles are perfectly aligned. If you don’t have a template, you can create your own by placing a piece of paper over the handle and marking the screw holes.
I usually make mine with a piece of cardboard, a ruler and a pen, or I’ve even made a cabinet hardware jig with my Cricut cutting machine. This will make installing hardware so much easier and quicker each time.
To place the jig properly on the cabinet door or drawer front, I usually mark the center of the jig and the center of the drawer with a pencil mark. Then, I align the two and use painter’s tape to adhere the jig to the cabinet.
Once the screw holes are marked on your cabinet door or drawer front, it’s time to drill the holes. Choose a drill bit that’s the right size for your kitchen cabinet hardware screws, and drill holes through the door or drawer following the marks.
Step 4: Preparing the Cabinets
Before installing the handles, it’s a good idea to prepare your cabinets. If your cabinets are a bit worn or have rough edges, lightly sand the areas where the handles will be attached. If you want to change the color of your cabinets, this is the time to paint or stain them as well. Here’s my guide on how to paint kitchen cabinets.
This is also the time where you may need to fill the holes from the previous hardware if there was any. You can use wood putty or wood filler to fill any old holes, and then sand everything smoothly before refinishing.
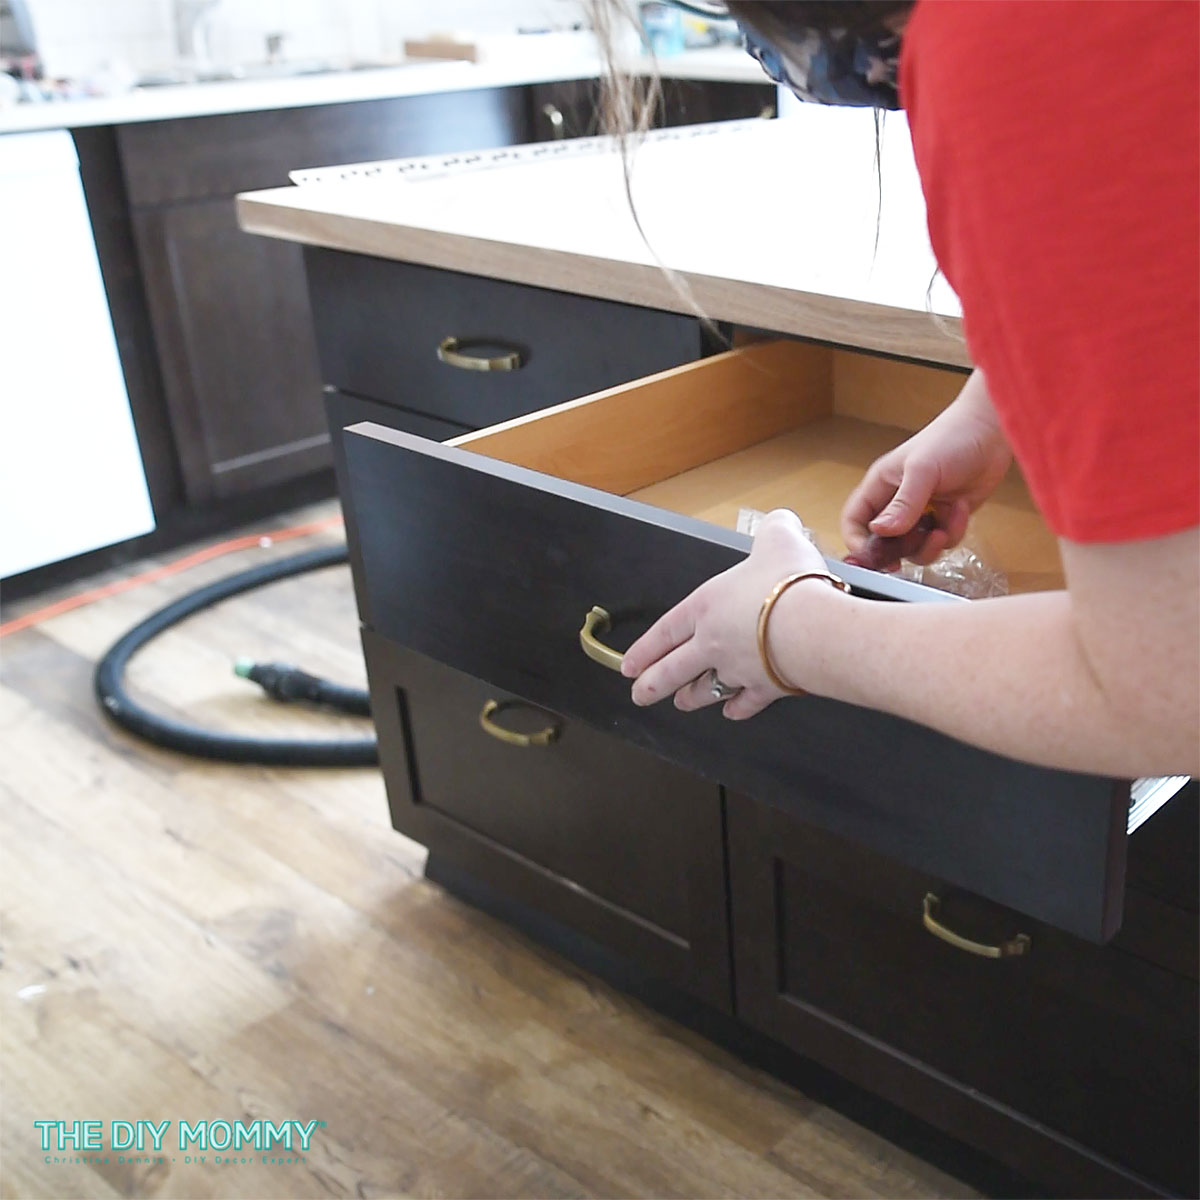
Step 5: Attach the Handles
Now comes the fun part! Use a screwdriver or cordless drill to attach the kitchen cabinet handles securely by placing the screws through the holes and into the handles/knobs. Be cautious not to overtighten, as this could damage the cabinet door or strip the screws.
Step 6: Step Back and Admire
With all the handles attached, step back and admire your work. You’ve just given your kitchen a mini makeover! This simple addition can make a huge difference in your kitchen’s style and the overall functionality of your kitchen.

Additional Tips:
- Keep it consistent: Make sure to install handles at the same height and in a straight line to maintain a polished look. Measure twice, drill once!
- Safety first: Be cautious while using power tools and sharp objects. Ensure you’re working in a well-ventilated area if you’re painting or staining.
- Practice patience: Take your time with each handle to ensure they are correctly aligned and securely fastened.

Congratulations! You’ve successfully added new cabinet hardware to your kitchen cabinets, giving your kitchen a fresh and updated look. This easy DIY project is not only budget-friendly but also a fantastic way to personalize your space.
Don’t hesitate to experiment with different handle styles and finishes to create a kitchen that reflects your unique style. Happy DIYing!
PIN ME: