Make This Easy Crochet Potholder Pattern (Video Tutorial)
This post may contain affiliate links · This blog generates income via ads
Today, I’ve got a super cute project for you: a DIY crochet potholder pattern that’s not only adorable but also budget-friendly. Perfect for any kitchen, this project is ideal for beginners and comes together with just a few simple steps. Plus, we’re using dollar store materials to keep it budget-friendly. Let’s dive into how to create this charming potholder!
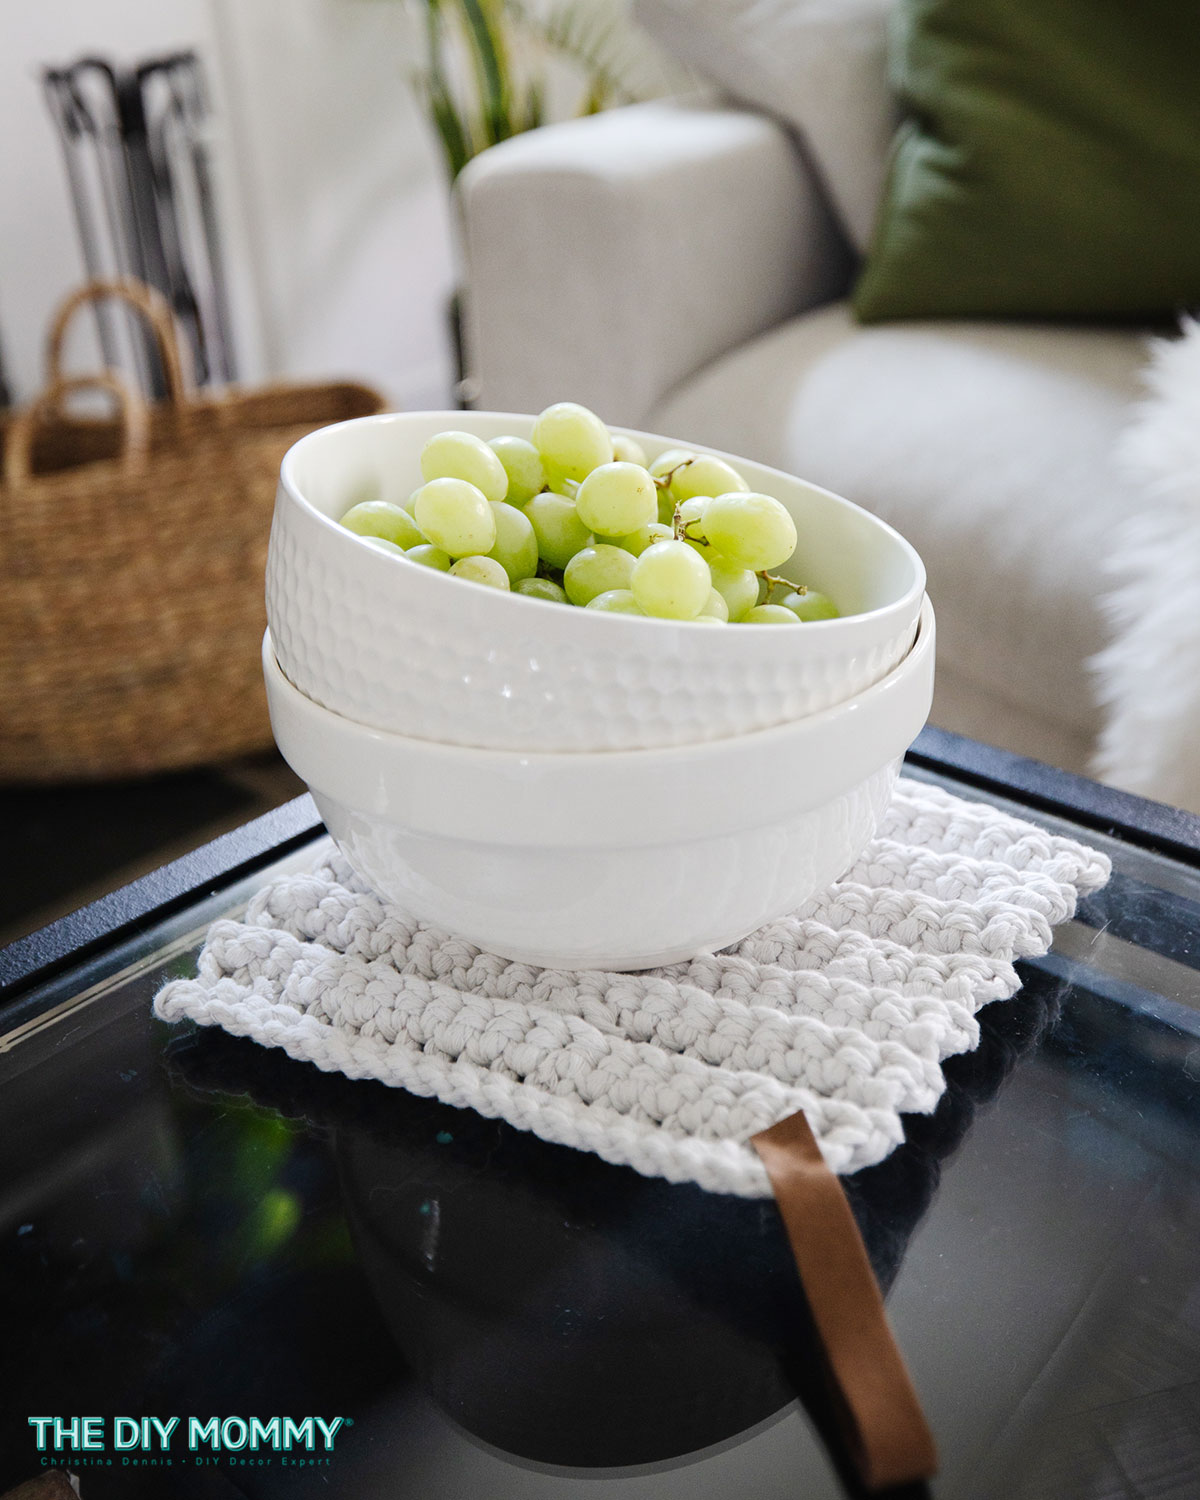
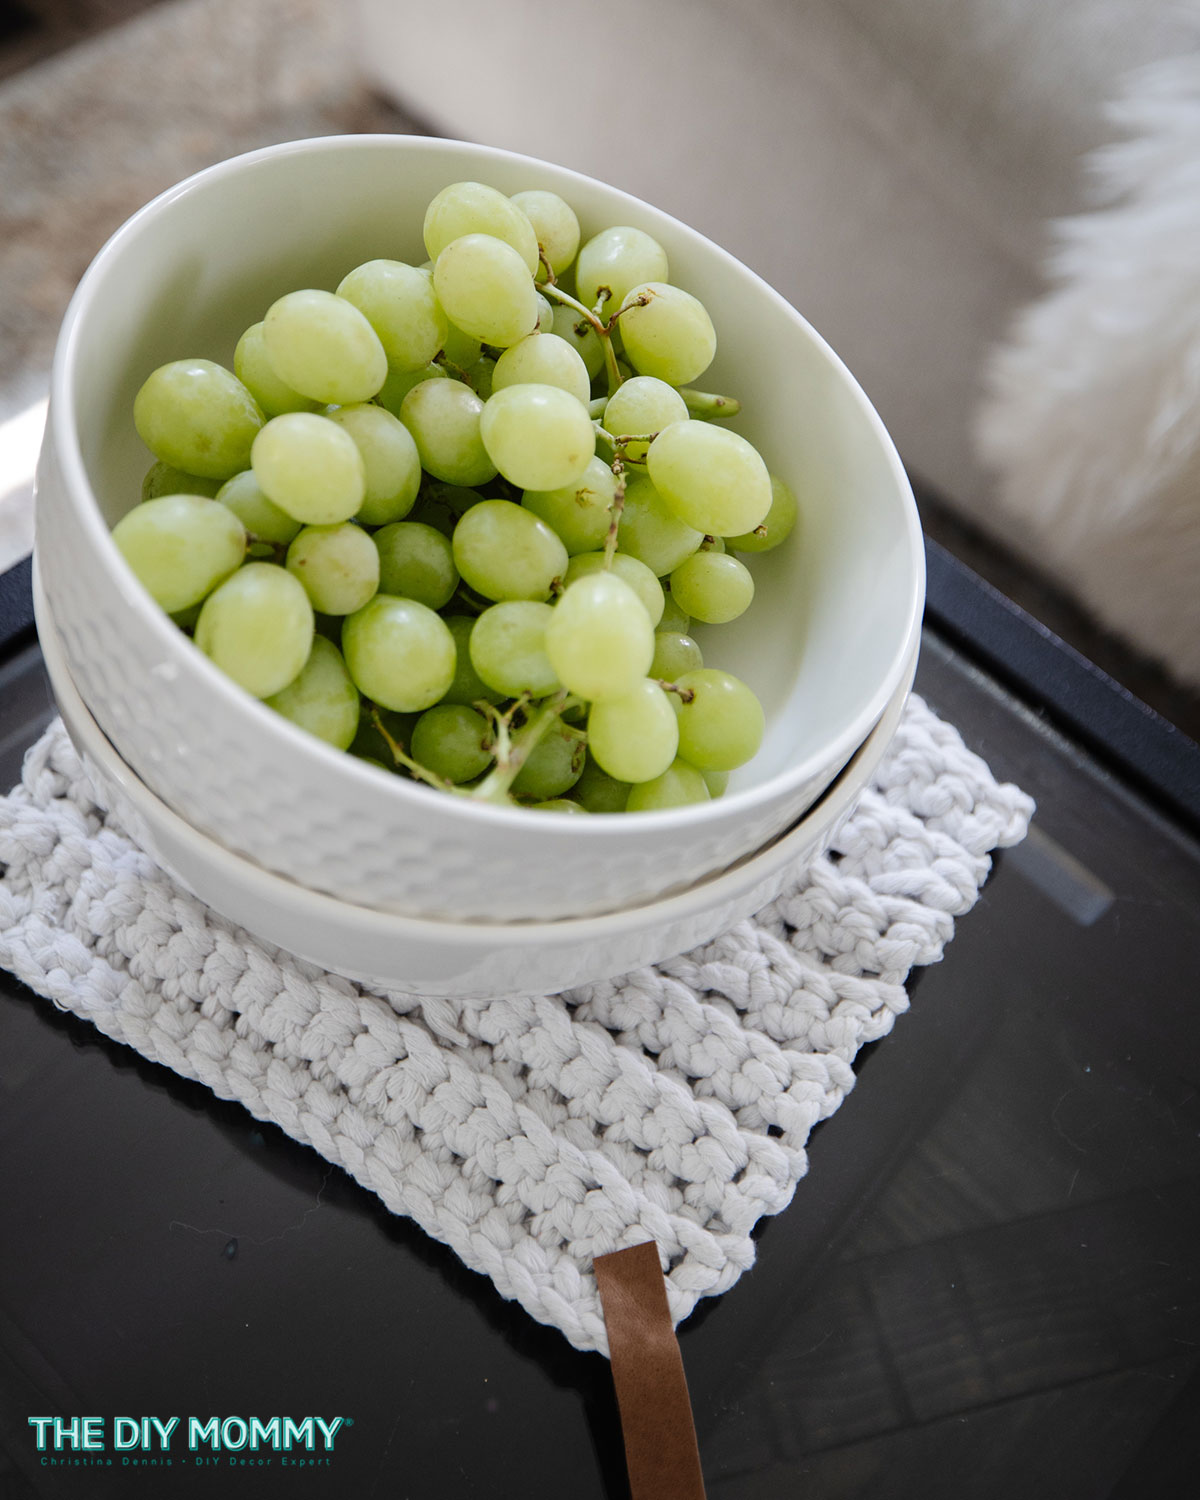
When I saw a thick crochet potholder for $20 at an online boutique, I knew I could make something similar with dollar store supplies! Not only is this pot holder functional, but it would look adorable hanging on a hook in your kitchen as “organic modern” kitchen decor. Handmade potholders can also make great housewarming gifts or hostess gifts. Let me show you how easy it is to make with this simple and free pattern; you don’t need to know any special stitches!
Materials Needed:
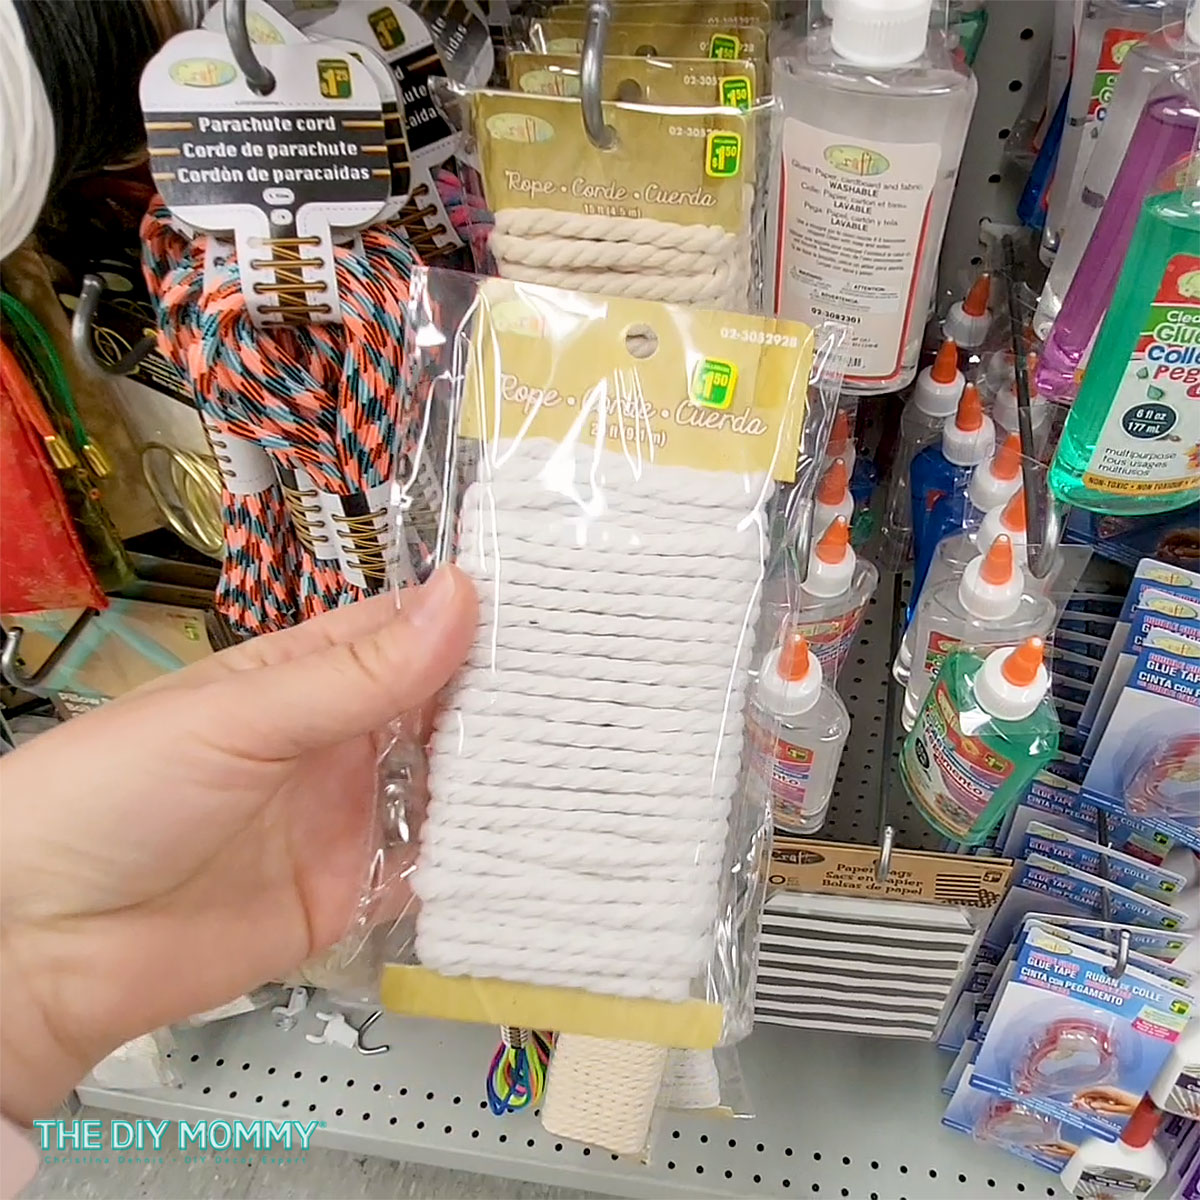
- Cotton rope (available at Dollarama for $1.50 a pack; I used 4 packs), or approx 120 ft of worsted weight cotton yarn from your yarn stash (don’t use acrylic yarn as it melts under heat!)
- Upcycled leather item (such as leather insoles from the dollar store)
- Crochet hook
- Scissors
- Yarn needle
- Krazy Glue (or alternative strong adhesive)
Watch the video tutorial on my YouTube channel:
Step 1: Get Started with Crochet
If you’re new to crochet, don’t worry! There are plenty of tutorials available online to guide you through the basics. Here’s a great video tutorial showing how to make a slip knot, how to crochet a chain, and how to do a single crochet. Once you’re ready, grab your cotton rope and crochet hook to begin making this easy pattern.
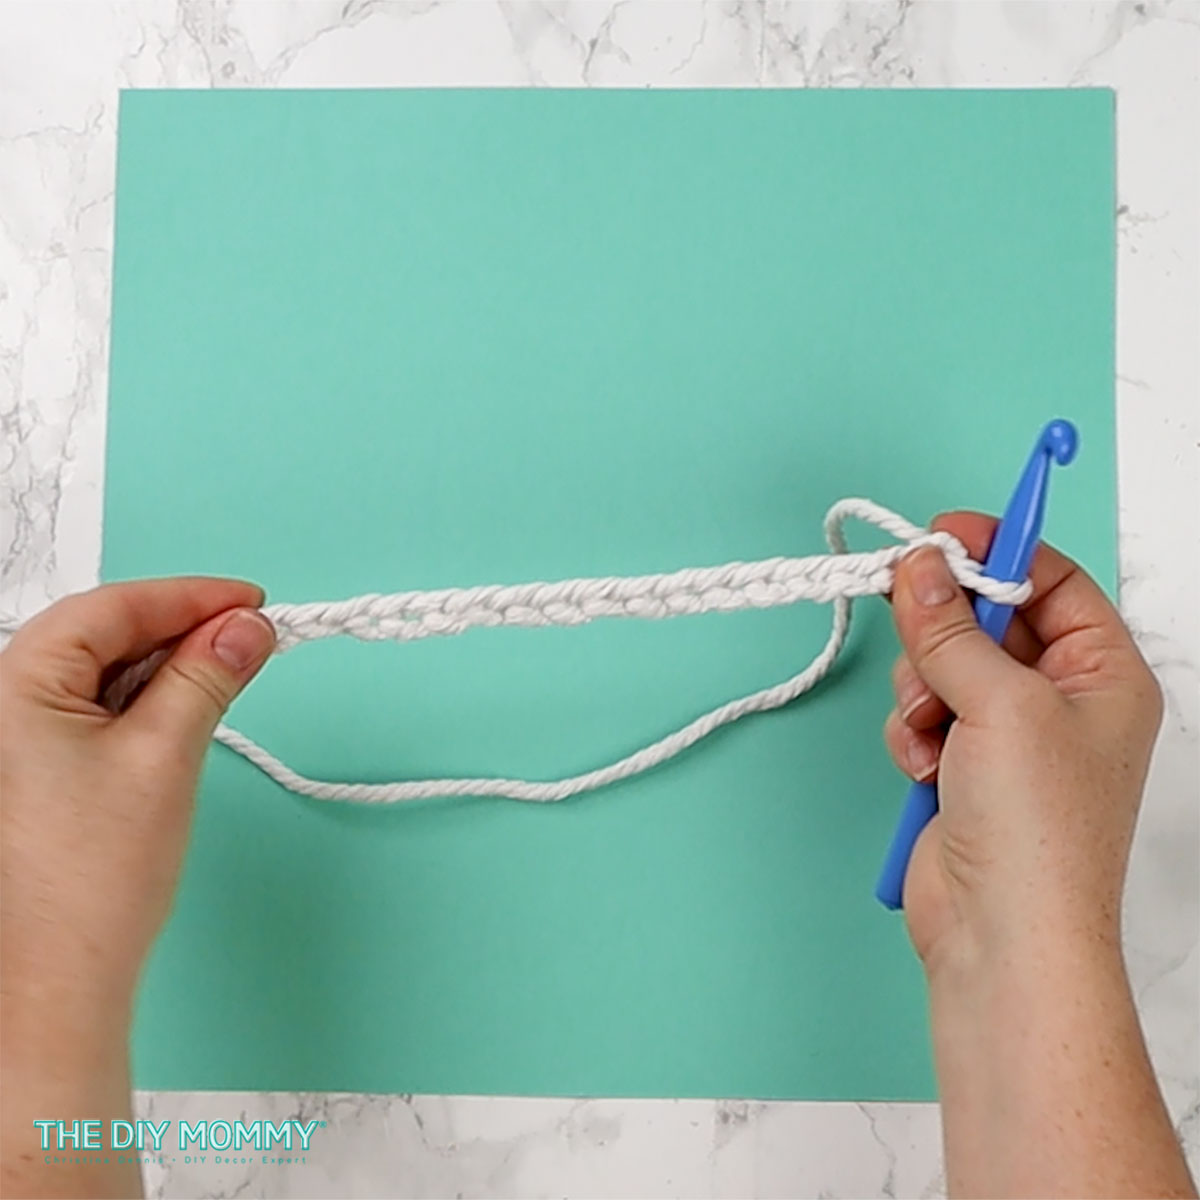
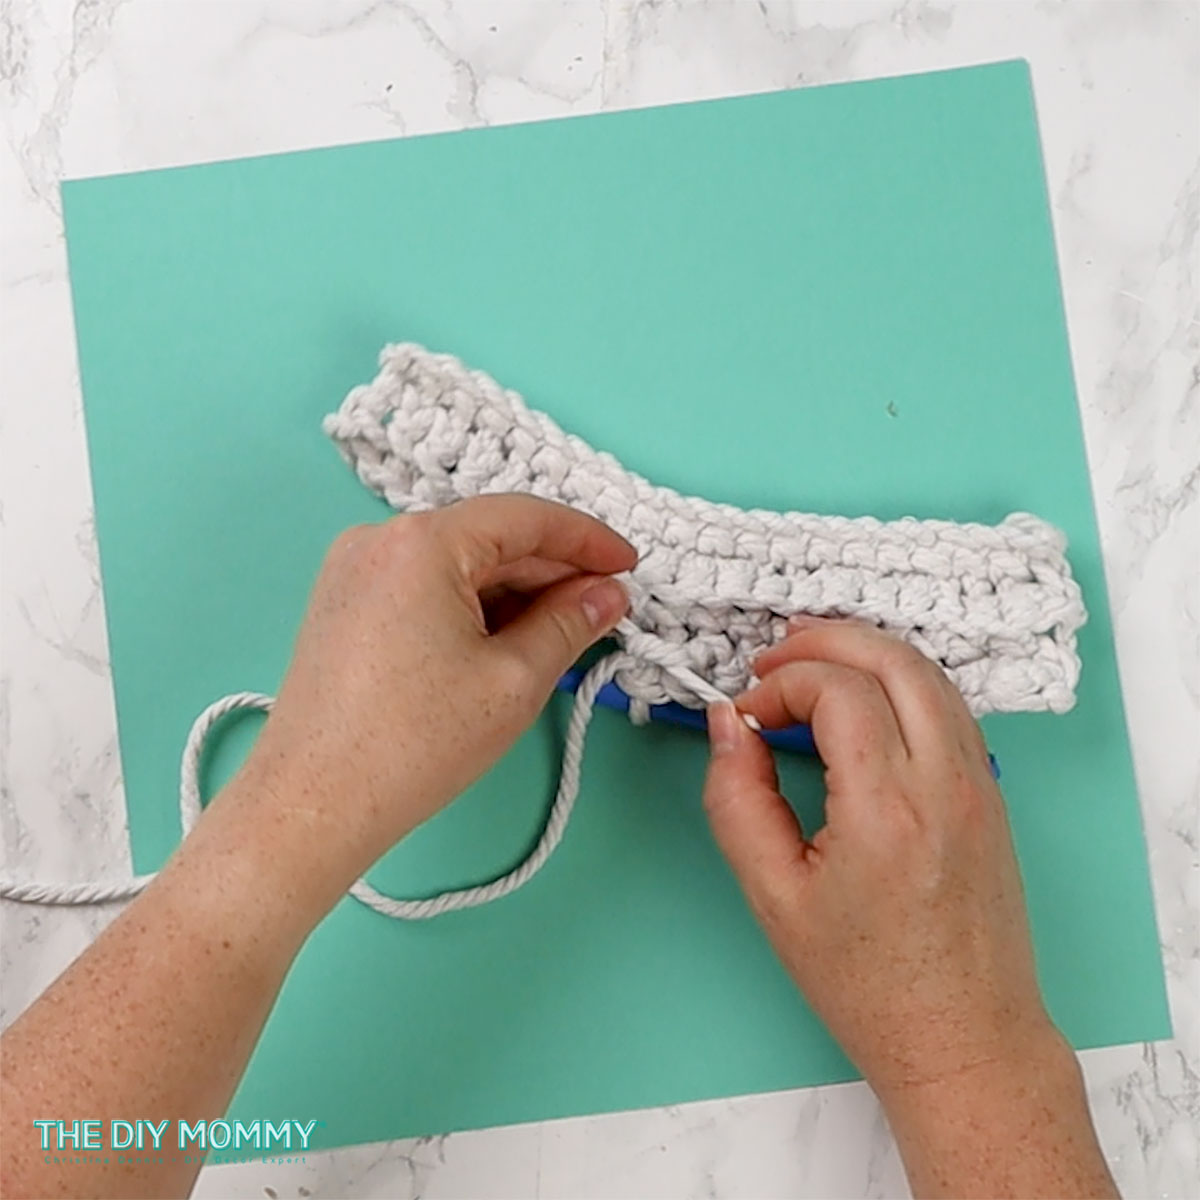
1.1. Start by making a slip knot and creating a chain of 20 stitches.
1.2. Once you reach the end of your chain (ch), it’s time to work the single crochet (sc) stitch. Insert your hook into the second ch from the hook, yarn over, and pull up a loop. Then, yarn over again and pull through both loops on the hook. Repeat this process across the chain until you have 19 sc.
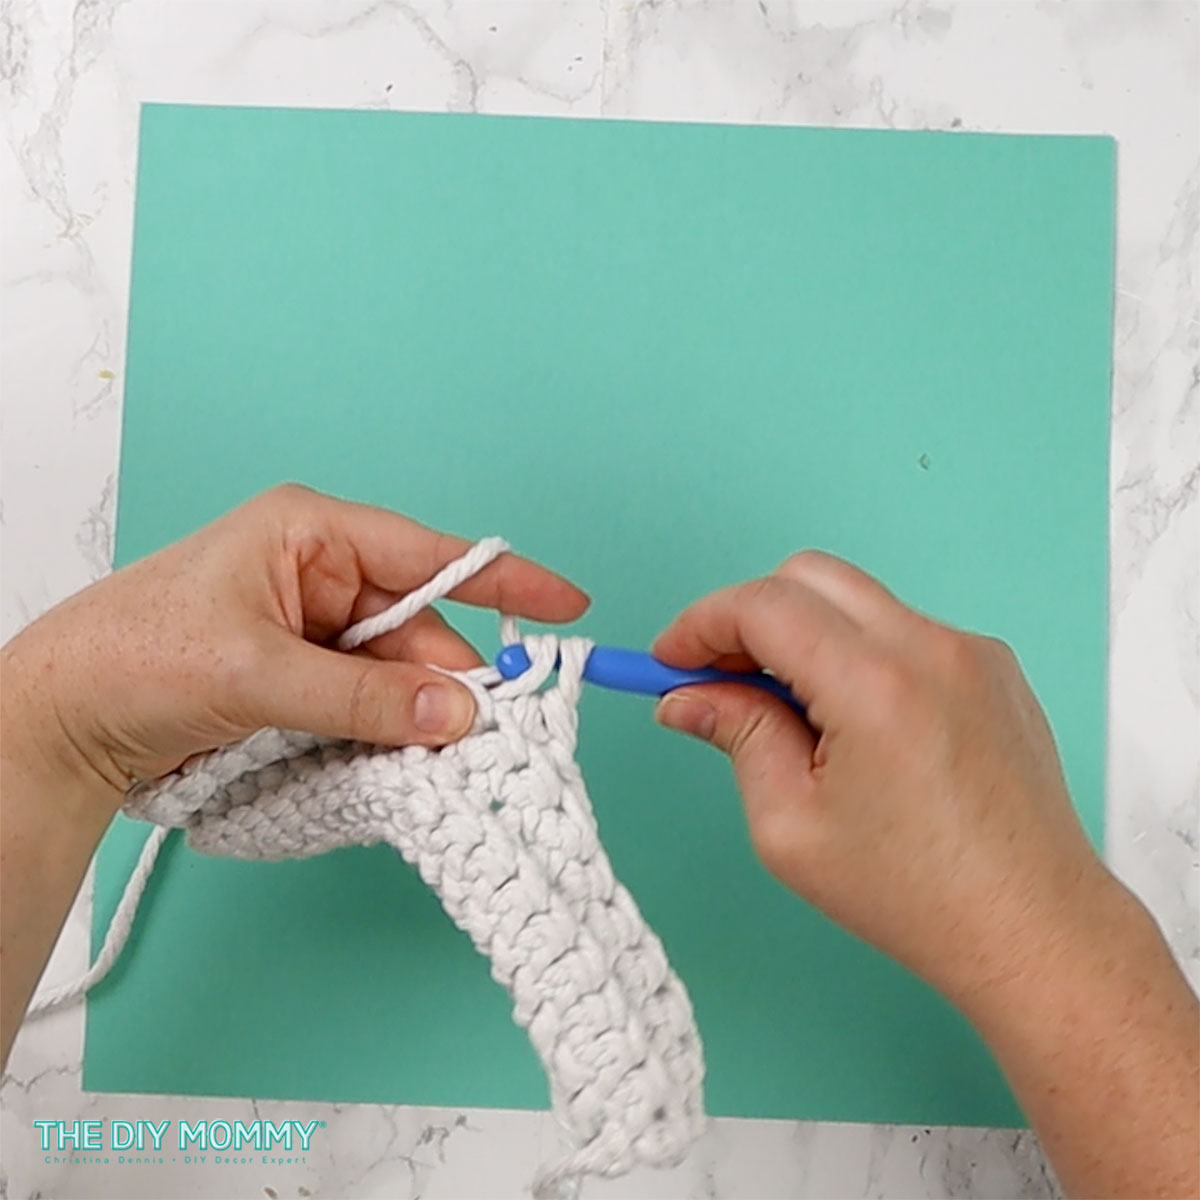
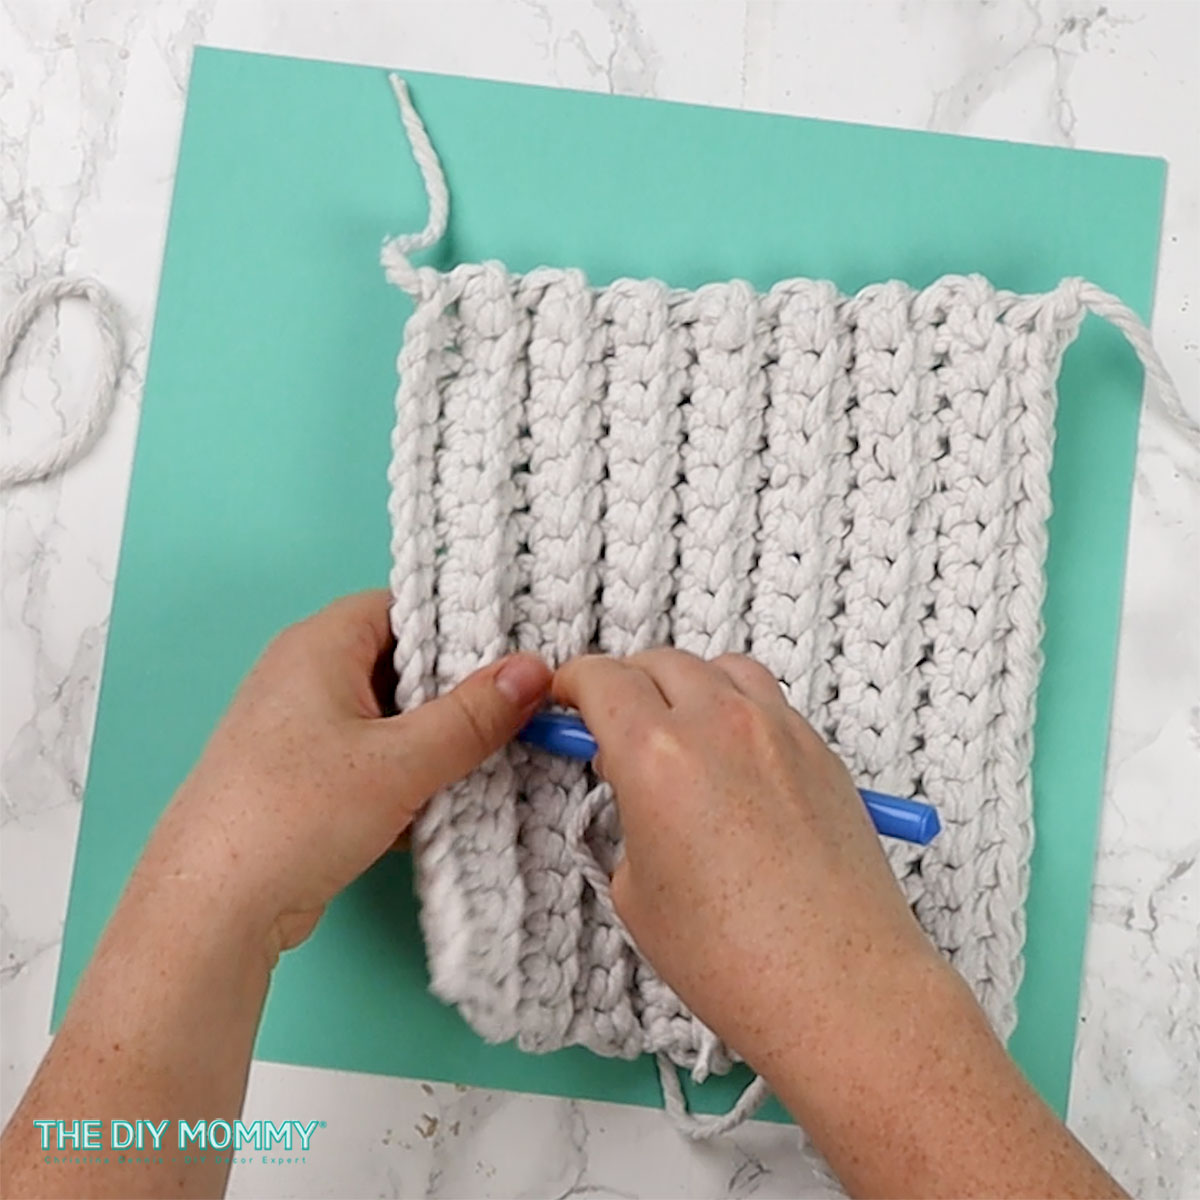
1.3. Ch 1 and turn your work. Now, sc through the back loop of each stitch to create a textured ridge. This technique adds both visual interest and functionality to your potholder, plus it creates a dense fabric for your pot holder. Continue in this way, turning and sc into the previous row to create your potholder.
Step 2: Adding On Rope / Yarn
Depending on the length you want for your potholder, you may need to add more rope or yarn. Simply join a new pack of cotton rope by incorporating it into your crochet stitches and secure the ends with a square knot.
Step 3: Finishing Touches
Once you’re satisfied with the length of your potholder, weave in any loose ends with your fingers or a yarn needle and trim them off for a neat finish.
Step 4: Crafting the Leather Strap
Now, let’s move on to the strap. We’re repurposing leather insoles from the dollar store for this part of the project.
4.1. Begin by sticking two leather insoles together. Carefully cut them down the middle vertically, separating the layers.
4.2. Remove the gel portion from the back of the insoles to reveal the smooth leather surface beneath. This may require a bit of effort, but with some patience, it’s entirely achievable.
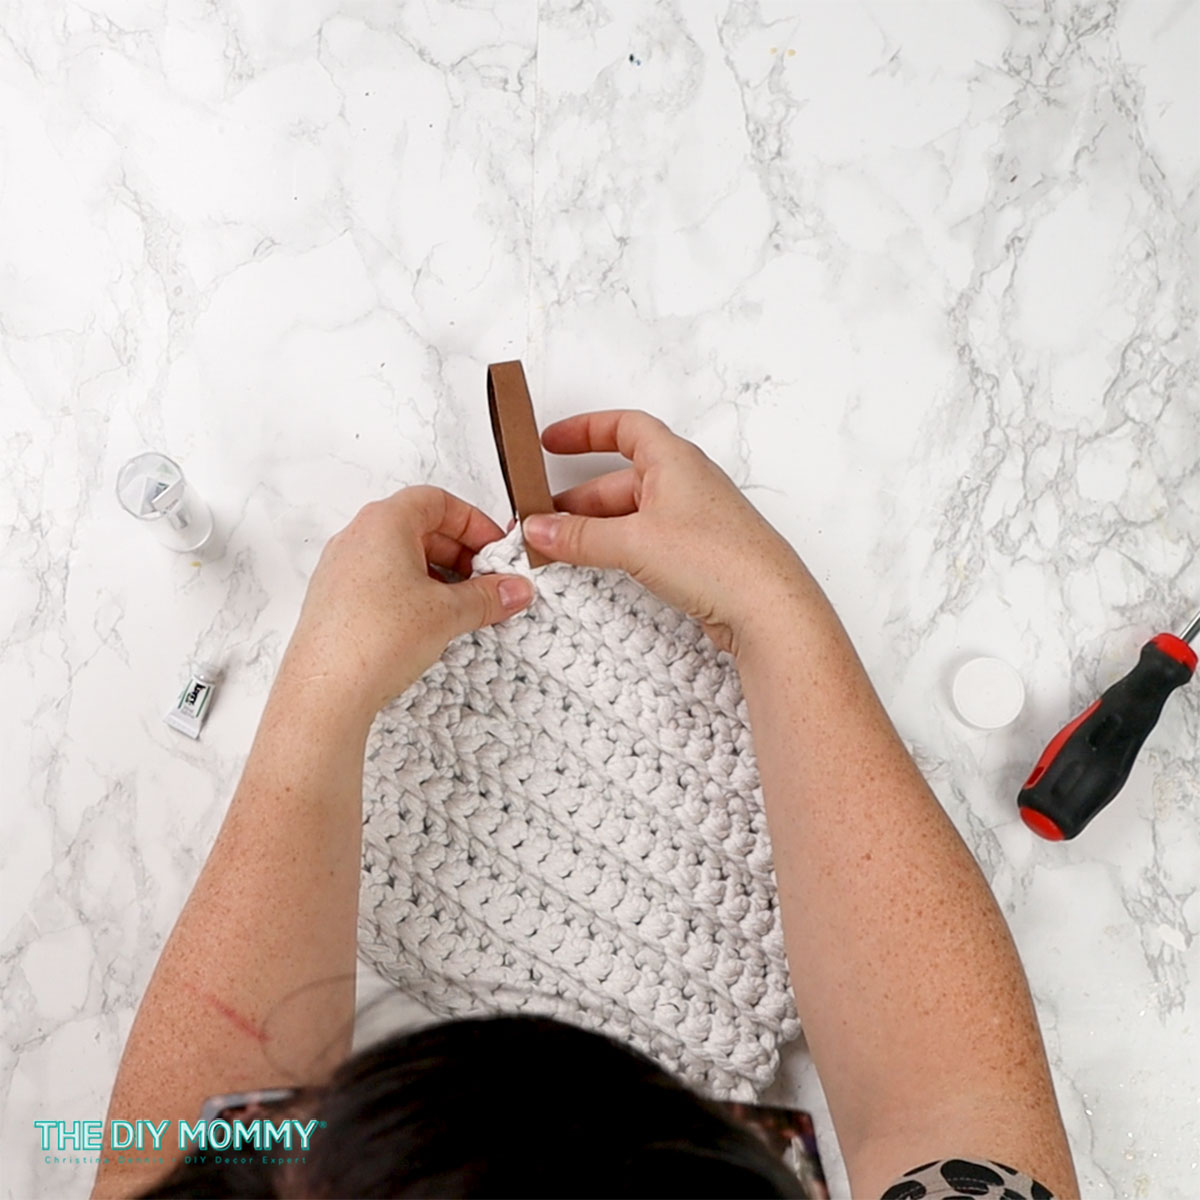
4.3. Trim one of the leather pieces to match the desired length and width of your strap.
4.4. Using Krazy Glue or a similar adhesive, attach the leather strap to one corner of your crochet potholder. Press firmly to ensure a secure bond.
Step 5: Final Touches and Variations
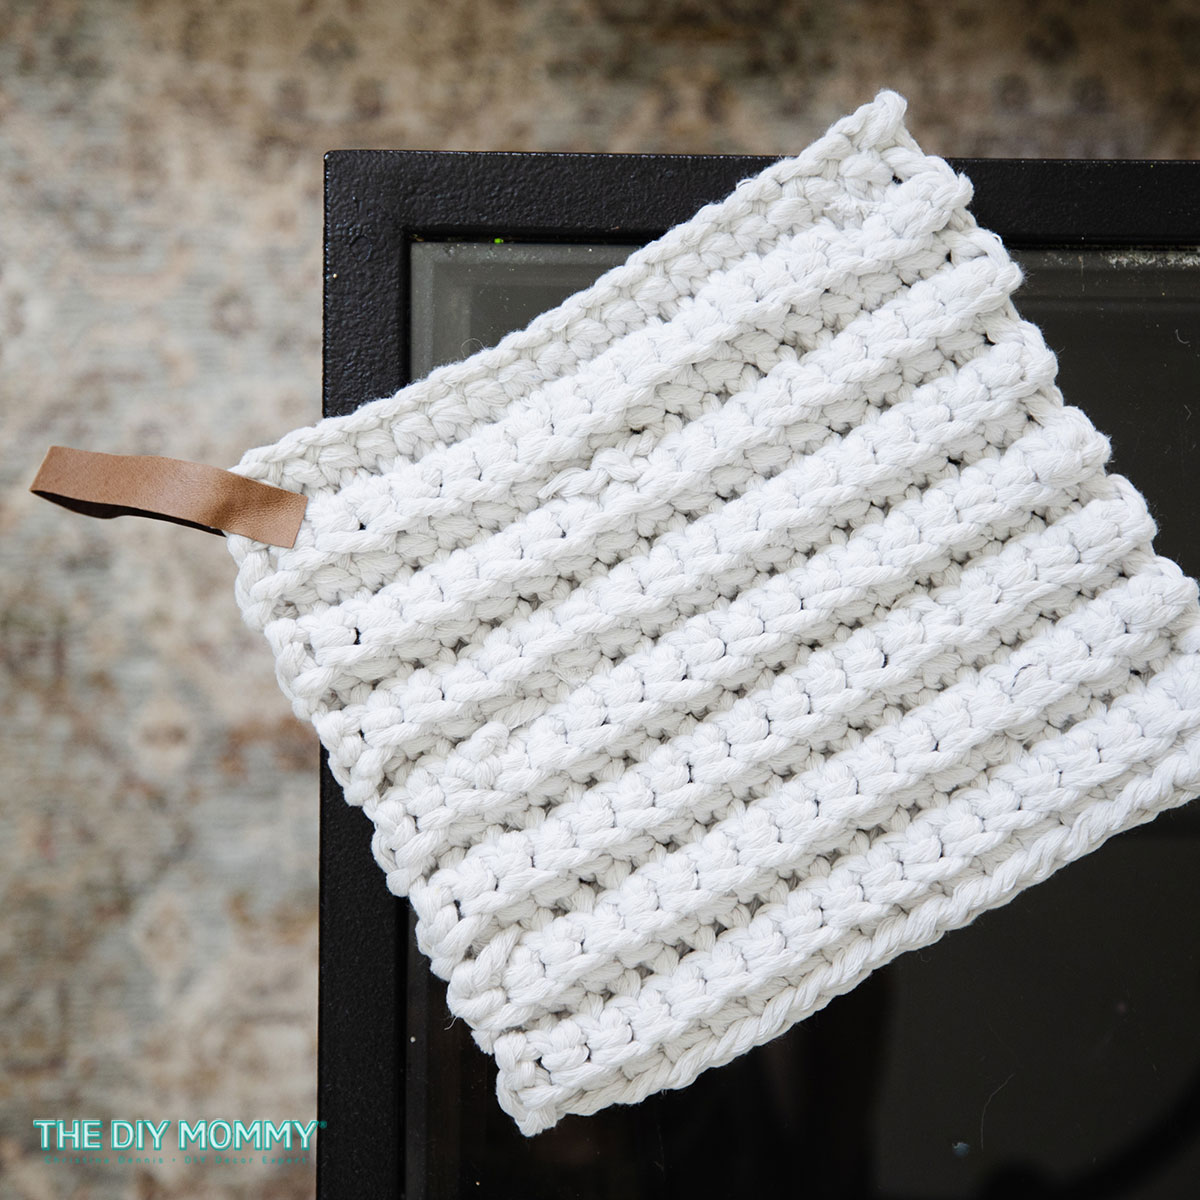
With your strap securely attached, your DIY crochet potholder is now complete! Feel free to get creative with variations, such as using brads to attach the leather strap or alternative strap materials based on what you have available.
And there you have it! A charming, budget-friendly crochet potholder adorned with an upcycled leather strap. This project not only adds a touch of handmade charm to your kitchen but also reduces waste by repurposing materials. Whether you’re a seasoned crafter or new to crochet, this project is sure to delight. So grab your supplies and get crafting!
Want more dollar store DIY ideas?
Click here to see all of the fun projects you can make with supplies from the dollar store!