The Best Cricut Vinyl for Coffee Mugs (+ How to Make!)
This post may contain affiliate links · This blog generates income via ads
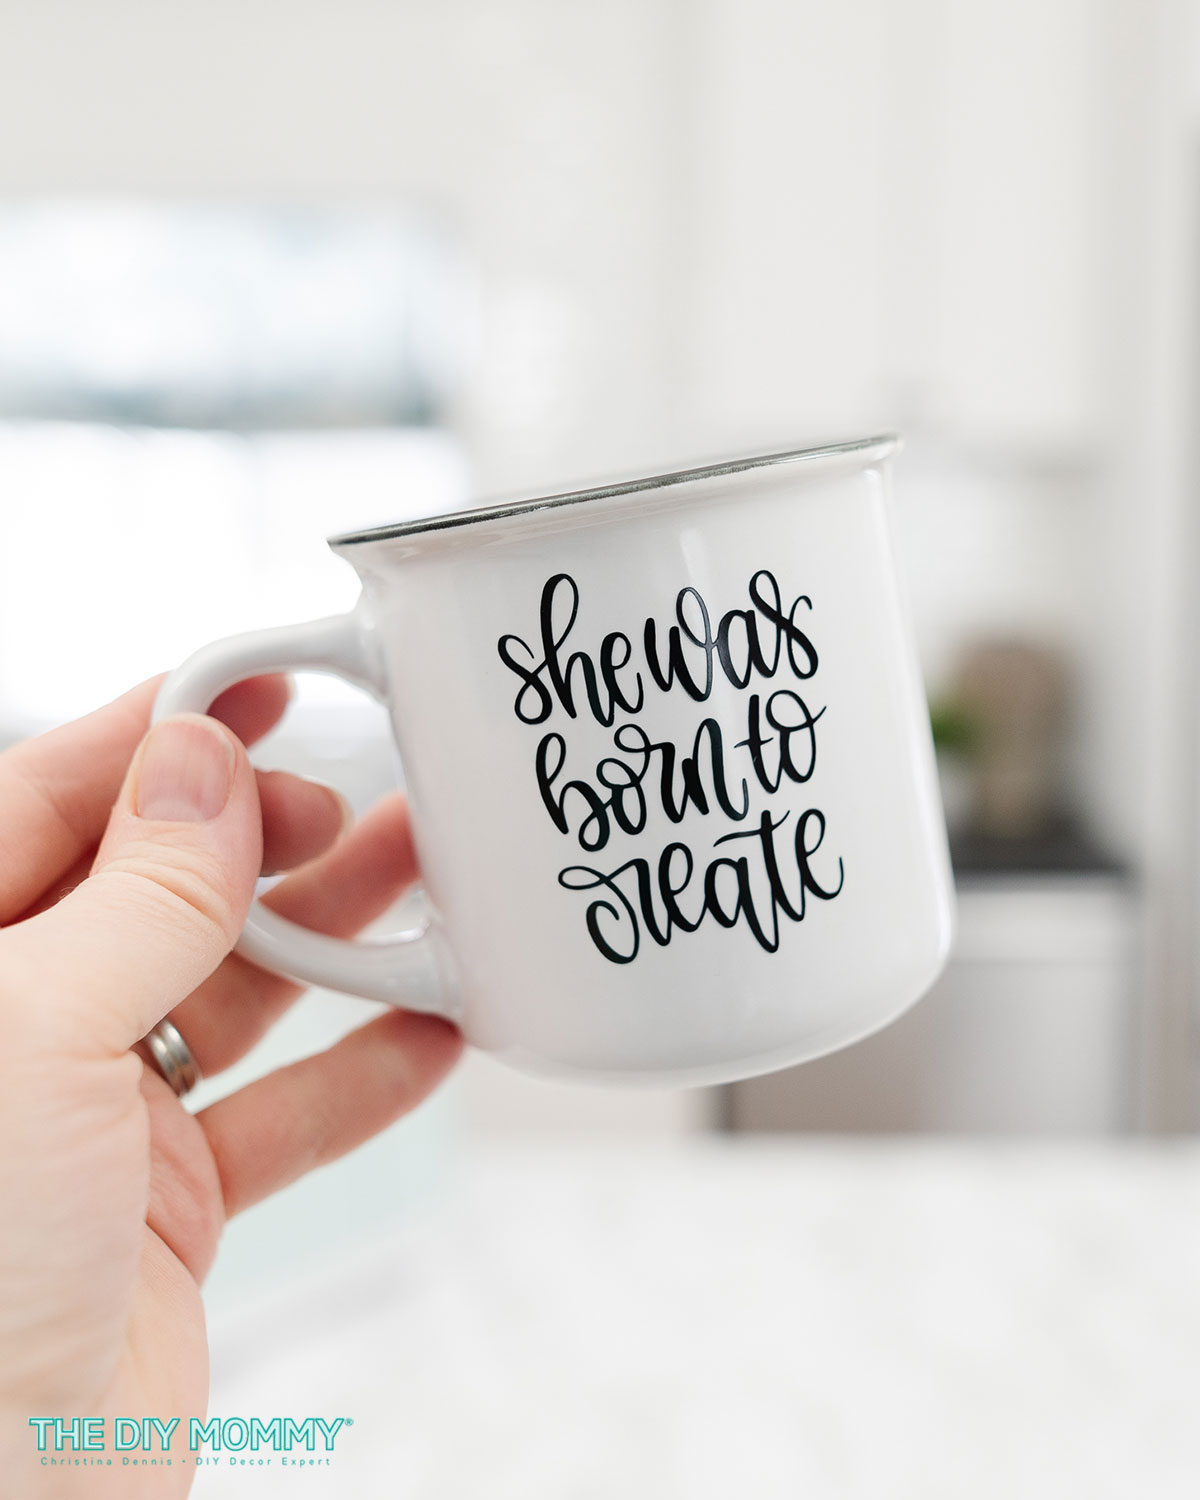
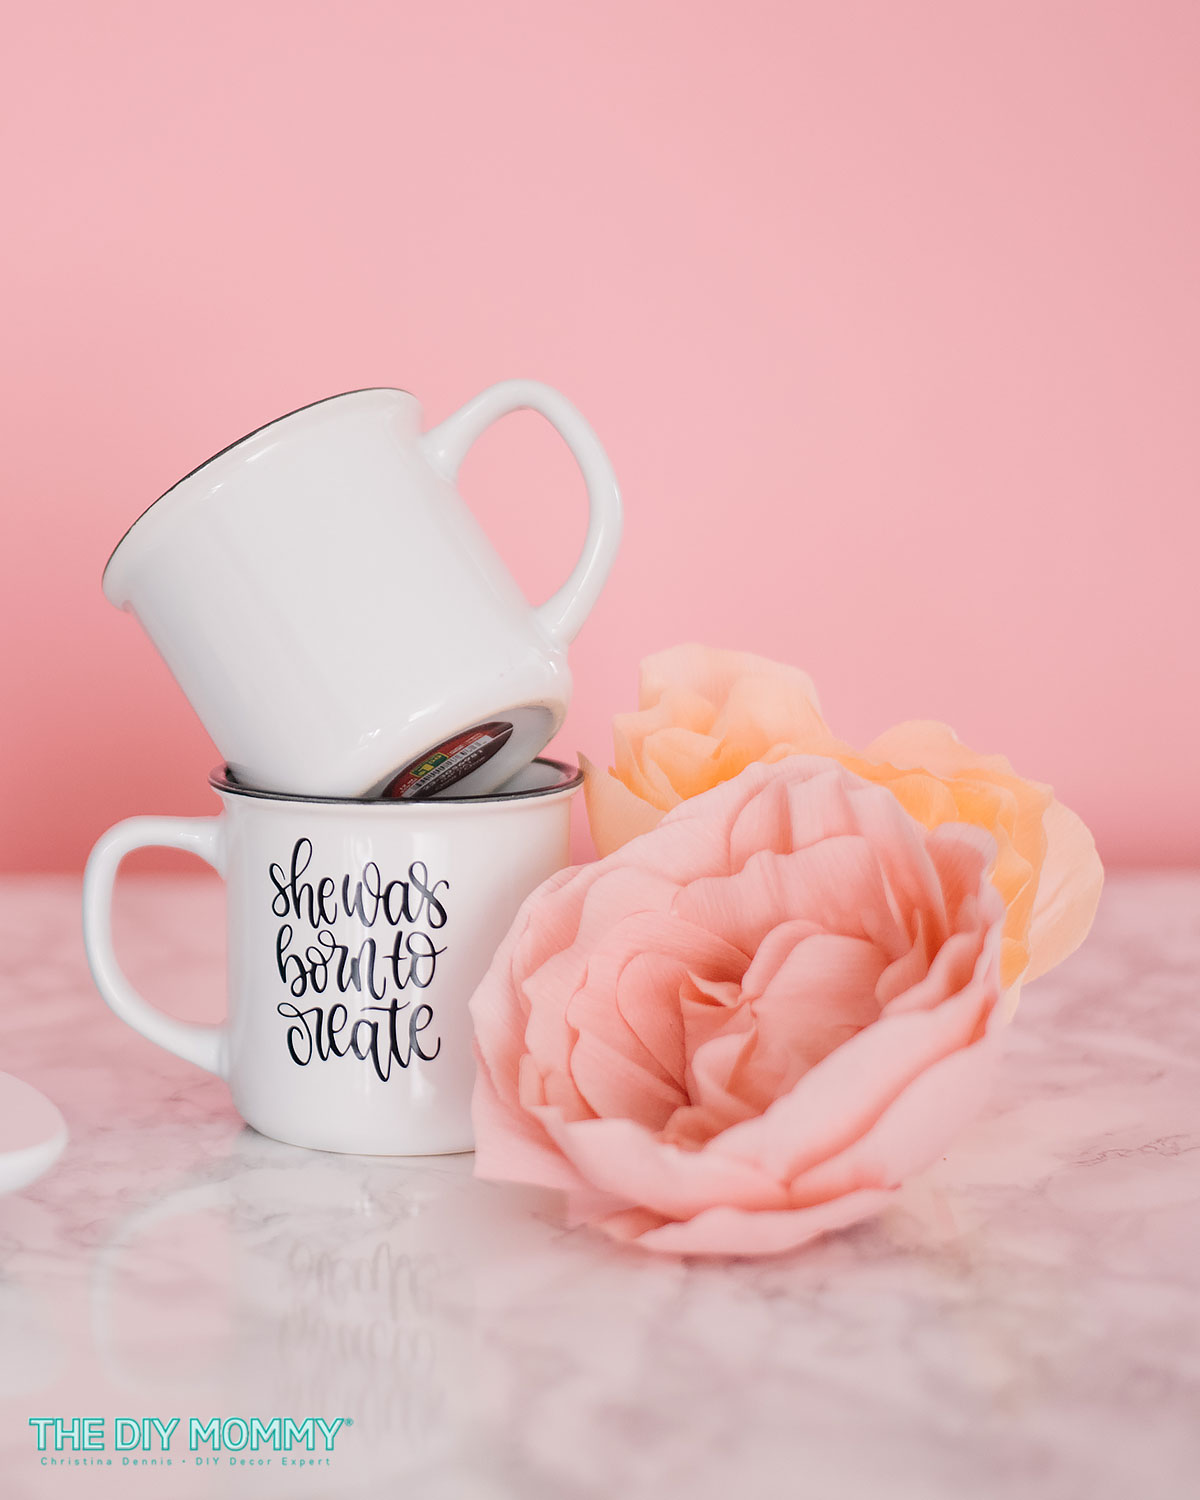
If you love DIY projects and personalized mugs, this blog is just for you! I’ll be discussing the best Cricut vinyl for coffee mugs, and I’ll also be giving you a step-by-step guide on how to make them at home. Personalized coffee mugs are a perfect gift for friends or family, or you can just make a mug for yourself that screams your personality. So, grab your Cricut cutting machine, your favorite mug, and let’s get crafting!
Best Vinyl for Coffee Mugs
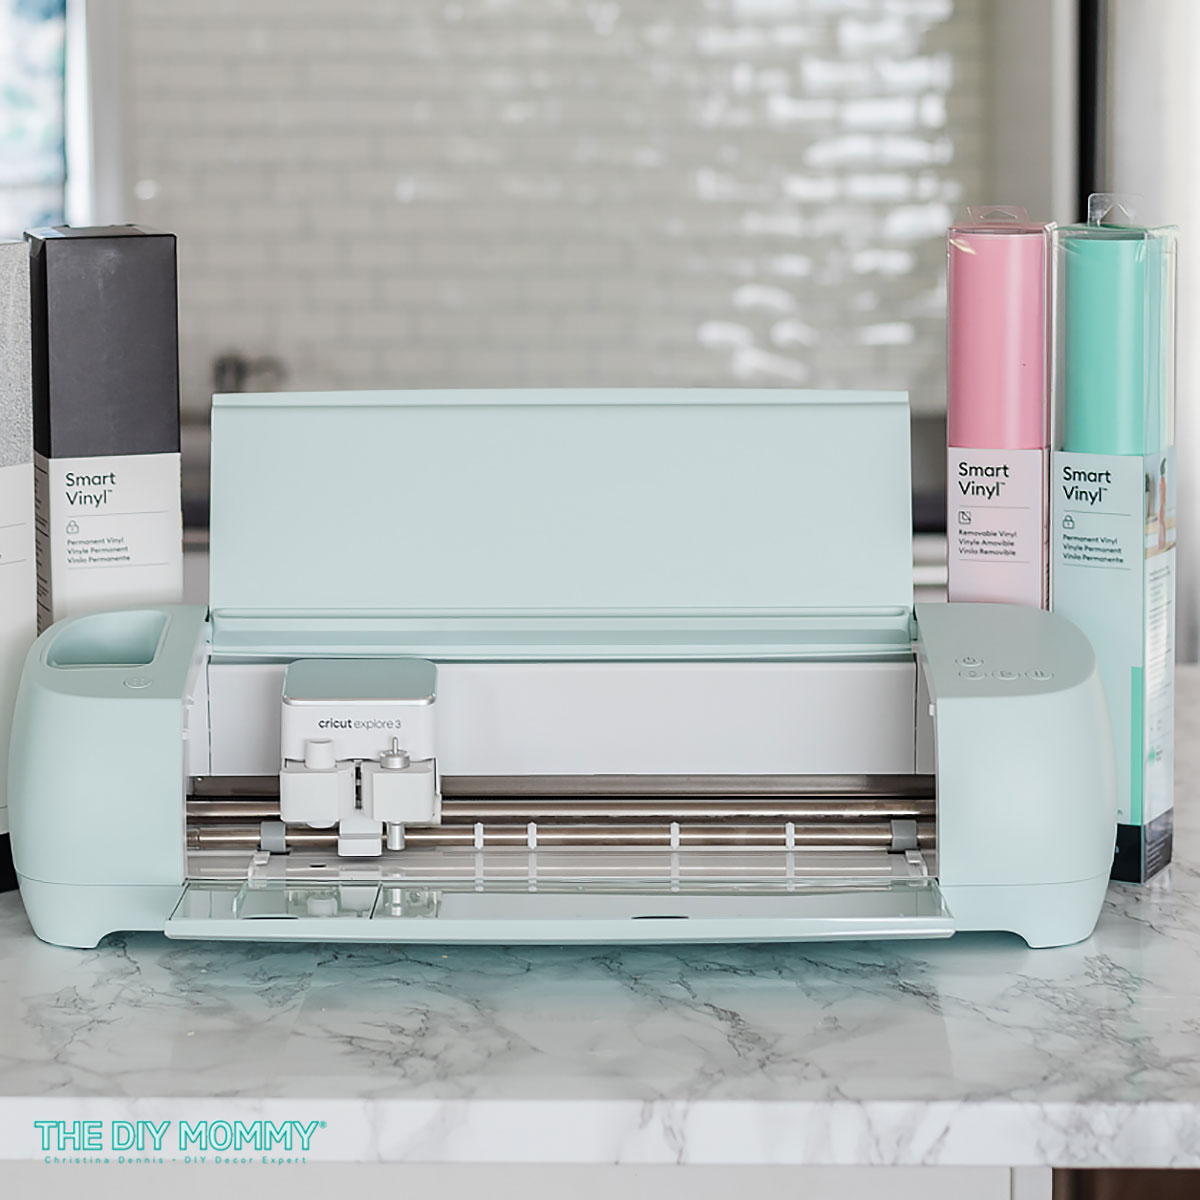
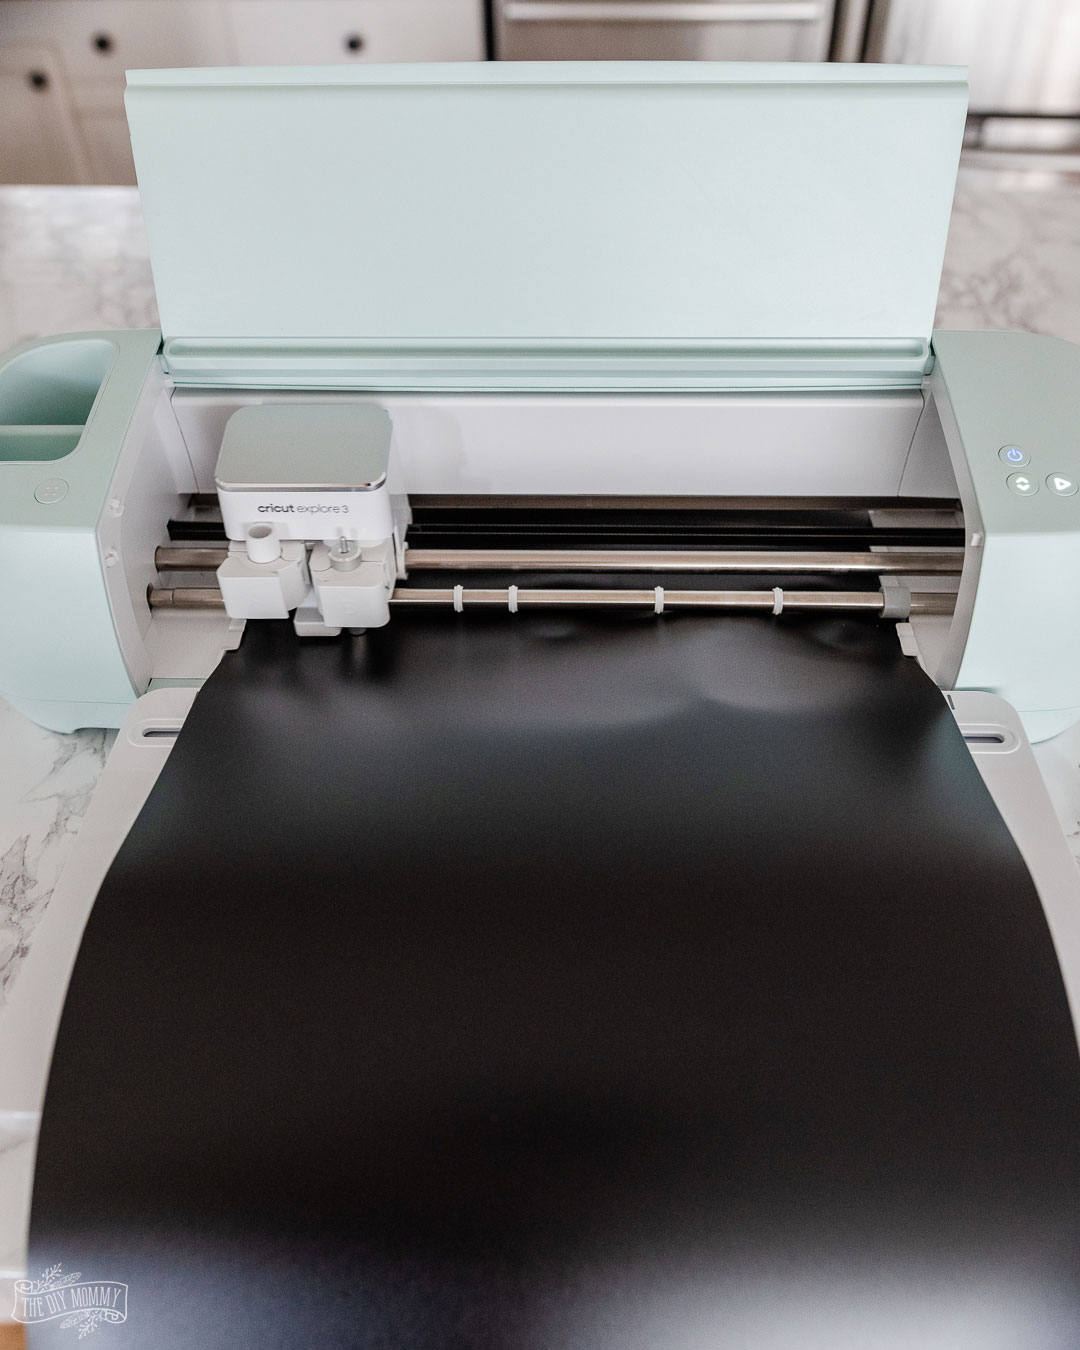
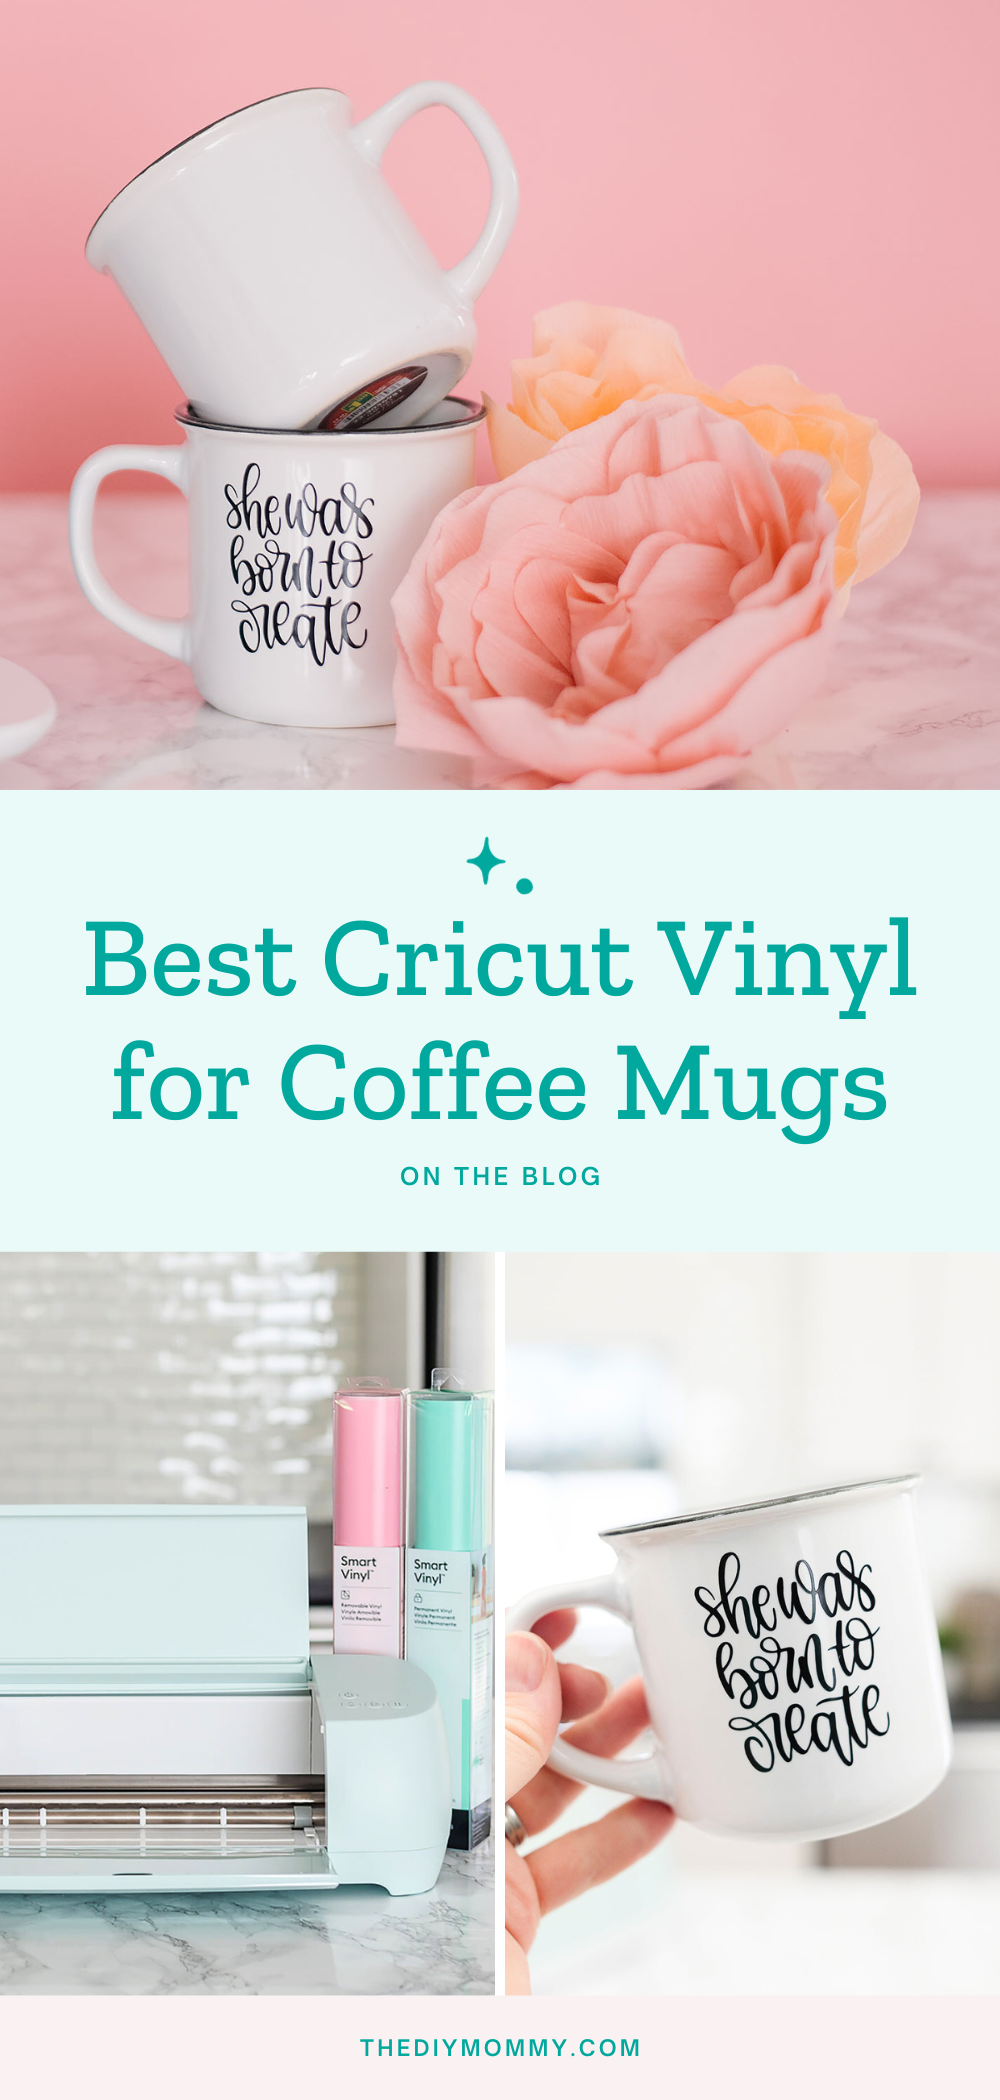
There are a lot of different adhesive vinyl options for Cricut cutting machines, but when it comes to coffee mugs I suggest using permanent vinyl. Of all the different types of vinyls I’ve tried, it’s the most durable, longest-lasting, and most dishwasher-safe. This means your design will not fade or peel off with use, and it can withstand regular washing on the top rack of the dishwasher. I recommend using Cricut Permanent Smart Vinyl for your coffee mugs because it has a lovely matte finish that looks high-end. You can use Smart Vinyl with the Cricut Explore 3, the Cricut Maker 3, and the Cricut Joy (get the narrower option for the Joy).
If you’re using a Cricut Explore Air 2 or Maker, you can use Cricut’s regular Permium Permanent Vinyl. However, I truly love how well the Smart Vinyl weeds and performs and I think it’s superior.
Sure, you can use removable vinyl for your mug, however note that this type of vinyl is meant to be easily removable after a few uses. It may hold up to handwashing, but it peels off easily. Removable adhesive vinyl might be a good option if you want to create a seasonal mug for a tablescape that you want to change for next season, or for a mug for a themed birthday party that you want to reuse later.
New to Cricut? Learn all about what a Cricut machine is and what you can make with it!
How to Make a Coffee Mug with Cricut
Now that you know which vinyl to use for coffee mugs, it’s time to design your personalized mug.
Designing the Mug
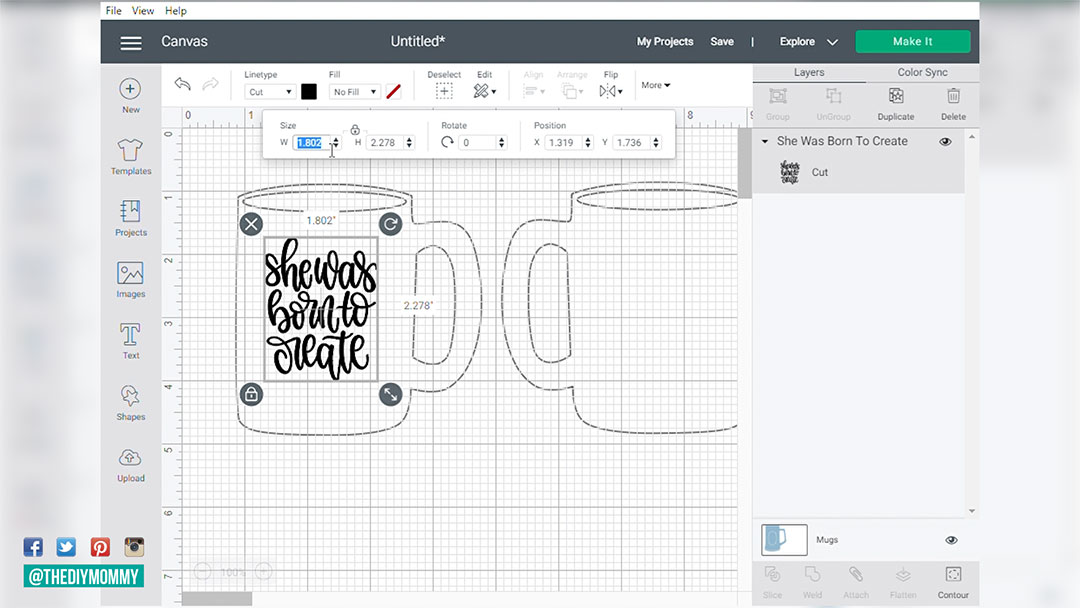
First, open up Cricut Design Space. Start by selecting the image, phrase, or quote you want to put on your mug. You can create your design on Adobe Illustrator or Canva and upload it into Design Space, purchase an SVG file to upload, or browse through free designs on Cricut Design Space. Make sure that you size your design to fit on your mug. I find that a design that’s around 2 inches square is a good size for most mugs.
Preparing the Mug
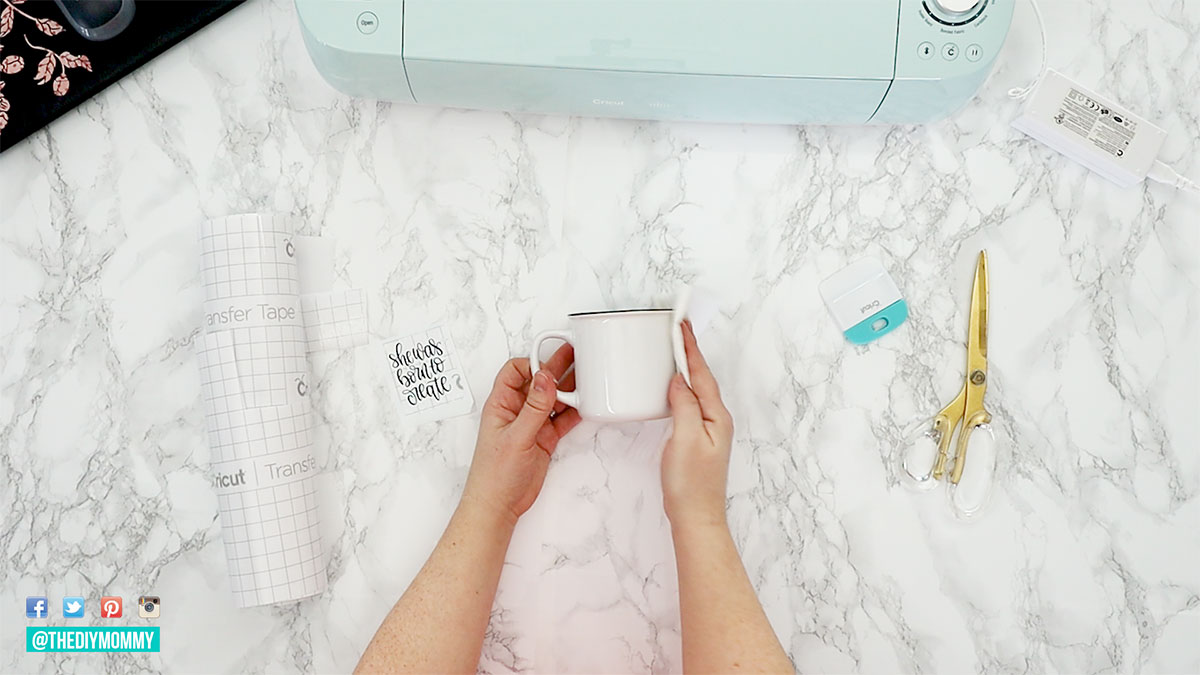
Once you’ve decided on a design, cleaning the surface of the mug is essential. Use rubbing alcohol pads or rubbing alcohol and a microfiber cloth to remove any dirt, oils, or debris. You can also finish the clean by rolling the mug with a lint roller to remove any fine dust or hair.
Cutting & Applying the Vinyl Design
Before cutting the permanent adhesive vinyl, make sure that you set up Cricut settings for your vinyl type and load it correctly. With Cricut Smart Vinyl, you don’t need a mat!
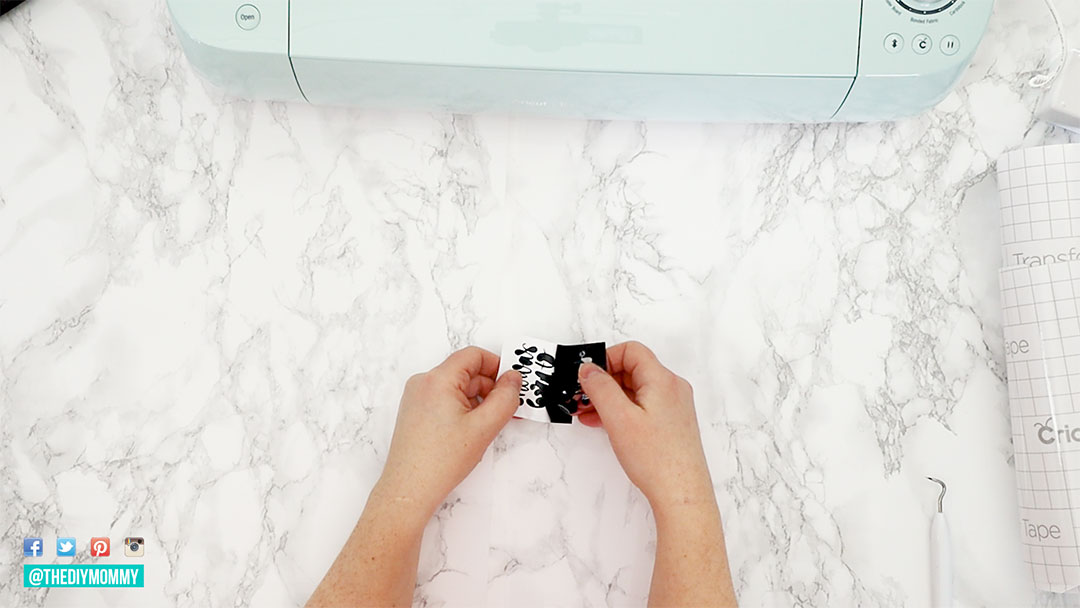
Once the design is cut, weed out the excess vinyl with your hands or Cricut’s weeding tool, leaving only the final image or phrase. After that, you can start to transfer the vinyl decal onto the mug. Transfer tape works best for this job. Make sure you clean your hands before moving onto the next step so that you don’t get your vinyl or your cup dirty!
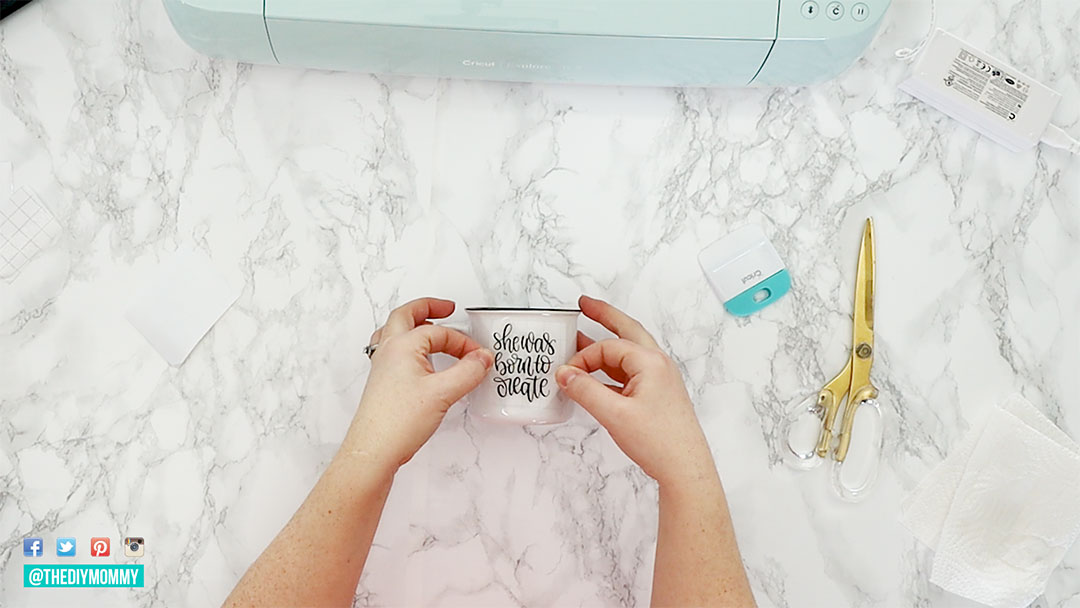
Apply a piece of transfer tape to the design, and smooth it firmly onto the design with a Cricut tool. Center your design on the mug, then apply pressure with firm fingers or a scraper tool to secure it in place on the mug.
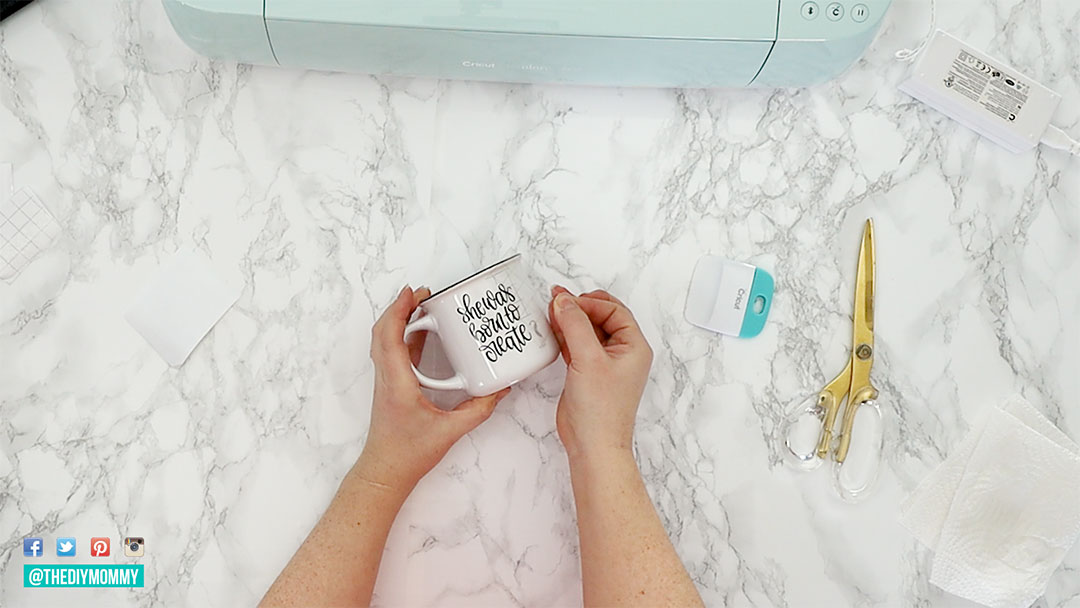
After making sure the vinyl is properly placed on the mug, remove the transfer tape by peeling it off slowly and gently. If some parts of the vinyl are not sticking, use your fingers or the scraper tool to press them down again. Finally, let the vinyl adhere to the mug for at least 24 hours before washing it. Washing before this can reduce the performance of the vinyl.
Should you seal a mug with Mod Podge?
If you want even more staying power for your vinyl decals, you can opt to seal your mug with a coat of dishwasher safe Mod Podge sealant. However, I haven’t found this step necessary if I’ve taken the correct steps to prepare my mug, apply my vinyl design, and wash the mug correctly.

Can you use heat transfer vinyl on mugs?
Yes, you can usually use heat transfer vinyl on coffee mugs, however I don’t find it to be as long lasting as Permanent Smart Vinyl. To apply HTV or iron-on vinyl to a mug, make sure you mirror your design before cutting it. After weeding, adhere it to your mug by positioning it, placing a dishcloth over the design, and using a regular household iron to fuse it to your coffee mug.
How to Wash a Cricut Mug
- Wait at least 24 hours after making your mug to wash it.
- Hand washing will make your mug design last the longest.
- If you want to wash your mug in the dishwasher, place it on the top rack only.
- Avoid dishwasher cycles like sanitizing & steam as this can weaken the vinyl.
- Most liquid and pod dishwashing detergents are safe to use.
Voila! You’ve just designed and crafted your very own personalized coffee mug. These mugs make a perfect gift for family and friends or if you want to make your morning coffee a bit more special. Permanent matte Smart Vinyl is your best choice for coffee mugs as it’s durable and waterproof, and it looks more professional and sleek on mugs. The process of creating your custom mug can be fun, and the only limit is your imagination. So, grab your Cricut machine, and start crafting!

Now, want to try making mugs with sublimation?!
Sublimation is when ink fuses right into your object, like a coffee mug. This is an extremely professional look, and you can achieve it by using Infusible Ink Transfer Sheets and the Cricut Mug Press. Click right here for the step-by-step instructions!
PIN ME:
This informative blog post on Cricut vinyl for coffee mugs is a must-read for DIY enthusiasts. It offers valuable insights into choosing the right vinyl for long-lasting mug designs, emphasizing the use of permanent vinyl for durability. The step-by-step guide provided for creating personalized mugs with a Cricut machine is clear and practical, making it a helpful resource for anyone looking to add a personal touch to their morning coffee routine or create thoughtful gifts. Grab your favorite mug and get ready to craft!