DIY January Wreath with a Grapevine Base
This post may contain affiliate links · This blog generates income via ads
January is here, and what better way to usher in the new year than with a delightful DIY project? Today, we’re diving into the world of wreath-making to create a beautiful and cozy masterpiece that will add a touch of warmth to your home. Grab your supplies and let’s get crafting!

The cold months after Christmas can be difficult to decorate for, but I think January needs decor more than any other! Cozy-feeling decor like this easy DIY winter wreath will help add some cheer to January. I love how this design features some obviously wintry things like pinecones, twigs and soft white tones, but it also has a little bit of greenery and sparkle. It’s perfect for your front door this month!

Materials You’ll Need
- Grapevine wreath base (I used a 24″ base)
- White feathers
- Hot glue gun and glue sticks
- Sparkly faux branches
- Faux eucalyptus stems
- White yarn pom-poms
- Pinecones
- Textured wicker balls
- Velvet ribbon
- Optional additions: faux white berries, burlap ribbon, floral wire, battery operated twinkle lights
You can find a lot of these supplies at your local craft store, dollar store, or even on a nature hunt outside!
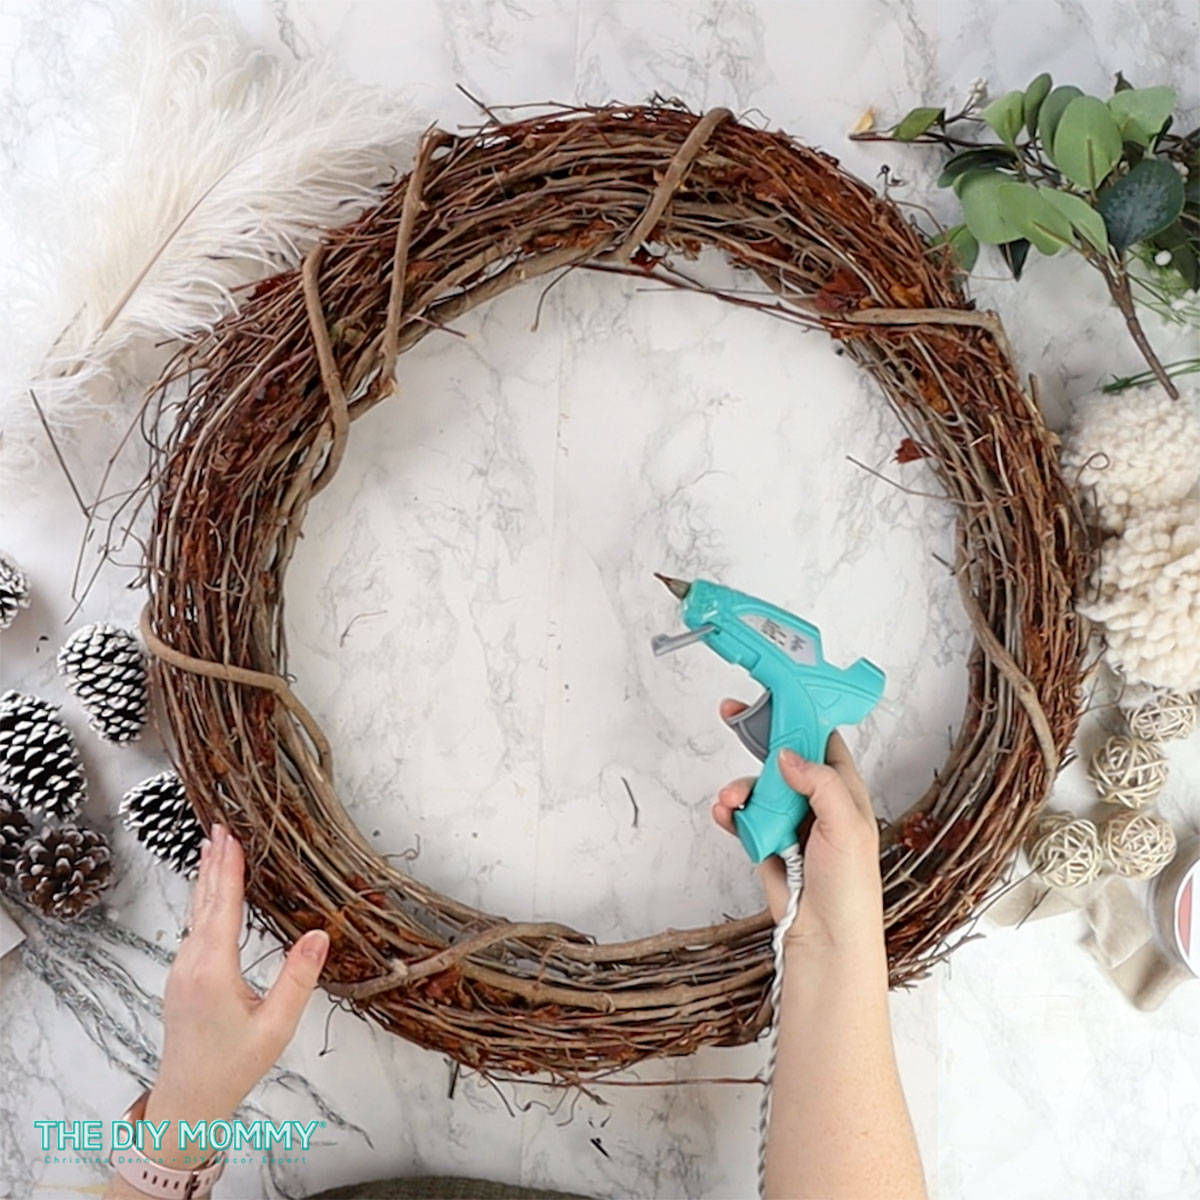
Step 1: Prep Your Grapevine Base
Start by gathering your supplies and laying out your grapevine wreath base on a flat surface. This natural element adds a rustic touch to your wreath and provides a sturdy foundation for the rest of your decorations.
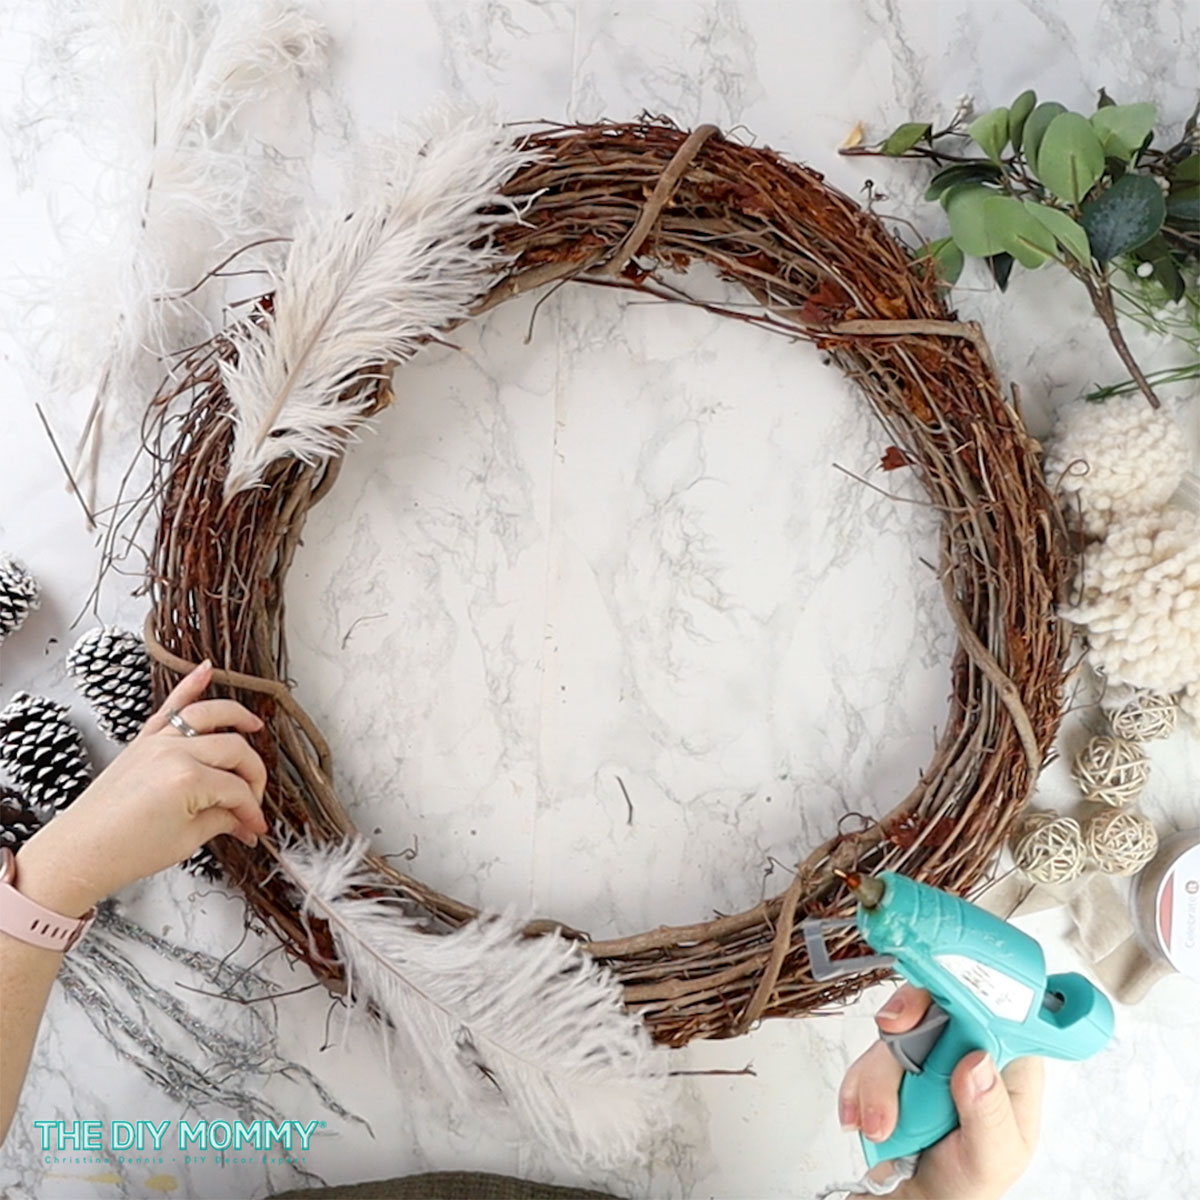
Step 2: Add Fluffy Feathers
Using your hot glue gun, attach white feathers to the left-hand side of the wreath. Place one going upwards on the left hand side, and one going downwards. White feathers remind me of soft, fluffy snowflakes!

Step 3: Faux Eucalyptus for Some Green
Incorporate faux eucalyptus stems into the wreath, layering them on top of the feathers. I love the addition of a little faux greenery in winter to remind me of the upcoming Spring!

Step 3: Add Sparkle and Shimmer
Next, add some sparkle with glittery faux branches. I found these ones at Dollar Tree. Place them on the top and bottom of the wreath. The shimmering branches will catch the light and bring a magical touch to your creation.

Step 4: Tie an Elegant Velvet Bow
Now, tie a sweet velvet ribbon bow onto the bottom left of the wreath. This touch adds a touch of elegance and adds the cozy texture that winter decor needs!
Don’t like velvet? Burlap ribbon is another great option for this wreath design.
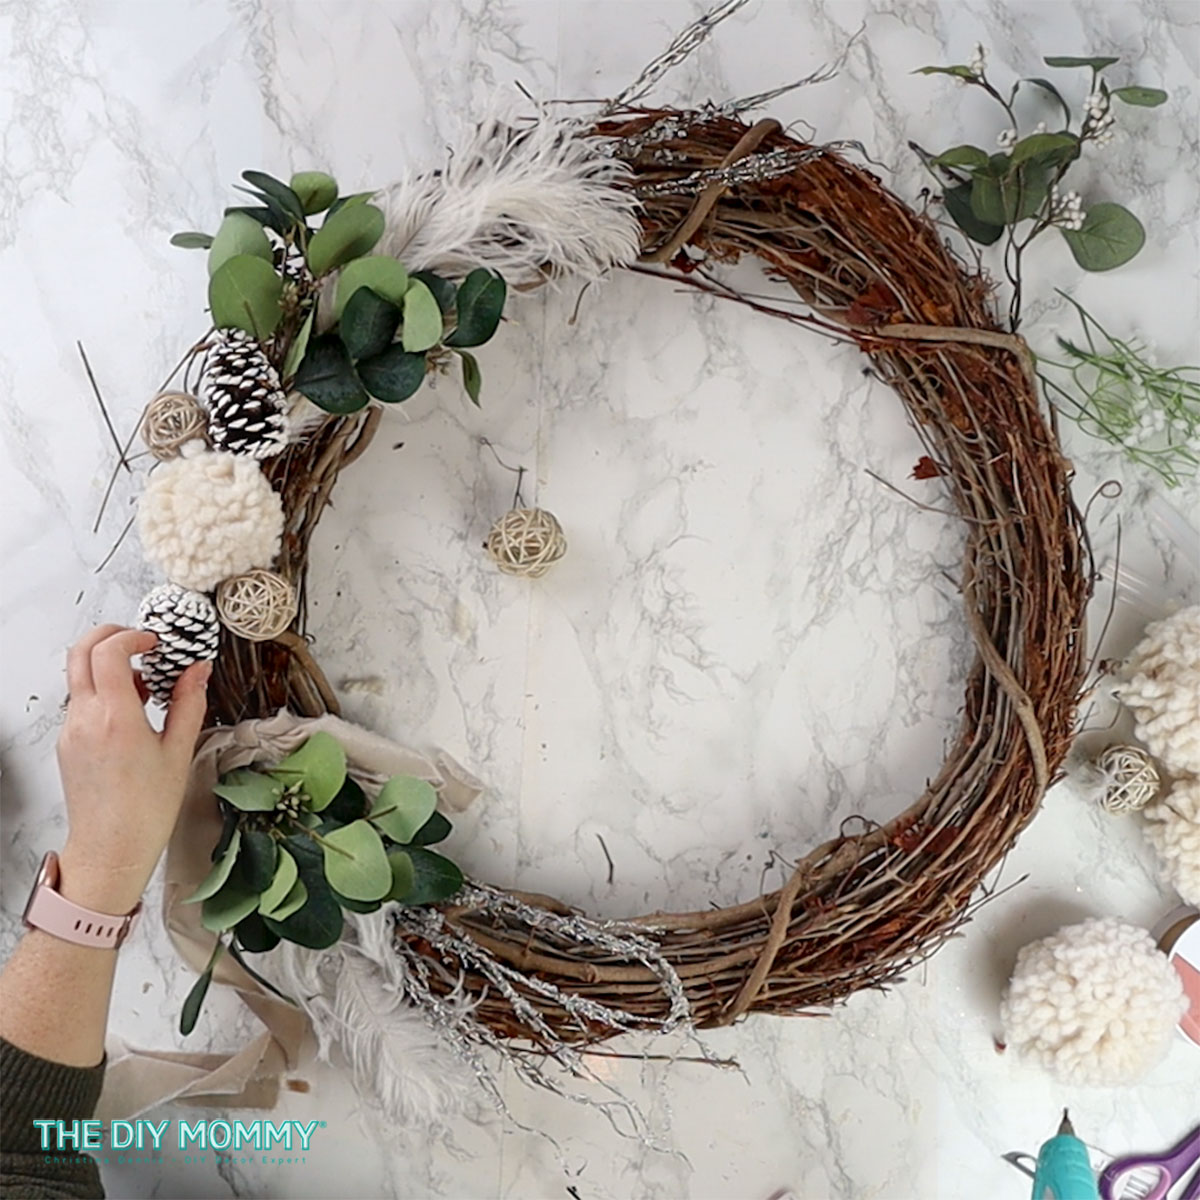
Step 5: Pompoms and Textures
Time to add some playful elements! Use hot glue to attach white yarn pom-poms, pinecones, and textured wicker balls to the center-left portion of the wreath. This eclectic mix adds dimension and visual interest.
If you feel like the pine cones and balls need more stability, you can secure them with some floral wire after gluing them onto the wreath.

Step 6: Final Touches
Here’s where you can bring more pine cones or eucalyptus greenery into play. Nestle them among the various elements already on the wreath to add a fuller look where you think the wreath needs it.
Optional: Weave some battery operated fairy lights through the wreath for a warm glow. Hide the battery pack behind the wreath by gluing it to the back of the grapevine wreath base.

Voila! You’ve just created a stunning DIY January wreath that perfectly captures the coziness of the winter season. Hang it on your front door, above the fireplace, or anywhere that needs a touch of seasonal flair.
Want more DIY winter wreath ideas?
- make this oversized rustic pom pom wreath with faux greenery and white bell ornaments
- create a simple pinecone wreath that matches all sorts of decor
- assemble a traditional real evergreen wreath that not only works for Christmas decor, but for neutral winter decor too! Leave out the red berries, or swap them with white berries.
I hope you enjoyed this wreath-making inspiration, and happy DIYing this January!