How to Make Gorgeous Paper Flowers with a Cricut
This post may contain affiliate links · This blog generates income via ads
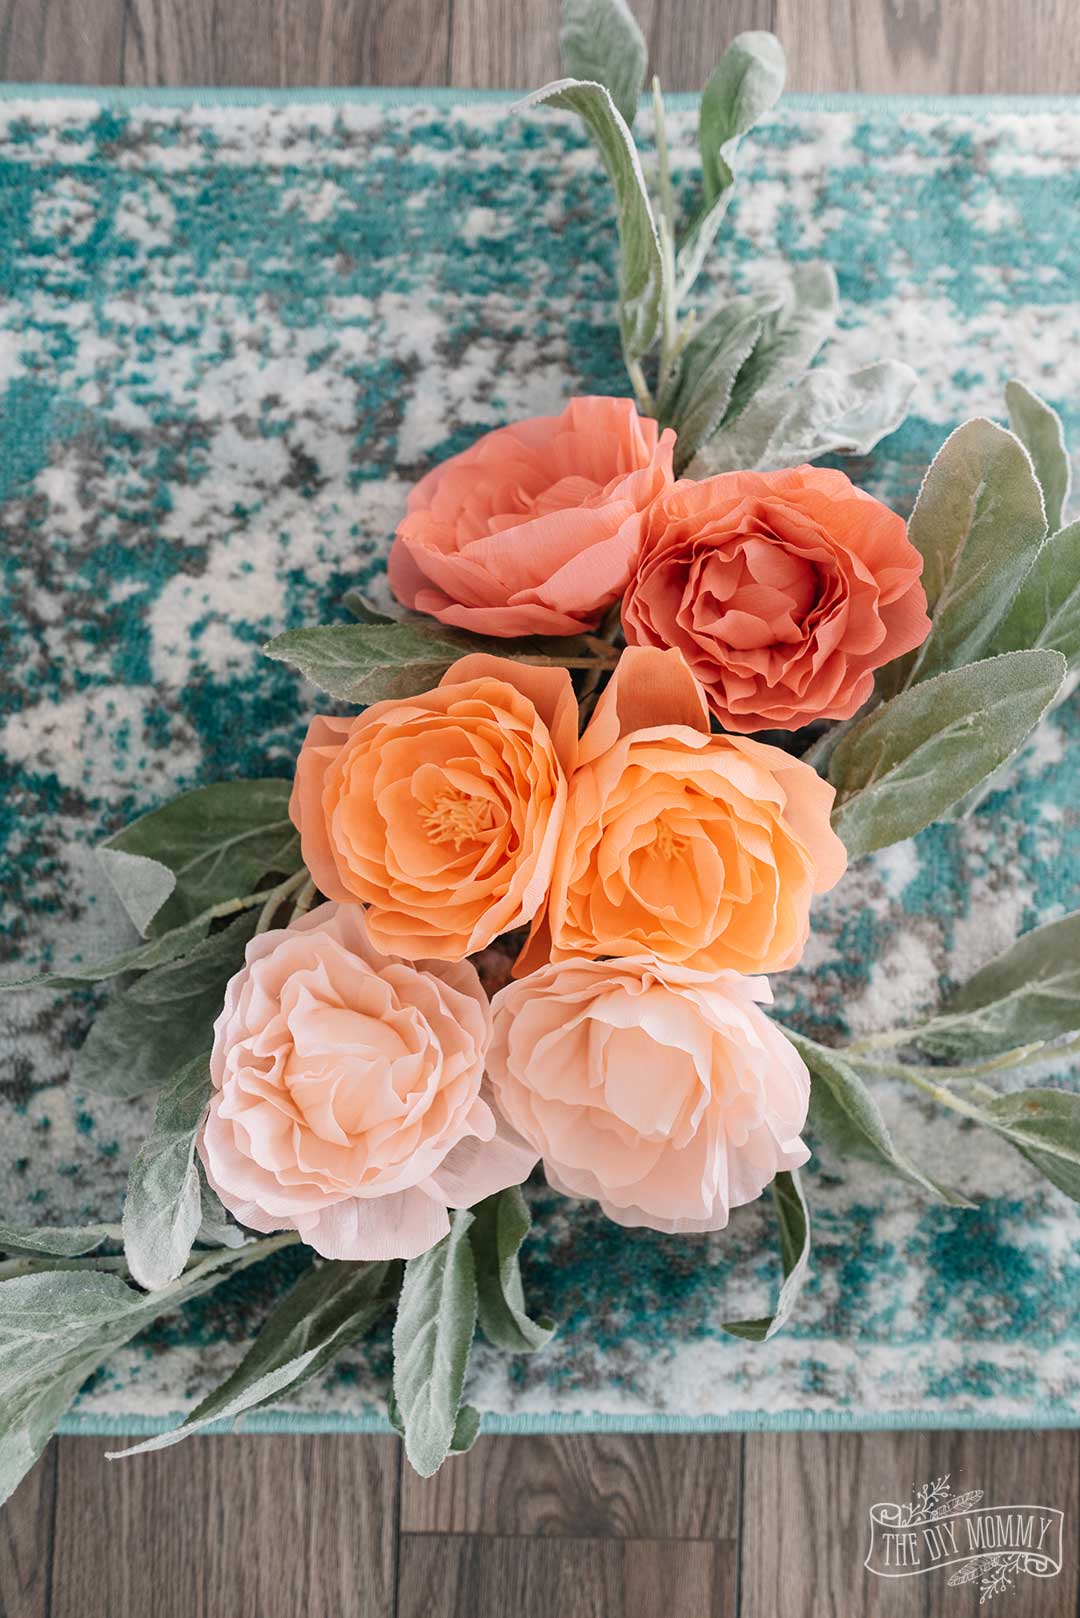
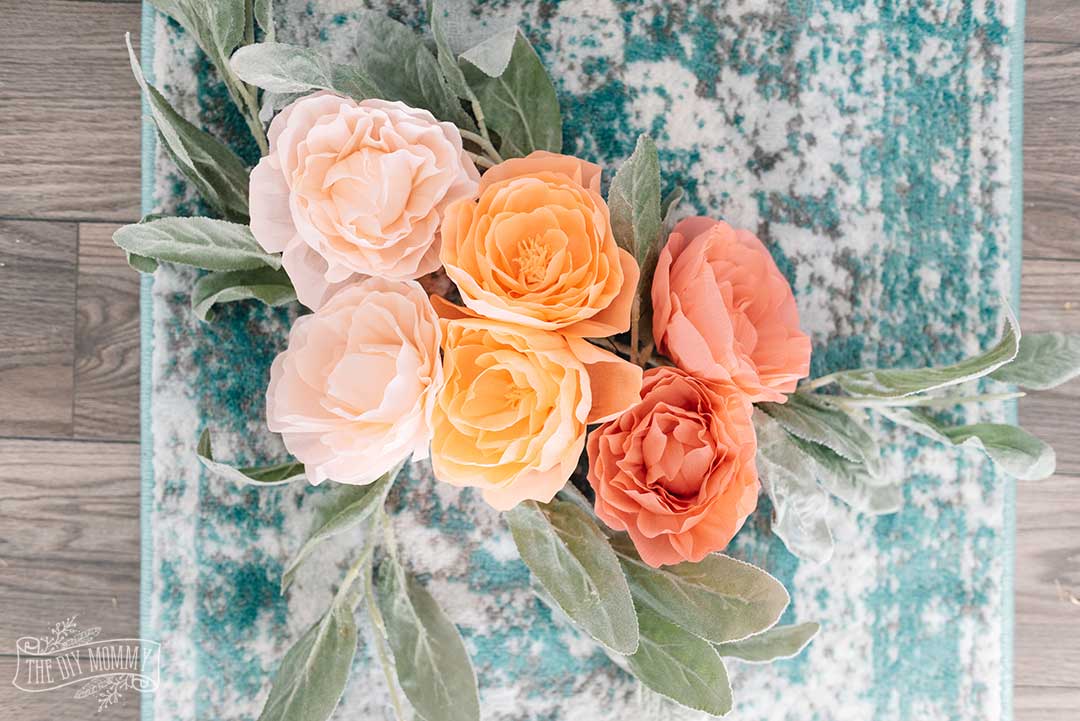
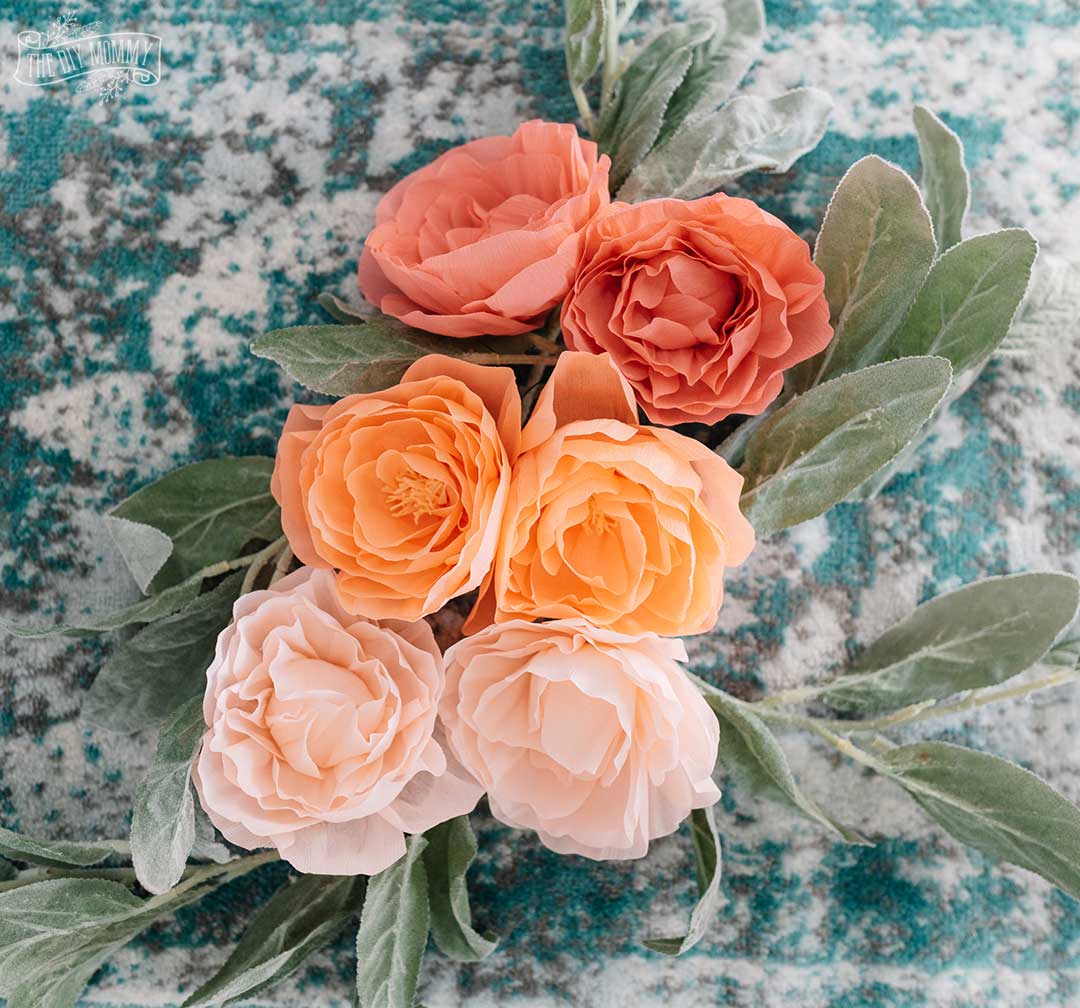
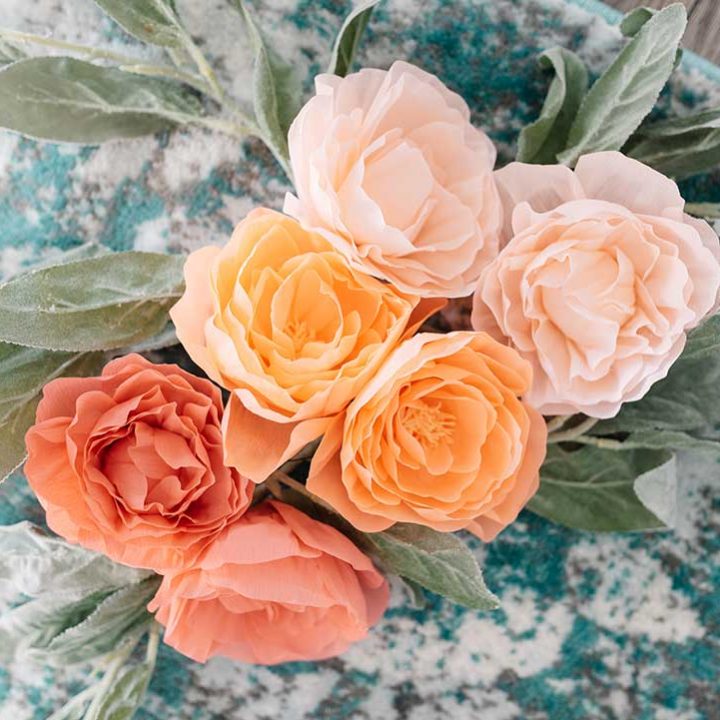
Learn how to make gorgeous paper flowers with a Cricut Maker cutting machine. The Cricut makes cutting these crepe paper peonies so quick and easy. The result is a beautiful Spring or Summer decor addition to your home. These would also make great DIY party or wedding decorations!
This post is part of a seasonal blog hop with some of my favourite blogging friends! Make sure to visit all the links at the bottom of this post to get more beautiful DIY paper ideas for Spring!
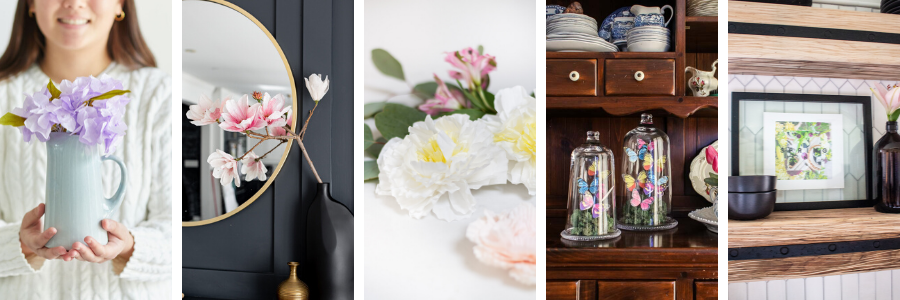
You all probably know that I’m a flower-a-holic and love to DIY floral-inspired things a lot – especially in the Spring! I’ve made fabric peonies before, but I thought it would be fun to try and make some crepe paper peonies.
I’m smitten with how these ones turned out, and they’re SO easy to make with the help of my Cricut Maker. You can use the rotary cutting tool on the Maker machine to easily cut crepe paper. Each petal on these peonies will be absolutely perfect. (You can also choose to cut the petals out by hand if you don’t have a Cricut machine!) I have a few ideas on how I might incorporate these into my Spring decor, so stay tuned for that. Now, let’s get on to the tutorial!
New to Cricut machines? Check out my post all about the Cricut and how to use it! My Cricuts are definitely one of my favourite crafty tools to make everything from personalized gifts to unique home decor.
Here’s how to make these beautiful crepe paper peonies with a Cricut Maker
Materials & Tools:
- Cricut Maker (you could alternatively cut the petal shapes out by hand)
- Cricut Rotary Blade
- Cricut Fabric Mat
- Styrofoam Balls
- Floral Wire
- Lia Griffith Crepe Paper in Secret Garden
- Hot Glue Gun + Glue Sticks
Instructions:
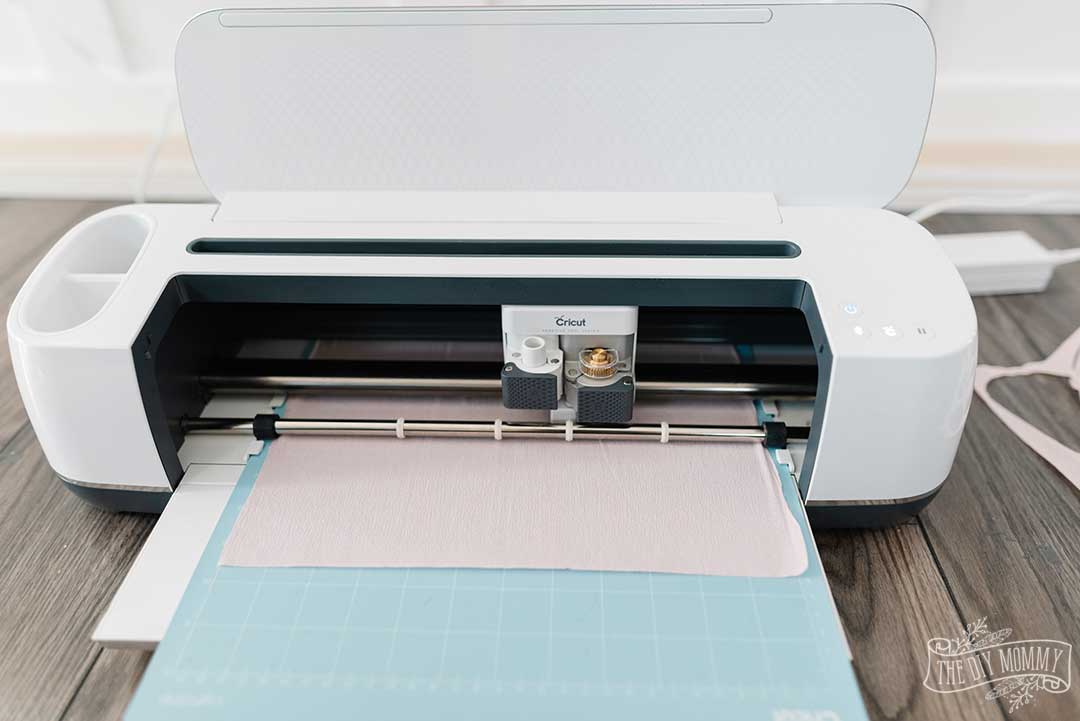
Using this Crepe Paper Peonies Project File on Cricut Design Space, cut out 6 sets of flower petals onto the crepe paper with your Maker. Use Cricut’s fabric cutting mat when cutting these out. Note that you cannot use a Cricut Explore or Cricut Joy machine for these flowers because neither support the rotary cutting tool.
The type of paper to purchase that works best for these flowers is extra fine crepe paper. I was able to cut 2 sets onto each of the 3 pink colours in the Lia Griffith crepe paper pack. You can also cut one sheet of the center filament shapes on some yellow paper.
If you don’t want to use a Cricut or pay for Cricut Access, you can freehand & cut out the petal shapes by hand. The small petals are about 2.5″ W x 3.5″H, the medium are about 2.5″ W x 3.75″ H, and the large petals are about 2.75″ W x 4″ H.
I find about 24 petals per flower seems to be a good size. However, you could use more or less depending on the size of peony you’d like to make.
*Make sure that the grain of the crepe paper runs UP AND DOWN when cutting the petals so that you can stretch them the right way later to create a petal shape.*
To make the closed-center peonies:
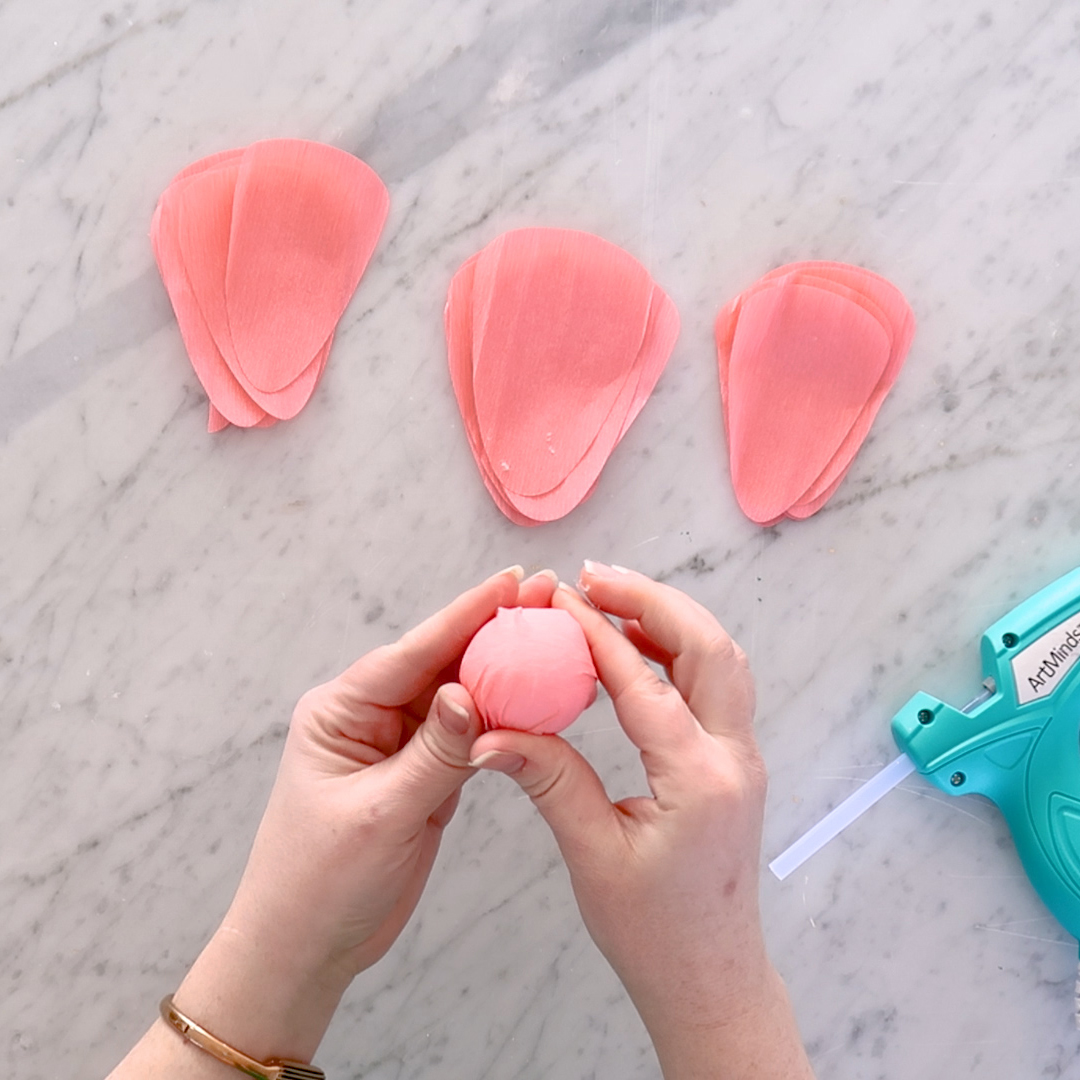
Stretch and then wrap one of the large petals around one of the styrofoam balls. If some of the bottom of the ball is showing, that’s OK! You’ll cover it later with petals. Use hot glue to tack the paper in place. This will form the center of the flower.
Gently stretch the remaining petals in their centers, creating a realistic-looking petal shape. The kind of paper you use here truly matters – extra fine crepe paper should stretch perfectly.
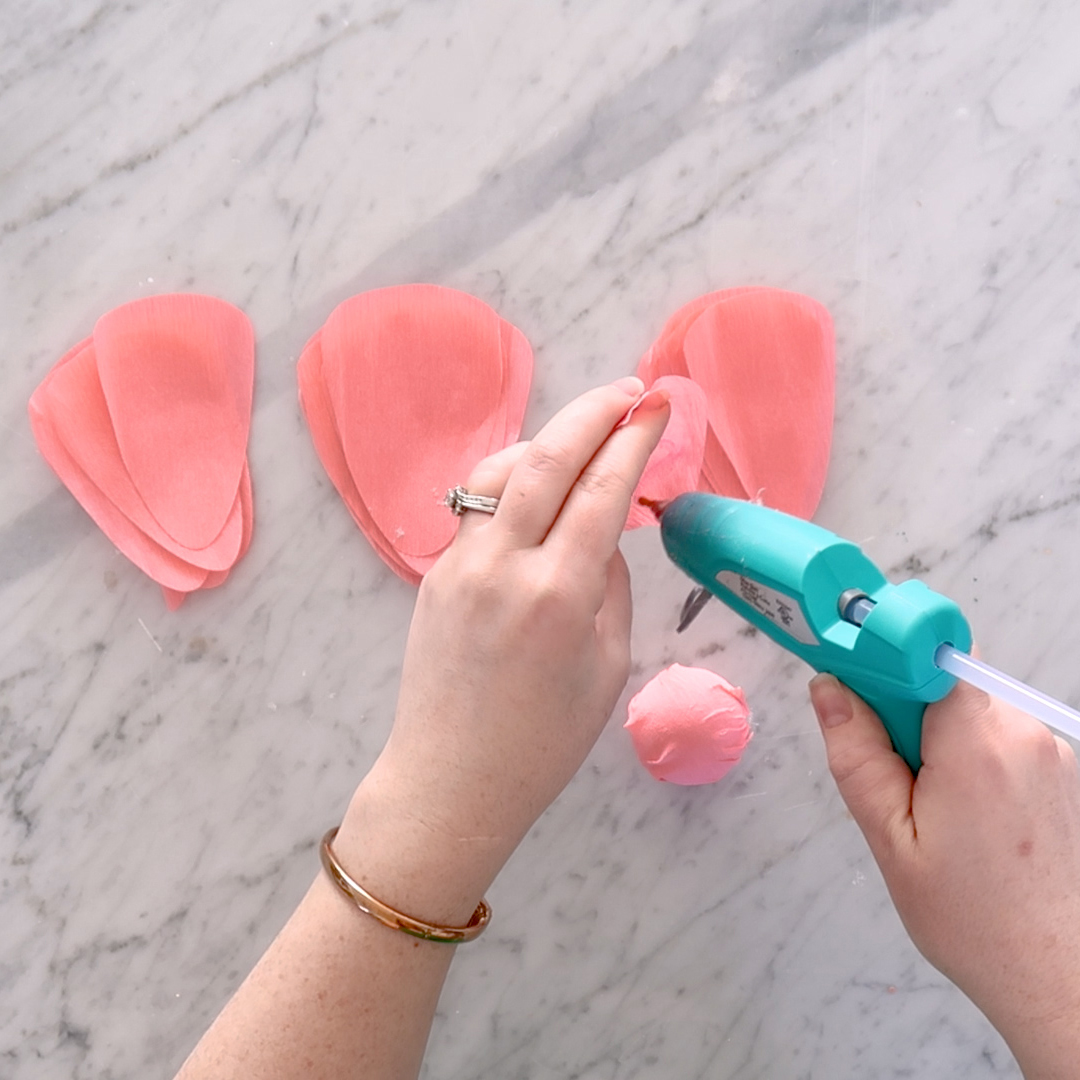
Starting with the smaller petals, put a dab of hot glue on the small bottom section of the petal.

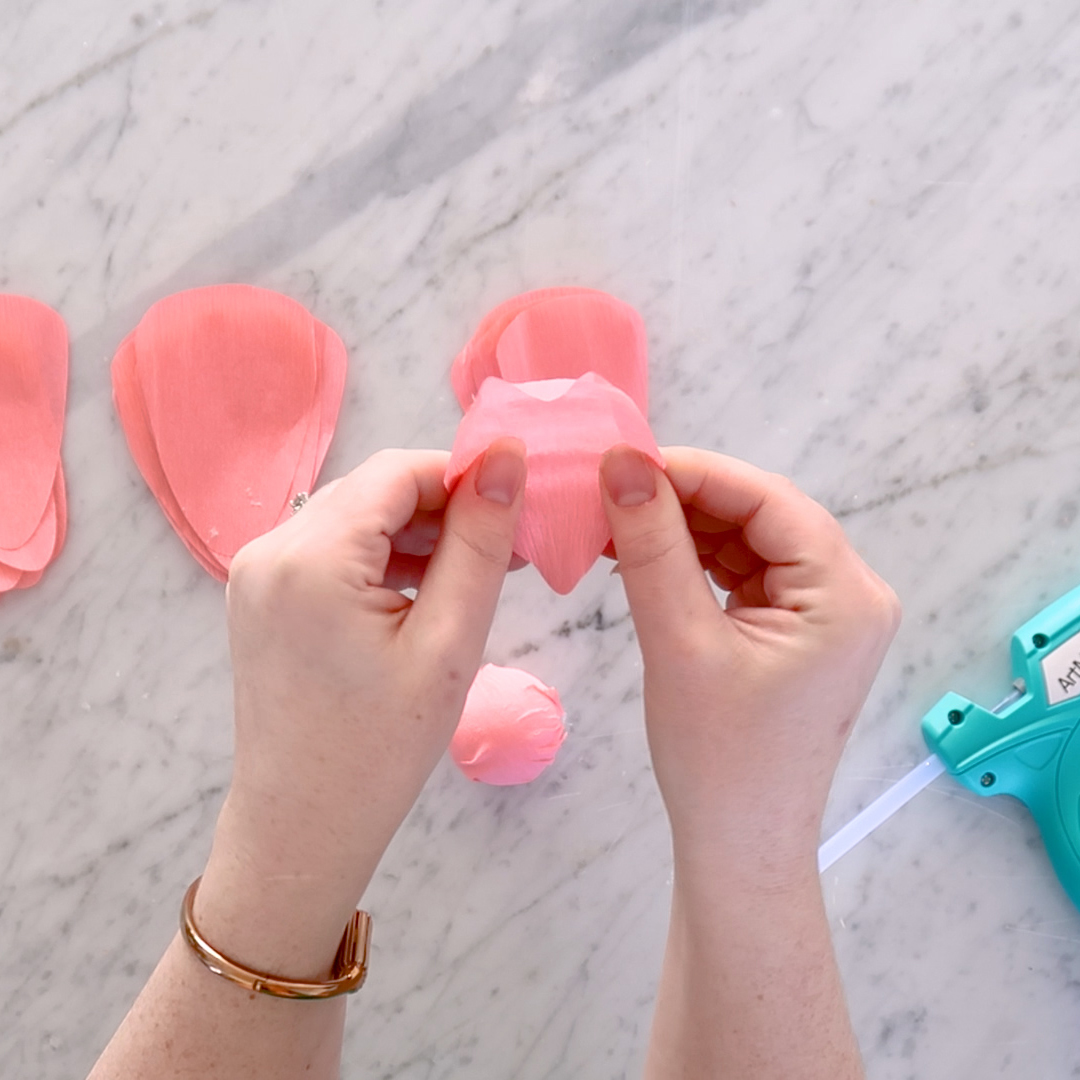
Attach the bottom of the petal to the bottom of the wrapped styrofoam ball, wrapping the petal around the ball.
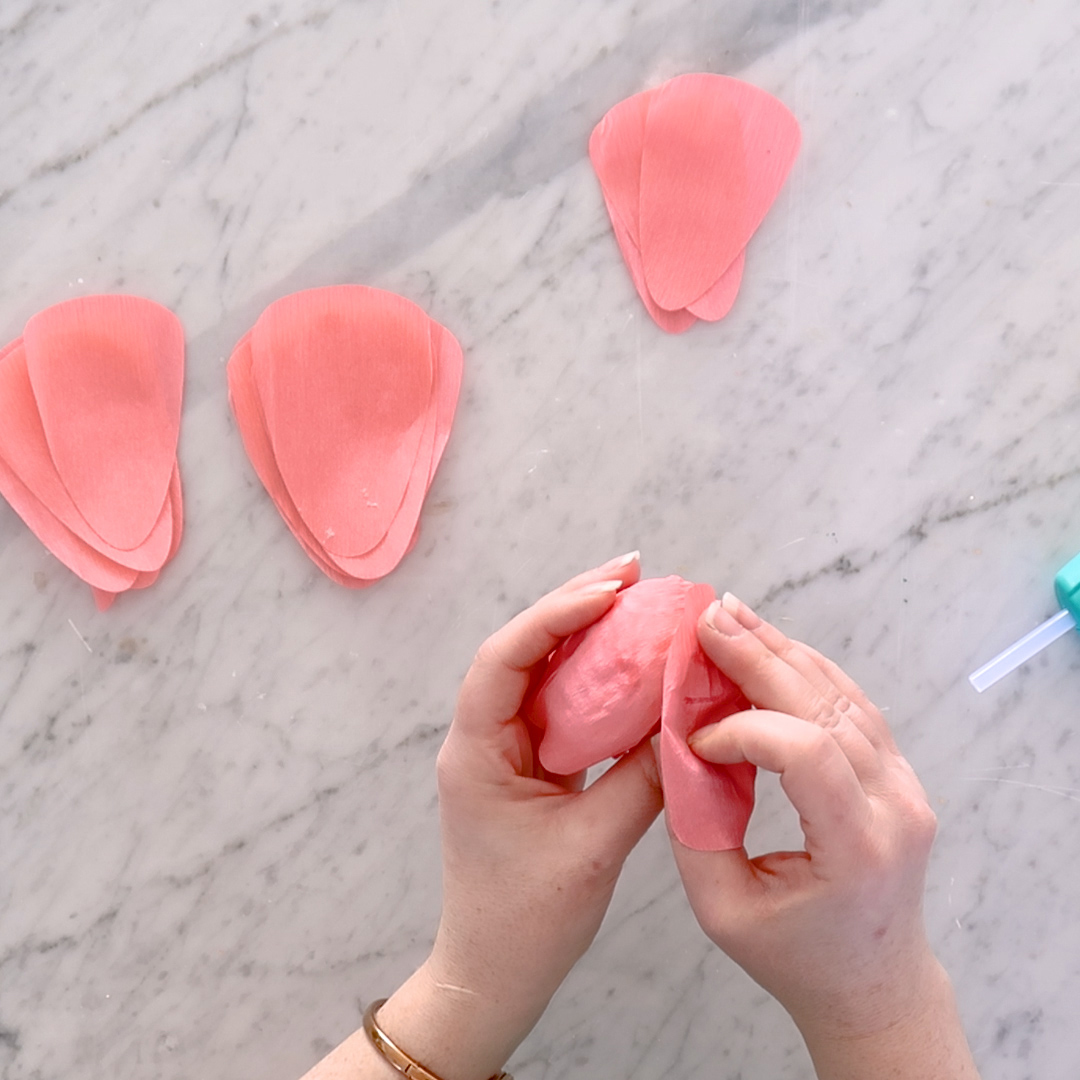
Continue adding petals to the ball base in a spiral motion. Overlap the petals as you go, and have each layer slightly higher than the last to create a classic peony shape.
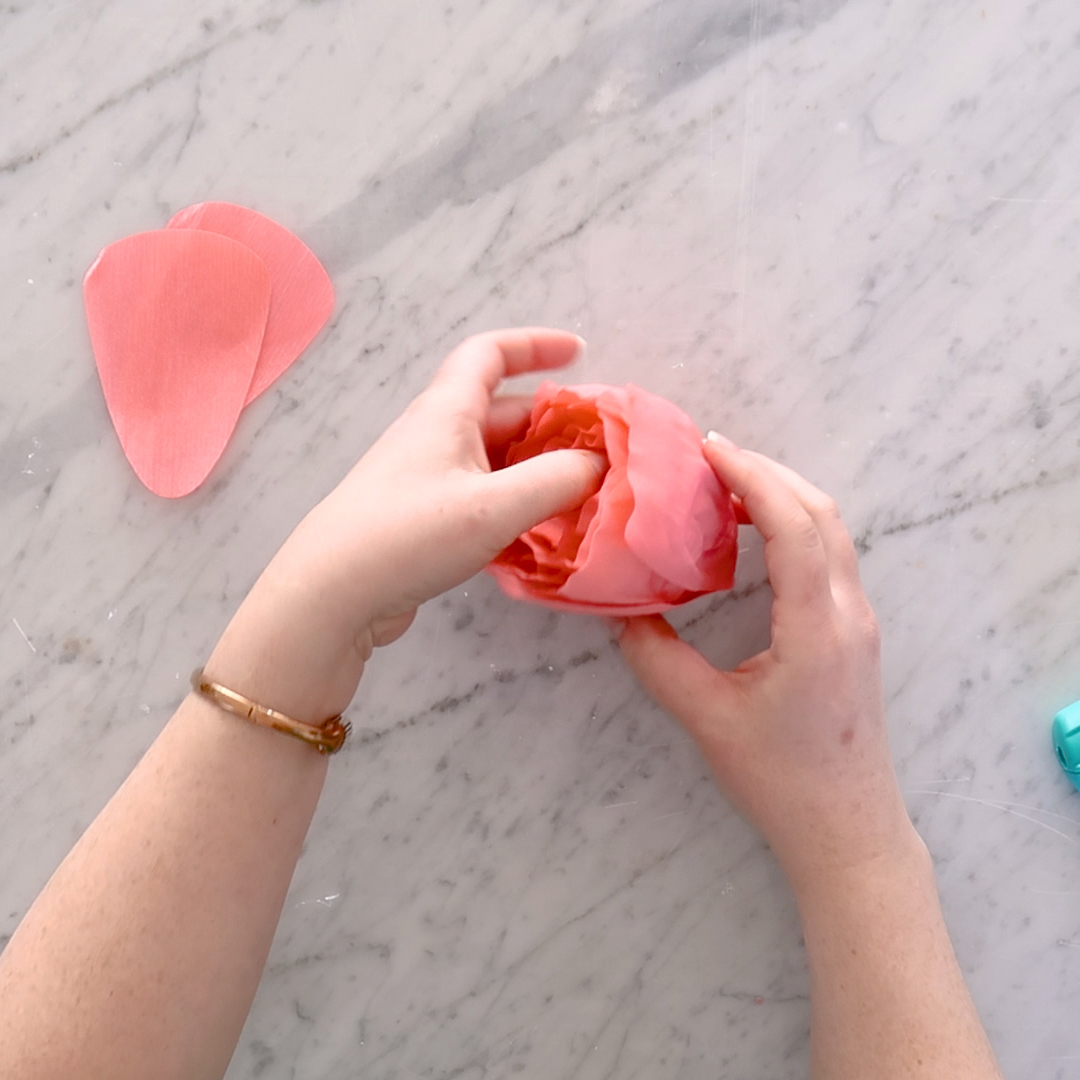
Move from the smallest size petals, to the medium petals, and end with the largest sized petals.
To make the opened-center peonies:
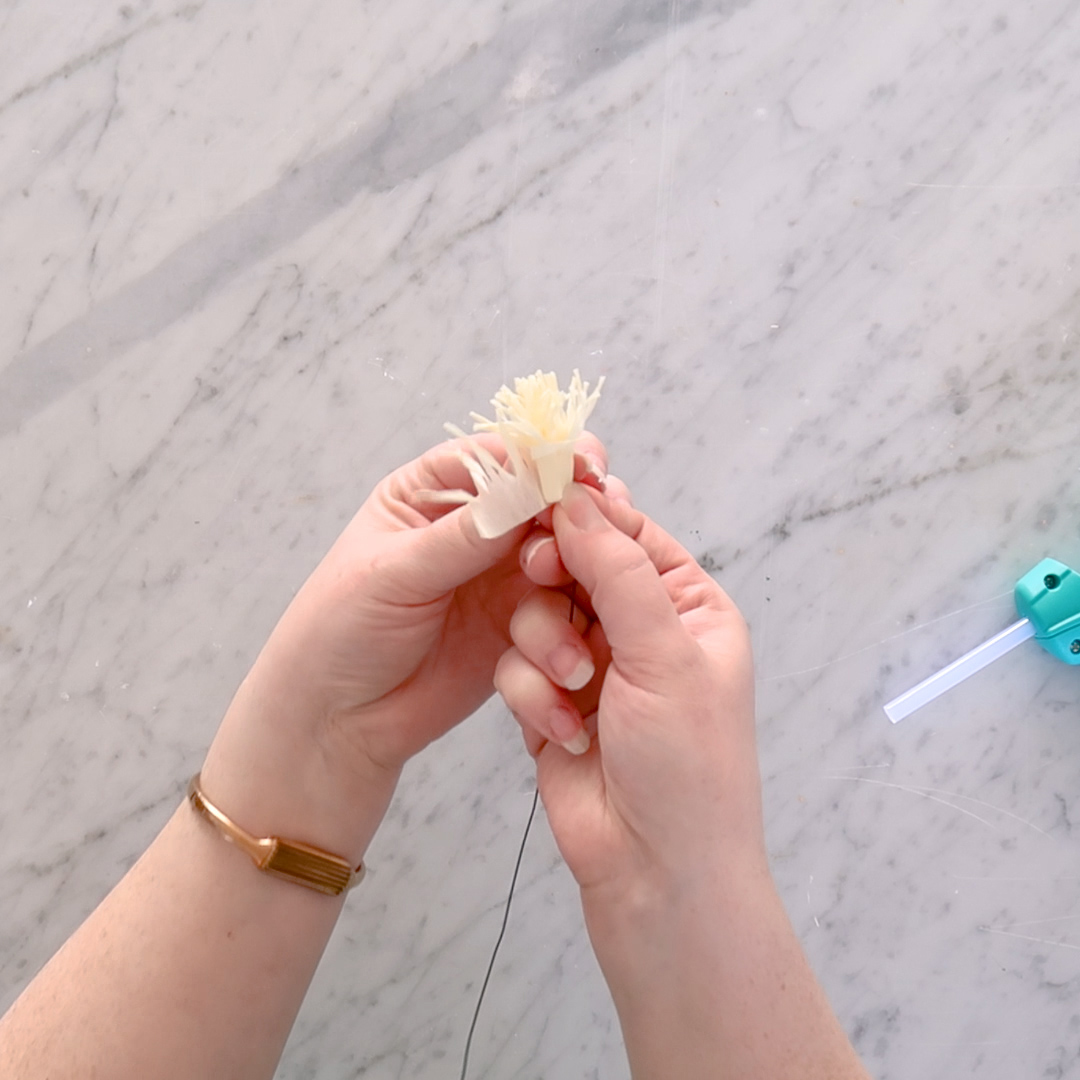
Take the yellow filament pieces you’ve cut, and twist each fringe. Cut some floral wire to about 10″ long, and then wrap the filament piece around the top of the wire. Tack it down with hot glue.
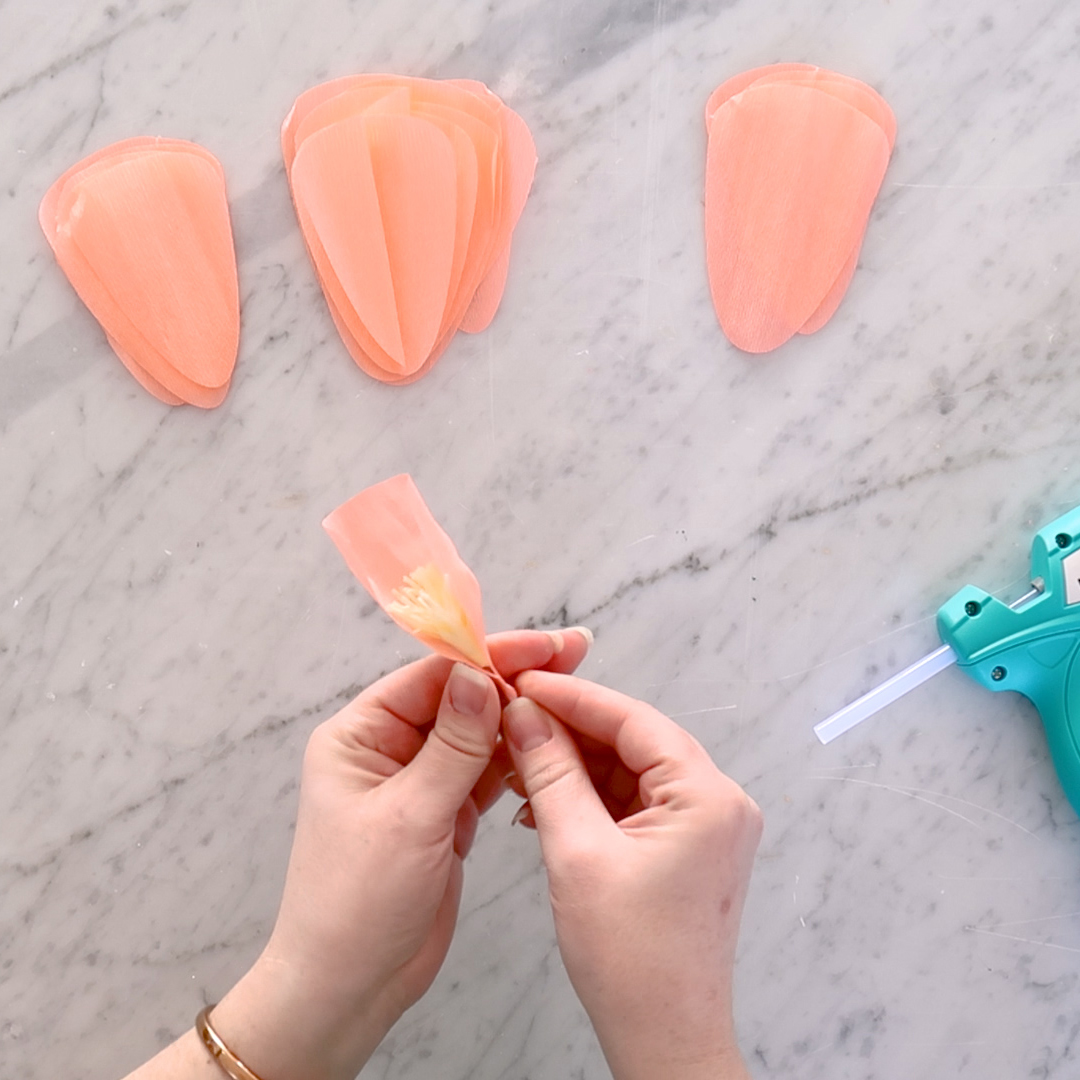
Now you can shape and place the peony petals in the same manner as you made the closed-center flower, wrapping them around this center filament piece.
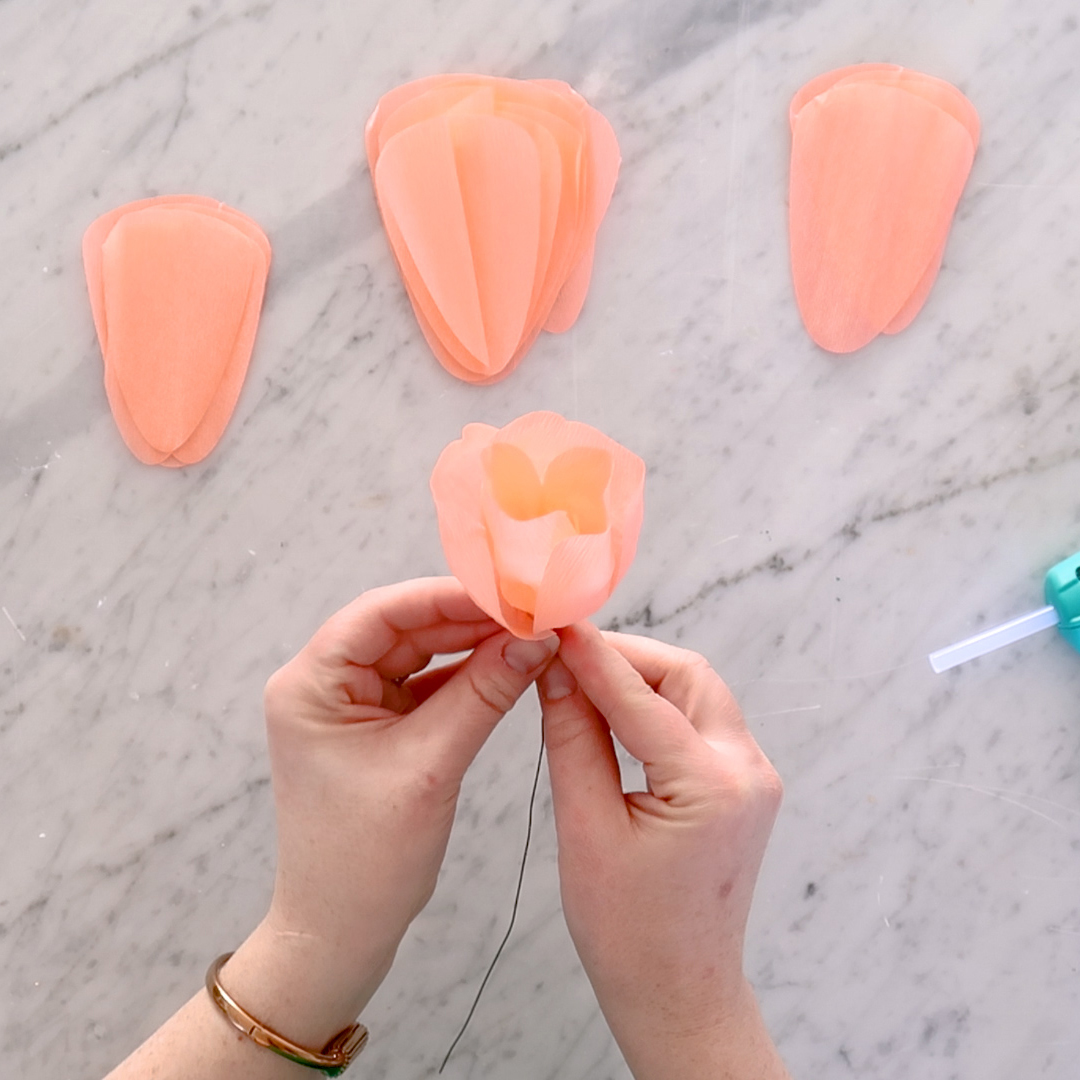
Similar to the closed-center flower, overlap the petals slightly and go from the smallest to the largest petals.
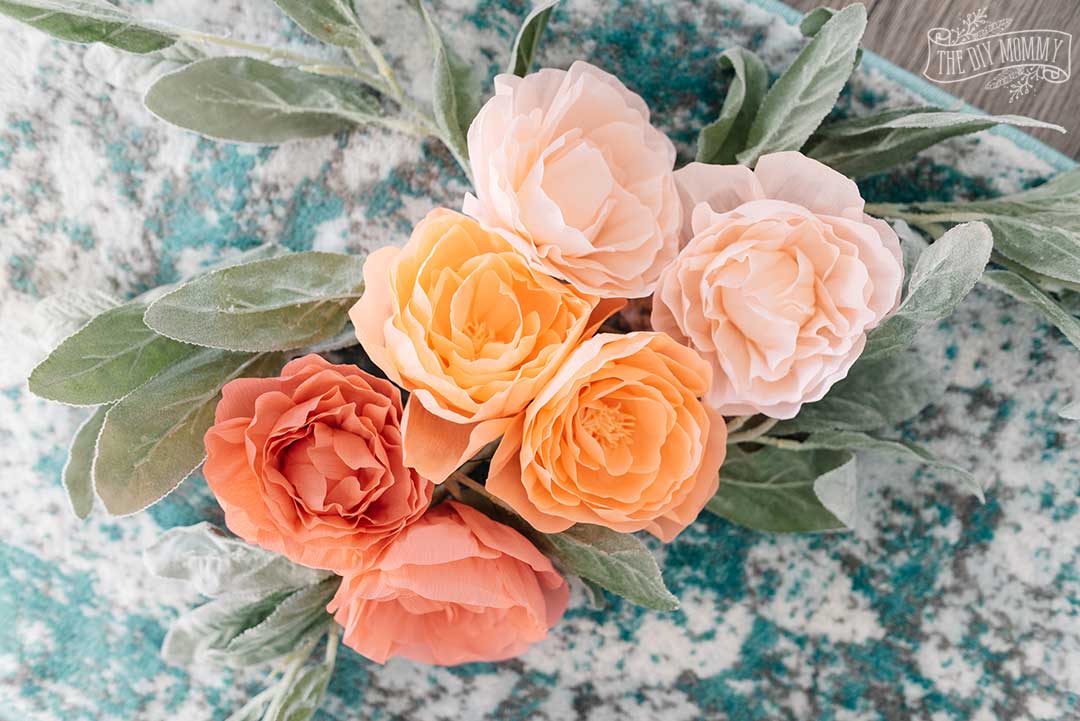
Aren’t both of these paper peony variations absolutely gorgeous?! I was so happy with how these turned out. The gentle folds and weight of the crepe paper makes them look so realistic.
I hope you enjoy these beautiful Cricut flowers. Have fun paper crafting!
Crepe Paper Peonies with Cricut Maker
Learn how to make gorgeous, realistic and full-looking peonies out of crepe paper with a Cricut Maker cutting machine. The Cricut makes cutting these so quick and easy, and the result is a beautiful spring or summer decor addition to your home. These would also make great DIY party or wedding decorations!
Materials
- Styrofoam balls
- Floral wire
- Lia Griffith crepe paper in Secret Garden
- Faux peony stems (optional)
Tools
- Cricut maker (you could also cut the petal shapes out by hand)
- Cricut fabric mat
- Hot glue gun
Instructions
- Using the Crepe Paper Peonies Project File on Cricut Design Space, cut out six sets of peony petals from the crepe paper. I was able to cut two sets onto each of the three pink colours in the Lia Griffith crepe paper pack. Alternatively, you can freehand & cut out the petal shapes by hand. The small petals are about 2.5" W x 3.5"H, the medium are about 2.5" W x 3.75" H, and the large petals are about 2.75" W x 4" H. 24 petals is a a good amount.
- You can also cut one sheet of the center filament shapes on some yellow paper.
- Stretch and then wrap one of the large petals around one of the styrofoam balls. If some of the bottom of the ball is showing, that's OK! You'll cover it later with petals.
- Use hot glue to tack the paper in place. This will form the center of your flower.
- Gently stretch the remaining petals in their centers, creating a realistic-looking petal shape.
- Starting with the smallest petals, put a dab of hot glue on the small bottom section of the petal.
- Attach the bottom of the petal to the bottom of the wrapped styrofoam ball, wrapping the petal around the ball.
- Continue adding petals to the ball base in a spiral motion. Overlap the petals as you go, and have each layer slightly higher than the last to create a classic peony shape.
- Move from the smallest petals, to the medium ones, and lastly to the largest petals.
- Take the yellow filament pieces you've cut, and twist each fringe.
- Cut some floral wire to about 10" long, and then wrap the filament piece around the top of the wire, tacking it down with hot glue.
- Now you can shape and place the peony petals in the same way you made the closed-center flower, wrapping them around this center filament piece.
- Just like the closed-center flower, overlap the petals slightly and order them from smallest to largest.
- All done! If you wish, attach them to faux peony stems, or use them however you wish in your spring or party decor!
Cutting the peony petals:
*Make sure that the grain of the crepe paper runs UP AND DOWN when cutting the petals so that you can stretch them the right way later to create a petal shape.*
To make the closed-center peonies:
To make the open-center peonies:
More flower templates
Looking for different types of flower templates? Jennifer Maker has some beautiful flowers to make with your Cricut here on her site. There are 10 different styles that can be made with a Cricut Explore Air or Cricut Maker. She uses a quilling tool to roll 60-80 lb cardstock into beautiful flower shapes that can be used for a variety of gifts and decor! Get her instructions and free SVG files to use here.
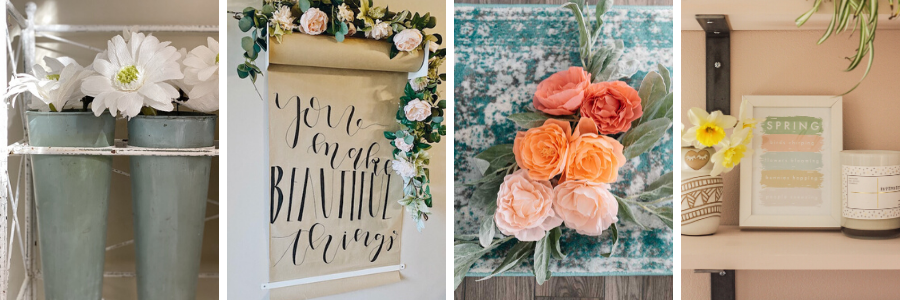
How to decorate with these paper peonies
You can use these gorgeous flowers in lots of different home decor applications. Here are some ideas:
- use them in a shadow box as wall art
- group them in a vase as tabletop decor
- add them into a tiered tray for Spring
- use them in a long garland mixed with faux greenery for your mantel or table
- use these as a cake topper for a wedding, anniversary or baby showers
- hang several of these from the ceiling as party decor or a in a photo booth
More DIY Paper Flower Tutorials with step-by-step instructions:
Make Easy Paper Roses From Dollar Store Streamers
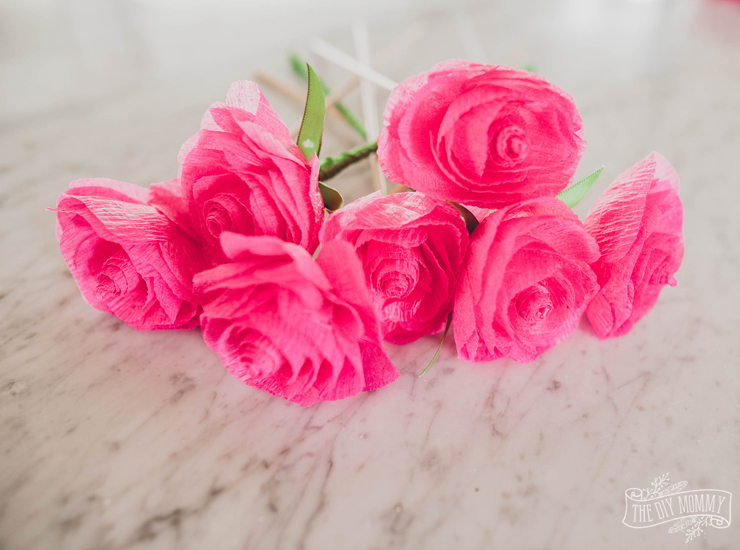
This craft was a happy little accident. Don’t you just love those?! I wanted to create some crepe paper flowers, but I couldn’t find crepe paper ANYWHERE locally. And I didn’t feel like spending a ton of money or time to buy it online. This is a quick way to make easy paper flowers on a budget.
DIY Paper Flower Valentine’s Day Wreath With Cricut
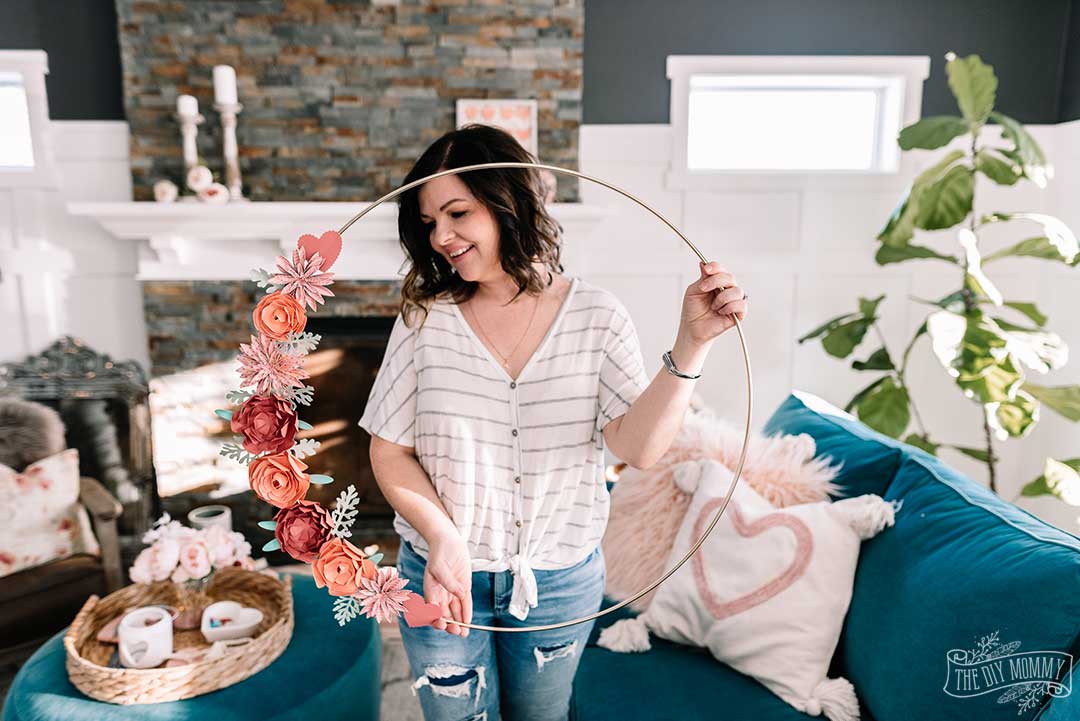
Decorate for Valentine’s Day (or even early Spring!) with this crafty and lovely DIY Cricut paper flower hoop wreath! You can easily cut out all of the flower pieces from cardstock with a Cricut machine, and they’re so fun to assemble. Let’s make it with this step-by-step tutorial!
Now it’s time for more Spring paper DIY ideas from my blogging friends. Click on on the links below to go to the posts!
17 Spring Paper Craft Ideas

Hello Spring Printable – Modern Glam // Spring Flower Sketch Printables – Inspiration For Moms // Spring Printable Landscape Art – Twelve On Main // 3-D Spring Printable Art – The Happy Housie
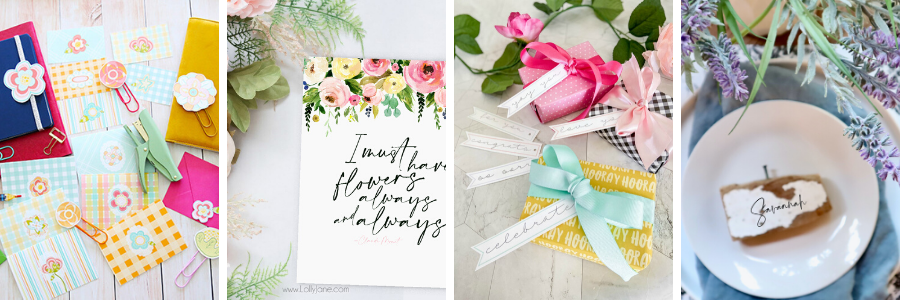
Spring Stationery and Garland Set – The Handmade Home // Spring Printable Art – Lolly Jane // Simple All-Occasion Printable Gift Tags – Tatertots & Jello // DIY Contact Paper Placemats – My Sweet Savannah
DIY Paper Hydrangeas – Happy Happy Nester // Crepe Paper Magnolia DIY – Craftberry Bush // DIY Cupcake Liner Flowers – Zevy Joy // DIY Butterfly Cloche and Printable – A Blue Nest // Free Spring Floral Print – Taryn Whiteaker
How to Make Paper Flowers for Spring – My 100 Year Old Home // A Paper Scroll Styled 3 Ways For Spring – She Gave It A Go // Crepe Paper Peonies with Cricut Maker – The DIY Mommy // Funny Spring Printable – Cassie Bustamante
Pin Me:

PIN ME:
Wow. Those are so pretty. I never would have thought crepe paper flowers could be so pretty!
so beautiful! i just got a cricut this winter and am having so much fun with it!
Stop it with the flowers! I can’t even take how cute they are! I am totally putting this on my massive “to do” list! These are so beautiful!
What setting did you use to cut the crepe paper using your Cricut?
I am wanting to make your crepe peonies. Yours look gorgeous. My Mom use to make crepe paper flowers years ago when I was growing up. I have cut out one set already but then realized the Styrofoam balls I have are too big. I am just wondering how big the Styrofoam balls are?
These are the balls I used.