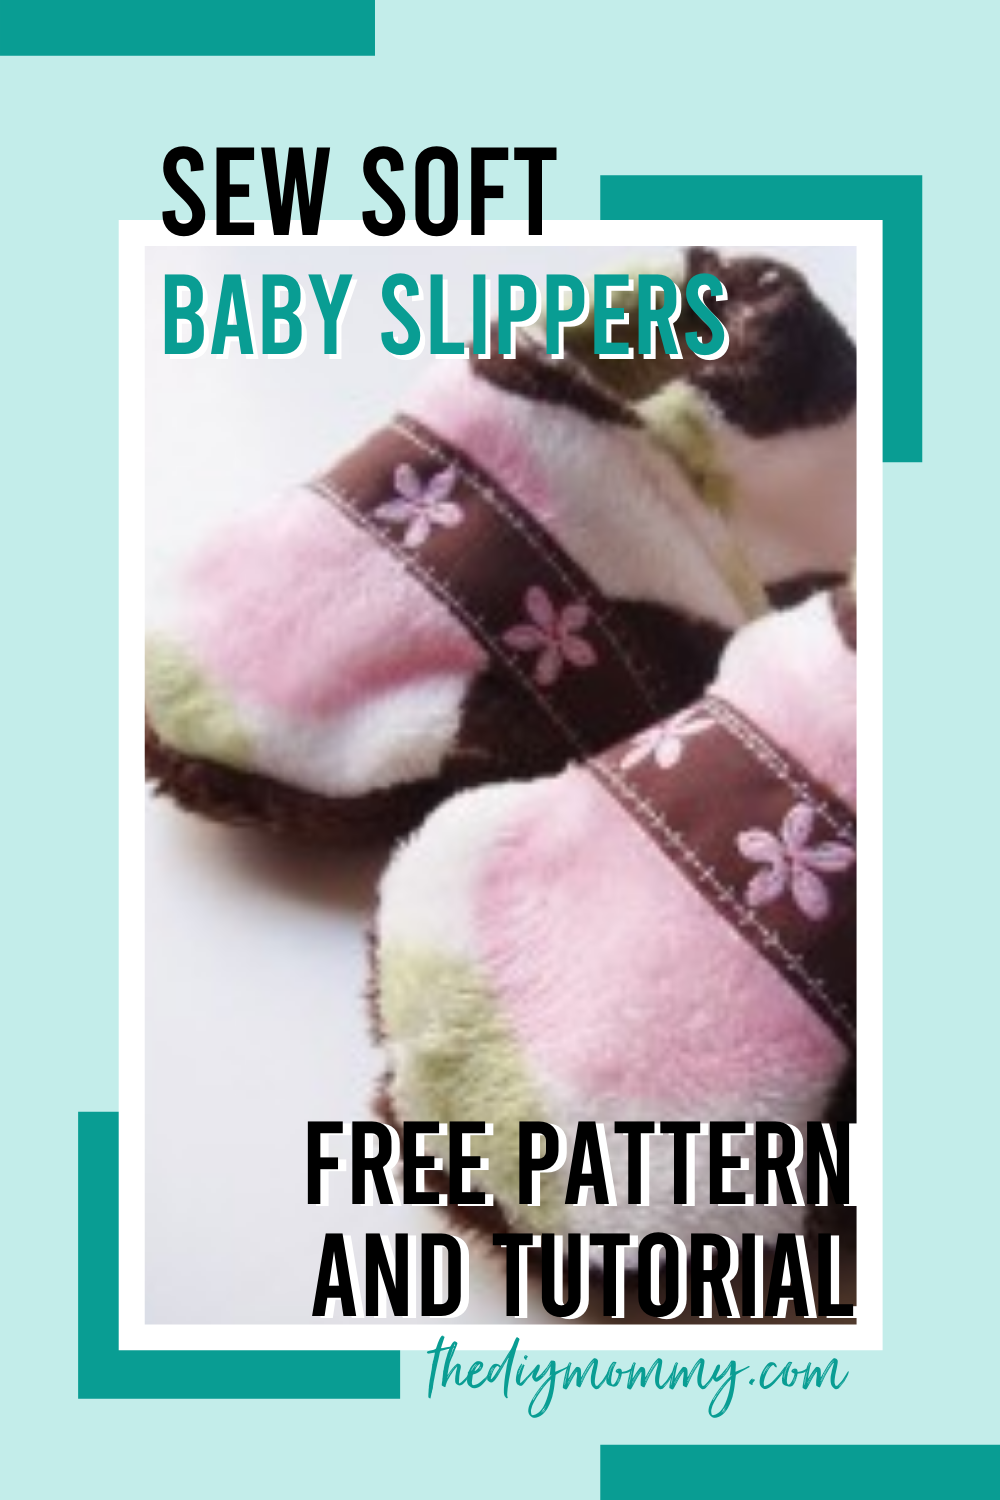
Sew Soft Baby Slippers
This post may contain affiliate links · This blog generates income via ads
 Update: You can now view a video tutorial for these soft baby slippers here.
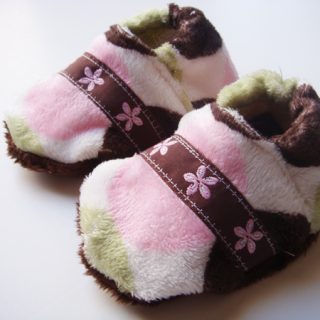
From what I’ve read, soft-soled shoes are the best for young babies (pre-walking age). I wanted some soft-soled shoes for my little daughter, but had a problem finding some that (a) were inexpensive and (b) didn’t fall off of her little feet! This pattern for Soft Baby Slippers is a pattern I’ve drafted and tested on my baby girl. They’re quick to sew, soft for little baby feet, and the elastic around the ankles helps them stay on! In this example, I’ve decorated them with ribbon, but the embellishment options for these are endless – use your own creativity! Materials:
- 1/4 yard printed minkee fabric (or flannel, polar fleece, cotton, pretty much anything would work!)
- 1/8 yard double-sided (“plush”) minkee fabric (or polar fleece)
- 1 package 1/8″ elastic
- ribbon or other embellishment
Instructions:
 |
|
 |
|
 |
|
 |
|
 |
|
 |
|
 |
|
Printable Instructions:
Sew Soft Baby Slippers
This pattern for Soft Baby Slippers is a pattern I’ve drafted and tested on my baby girl. They’re quick to sew, soft for little baby feet, and the elastic around the ankles helps them stay on! In this example, I’ve decorated them with ribbon, but the embellishment options for these are endless – use your own creativity!
Materials
- 1/4 yard printed minkee fabric (or flannel, polar fleece, cotton, pretty much anything would work!)
- 1/8 yard double-sided (“plush”) minkee fabric (or polar fleece)
- 1 package 1/8″ elastic
- Ribbon or other embellishment
Instructions
- Download & print our PDF pattern: The DIY Mommy – Soft Baby Slippers
- Cut heel & toe pieces from printed minkee fabric, and sole pieces from double-sided minkee fabric.
- Cut two 6″ pieces of ribbon
- Cut two 4″ (size 0-6 mo) or 4 1/2″ (size 6-12 mo) pieces of 1/8″ elastic
- Fold heel fabric piece in half, wrong sides together. Sew a seam 1/2″ from the folded edge, creating a casing for the elastic
- Thread the elastic through the casing, tacking down on 1/4″ from each end with several rows of stitching
- Fold the heel piece into a “U” shape with the elastic casing edge on the inside
- Place a toe fabric piece on either side of the heel piece, right sides together. Ends of heel piece should be flush with flat end of toe pieces. Pin, then sew a 1/2″ seam (sewing three pieces together)
- Turn slipper to the right side, pulling heel piece away from toe pieces
- Sew ribbon onto top toe piece if desired, 1/2″ from ankle
- Top stitch two toe pieces together, close to ankle
- Pin heel piece to the rest of the slipper, right sides together
- Sew heel to slipper with a short, wide zigzag stitch, making sure you catch all three layers of fabric (it’s a good idea to sew once with the heel facing you, then flip the slipper over and zigzag over the seam again from the other side)
- Flip slipper right-side-out, pushing out the seams, and your done! Make the 2nd one the same way.
PIN ME!
More DIY Sewing Projects for Baby
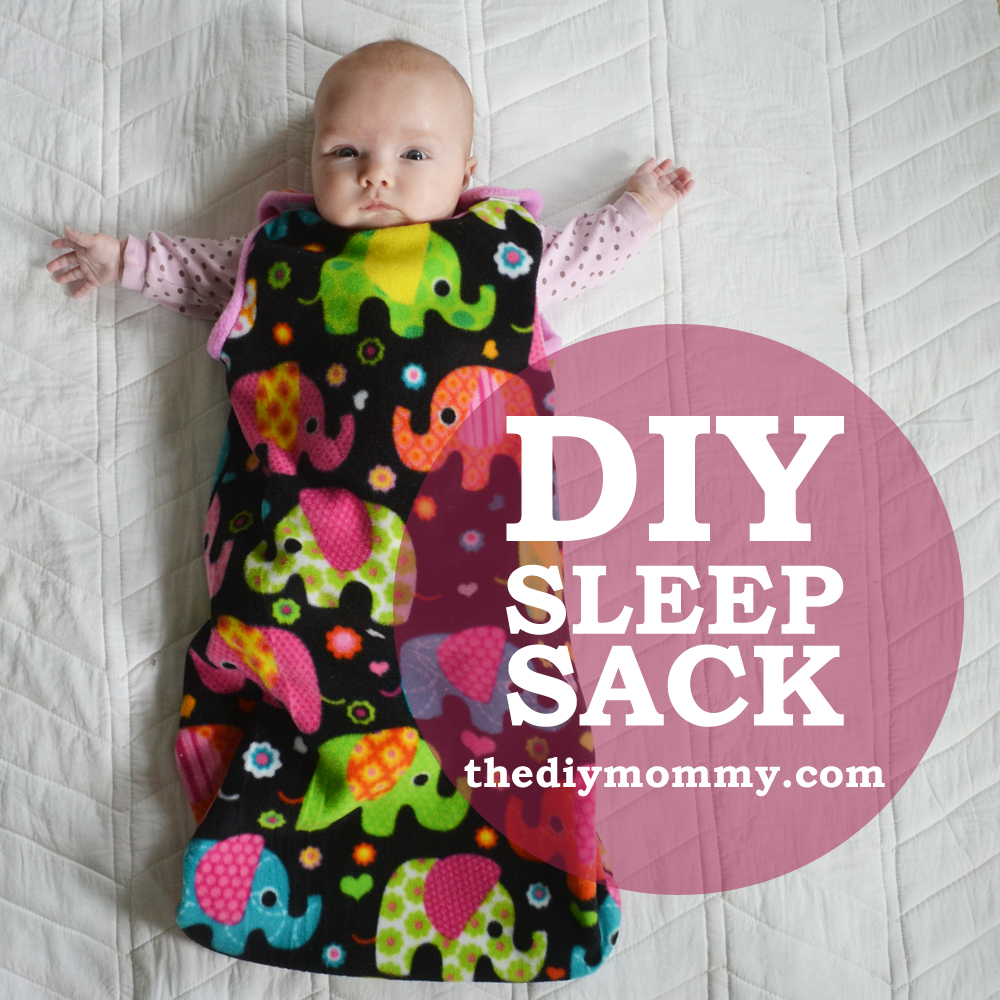
Sew an Easy Baby Sleep Sack
This sleep sack is a simple design with one layer, some DIY edge binding and snaps or velcro at the shoulders. Want to make one for your little one? Here’s a free pattern and tutorial for my easy baby sleep sack!
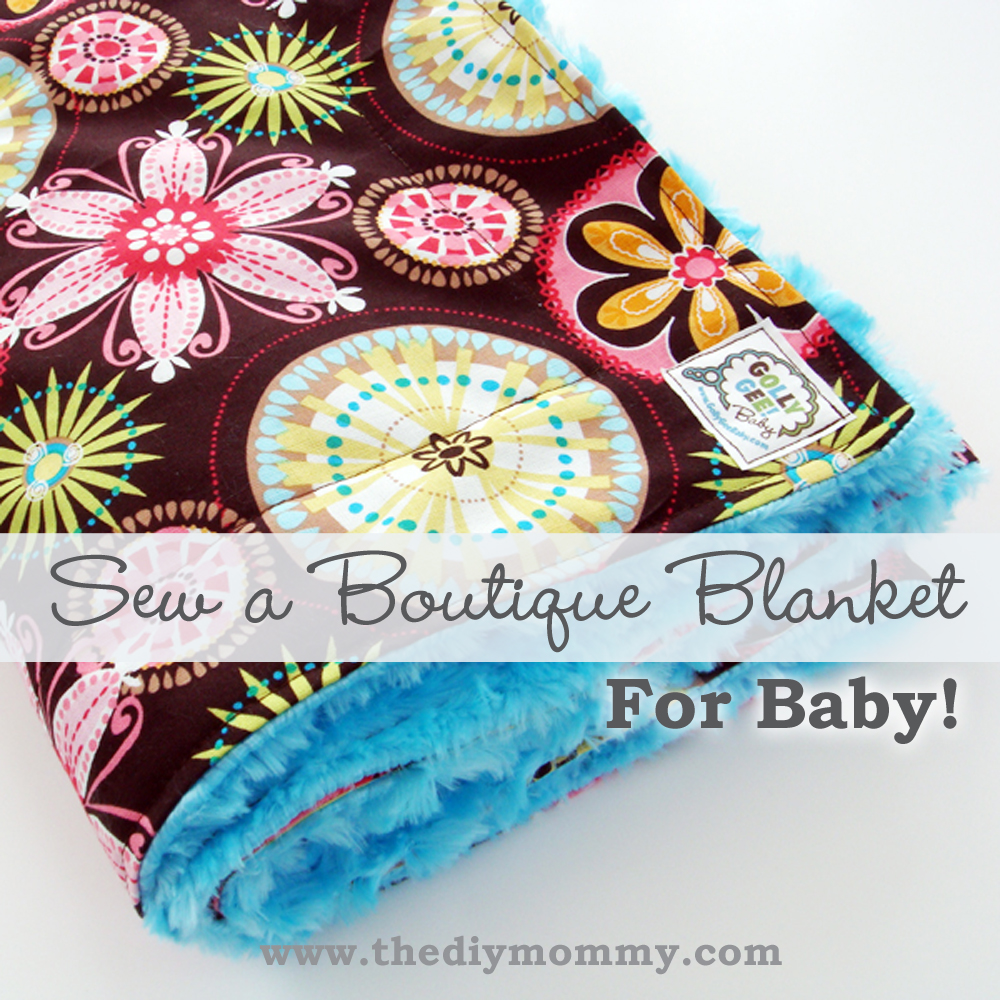
Sew a Boutique Blanket For Baby
These cuddly blankets make a beautiful gift for a new little baby bundle and they’re fun and easy to sew! My favourite combination for a baby blanket is to sew it using quilting cotton on the outside and buttery soft minkee fabric on the inside. The result is a substantial, high-quality blanket that is wonderful for a baby!
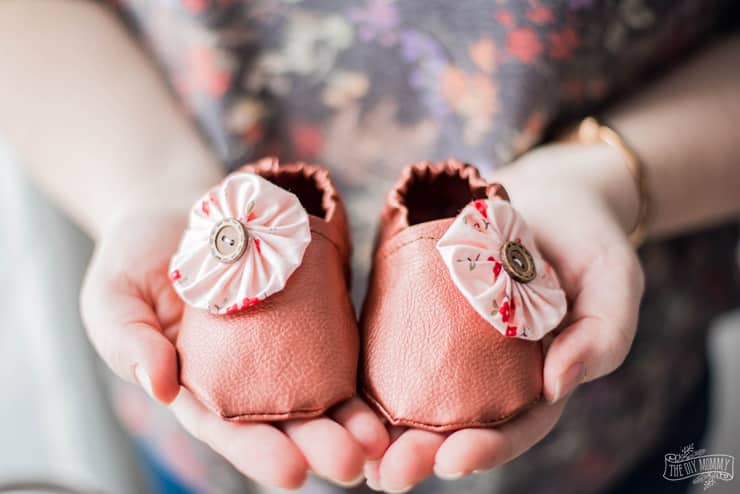
Sew Faux Leather Baby Slippers with the Cricut Maker
Learn how to sew adorable faux leather baby slippers with a flower detail and how to cut all of the faux leather and fabric pieces for your project with the Cricut Maker.
im so excited to make some custom shoes for my son! thank you 🙂
I just made a really pretty pair of these for my granddaughter who will arrive in Jan. I’m wondering if you have a pattern for a two years feet?
the thing that i prefer as baby toys are those soft cute little animals and also toys that enable the baby to learn*~-
I love these slippers! Thanks so much for the pattern. I do have a question though. I was making them for a newborn but once finished the opening for the foot was too small. I’ve tried a few other times with the larger size and again the opening was too small. Am I doing something wrong?? Help! Thanks!
Hi Annastasia! Are you attaching the heel to the toe properly? After the heel is folded lengthwise and elastic is threaded through, the short (folded) ends of the heel need to be sewn to the toe. I find that often people don’t attach the proper sides of the heel to the toe (the short sides). Let me know if this helps, if not I can try to add a better diagram to the instructions to make it more clear. ~ Christina
It has been a long time since this was posted and commented on, but I found you thru Pinterest.
I was having a similar problem as the previous commenter. My hole was too small when sewn to the toes. I discovered that I had folded the heel fabric in half the wrong direction. This would also explain why 4″ of elastic provided no gather, even when trimmed half an inch.
“the short (folded) ends of the heel need to be sewn to the toe. I find that often people don’t attach the proper sides of the heel to the toe (the short sides).”
Christina… I am so confused! I know how it should look but I just can’t grasp what you mean at this part of the instructions! HELP! Do you have a Youtube video of this?
Yahoo… I got it! They are so cute (and so tiny)!
Wonderful! Hooray!
I think the key is to fold the heel piece like a hot dog bun rather than like a taco. Also, make a sandwich with toe piece (right side up), heel piece curved in a “C” facing the flat edge of the toe pieces, other toe piece (right side down). Is that correct?
That’s Right!
I’ve been having this issue as well! Every time I make the 0-6m the opening is too small. I’ve watched the YouTube tutorial and I’m doing it correctly so I’m just confused. Is it suppose to be that small???
On a side note I love the pattern thank you !
Perhaps check and see if the pattern is getting shrunk? Sometimes when people open the pdf to print, their printer settings will shrink it…
Thanks a bunch Christina for your response. I think I’m putting it together correctly, I’m starting on a pair tomorrow once I start that step I’ll post a picture just to be sure. Thanks again!!
Hi ~ I am VERY new to sewing and am having a hard time with attaching the heel to the toe pieces. I’m not sure how to fold the heel into a “U” and attach the toe pieces. Could you explain that a little more for me? Thanks so much! And I’m SO excited to make these for my kids! 🙂
Nevermind…I figured it out! And they turned out ADORABLE!!! Thank you! 🙂
Erika… please tell me how you figured this part out as I can’t seem to.
Hi Karen ~ I hope this helps…I was going to try to attach a picture, but can’t seem to figure out how to do that. Basically, you have your heel piece with the elastic threaded and sewn in, and you’ll take that pin the short edges to the top of one of your toe pieces…one side to one corner, other side in the other corner. So the short edges of your heel piece line up even with the non-curved side of your toe piece. (the “U” shape she mentions in the tutorial was the part I struggled with, but the elastic becomes the inside part of the “U” and the short sides of your heel piece become the tops) Then pin your other toe piece on top of the heel piece so it’s sandwiched in between the toe pieces and sew a straight line across all 3 pieces. Just be careful to just sew the short edges of your heel piece! 🙂 Good luck!
Thanks so much for making this clear, Erika!
Hi, I just wanted to be sure I printed the right pattern size – when printed, the pattern fills an 8 x 11 page, correct? It looks a bit big…but I guess when I account for a seam allowance, perhaps this is the right size…?
Nichole – Yes, they should fill the whole page! 🙂
Ηi, I log on to yοuг blogs on a regular basiѕ.
Υour writing style іѕ аwеsοme, κеep it up!
What number is your printer set at when printing pattern, when I printed mine it is small.? I know you said it should fill the whole page but what setting is that?
Hi Jeri! Every printer is different and mine doesn’t have a setting like that so I’m unsure. Sorry! I will try to upload a new pattern soon that has a 1″ x 1″ square on it to check. I’ll let you know when I’ve done that!
have you uploaded the new pattern yet with the 1″ square? I am also having a difficult time figuring out sizing. Thanks so much 🙂
Cute slippers. I’ve sewn everything except the upper portion to the sole. Do I sew with a 1/2″ seam allowance there, also?
Thanks,
GrandMimi (sewing for our 1st grand-baby)
Hello! You can use a 1/4″ seam on the sole (and then there’s not so much excess fabric inside the slipper). Let me know how they turn out & congratulations on your first grandbaby!
Hi, I do think this is an exscellent web site.
I stumbledupon it 😉 I will return yet again since I bookmarked it.
Money and freedom is the best way to change, may you be roch and
continjue to guide others.
I also struggled with the sewing the heel to the toe piece. There is a YouTube video on Videojug that shows it step by step using a very similar pattern. It really helped me with that step.
Hi There!
Love these, wanting to sew a larger pair for a toddler as slippers, any idea or tips on enlarging the pattern? Thanks a bunch!
Hi, Jenn! I might post a sized pattern soon. I’ll keep you posted!
I am also attempting to make a toddler size as slippers but not having success trying to size up. The opening for the ankle is too small.
Hi,
Can you tell me what size the printed cut outs are – I tried two different prints on my computer, one ‘Actual Fit’ and one normal and they both printed slightly different sizes.
Thank you 🙂
if i needed a bigger size maybe 18-24 how would i do to size up a little?
Thanks for the tutorial and pattern, Christina! I just made a cute pair of cozy fleece slippers for the grand baby! It seems that everything I go to make, when I google it, there you are, showing me how!
Christina is so thrilled that she is able to help you out with all your DIY projects. Happy crafting 🙂
Hi this is a good pattern and they worked out well first practice pair. I was wondering what the seam allowance is when sewing the heel to the upper I did 1/4 inch. There’s no mention of seam allowance on the last part of the instructions.
Hey Sara, so happy you were able to make these soft slippers. We will have to update that measurement, thank you for letting us know :). You’re right with going with the 1/4″ ?
Thank you for this pattern! I made a pair from a felted sweater for my granddaughter. I had to modify it slightly since it was only one thickness due to the felted fabric. But they turned out great, and actually stay on her feet.
I sew and knit/crochet for our local hospital and have been asked for baby booties for babies that have to undergo surgery. The lights on the bassinets don’ reach the feet so they need them to keep their feet warm. Do you think these slippers would work for that and not be kicked off?
Thank you,
Roberta
I checked with Christina and she said that in her experience, they stayed on quite well!
I think I’ve followed the directions pretty well all the way up until step 12. Is it me or should the instructions say attach “sole” to the rest of the shoe instead of heel on steps 12-14??? I have three pattern pieces, heel, toe and sole. How I followed the directions meant the heel was already attached by this step. And then I see no directions for attaching the sole??? I’m sure it’s me. I’m sure I did something wrong 😀
Hi! Questions regarding differences between written instructions and the video. Step 8 of the instructions says to sew a 1/2″ seam, while the video says to sew 1/4″ seam. Which is preferred in order to get the finished size correct? I also noticed the written instruction (Materials) calls for 1/8″ elastic, while your video says to use 1/4″. Does it matter? Thanks for clarifications.
Hi Karen,
Sew a 1/2″ seam and use 1/4″ elastic. Sorry for the confusion.
Am I the only person who has read instructions several times and have not found where the sole is attached?
This video may help. https://thediymommy.com/video-sew-soft-baby-slippers/