Handcrafted Garden Gifts Made Easy with Cricut!
This post may contain affiliate links · This blog generates income via ads
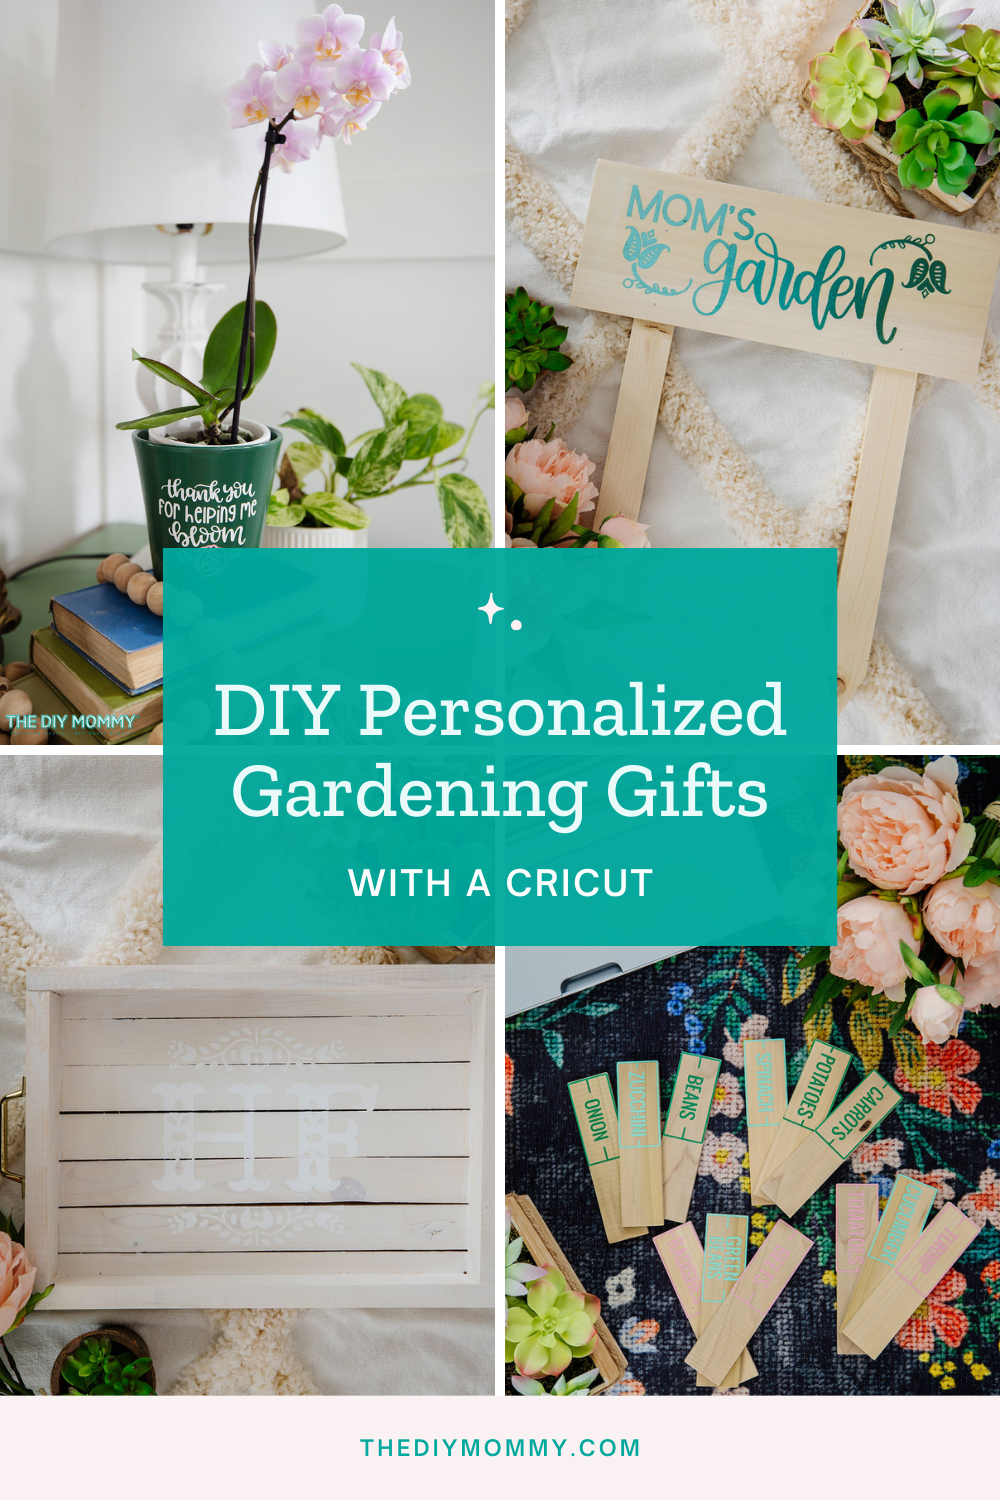
It’s hard to believe, but gardening season is just around the corner and so is Mother’s Day! So, today I thought I would share some fun, heartfelt ideas for personalized gardening gifts that you can make with your Cricut! From a gorgeous DIY monogrammed garden tray to an adorable garden sign and more, you’re sure to find the perfect gift for mom (or yourself!) this season.
I used my Cricut Maker 3 to create all these gifts. It’s so easy to set up, and it can cut over 300 types of different materials! It can also draw, write, emboss, score, and engrave. New to Cricut? No problem! You can learn all about how to set up your new machine right here and start making these fun projects right away.
I got everything I needed (including Cricut supplies!) at Home Depot. Their seasonal and hobby wood sections have all kinds of perfect items you can personalize with your Cricut to make fun and memorable little gifts. If you aren’t sure where to find these sections, just ask one of Home Depot’s friendly employees for help! This is what I brought home after visualizing as I walked the aisles:
- Some tiny potted succulents
- A small plant pot
- Poplar boards in different sizes
- Bundle of garden stakes
- Gardening accessories: gloves, seeds, trowel, etc.

And, Home Depot Canada online is now your one-stop shop for all things Cricut! I am so excited about this. Not only can you purchase the actual Cricut machines on their website, you can also get all the accessories you need! It’s so nice to get all my craft supplies in one place.
So, go to Home Depot, do a bit of browsing, then fill up your cart and go through the checkout with whatever you need to create beautiful personalized garden gifts like the ones I’m about to share!
Watch How I Created Personalized Gardening Gifts
Table of contents
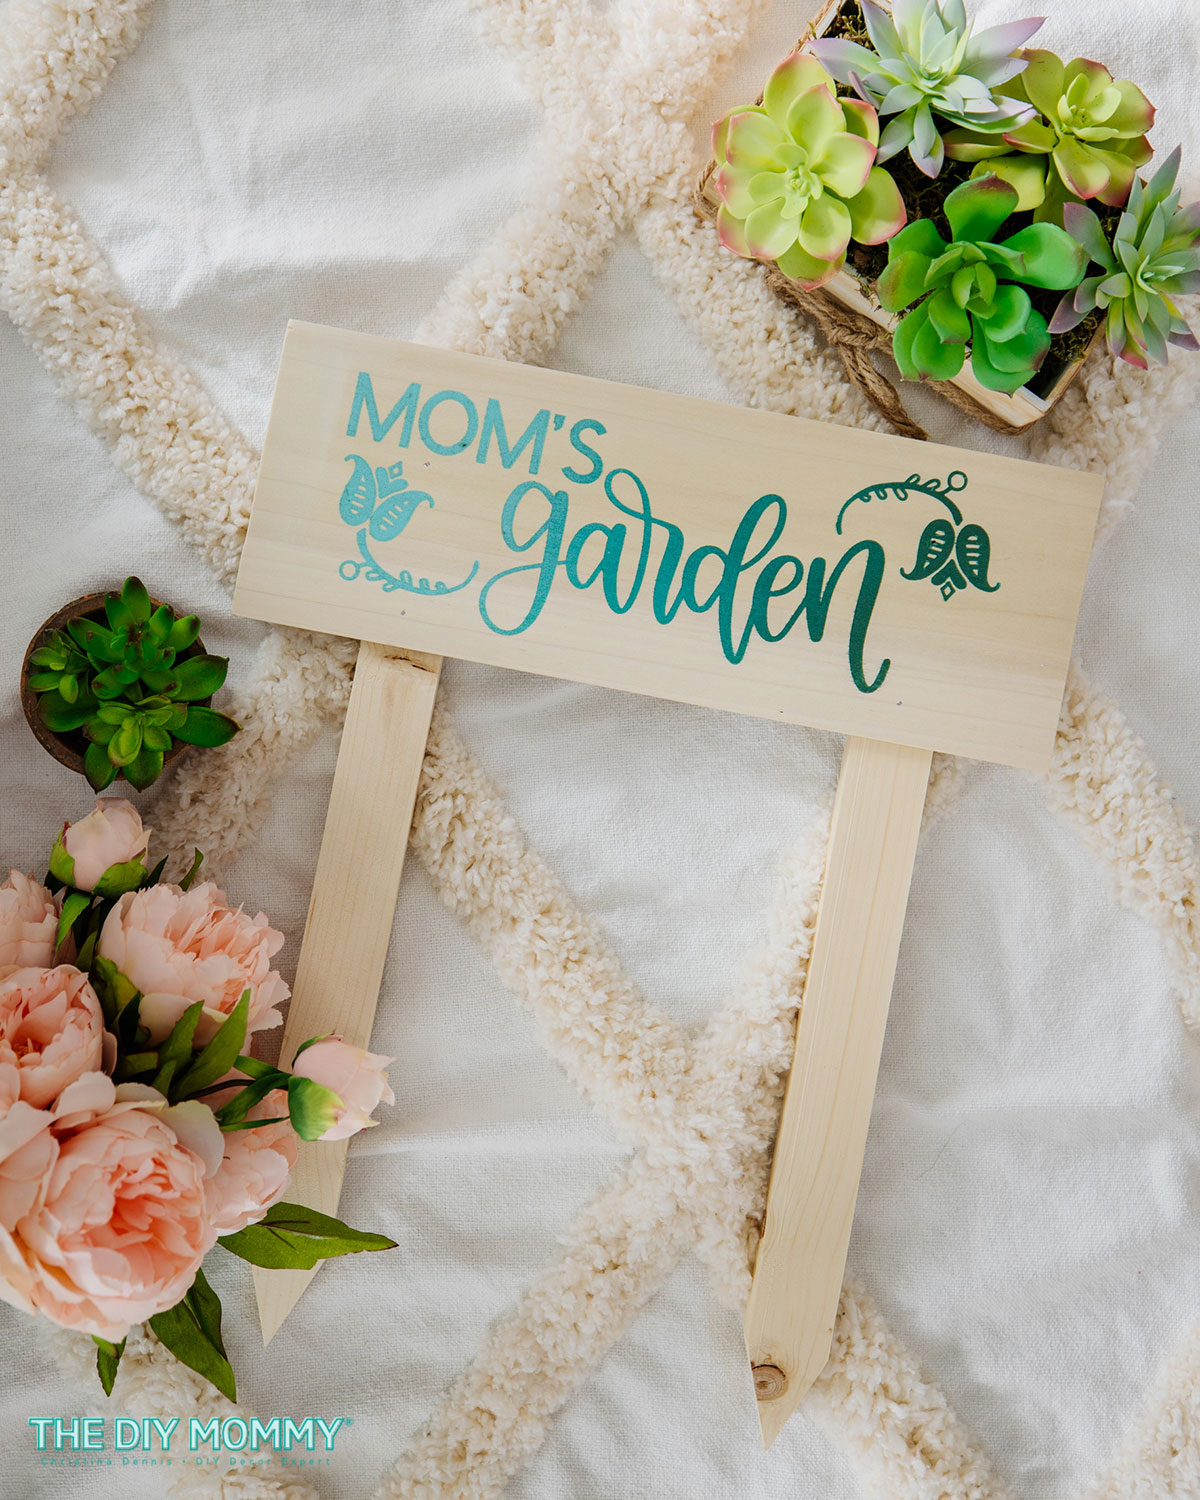
Easy Garden Sign with Ombre Paint Effect
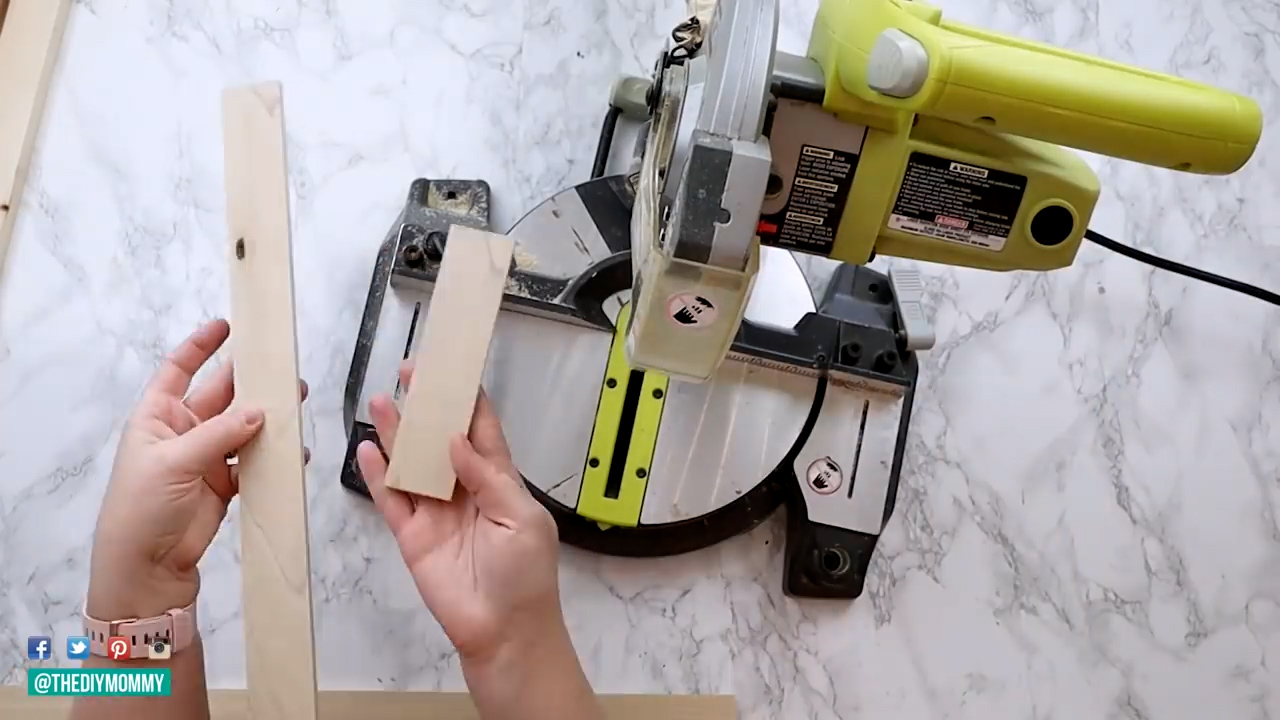
For this project, I used some of the 5″ poplar hobby wood. I cut a piece of it to 14″ long with my miter saw. Then, I laid my cut piece of poplar board across two of the garden stakes I purchased and nailed them together with my finishing nailer.
The Stencil
Then, I went to Cricut Design Space to create the stencil for my sign. (Remember, Cricut Design Space is a free product that comes with your Cricut machine! Using it is one of my top recommendations for any Cricut owner.) I created a new project and then used the “Shapes” tool to create a rectangle that was the exact size of the sign I was making.
Next, I went to the “Images” section to look for an image of the word “garden” in a pretty font. Once I inserted that on my rectangle, I created a text box and wrote the word “Mom’s” in it. Then I moved that box into the rectangle and played with the spacing until it was perfect.
I also wanted some other images to enhance the garden theme of my sign. I found some pretty florals and added them to the rectangle.
The text and florals are all the same color because they will all be cut out of the same piece of vinyl.
For this project, I used Smart Stencil Vinyl. This is a very convenient product because it doesn’t require a mat to cut it. This is one of my favourite things about the new line of Cricut machines: no more mat!
I used the app to navigate to my project on my phone and followed the prompts to send it to my Maker 3. Once it was finished, I cut the material and weeded out the vinyl I didn’t want as part of the stencil.
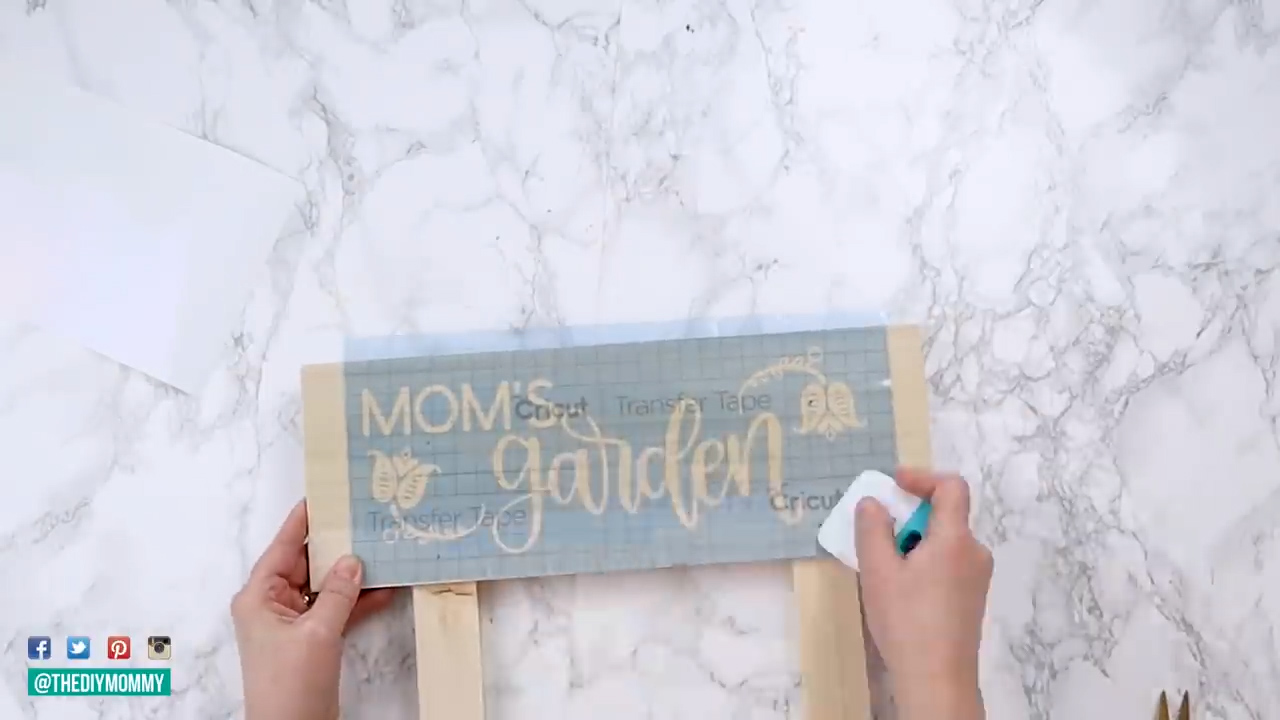
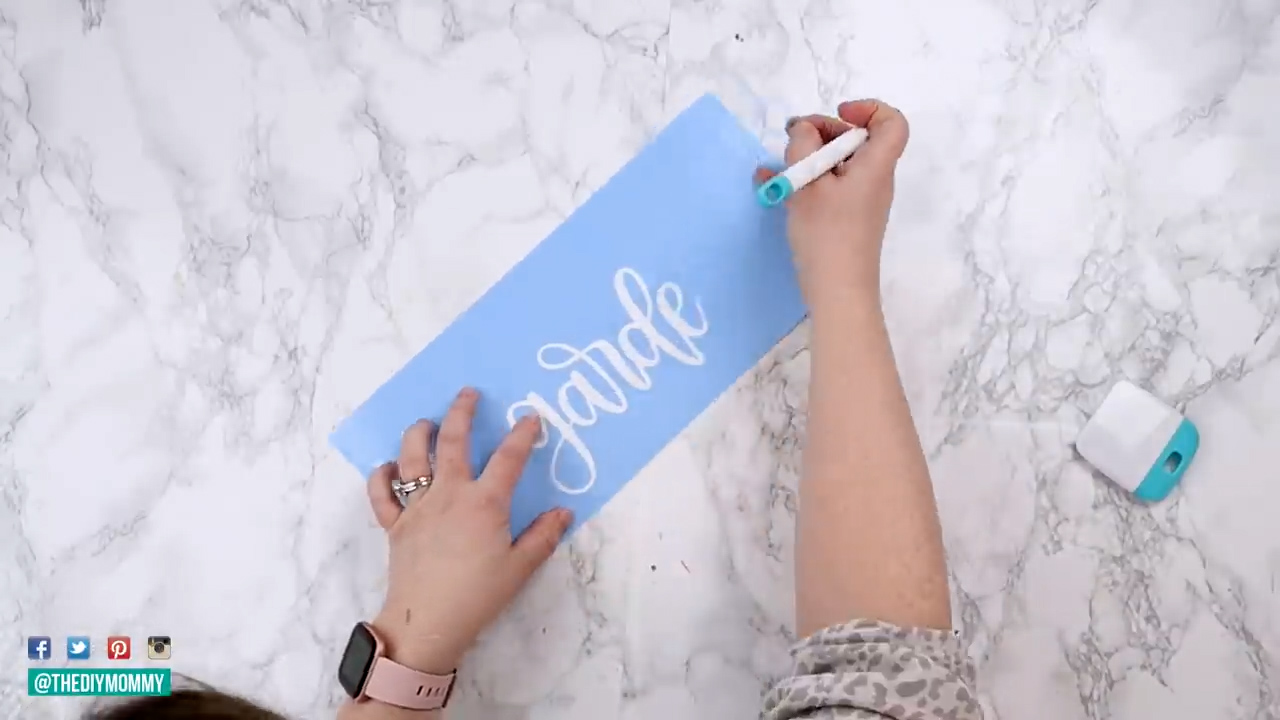
Then, it was time for transfer tape! I applied it to the stencil, making sure to firmly press it down with a smoothing tool. Then, I removed the stencil from the backing and placed it on my wood sign. Then I removed the tape, leaving the stencil on the wood, ready and waiting for me.
The paint
Now that the stencil was in place, I decided to do an ombre spray paint effect for this particular sign. So, I taped off the sign to keep the wood clean while I sprayed. I did this by attaching sheets of plastic to the top, sides, and bottom using painter’s tape. Make sure you don’t tape over the words, or your stencil won’t work properly!

I used three shades of a similar color category to create this effect: a darker green, a teal, and a lighter aqua. I sprayed the paint in three sections, going lighter from the left to darker at the right. Once the paint dried, I removed the stencil, taking extraordinary care not to chip or peel any of the paint while I did it. It worked perfectly! The ombre effect is so beautiful and the stencil I designed turned out to be so pretty. This sign is going to look gorgeous in a veggies or herb garden this summer.
This is very high on my list of favorite outdoor gifts I have created! And the beautiful thing about it is how easy it would be to customize for someone other than “Mom”.
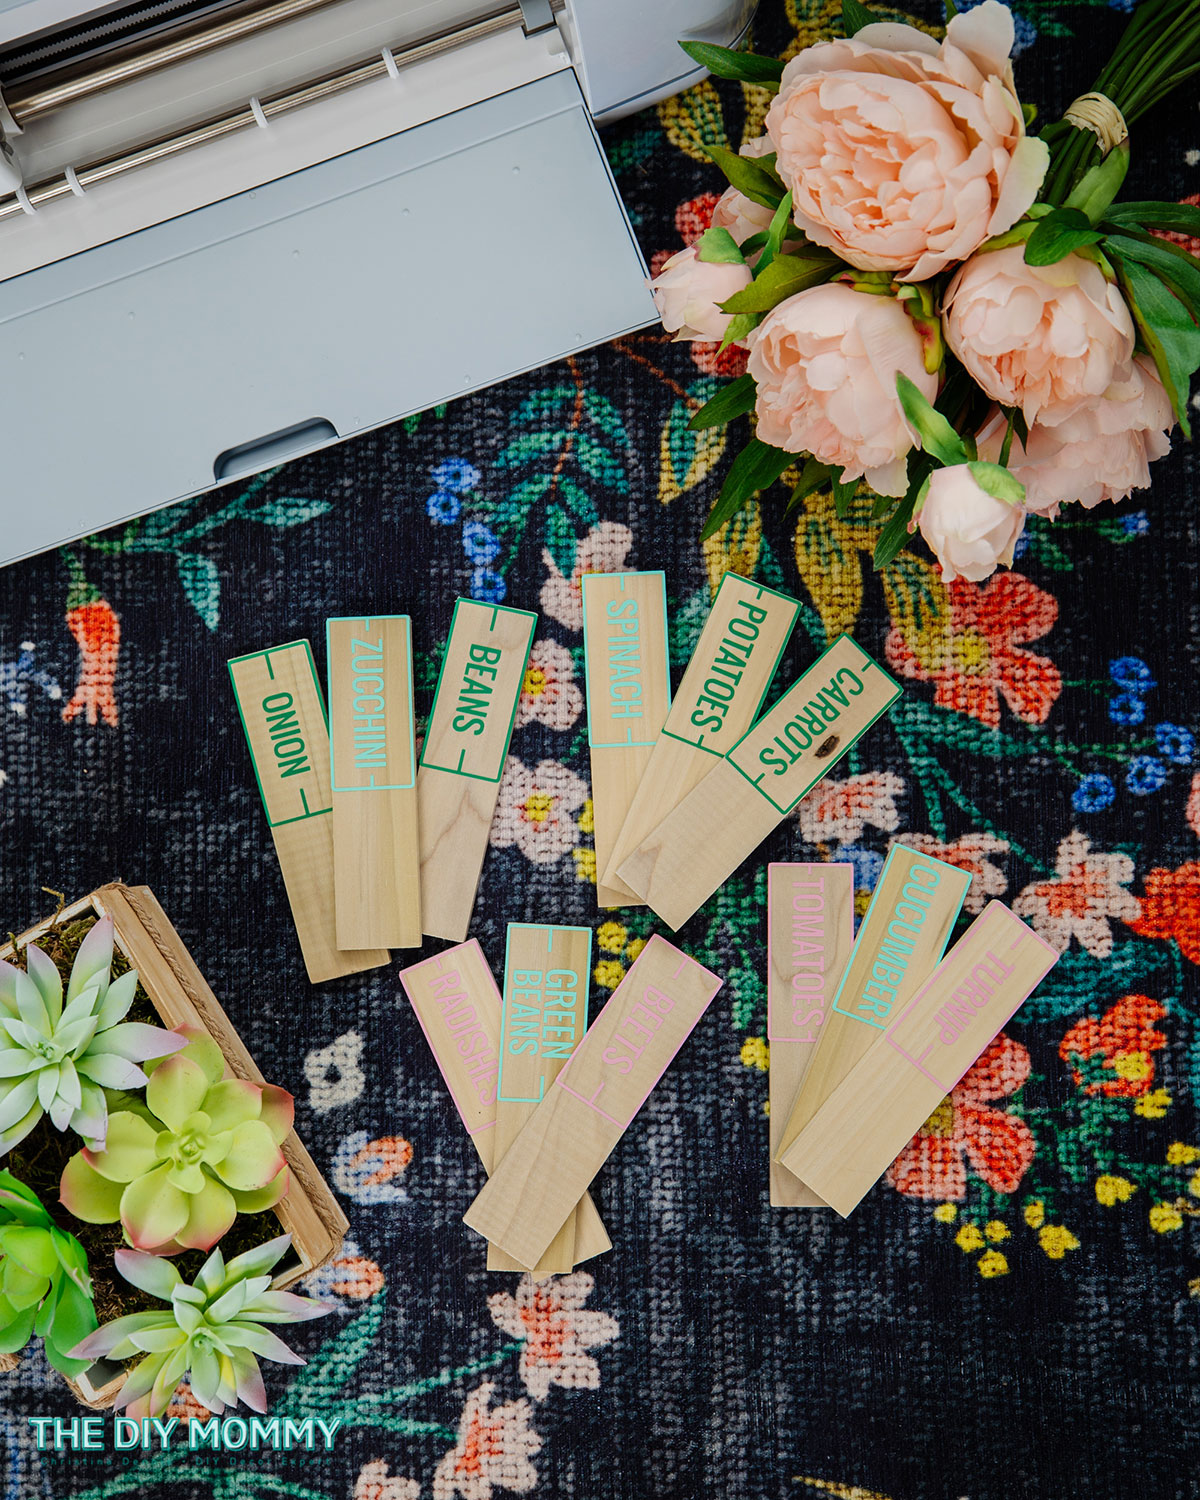
Simple Modern Garden Markers
So, what do you buy someone who loves to garden? Make these garden markers instead of buying anything! For these simple garden flags, I used the 1 1/4″ poplar hobby wood and cut a few pieces into 4 equal-sized lengths. How many boards you need will depend on how many markers you want to create.
I went into Design Space to find some vegetable marker artwork. Pro tip: Use the “Hide Contour” tool to hide any part of an image you don’t want. Sometimes you will find the PERFECT image if only one line is gone! This tool makes that possible.
Once I found the markers I wanted, I resized them to fit my wooden pieces exactly. It is so handy to be able to see the exact layout you will be working with once your images are cut!
I made them three different colors because I wanted to use three different colours of vinyl. You can make them all the same if you want, or make each one different! Totally up to you.
For this project, I used permanent Smart Vinyl. This is a hardy material and I wanted to be sure that my vinyl really adheres to the wood stakes, especially since they will be used in an outdoor space.

Just send the project to your Cricut using the app, and follow the directions for cutting the different colours of vinyl.
Once they were cut, I weeded away the excess vinyl that I didn’t want on the markers. Then, I applied my transfer tape and removed the vinyl sticker so I could put it on the wooden stake.
That’s it! These are such an easy gift, perfect for the gardening enthusiast in your life! It’s a fun little garden-planting kit that anyone is sure to love and a great way to mark the vegetables and herbs in any garden bed.
DIY Personalized Gardening Tray Gift from Stakes
This tray is such a pretty little craft! And so easy too.
Make the tray
For this little tray, I used 9 garden stakes cut down to 15″ each. I cut the pointed end off so they had a straight edge on both ends.
7 of these cut-down stakes formed the bottom of my tray. 2 of them (set on edge on the outside of the last stake on either end of the row) formed the long sides. I cut 2 more stakes down to the right size to fit on either end of the row of 7 stakes to form the other 2 short sides of the tray.
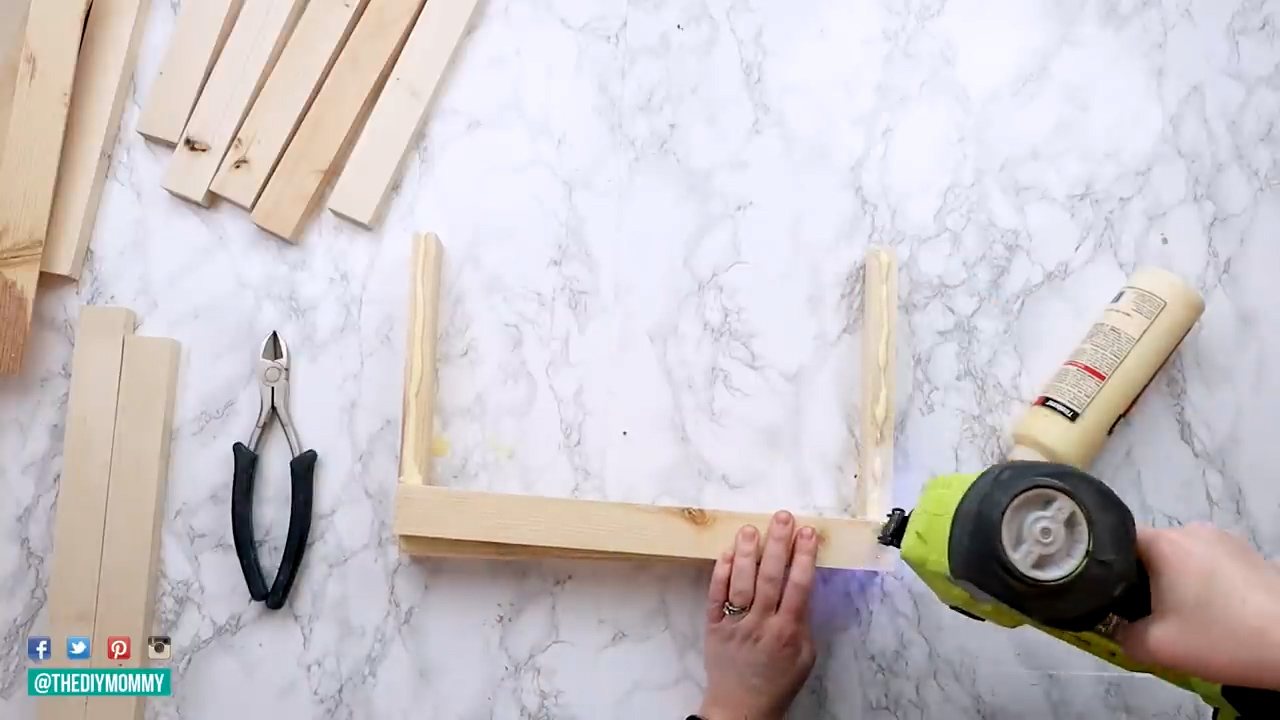
To put it all together, I first put wood glue on the edges of the 2 short pieces and 1 of the long pieces. I set them in the shape of a “C” with the glued edges up so they were ready for me to attach the 7 long pieces that form the bottom of the tray.
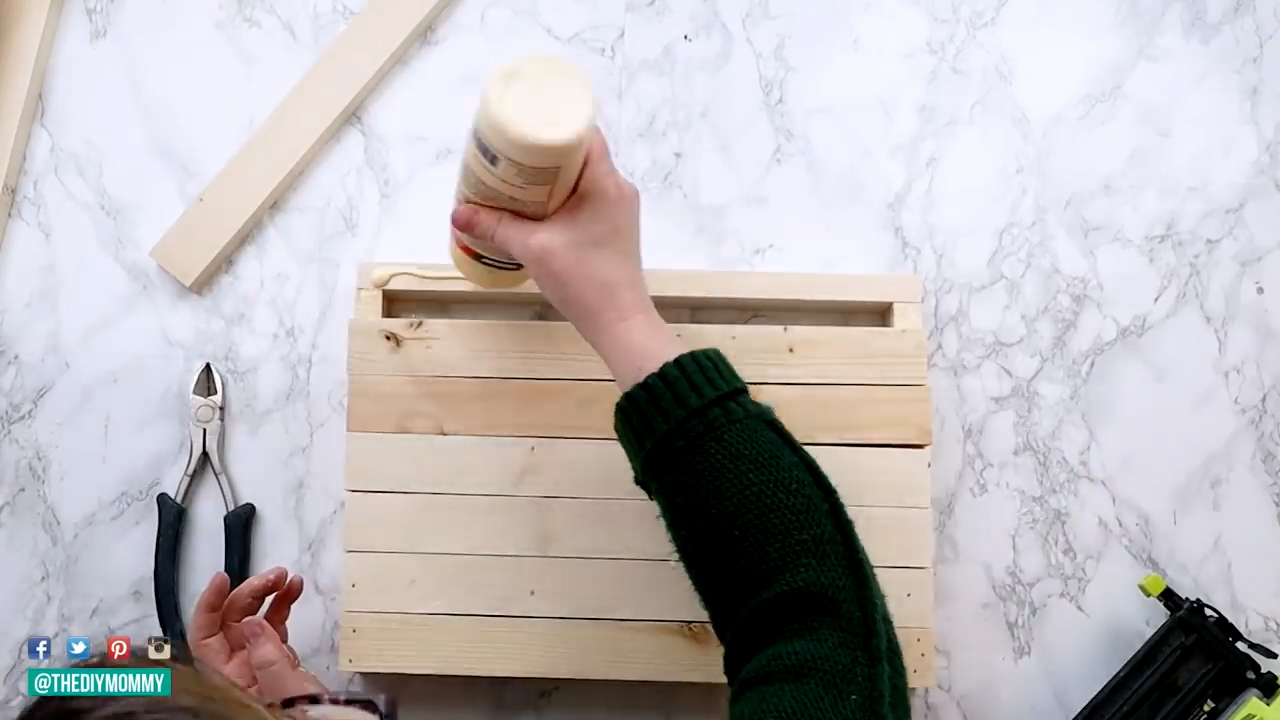
Then I took the first bottom piece and set it down at the back of the “C”, on top of the edges that had glue on them. I used my finishing nailer to nail the ends in place for extra security. I did the same for the other 6 long pieces and the second short end piece to close in the “C” and make it a rectangle.
Whitewash it
Once the glue was dry, I mixed one part water with one part white latex paint to create a whitewash. I brushed the solution all over the inside and outside of the tray and wiped off excess paint to let the natural wood grain show through.
Monogram it
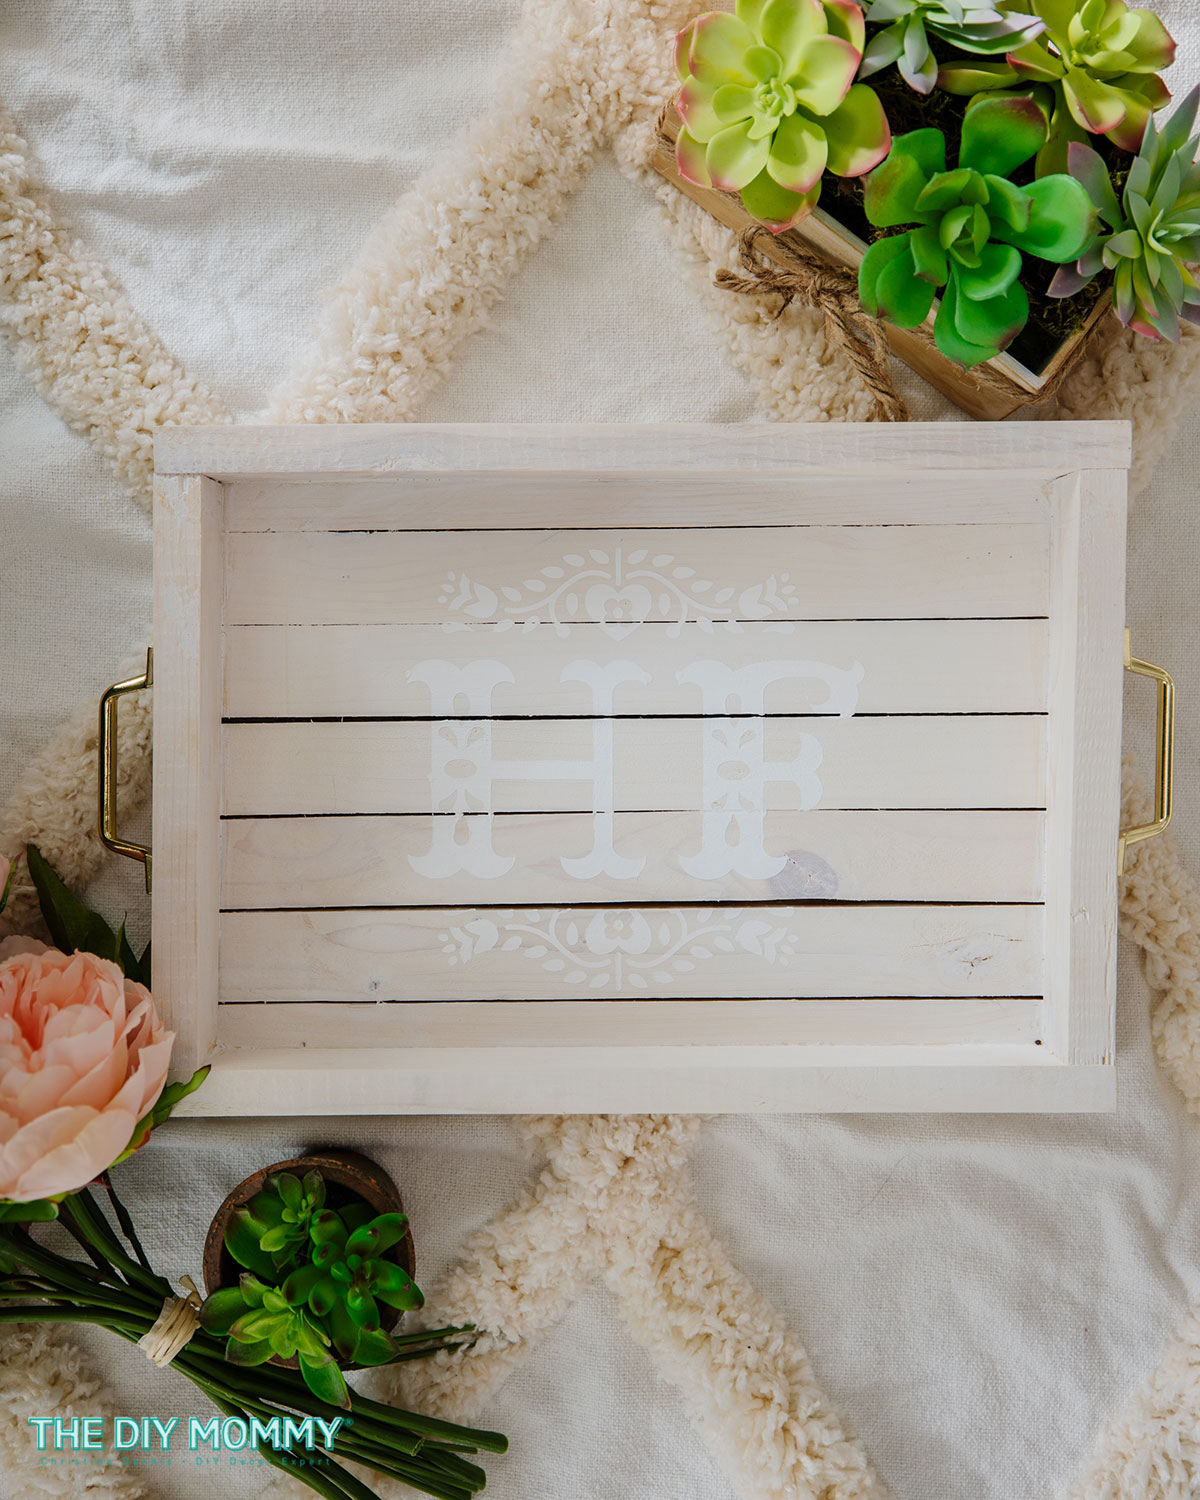
Now, to Cricut Design Space! I made this tray for my mom so I used her initials: “HF”. I used the “Shape” tool to create a rectangle the same size as my tray bottom, added the letters, and then found a few floral embellishments that I loved. You can play with the formatting and size of all the elements you choose until you’re sure it’s perfect.
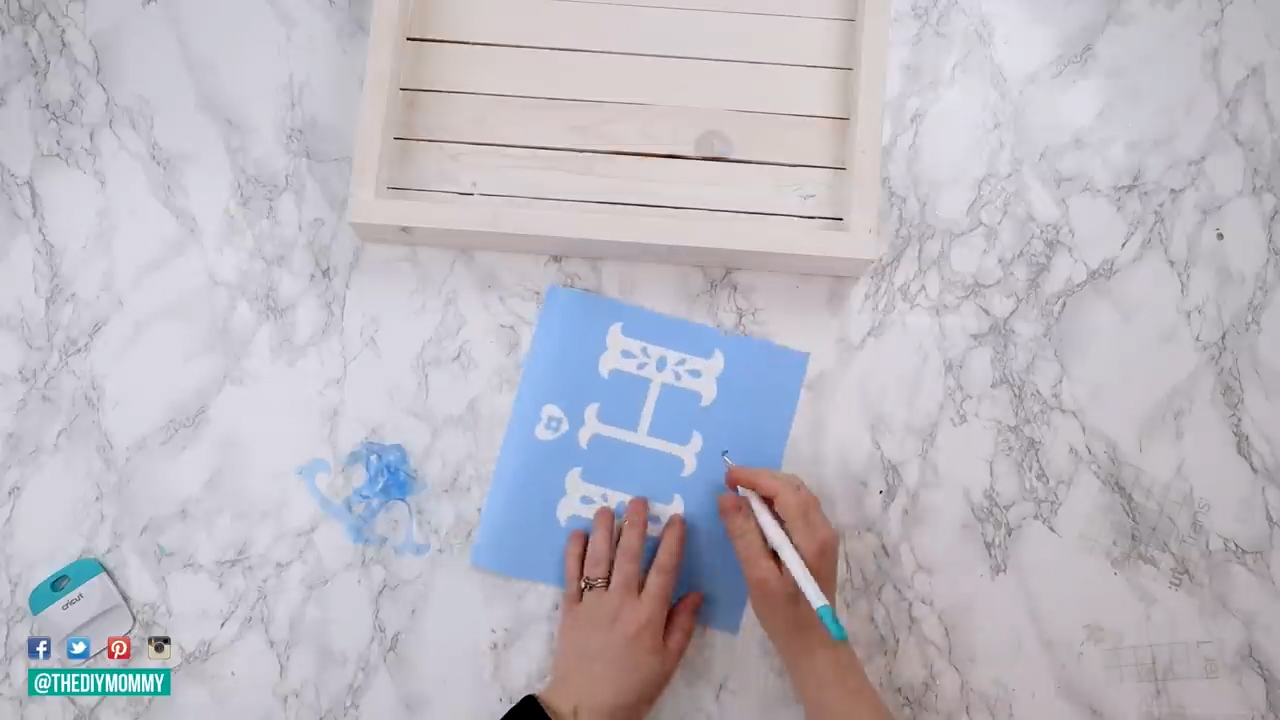
I used my Maker 3 again to cut my design onto Smart Stencil Vinyl. You know the drill by now: after the design was cut, I weeded away the excess vinyl, applied transfer tape, peeled off the backing of the sticker, and then applied the stencil to the inside bottom of the tray and peeled off the transfer tape.
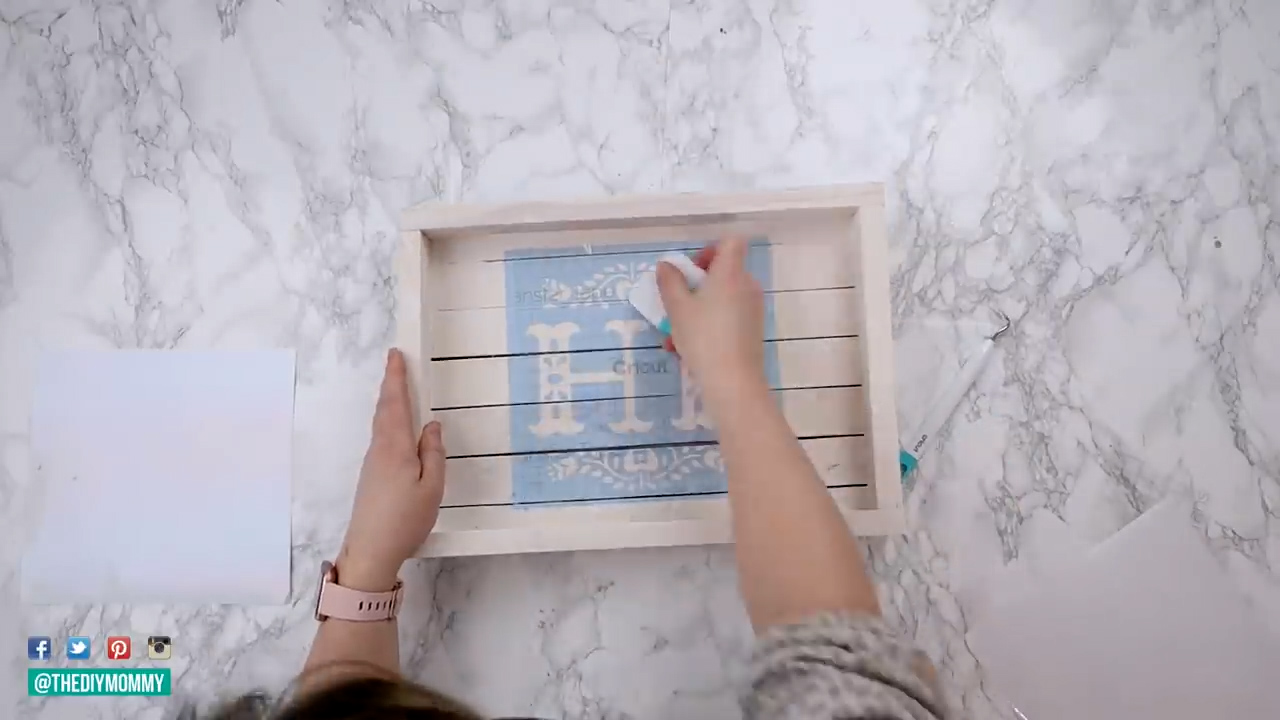
To paint the stencil, I decided on a tone-on-tone look. So, I chose a home decor chalk paint in white, since the wood was already whitewashed. With a small brush, I painted over the stencil.
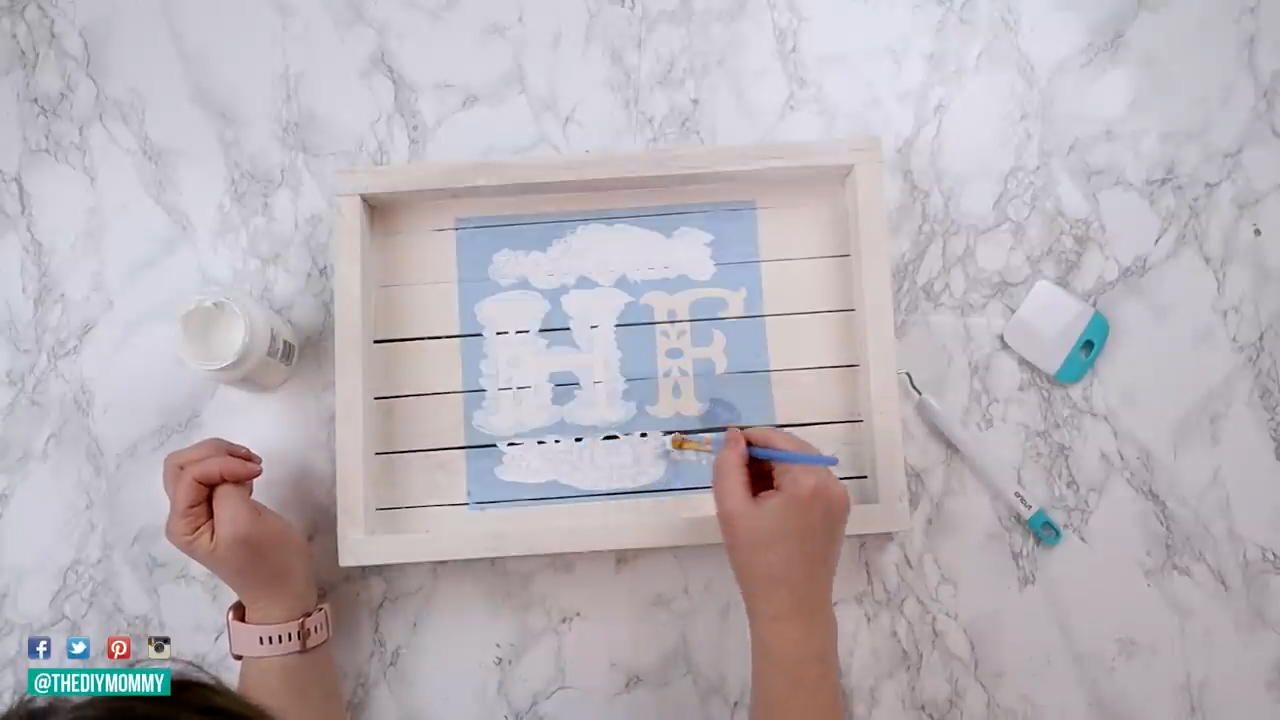
When the paint was dry, I peeled off the stencil and used my weeding tool to get all the little pieces of vinyl off (once again being very careful not to damage the paint).
I love how this white-on-white look turned out! It’s a really subtle, really beautiful, almost lace-like effect.
The final touch
To finish my tray, I added some simple gold handles to the sides. Purchased at Home Depot, of course! A couple of screws drilled into each, and voila! It was done.
You could give this gift as is, or you could do what I did and add those accessories I told you about at the beginning of this post: gloves, a trowel, some seeds, and that pretty little succulent.
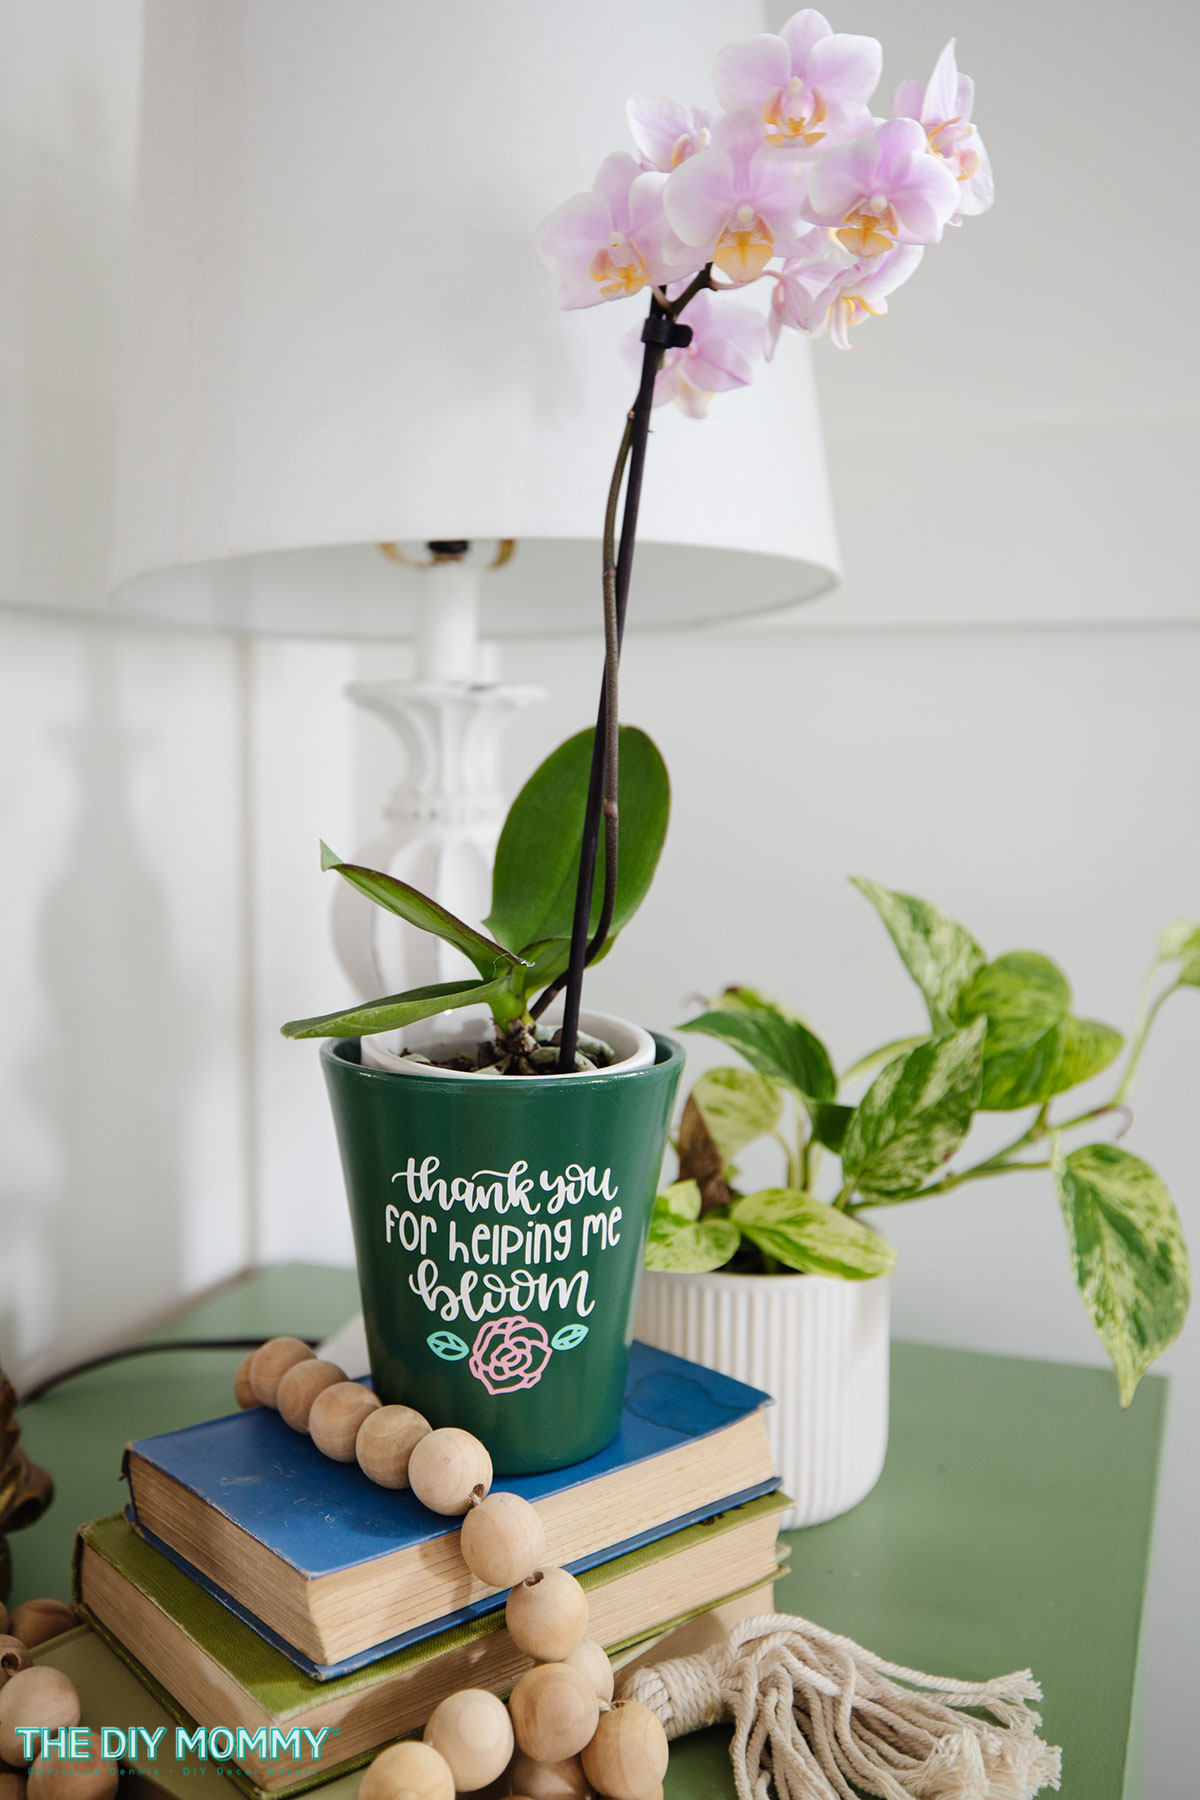
Personalized Plant Pot
I’ve saved the easiest for last! This personalized gardening gift is adorable and so simple to make.
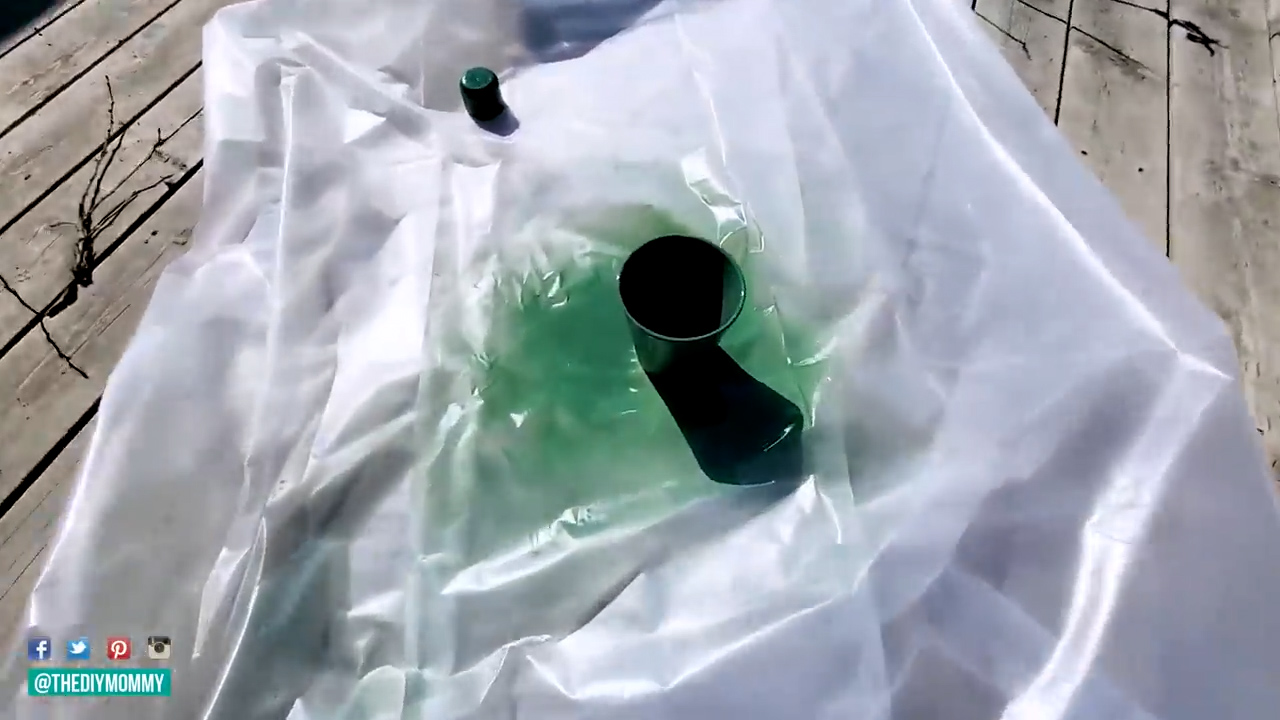
First, I spray painted the grey ceramic plant pot I found at Home Depot with a gorgeous dark green Behr spray paint. You might recognize it from the ombre sign above!
Then I went into Design Space and found a garden-related saying to put on the pot. I sized it appropriately for my pot. Then I printed it on three different colours of permanent Smart vinyl.
Once all three designs were cut, I weeded away the excess vinyl and applied transfer tape to them. I kept the wording separate and layered the other images with the transfer tape.
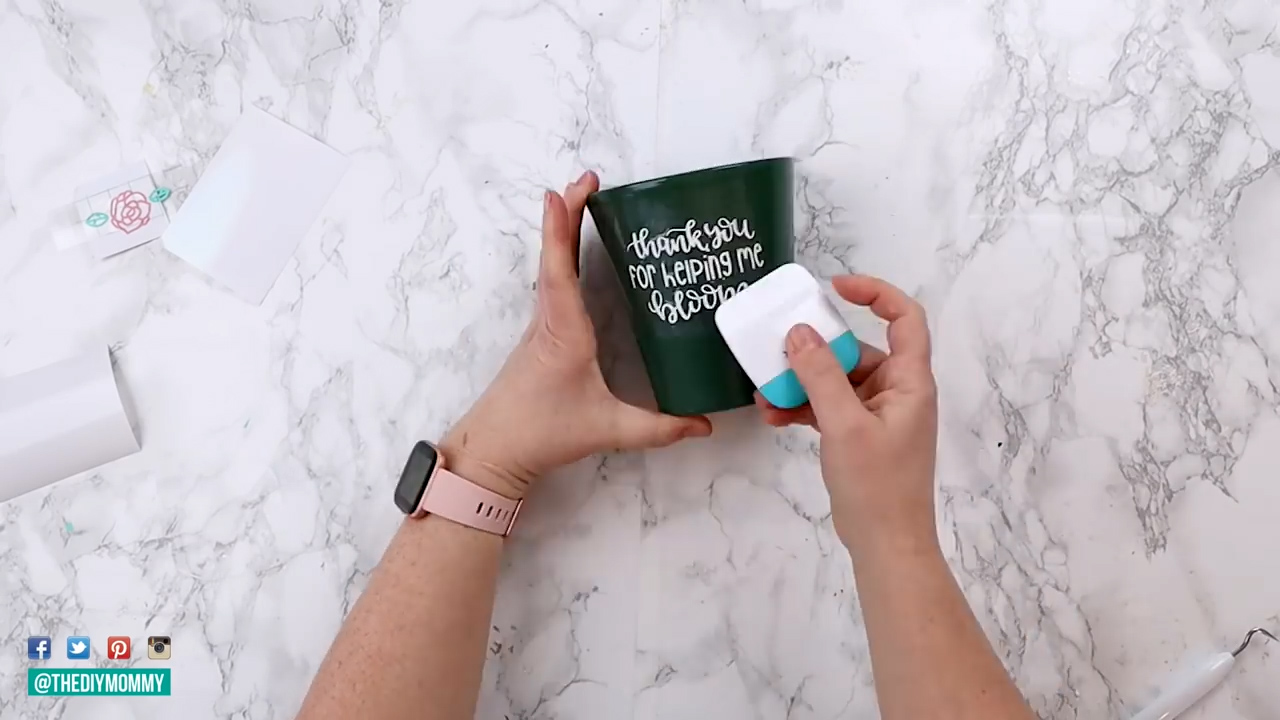
Next, I simply applied the decals to the newly painted plant pot (after it was completely dry). Take the transfer tape off, and that’s it! Project done.
With a pretty potted plant inside it, it makes a fantastic gift for so many people in your life, including mom!
There you go, four different personalized gardening gifts to choose from! I hope at least one of them inspired you to create something beautiful for the gardener in your life.
Happy crafting everyone!
Pin Me!